Is Best Camera Bag for beginners Worth It? Honest Review (2026)
Everything you need to know to choose your first camera bag with confidence.
Choosing your first camera bag can feel overwhelming. With dozens of styles, sizes, and price points, it's easy to get lost in technical jargon like 'cube volume', 'divider configuration', or 'weather-resistant'. This guide cuts through the noise to help you find a bag that's practical, affordable, and forgiving as you learn. By the end, you'll know exactly what to look for and which bag suits your needs best.
📋 In This Guide
• Why Beginners Struggle with Camera Bag
• What to Look For (Key Features)
• Top 3 Beginner-Friendly Camera Bag
• Essential Accessories for Beginners
• Common Beginner Mistakes to Avoid
• Your Progression Path
• FAQ & Learning Resources
😰 Why Beginners Struggle with Camera Bag
Many beginners struggle because they don't know what they'll carry. A camera bag is more than just a container; it needs to protect your gear while being comfortable for daily use. Common frustrations include buying a bag that's too small for a future lens, too bulky for casual outings, or filled with unnecessary compartments. The sheer variety – backpacks, slings, messenger bags – adds to the confusion. Beginners often underestimate the importance of padding, accessibility, and weight distribution. Without guidance, it's easy to waste money on a bag that doesn't fit your lifestyle.
🔍 What to Look For: Key Beginner-Friendly Features
As a beginner, focus on three things: protection, comfort, and accessibility. Look for a bag with adjustable padded dividers so you can customize the interior as your gear grows. Padded shoulder straps and a breathable back panel make a huge difference when carrying all day. The bag should open easily – top-loading or clamshell designs are intuitive. You don't need weather sealing or modular systems yet. Stick to a simple design that fits your current camera body and one or two lenses. A dedicated laptop sleeve is a bonus if you edit on the go, but not essential. Ignore gimmicks like built-in tripod holders or battery charging ports – they add cost and weight without benefiting beginners.
✅ Essential Features for Beginners
•Adjustable padded dividers – lets you reconfigure as your gear changes
•Padded shoulder straps and back panel – comfort during long walks
•Water-resistant fabric with included rain cover – protects gear in bad weather
•Quick-access compartment – grab your camera without unpacking everything
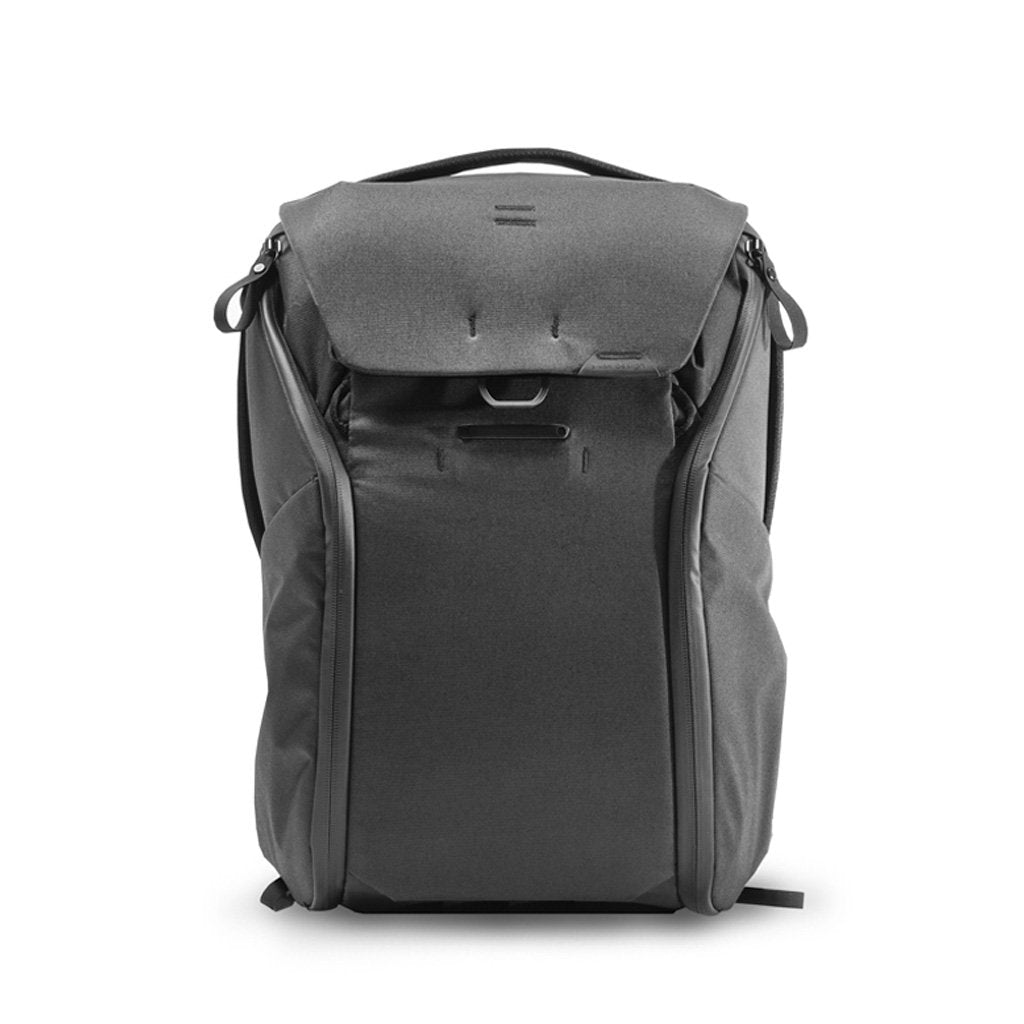
Sleek, expandable, and highly organized – the Zip series offers magnetic clasps and FlexFold dividers that make customization a breeze. Pricier but designed to last.
✓ Beginner Pros
+Modular dividers adapt to any gear
+Side access without removing bag
+Sleek, professional look
+Weatherproof materials
✗ Beginner Cons
-Higher price
-May be too technical for casual users
-Strap adjustments can be fiddly initially
👍 Best for: Beginners with a bigger budget who want a bag that will serve them for years without feeling outgrown.
👎 Not for: Budget-conscious beginners or those who prefer a simple, classic backpack.
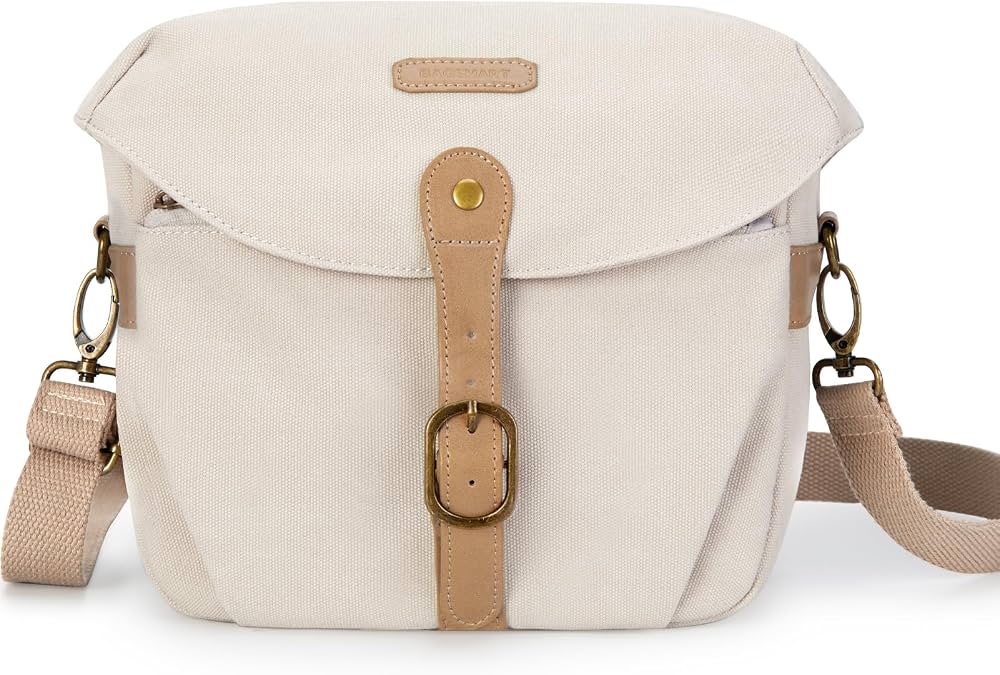
Camera bags fall into three main categories: backpacks, sling/messenger bags, and shoulder bags. Backpacks are the most popular for beginners because they distribute weight evenly and leave your hands free. Sling bags are great for quick access but can be unbalanced with heavier gear. Shoulder bags are stylish but can strain one side. For most beginners, a daypack-style backpack (20-30L capacity) is ideal – it can hold a camera, a couple of lenses, a tablet, and personal items. When evaluating options, check the interior dimensions and compare them to your equipment. A 'beginner-friendly' bag means simple divider layout, non-slip dividers, and easy access to the main compartment. Realistic expectations: a camera bag won't make you a better photographer, but it will protect your investment and make you more likely to take your gear out. Remember, you can always add inserts for extra lenses later.
🔧 Essential Accessories for Beginners
Camera Bag Rain Cover, Universal (Small/Medium)
👍 Recommended
$9.99
When to buy:
Day one
Even if your bag claims to be water-resistant, a dedicated rain cover provides extra protection during unexpected downpours. It's cheap insurance for your gear.
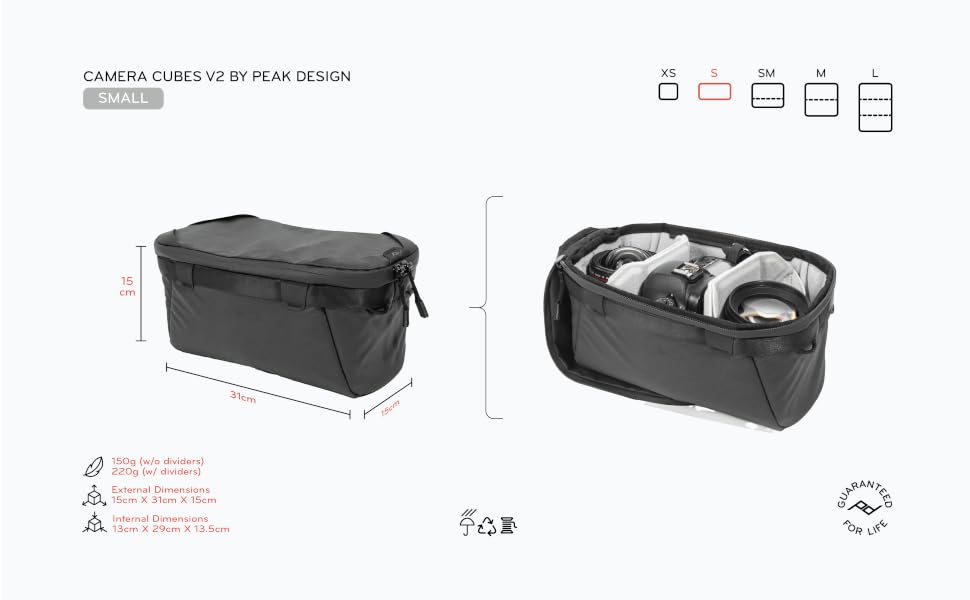
If you want to use a regular backpack or need extra organization, a camera cube inserts protective padding into any bag. It's a flexible way to upgrade your carrying solution.
Start by listing what you own and plan to buy in the next year. A beginner with a mirrorless kit (body + kit lens) can get away with a small bag, but if you plan to add a zoom lens and a prime, consider a medium backpack. Set a budget between $50 and $150 for a good starter bag – anything less may skimp on padding, and anything more introduces complexity you don't need. Think about where you'll shoot: urban walkaround, hiking, travel, or studio. For urban use, a sling might be fine; for hiking, a backpack with hydration sleeve is better. Red flags include bags with hard-to-find dividers, thin straps, or no rain cover. Also avoid bags that are too large – a big empty bag encourages overpacking and weight.
Sweet spot – good balance of features and quality for most beginners
100 - $200
Premium beginner – better materials, more compartments, longer-lasting
Under $ - $50
Entry level – basic protection, may lack padding or customization
⚠️ Common Beginner Mistakes to Avoid
Beginners often buy a bag based solely on price or appearance. The cheapest bags lack proper padding and dividers, risking damage. Others spend too much on a pro-level bag like a Pelican case or hefty backpack that's uncomfortable for casual use. Another mistake is ignoring the weight of the bag itself – many bags weigh 2-3 lbs empty, adding fatigue. Beginners also forget to consider access: some bags require you to take off both straps to get the camera out, which is frustrating. Lastly, buying a bag without a rain cover in wet climates can ruin gear. Take your time, read reviews, and if possible, visit a store to try it on with your equipment.
×Buying a bag too small for future lenses
×Choosing style over function – thin straps or no padding
×Overlooking rain protection
×Buying a bag that's too heavy empty
×Ignoring access type – having to take bag off to get camera
×Spending too much on a pro bag when a simple one suffices
📈 Your Progression Path: Beginner to Intermediate
As a beginner, first master packing your bag efficiently. Learn which lens to position for fastest access. After a few months, you'll realize if you need more space, better organization, or quicker access. Signs you've outgrown your bag: you're carrying extra gear in your pockets, the bag feels too small for all-day shoots, or you find yourself struggling with divider layout. At that point, consider upgrading to a modular system or a bag with a dedicated camera compartment. Most beginners stay with their first bag for 1-2 years before outgrowing it. When ready, look for features like side access, tripod attachment, and ergonomic straps.
📚 Learning Resources for Beginners
📖Photography books for beginners (e.g., 'Understanding Photography' by Sean Arbabi)
📖YouTube channels focusing on camera bag reviews and packing tips
📖Online photography communities like Reddit's r/photography
🎯 Bottom Line: Our Recommendations
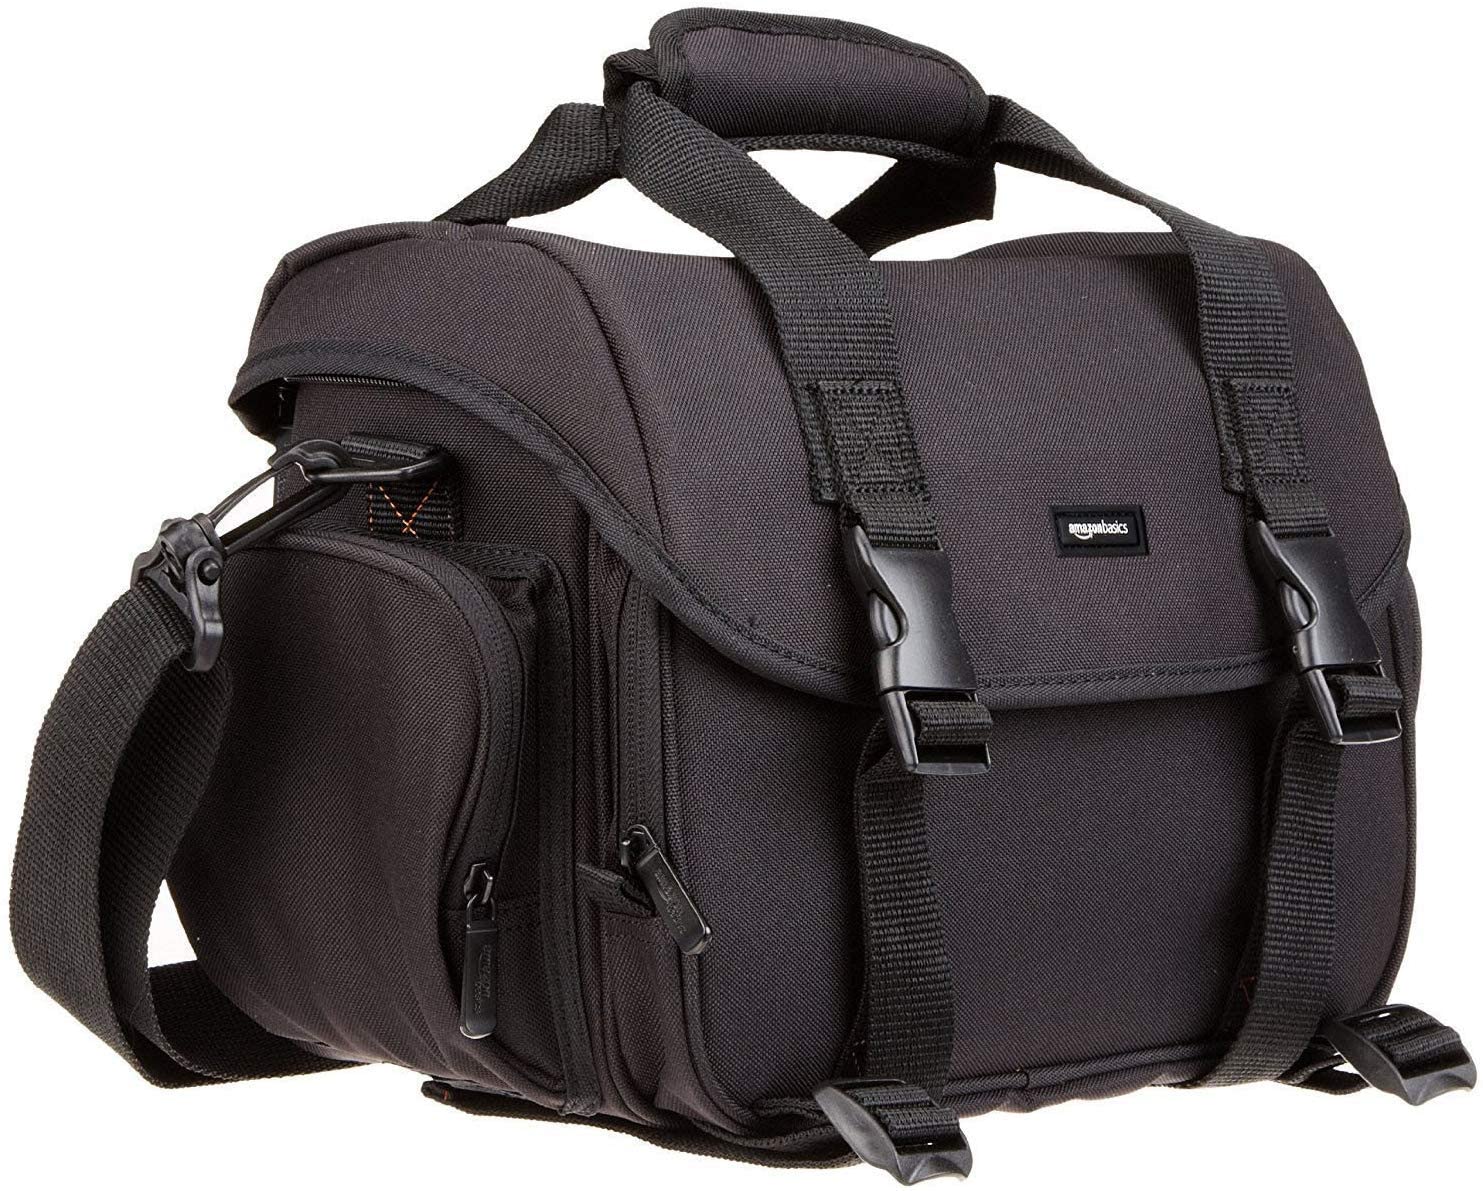
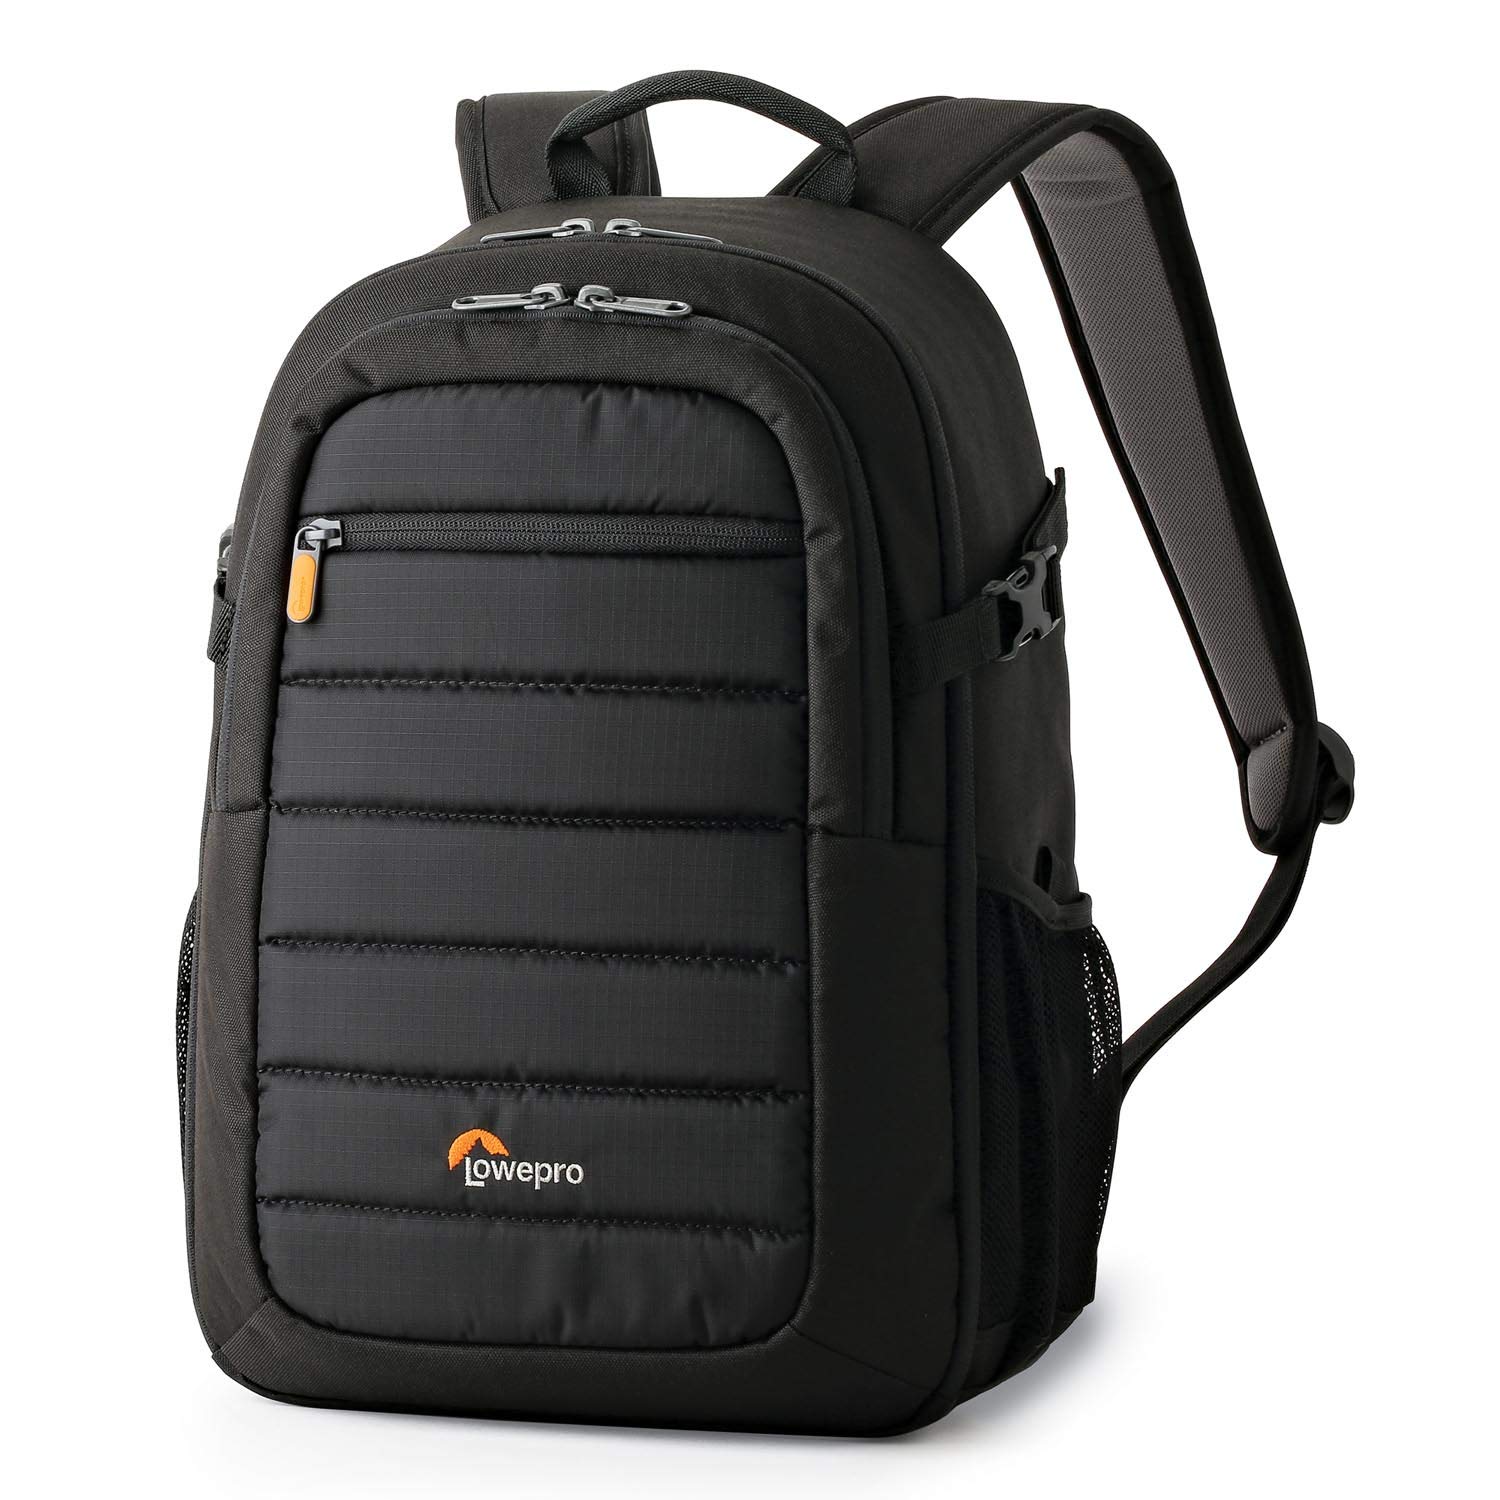
For most beginners, the best camera bag is a lightweight backpack with customizable padding, around 20-30L capacity, and a comfortable harness. Our top recommendation is the Lowepro Tahoe BP 150 (around $70) – it fits a mirrorless/DSLR with 2-3 lenses, has a laptop sleeve, and includes a rain cover. If budget is tighter, the AmazonBasics Backpack ($35) is a decent starter. For those wanting premium quality and modularity, the Peak Design Everyday Backpack Zip (around $200) is excellent but may be overkill. Don't forget a set of padded dividers if your bag doesn't come with enough. Ultimately, pick a bag that makes you excited to shoot – you'll take better photos when your gear is safe and easy to carry. Now go out and capture great moments!
❓ Frequently Asked Questions
The Lowepro Tahoe BP 150 is widely recommended for beginners due to its balance of comfort, protection, and price (around $70). It fits a mirrorless/DSLR with 2-3 lenses and a laptop, comes with a rain cover, and is lightweight.
Beginners should budget $50–$100. Under $50, construction and padding suffer. Over $150, you get features (like modular dividers) that are overkill initially. A quality bag in the $70 range will last 1–2 years.
Key features: adjustable padded dividers, comfortable padded straps, rain cover, quick access to camera, and a laptop/tablet pocket. Avoid bags with too many rigid compartments that limit flexibility.
Backpacks with clamshell opening are easiest because you can lay the bag flat and access everything. The Lowepro Tahoe or AmazonBasics backpack both offer straightforward layout. Sling bags have a learning curve for balance.
A rain cover (if not included) is essential. A padded insert or cube can add protection to a non-camera bag. A lens cleaning cloth and a memory card wallet are also handy. You don't need tripod straps or battery chargers yet.
List your current gear and what you plan to buy in a year. Pick a bag that fits it all with one compartment for quick access. Test the weight – the bag should be comfortable fully loaded. Read recent reviews from other beginners.
No! Modern cameras have auto modes that make it easy to get started. The key is to learn basics like composition and lighting gradually. A good camera bag simplifies carrying gear so you can focus on shooting.
Common mistakes: buying a bag too small for future gear, choosing style over comfort, skipping a rain cover, and spending too much on a pro bag. Also, some beginners buy a bag without checking if it fits their specific camera model.
Yes, if you use a padded camera cube. This is a great low-cost solution if you already have a backpack. Just make sure the cube fits snugly and provides enough shock absorption.
Not as a beginner. Tripods are useful for long exposures and night photography, but most beginners can practice handheld. Only consider a tripod if you want to shoot landscapes or group photos. Many bags have tripod attachments, but they aren't essential initially.