Review Atlas
Review AtlasYour guide to a better purchase

Menu

Shop by Category

Get the App

Better experience on mobile

Beginners GuideCeramics

Is Best Pottery Kit for beginners Worth It? Honest Review (2026)

Everything beginners need to know to choose their first Pottery Kit with confidence.

Thinking about making your own pottery but feel lost? You're not alone. Many beginners worry about messy clay, complicated instructions, and whether they'll ever create something beautiful. This guide cuts through the noise and shows you exactly how to pick your first pottery kit with confidence. No jargon, no gear obsession — just clear, practical advice that gets you crafting in no time.

We’ve gathered insights from user reviews, expert sources, and beginner feedback to cover everything from must-have features to common mistakes. By the end, you’ll know exactly what to buy, what to skip, and how to start your first project without the guesswork.

📋 In This Guide

  • • Why Beginners Struggle with Pottery Kit
  • • What to Look For (Key Features)
  • • Top 3 Beginner-Friendly Pottery Kit
  • • Essential Accessories for Beginners
  • • Common Beginner Mistakes to Avoid
  • • Your Progression Path
  • • FAQ & Learning Resources

😰 Why Beginners Struggle with Pottery Kit

Without a clear plan, most beginners get paralyzed by choices. There are whole kits, giant tool sets, different types of clay, and dozens of finishing techniques. Add confusing phrases like 'wax resist' and 'leather hard' and it's easy to throw in the towel before you even open the box. Many also fear spending money on something they'll only use once. Others buy ultra-cheap sets that crack and crumble, leading to frustration and a false belief that pottery isn't for them.

The good news is that air-dry pottery kits are specifically designed to remove those barriers. They skip the kiln, the wheel, and the chemistry. But without knowing which features actually matter, you might still pick a kit that’s too complicated, too small, or too messy for your space. That’s why this guide focuses on what makes a kit genuinely beginner-friendly, based on what real newcomers say works and what doesn’t.

🔍 What to Look For: Key Beginner-Friendly Features

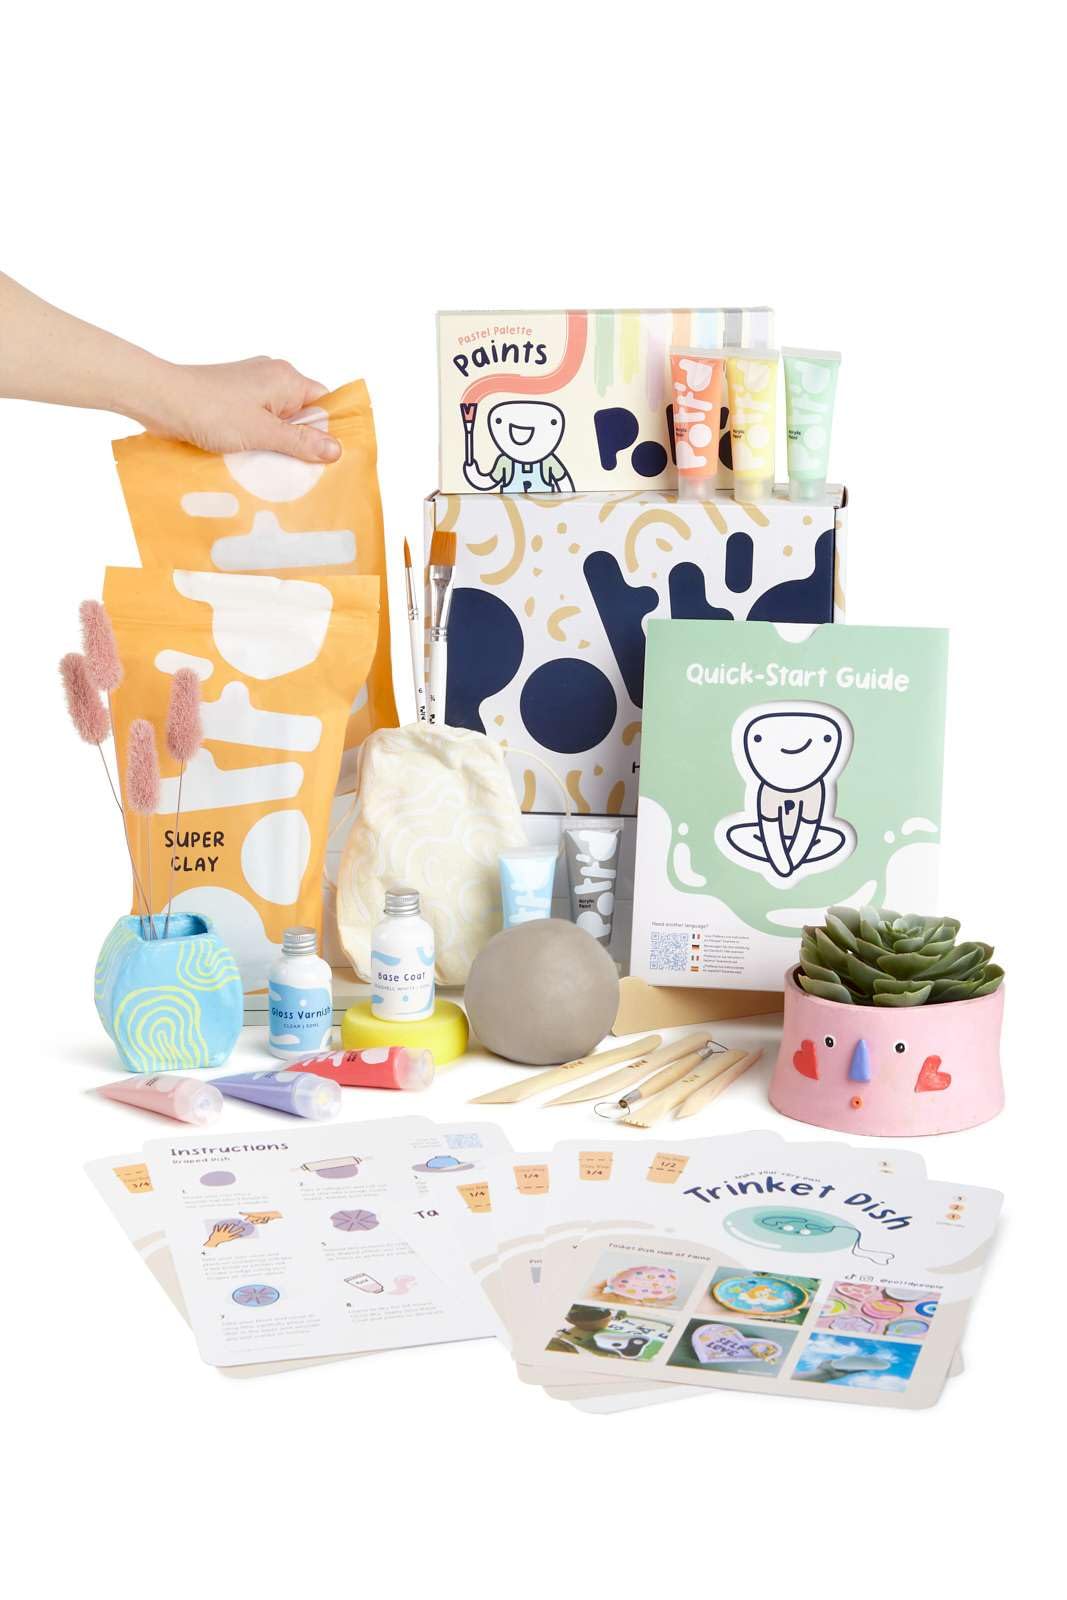
Focus on air-dry clay kits that don't need a kiln or oven. Look for kits that include a few colors of clay, basic sculpting tools, and, most importantly, a step-by-step project guide. Avoid kits designed for professionals — you don't need a potter's wheel, a slab roller, or 42 glazes yet. Start with a simple kit that lets you hand-braid a mug or coil a bowl without extra equipment.

A beginner-friendly kit should include clay that is soft and easy to knead, tools that feel comfortable in your hand, and instructions that assume you’ve never touched a piece of clay. It should also be non-toxic and water-based, so you can clean up with just soap and water. Features like texture stamps, a rolling pin, and a cleanup sponge can help you create nice details right away, but they’re not essential on day one. Save the extras for later once you’ve discovered which parts of pottery you enjoy most.

✅ Essential Features for Beginners

  • Non-toxic, ready-to-use air-dry clay – no baking or kiln required
  • Simple hand-building tools that fit comfortably in small hands
  • Step-by-step project cards or online video tutorials
  • Easy cleanup with just water and soap
  • Extra clay and texture stamps for experimenting
  • Clear, illustrated instructions that avoid ceramic jargon
  • Compact size that fits on a kitchen table
  • Built-in finishing tips so you know how to paint and seal your pieces

🏆 Top 3 Best Pottery Kit for Beginners

#1
💰 Budget

Air-Dry Pottery Studio – 36-Piece Beginner Kit

Learning Curve: Easy

Air-Dry Pottery Studio – 36-Piece Beginner Kit

Why Great for Beginners:

This kit bundles non-toxic air-dry clay with a variety of tools, all in one compact box. According to user feedback, it’s forgiving for your first project because you can hand-build and repair mistakes while the clay is still damp. The simple instruction card helps you make a small bowl or plant pot on your very first afternoon.

Beginner Pros

  • +Everything included for day-one
  • +Non-toxic and kid-friendly
  • +Very affordable and low pressure
  • +Great for small projects

Beginner Cons

  • -Clay amount is limited
  • -Tools are basic
  • -No online video course
👍 Best for: Curious beginners on a tight budget who want to try pottery without a big investment.
👎 Not for: Anyone who wants to make large pieces or immediately needs a wide variety of sculpting tools.
#2
👍 Recommended

The Pottery Lab – Complete Air-Dry Clay Craft Kit

Learning Curve: Moderate

The Pottery Lab – Complete Air-Dry Clay Craft Kit

Why Great for Beginners:

This is the sweet spot for most beginners. It includes twice the clay of budget kits, plus a starter set of tools like ribs, loop tools, and wire cutter. Reviews highlight the clear, picture-filled guide that walks you through four projects, from a simple pinch pot to a textured mug. It also has extra clay for practice, so you can make mistakes without running out.

Beginner Pros

  • +Larger clay quantity for mistakes
  • +Better tools that last
  • +Four guided projects with photos
  • +Includes finishing supplies like a sponge and detail knife

Beginner Cons

  • -Tools are not professional-grade
  • -Projects are all hand-built, no wheel
  • -Drying time can be tricky in humid weather
👍 Best for: Beginners who want to learn the basics properly and have room to try several projects without needing an upgrade right away.
👎 Not for: If you want to throw on a wheel or work in a full pottery studio, this kit is not a substitute.
#3
✨ Premium

StudioPro Air-Dry Pottery and Ceramic Kit

Learning Curve: Moderate

StudioPro Air-Dry Pottery and Ceramic Kit

Why Great for Beginners:

This premium kit is ideal for a beginner who is committed to exploring pottery further. It includes high-quality, extra-smooth air-dry clay that is less prone to cracking, along with a professional set of wooden and metal tools. Expert reviews suggest the included guide covers finishing techniques, giving you a head start on painting and sealing projects. While it costs more, the better clay and tools help you produce more polished results from your first attempt.

Beginner Pros

  • +Smoother, more consistent clay
  • +A wider range of shaping and detailing tools
  • +Instruction book includes techniques and design ideas
  • +Sufficient clay for several advanced projects

Beginner Cons

  • -Higher price
  • -Tool set may feel too extensive at first
  • -Projects take longer to dry because pieces can be bigger
👍 Best for: A serious beginner with a larger budget who wants a genuine feel of the craft and will likely keep using it beyond the learning phase.
👎 Not for: Casual hobbyists or gift-givers on a strict budget – the extra accessories may go unused.

📖 Complete Beginner's Guide to Pottery Kit

An air-dry pottery kit is a self-contained set that lets you make small ceramic-like pieces using clay that hardens when exposed to air. Unlike traditional pottery, you don’t need a kiln or an oven. The clay is water-based, so it stays moist while you work and dries solid over a day or two. Once dry, you can paint and seal it. This makes it a perfect entry point for beginners who want to try ceramics at home.

There are a few types of pottery kits available: simple air-dry kits with just clay and a few tools, more complete sets that add a rolling pin, cutters, and texture stamps, and premium sets that include specialty tools like rib sets and wire cutters. Some kits even come with a wooden turntable, but you don’t need that to start. The most important distinction is between air-dry clay and polymer clay that needs baking. For beginners, air-dry clay is more forgiving because you can fix mistakes by simply wetting the surface and reshaping it.

When you’re evaluating your first kit, ignore the marketing fluff. Terms like “premium ceramic experience” or “professional sculpting set” don’t mean much to a beginner. Instead, look for the word “air-dry” on the package and check what’s actually included. A good beginner kit should contain at least 1–2 pounds of clay and a handful of tools. You should also look for a project guide or video link because having a simple plan keeps you motivated.

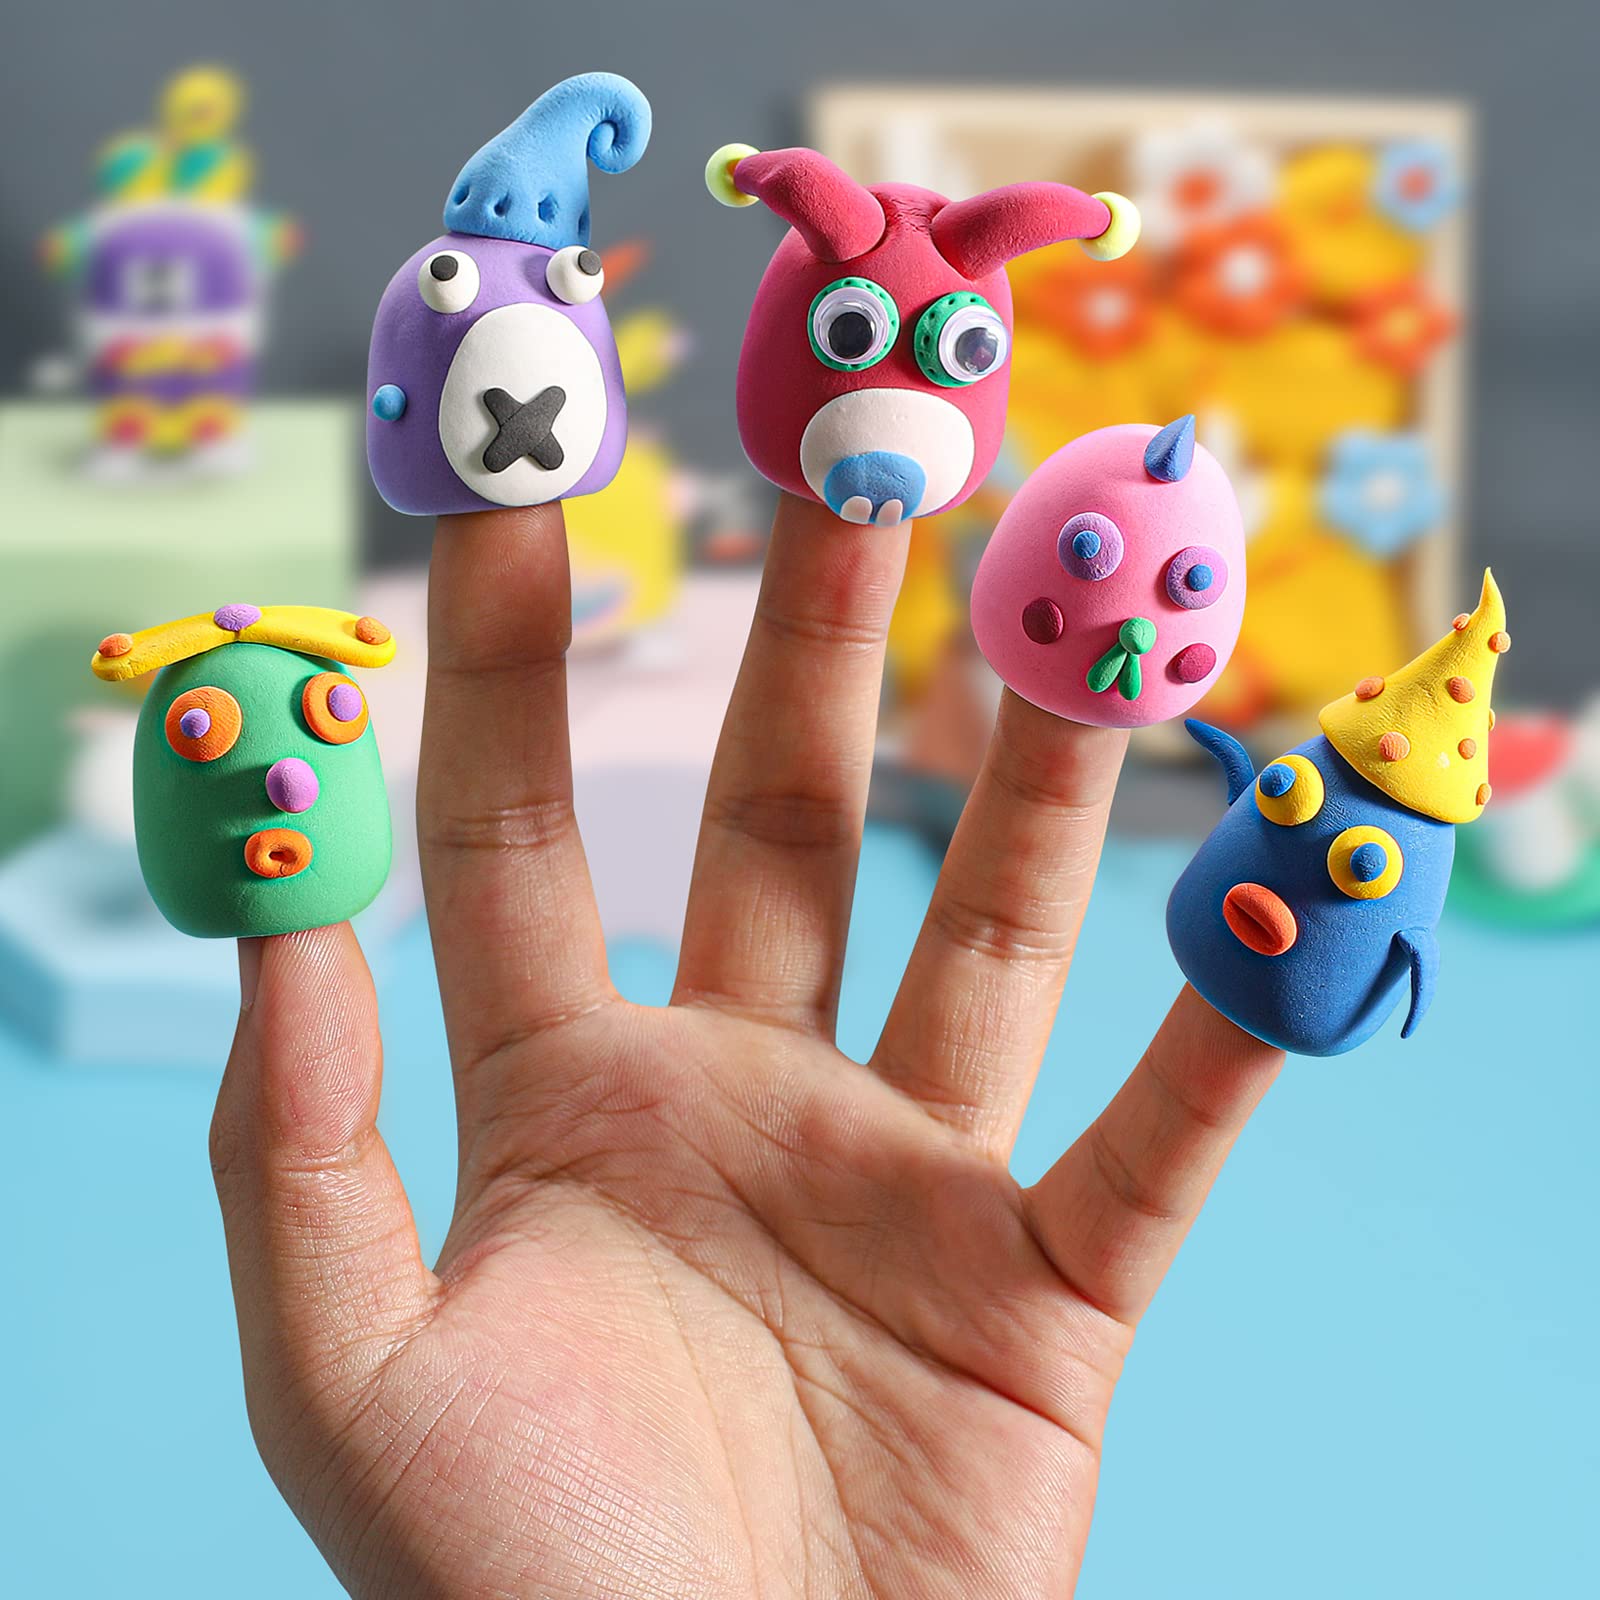
Realistic expectations are key. Your first project won’t look perfect, and that’s okay. Most beginners start with small items like pinch pots, tiny bowls, or simple ornaments. Those projects introduce you to the basics of shaping, smoothing, and joining pieces. If the kit includes a rolling pin and cookie-cutter style shapes, you can make even more detailed items. The best strategy is to choose one project for your first session, follow the instructions carefully, and expect to make a few mistakes.

Finally, think about your workspace. Air-dry clay can be messy, but it’s generally easy to clean. A smooth surface like a plastic mat or a piece of cardboard is ideal. If the kit doesn’t include a work mat, pick up a silicone mat or a cheap cutting board. This will keep your table clean and make it easier to turn and shape your pieces.

🔧 Essential Accessories for Beginners

Pottery Tool Set with Carving and Smoothing Tools - Image 1 of 6

Pottery Tool Set with Carving and Smoothing Tools

⚠️ Essential
When to buy:
Day one

Every beginner kit already has basic tools, but a dedicated tool set gives you more comfortable handles and additional shaping options, making it easier to create smooth curves and details. Tools are designed to help you correct small mistakes while the clay is still soft.

Beginner Benefits:

  • Better control for little hands
  • Lets you fix cracks and unwanted fingerprints
  • Helps you achieve smoother surfaces
Non-Toxic Acrylic Paint Set for Pottery Sealing - Image 1 of 6

Non-Toxic Acrylic Paint Set for Pottery Sealing

👍 Recommended
When to buy:
First month

Air-dry clay absorbs paint a lot, and sealing with the right paint prevents moisture damage and makes your colors pop. A dedicated acrylic set with a few colors and a clear sealer keeps your finished mugs and sculptures safe and shiny.

Beginner Benefits:

  • Paints designed for porous surfaces
  • Seals your creation to last longer
  • Gives a professional-looking glossy finish

🤔 How to Choose Your First Pottery Kit

Start by asking yourself a few simple questions: What do I want to make? A mug, a decorative bowl, or small sculptures? Do I want a complete set that needs no extra supplies, or am I happy to buy tools separately? How much am I willing to spend if I’m just trying this as a hobby? These answers will point you to the right tier. If you’re not sure you’ll stick with pottery, go for a budget kit. If you want a real learning experience with enough clay to practice, pick a mid-range recommendation. And if pottery is a hobby you’ve already committed to, premium kits provide better quality and less frustration.

Budget is important, but don’t automatically buy the cheapest kit. The cheapest options often have only a tiny amount of clay and low-quality tools that break. Instead, aim for the sweet spot between $30 and $60, where you get adequate clay, decent tools, and a decent instruction book. If you find a premium kit with extra clay and a professional tool set, it can be a good value if you know you’ll use it. Just remember that a higher price doesn’t always mean it’s better for a beginner – sometimes it just includes more tools you won’t use yet.

There are a few red flags to avoid. Don’t buy a kit that lists “oil-based” clay, because it’s hard to work with and can’t be painted with watercolor or acrylic. Don’t buy a kiln or wheel as a first purchase – that’s a huge commitment. And don’t buy a set with more than 20 pieces unless you enjoy sorting through tools you don’t know how to use. A simple kit that gives you a handful of tools and clear instructions is far better than one that overwhelms you from the start.

💰 Budget Guide for Beginners

100+

Advanced starter – big sets with a wide range of clay and accessories, only if you're serious

30 - $60

Sweet spot – complete beginner kits with good clay and guides

60 - $100

Premium beginner – higher quality tools and more clay, better for regular use

Under $ - $30

Entry level – a few tools and clay to try out, may need separate supplies

⚠️ Common Beginner Mistakes to Avoid

The biggest mistake beginners make is buying too cheap. A $10 kit that includes a tiny lump of clay and a single plastic knife may seem like a safe way to try, but it usually leads to frustration. The clay dries out too quickly, the tools don't shape well, and you end up with a crumbly, dry mess instead of a satisfying bowl. Instead, spend at least $30 and choose a kit that includes enough clay to make two or three projects. That way, your first attempt becomes a learning experience, not a waste.

Another common trap is buying a kit packed with 'professional' tools. As a beginner, you don't need 25 different loop tools, a pottery wheel, or a slab roller. These extra tools sit unused and clutter your space. It's better to have a handful of tools that are clearly explained in the manual. Also, many beginners ignore the drying step. Air-dry clay shrinks and can crack if it dries too fast or if pieces are too thick. Always follow the instructions about drying and keep your work in a cool, evenly ventilated area.

Finally, don't compare your first project to the polished pieces you see on social media. Those photos often come from experienced artists. The goal for your first project is simply to learn how the clay feels and moves. Keep your first project small, finish it, and then see what you learned. That's how you avoid discouragement and genuinely improve.

  • ×Buying a full kiln or pottery wheel as your first purchase
  • ×Choosing oil-based modeling clay instead of water-based air-dry clay
  • ×Not buying a wire cutter or chamois for trimming
  • ×Ignoring the drying process and ending up with cracked projects
  • ×Starting with a huge set and feeling overwhelmed
  • ×Skipping a simple rolling pin and hard work surface
  • ×Expecting perfect results on day one
  • ×Not preparing a clean, non-stick workspace

📈 Your Progression Path: Beginner to Intermediate

As a beginner, your first goal is to get comfortable with the basics: kneading clay, rolling it into a slab, and joining pieces with water. Start with simple projects like a pinch pot or a pressed ornament. These teach you the crucial skill of smoothing seams and controlling moisture. Once you’ve made two or three small items, try building a project with coils or slabs, such as a little bowl or a mug. You’ll naturally learn how to score and slip edges, which is essential for more complex pieces.

The timeline is different for everyone. Some beginners feel ready for more advanced techniques after just a month, while others are happy making simple pieces for a few months. You’ll know you’ve outgrown your beginner kit when you start wishing for more clay, more specific tools, or a better way to smooth surfaces. That’s when it’s time to upgrade your tool set, not necessarily buy a whole new kit. A bigger pottery kit with more accessories can also be a great jump if you’re ready.

Moving to intermediate level often means adding a pottery wheel or experimenting with glazes and a kiln. But many hobbyists stay with air-dry clay for years, using it to make jewelry, home decor, and gifts. Even when you don’t need a massive upgrade, investing in a high-quality rolling pin, a silicone mat, or an acrylic roller can improve your projects. Keep learning by trying new projects and watching tutorials. The more you practice, the more your hands will remember what works.

📚 Learning Resources for Beginners

  • 📖[Pottery: The Art of Air-Dry Clay – Beginner's Project Book](https://www.amazon.com/s?k=air-dry+clay+beginner+book&linkCode=gg3&tag=ra075-20)
  • 📖[Handbuilding for Beginners: Coil, Slab, and Pinch Methods](https://www.amazon.com/s?k=handbuilding+pottery+book&linkCode=gg3&tag=ra075-20)
  • 📖[Air-Dry Clay Texture and Stamping Tool Kit](https://www.amazon.com/s?k=clay+texture+stamps+air+dry&linkCode=gg3&tag=ra075-20)
  • 📖[Pottery How-To DVD or Online Live Class (Search Amazon)](https://www.amazon.com/s?k=pottery+for+beginners+dvd&linkCode=gg3&tag=ra075-20)

🎯 Bottom Line: Our Recommendations

For most beginners, the best pick is the mid-range 'The Pottery Lab – Complete Air-Dry Clay Craft Kit' because it offers enough clay and guidance for a satisfying start without overwhelming you. If you're on a super tight budget, the 'Air-Dry Pottery Studio – 36-Piece Beginner Kit' is a great way to dip your toes. And if you’re ready to invest a little more, the 'StudioPro Air-Dry Pottery and Ceramic Kit' will give you higher quality clay and a durable tool set that can grow with you.

Don’t forget to buy a dedicated pottery tool set if your kit doesn’t include one, and pick up an acrylic paint set for when you finish your work. Remember, your first project is about learning, not perfection. Choose a kit that makes it easy to start today, follow instructions, and enjoy the process. Welcome to the wonderful world of hand-building—you’ve got this!

❓ Frequently Asked Questions

A complete air-dry clay kit with at least 1-2 pounds of clay, basic tools, and a step-by-step guide is best. For most, the mid-range 'The Pottery Lab – Complete Air-Dry Clay Craft Kit' offers the right balance of quality and value.
You can get a decent kit for around $30-$60. Spending less often means too little clay and poor tools, while spending more than $100 is usually unnecessary unless you're already committed to making pottery regularly.
Beginners need air-dry clay that doesn't need a kiln, soft and forgiving texture, a few basic tools, and clear instructions. Extra texture stamps and a rolling pin are nice but not essential.
Any kit that uses air-dry clay and includes a project guide is easy to start with. Budget kits with fewer pieces generally feel less overwhelming, but they might limit your ability to practice.
Essential accessories include a durable work surface, a tool set (if not included), a sponge for smoothing, and a wire cutter for trimming. A paint set for finishing and a rolling pin for slabs are also helpful.
Decide what you want to make, consider your budget, and pick a kit that includes air-dry clay, quality tools, and a guide. Avoid kits that require a kiln or include too many complex accessories.
Pottery is not as hard as it looks. Air-dry clay is especially forgiving because you can add water and reshape your work. Expect to make a few messy pieces first, but you'll quickly improve with practice.
The most common mistakes are buying too cheap, ignoring the drying process, choosing oil-based clay, and buying a professional wheel before learning handbuilding. Start small and follow the instructions carefully.
No, air-dry clay is meant to harden at room temperature. Oven-baking can burn or discolor it. Follow the package instructions for drying times instead.
Depending on the thickness of your piece, it can take from 1 to 3 days. Larger or thicker pieces may need longer. Dry them slowly and evenly to prevent cracking.
Acrylic paint is usually the best choice. You can also use tempera or gouache, then seal it with a water-based varnish to protect the surface and give it a nice finish.

Related Articles