Is Best Dehydrator for beginners Worth It? Honest Review (2026)
Everything beginners need to know to choose their first dehydrator with confidence.
Choosing your first dehydrator can feel overwhelming with so many models, features, and price points. You want to make healthy snacks like jerky, dried fruits, and vegetables, but fear buying the wrong machine or wasting money. This guide cuts through the jargon and confusion, focusing on what truly matters for beginners. By the end, you'll know exactly what to look for, which dehydrator to buy, and how to get started without frustration.
📋 In This Guide
• Why Beginners Struggle with Dehydrator
• What to Look For (Key Features)
• Top 4 Beginner-Friendly Dehydrator
• Essential Accessories for Beginners
• Common Beginner Mistakes to Avoid
• Your Progression Path
• FAQ & Learning Resources
😰 Why Beginners Struggle with Dehydrator
Many beginners are overwhelmed by technical specs like wattage, fan placement, and temperature range. They worry about choosing between horizontal vs vertical airflow, or whether they need a timer or thermostat. The market is flooded with choices from cheap units that overheat to expensive ones with features you may never use. Novices also underestimate preparation time, or fail to realize that cheaper models often require more attention and rotation. Common frustrations include uneven drying, long drying times, and noisy operation, leading to disappointment.
🔍 What to Look For: Key Beginner-Friendly Features
For beginners, prioritize simplicity and consistency. Look for a dehydrator with adjustable temperature (ideally 95°F to 165°F) so you can dry everything from herbs to jerky. A timer (up to 48 hours) is a huge convenience—set it and forget it. Horizontal airflow models dry more evenly without tray rotation, while vertical stackable units are cheaper but may need manual turning. Easy-to-clean trays (dishwasher safe) and a square shape for better space utilization are also beginner-friendly. Avoid features like programmable presets if they complicate operation; a simple dial or button interface is best.
✅ Essential Features for Beginners
•Adjustable temperature control for versatile drying
•Built-in timer (automatic shutoff)
•Horizontal airflow (even drying without rotation)
•Dishwasher-safe trays for easy cleanup
•Clear or transparent door to monitor progress
🏆 Top 4 Best Dehydrator for Beginners
#1
💰 Budget
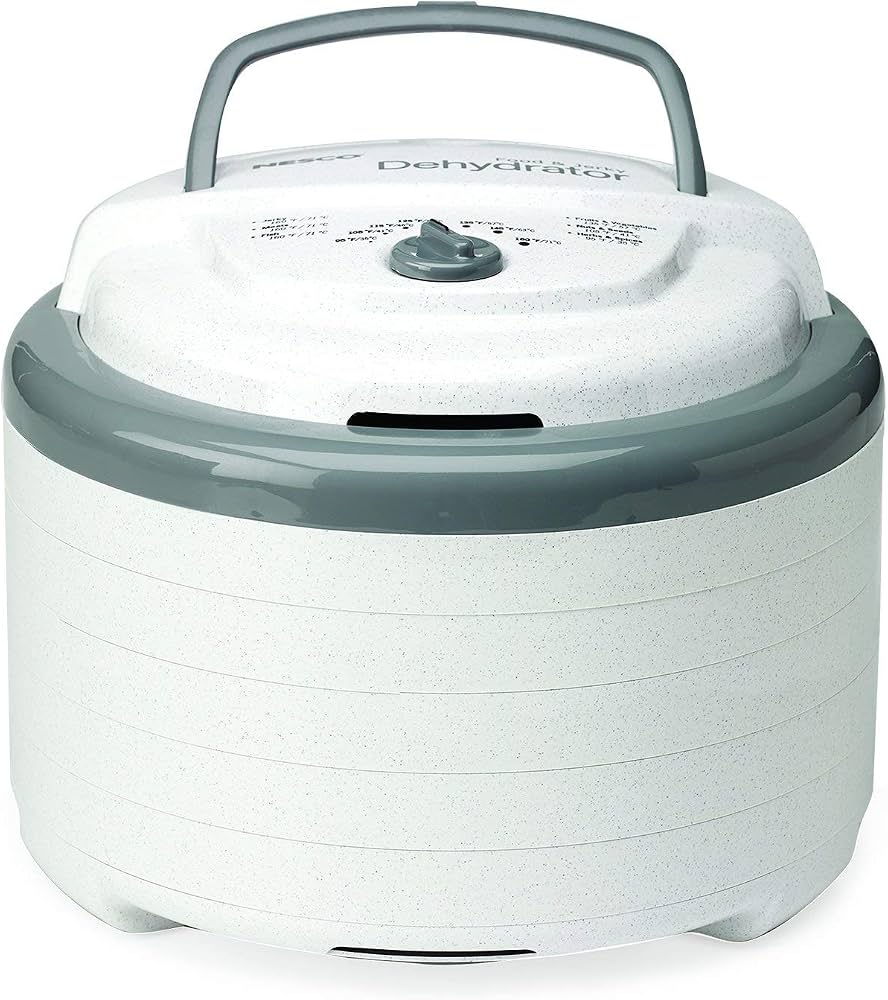
Nesco FD-75A Snackmaster Pro Food Dehydrator
Learning Curve: Easy
$69.99
Difficulty: 2/5
Why Great for Beginners:
This affordable vertical stack unit is a classic starter. It features adjustable temperature (95-160°F), 5 trays expandable to 12, and a top-mounted fan for decent airflow. Simple controls and a clear lid make it easy to monitor.
✓ Beginner Pros
+Low cost
+Expandable capacity
+Adjustable temperature
+Easy to clean
✗ Beginner Cons
-Vertical airflow may need rotation
-No timer
-Can be noisy
👍 Best for: Beginners on a tight budget who want to try dehydrating without a big investment.
👎 Not for: Those who want even drying without manual tray rotation or a timer.
This horizontal airflow dehydrator features a digital timer (1-48h) and temperature control (95-165°F). Even drying eliminates the need to rotate trays. Stainless steel construction is durable and includes 6 trays, fruit roll sheets, and a mesh screen. Quiet operation.
✓ Beginner Pros
+Even horizontal airflow
+Digital timer and temp control
+Includes accessories
+Quiet operation
+Dishwasher-safe trays
✗ Beginner Cons
-Slightly more expensive
-Large footprint
👍 Best for: Most beginners who want a set-it-and-forget-it experience with minimal fuss.
👎 Not for: Those with limited counter space or needing 10+ trays from the start.
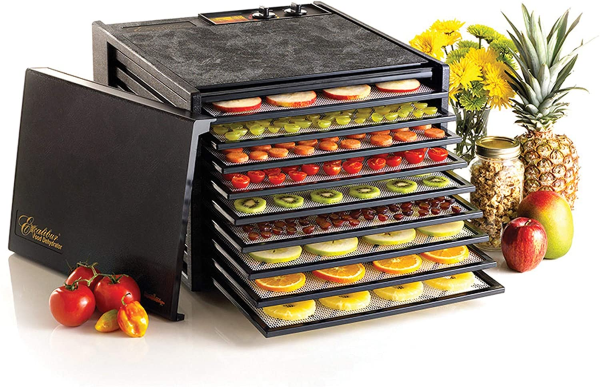
The Excalibur is the gold standard. Its horizontal airflow and hyperwave technology provide the most even drying. 9 trays expand with add-ons. Adjustable thermostat (85-155°F) and 26-hour timer with auto shutoff. Built like a tank, with a 10-year warranty.
✓ Beginner Pros
+Superb even drying
+Large capacity
+Accurate temperature control
+Long warranty
+No tray rotation needed
✗ Beginner Cons
-Expensive
-Heavy and bulky
-Overkill for occasional use
👍 Best for: Serious beginners who know they'll use it often and want the best results from day one.
👎 Not for: Casual users or those with limited budget or space.
A great mid-range option with horizontal airflow, digital timer (1-48h), and adjustable temp (95-165°F). 10 stainless steel trays, quiet, and includes fruit roll sheets. Small footprint for its capacity.
✓ Beginner Pros
+Good capacity for price
+Horizontal airflow
+Timer and temp control
+Quiet
✗ Beginner Cons
-Trays are not dishwasher safe (hand wash)
-Some users report uneven drying at edges
👍 Best for: Beginners wanting large capacity without paying Excalibur prices.
👎 Not for: Those who prefer dishwasher-safe parts or want the absolute best drying uniformity.
Food dehydrators remove moisture to preserve food. The two main types: vertical stack (trays stacked in a column with a fan at the bottom or top) and horizontal shelf (trays slide into a box with a fan at the back). For beginners, a horizontal shelf dehydrator is recommended because airflow is even across all trays, eliminating the need to rotate them. Vertical models are cheaper but can produce uneven results. Key factors: wattage (400-1000W) affects drying speed; higher is faster but noisier. A temperature range of 95-165°F covers all common foods. Digital controls with a timer are easier than manual. Square trays give more usable space than round. Noise level matters if you plan to run it overnight. A dedicated jerky tray or fruit roll sheet is a plus.
🔧 Essential Accessories for Beginners
Fruit Roll Sheets (Set of 2)
👍 Recommended
$9.99
When to buy:
Day one
These non-stick sheets let you make fruit leather and purees without dripping through trays. Essential for beginners wanting to try easy recipes.
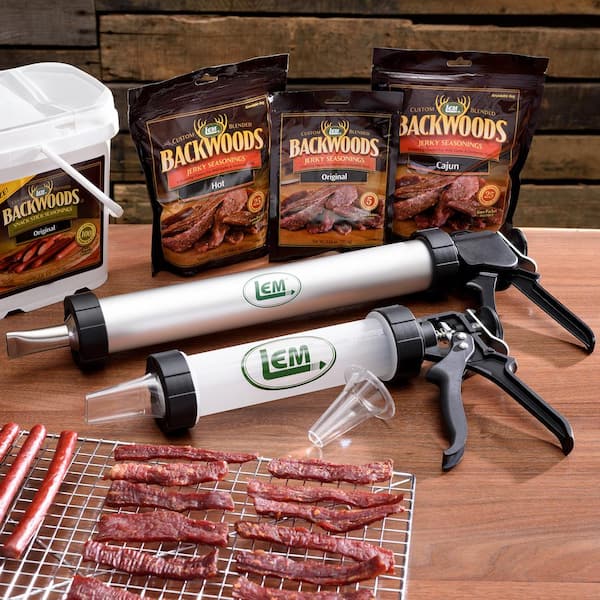
Makes forming ground meat into consistent strips for jerky simple. Beginners often struggle with cutting uniform strips; this gun ensures even thickness for drying.
Start by asking: What will I dry most? Jerky and meat need higher temps (160°F), while herbs and fruit leather need lower (95-135°F). If you plan to dry large batches for meal prep, get a larger capacity (6-9 trays). For occasional use, a 4-5 tray model is fine. Consider your budget: entry-level ($50-80) works but may need upgrading; sweet spot ($100-200) offers digital controls and even drying; premium ($200+) comes with extra trays, timers, and warranties. Avoid the cheapest models as they often lack temperature control and can be fire hazards. Look for UL/ETL certification for safety.
💰 Budget Guide for Beginners
350+
Professional entry – for serious enthusiasts who want commercial-grade performance and expandability.
100 - $200
Sweet spot – best value for most beginners, digital controls, even drying, and room to grow.
200 - $350
Premium beginner – excellent build quality, larger capacity, longer warranty, and more precise features.
Under $ - $100
Entry level – good for trying out dehydrating, but may have limited temp control and require manual rotation.
⚠️ Common Beginner Mistakes to Avoid
Beginners often buy too cheap, resulting in food that doesn't dry properly or uneven results. They skip essential accessories like fruit roll sheets or jerky trays. Another mistake: overloading the dehydrator, which blocks airflow and extends drying time. Not pre-treating fruits (e.g., lemon juice for apples) leads to browning. Some beginners ignore hygiene—properly washing hands and trays prevents spoilage. Lastly, failing to test a small batch first can waste a whole load.
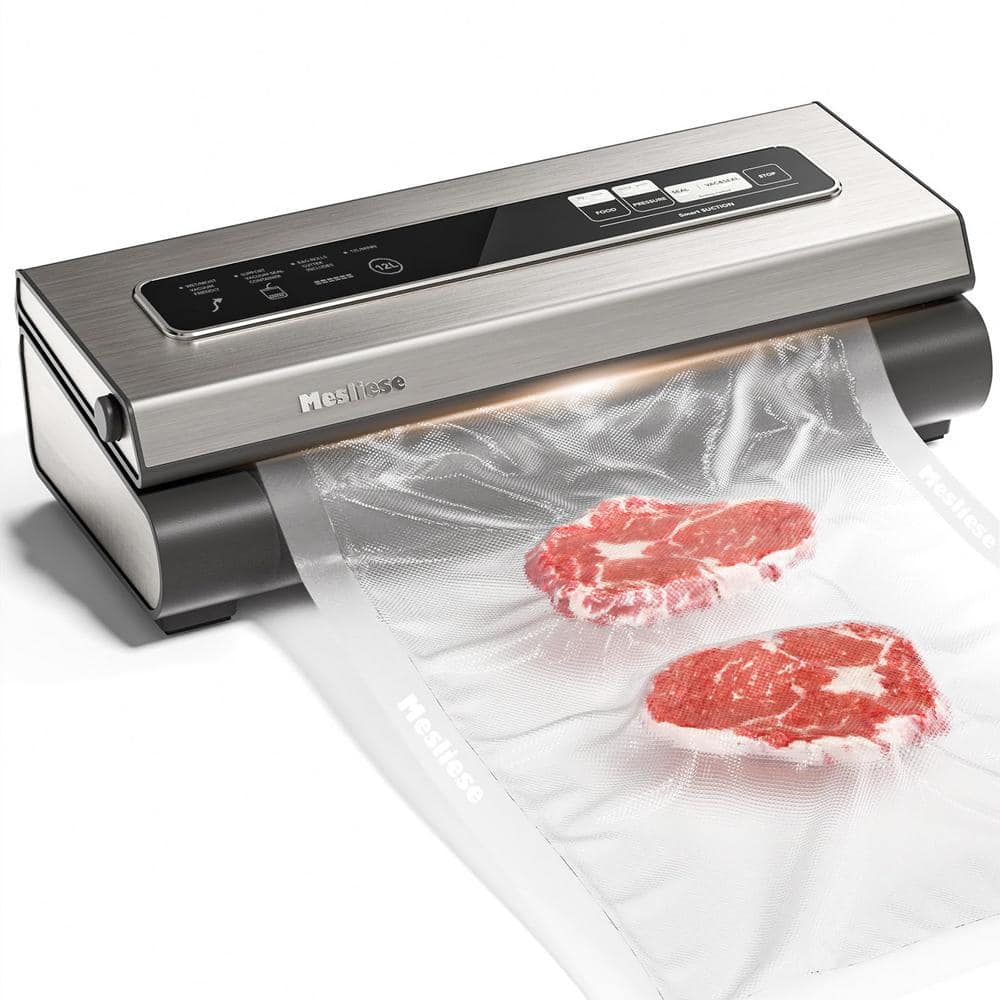
Start with simple recipes: apple chips, banana chips, or herbs. Once comfortable, try jerky (using lean meat and curing salt). Then move to fruit leather, yogurt drops, or dehydrated veggies for soups. After a few months, you may want a larger model with more trays or a built-in timer. Signs you're ready to upgrade: you're regularly drying multiple batches in a day, or want more precise temperature control for advanced recipes like fermented foods or raw snacks. Intermediate users often invest in a vacuum sealer and oxygen absorbers for long-term storage.
📚 Learning Resources for Beginners
📖The Ultimate Dehydrator Cookbook by Mary T. Bell (Amazon book)
📖Dry It Out! Beginner Guide (Amazon book)
📖Excalibur's Dehydrating 101 (DVD)
📖Premium Food Dehydrator Cookbook (Amazon book)
🎯 Bottom Line: Our Recommendations
For most beginners, the Cosori Premium Stainless Steel Dehydrator (B0B5N8J1K2) offers the best balance of price, performance, and ease of use. If budget is tight, the Nesco FD-75A (B000B8TT9K) gets the job done. For serious beginners who want to grow, the Excalibur 3926TB (B00A9LB8MK) is the premium choice. Don't forget the essential accessories: fruit roll sheets, spare trays, and a jerky gun. Remember—any dehydrator you choose will be a step toward healthier snacking. Start small, practice, and enjoy the process!
❓ Frequently Asked Questions
The Cosori Premium Stainless Steel Dehydrator is our top pick for most beginners. It offers digital controls, horizontal airflow for even drying, a timer, and includes fruit roll sheets—all at a reasonable price.
Most beginners are happy with models in the $100-200 range. This budget gets you digital temperature control, a timer, and even drying. Under $100 can work but may lack features; over $200 is for serious enthusiasts.
Essentials: adjustable temperature (95-165°F), a timer (auto shutoff), horizontal airflow (no tray rotation), and dishwasher-safe trays. Digital controls are easier than dials.
Models with digital controls and horizontal airflow, like the Cosori or Excalibur, are easiest because you don't need to rotate trays and can set it and forget it.
Fruit roll sheets for leather, a mandoline slicer for uniform cuts, and a jerky gun if you plan to make jerky. Spare trays and a vacuum sealer are nice later.
Consider what you'll dry most, how much space you have, and your budget. For occasional use, a 5-tray vertical is fine. For regular use, get a 6-9 tray horizontal model with a timer.
No! Dehydrating is one of the easiest preservation methods. Most foods just need to be sliced, placed on trays, and dried. A good dehydrator does the work for you.
Common mistakes: overloading trays, not pre-treating fruits, using fatty meats for jerky, storing food without airtight containers, and buying a model without temperature control.
Times vary: herbs 1-4 hours, fruits 6-12 hours, jerky 4-6 hours, vegetables 4-10 hours. Thicker pieces take longer. Use a timer to avoid over-drying.
Yes, modern dehydrators are safe to run unattended. Look for an auto shutoff timer and UL-certified models. Place it on a heat-safe surface away from curtains.