
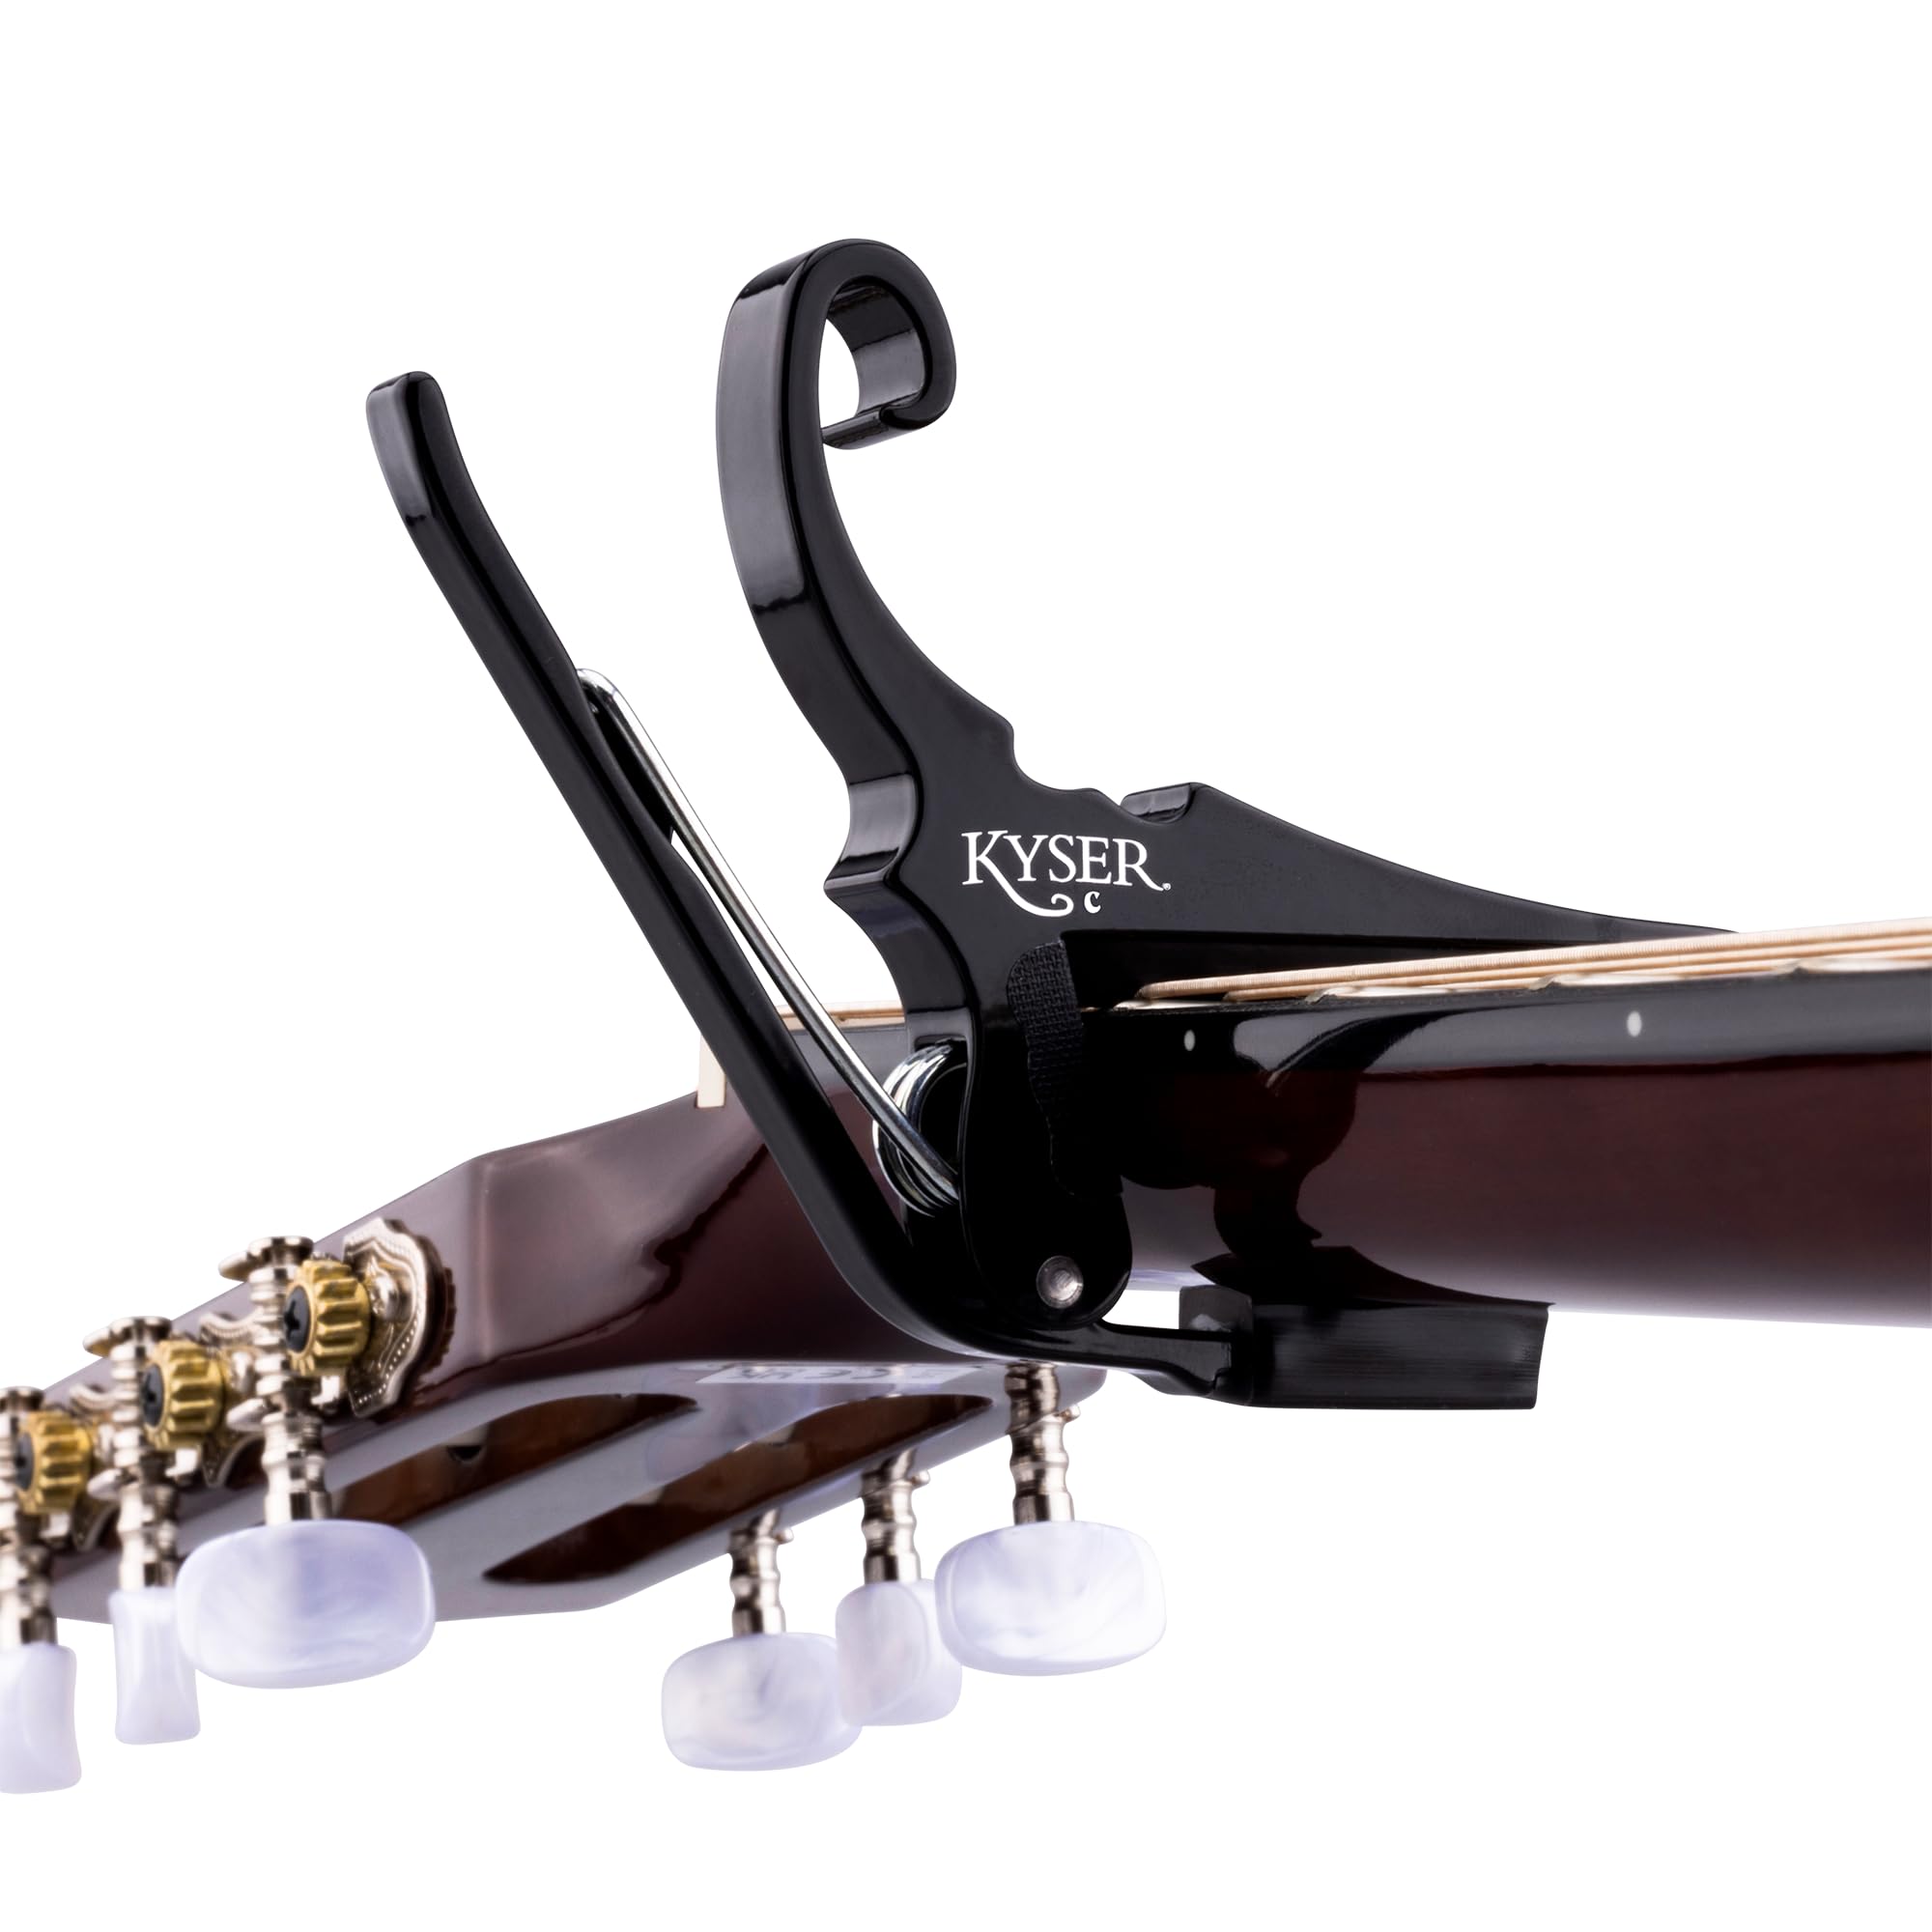
Kyser Quick-Change Capo
Ideal for gigging musicians who need to change keys rapidly between songs.
$15–$20
Kyser Quick-Change Capo One-hand operation, durable build, and a classic choice for acoustic guitarists. Great for quick key changes.
Get the App
Better experience on mobile
Learn how a capo works, the different types, and how to choose the perfect one for your acoustic guitar.
If you've ever wanted to play a song in a different key without learning new chord shapes, a capo is your best friend. A capo clamps across the guitar neck, shortening the strings and raising the pitch. This allows you to use familiar open chords to play in keys that would otherwise require barre chords. But with so many capos on the market—spring clamp, trigger, screw, partial—it can be confusing to know which one is right for your acoustic guitar. In this guide, you'll learn exactly what a capo does, the pros and cons of each type, and how to pick the best one for your playing style and budget.
Estimated Time: 15 minutes to read; 30 minutes to try out different capo types Difficulty: beginner
A capo acts like a moveable nut. When you place it on a fret, it effectively shortens the strings, raising their pitch. For example, putting a capo on the 2nd fret makes your open chords sound two semitones higher—so playing a G shape actually sounds like an A. This lets you play songs in higher keys using the same easy chord shapes. It's a simple but powerful tool for singers who need to change the key of a song on the fly or for guitarists who want to explore different tonalities without memorizing new barre chords.
💡 Tips:
⚠️ Warnings:
Capos come in several designs, each with its own balance of convenience, stability, and tuning accuracy. The most common types for acoustic guitars are: 1) Trigger capo (quick to apply and remove, one-hand operation), 2) Screw/differential capo (adjustable tension, less likely to pull strings sharp), 3) Spring clamp capo (inexpensive but can be inconsistent), and 4) Partial capo (covers only some strings, used for alternate tunings). For most beginners, a trigger or screw capo offers the best combination of ease and reliability.
💡 Tips:
⚠️ Warnings:
Trigger capos use a spring-loaded mechanism that clamps the strings when you squeeze and release. They are very convenient for quick changes, but the spring tension is fixed, which can sometimes pull strings sharp. Screw capos have a threaded adjustment that lets you tailor the pressure—you can tighten just enough to fret cleanly without bending strings out of tune. This is especially useful if you have a guitar with a compound radius fretboard or varying string gauges. Some capos also feature a tension adjustment dial or a curved pad to match fretboard radius.
💡 Tips:
⚠️ Warnings:
Not all capos fit all guitars. Classical guitars have a wider (52mm) flat fretboard, while steel-string acoustics typically have a 43-48mm radius fretboard. Some capos are designed specifically for classical guitars (flat pad) or steel-string guitars (curved pad). Also, consider the neck profile: a thick V-shaped neck may not work with some clamp-style capos. For 12-string guitars, you'll need a capo with a wider jaw and stronger tension. Always check the product description for fretboard radius and width compatibility.
💡 Tips:
⚠️ Warnings:
A capo that applies uneven pressure can cause some strings to go sharp or create fret buzz. Good capos distribute pressure evenly across all strings and sit firmly behind the fret. Some advanced capos have a built-in fine-tuning feature, but for most players, the biggest factor is how you place it. Always put the capo as close to the fret as possible (without touching it) and then check your tuning. If a string is sharp after applying the capo, try repositioning it or adjusting tension (if using a screw capo). Reading customer reviews can help identify models known for intonation issues.
💡 Tips:
⚠️ Warnings:
A full capo covers all six strings, raising everything equally. A partial capo covers only a subset of strings (e.g., the top three or bottom four), allowing you to create altered tunings and open/voicings. Partial capos are popular in folk and acoustic rock for creating droning or suspended sounds without retuning. However, they require a different approach to chord shapes and are more niche. For beginners, a full capo is the starting point. Later, you can experiment with a partial capo to expand your sound.
💡 Tips:
⚠️ Warnings:
Some trigger capos have a locking mechanism that prevents accidental release during play. This is handy if you gig or play energetically. Non-locking spring capos can pop off if you bump them. Screw capos are inherently locking because the screw holds them in place. For quiet practice, a simple spring capo may suffice, but for performance, a locking or screw capo provides peace of mind. Also consider the capo's footprint—some are bulky and can interfere with your fretting hand, especially near the headstock.
💡 Tips:
⚠️ Warnings:
Capos range from $10 to $60+. A $10 spring clamp capo may work for occasional use, but it might not be reliable. A mid-range capo ($20-30) from brands like Kyser, Dunlop, or Shubb often offers great value with consistent performance. High-end capos ($40+) like G7th or Thalia provide superior materials, ergonomics, and tension control. For a beginner, spending around $20-30 is a sweet spot. Read customer reviews on Amazon or guitar forums to see how well a capo performs on acoustic guitars specifically, as some models are better suited to electric guitars.
💡 Tips:
⚠️ Warnings:
Problem: Guitar sounds out of tune after applying capo
Solution: Reposition the capo as close to the fret as possible but not on top of it. If the issue persists, your capo may have uneven pressure or your guitar needs a setup.
Problem: Capo slips or moves during play
Solution: Try a capo with a higher spring tension or a locking mechanism. Ensure the capo's pad is clean (no oil or sweat).
Problem: Buzzing on certain strings
Solution: Check that the capo is sitting evenly across all strings. Some capos allow individual pressure adjustment. If only one string buzzes, the capo pad may have a defect.
Problem: Capo leaves marks on the guitar neck
Solution: Use a capo with a soft rubber or silicone pad. For vintage finishes, consider wrapping a thin cloth around the neck before clamping.
One-hand operation, durable build, and a classic choice for acoustic guitarists. Great for quick key changes.
Best for: Ideal for gigging musicians who need to change keys rapidly between songs.
Price Range: $15–$20
Screw mechanism offers precise tension control, excellent intonation, and a low profile. Widely recommended for both acoustic and electric.
Best for: Best for players who value tuning stability and precision, especially in recording situations.
Price Range: $25–$35
Adaptive tension technology that automatically adjusts pressure, making it one of the best for intonation. Compact and sleek.
Best for: Premium choice for serious acoustic players who want the best possible sound and ease of use.
Price Range: $45–$55
Affordable, reliable trigger capo with a curved pad that fits most acoustic fretboards. Good for beginners.
Best for: Great starter capo for learning and casual playing without breaking the bank.
Price Range: $10–$15
Interchangeable fret pads for different fretboard radiuses, plus built-in pick holders and a precision adjustment wheel.
Best for: Versatile capo for players with multiple guitars of different neck specs, or for those who like customization.
Price Range: $50–$60
Ideal for gigging musicians who need to change keys rapidly between songs.
Kyser Quick-Change Capo One-hand operation, durable build, and a classic choice for acoustic guitarists. Great for quick key changes.
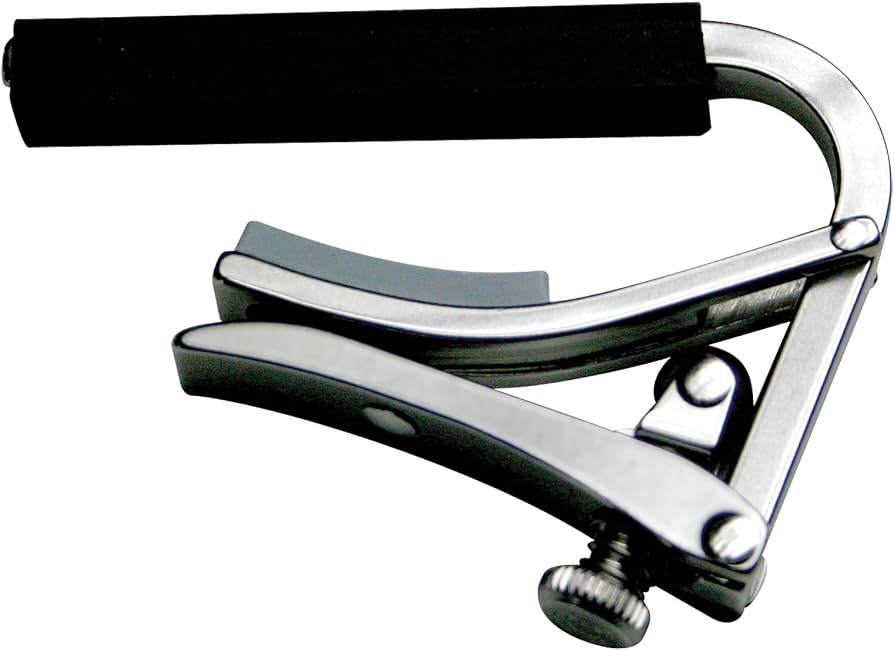
Best for players who value tuning stability and precision, especially in recording situations.
Shubb Deluxe Series Capo Screw mechanism offers precise tension control, excellent intonation, and a low profile. Widely recommended for both acoustic and electric.
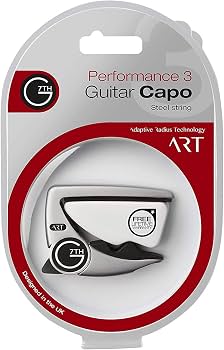
Premium choice for serious acoustic players who want the best possible sound and ease of use.
G7th Performance 3 Capo Adaptive tension technology that automatically adjusts pressure, making it one of the best for intonation. Compact and sleek.
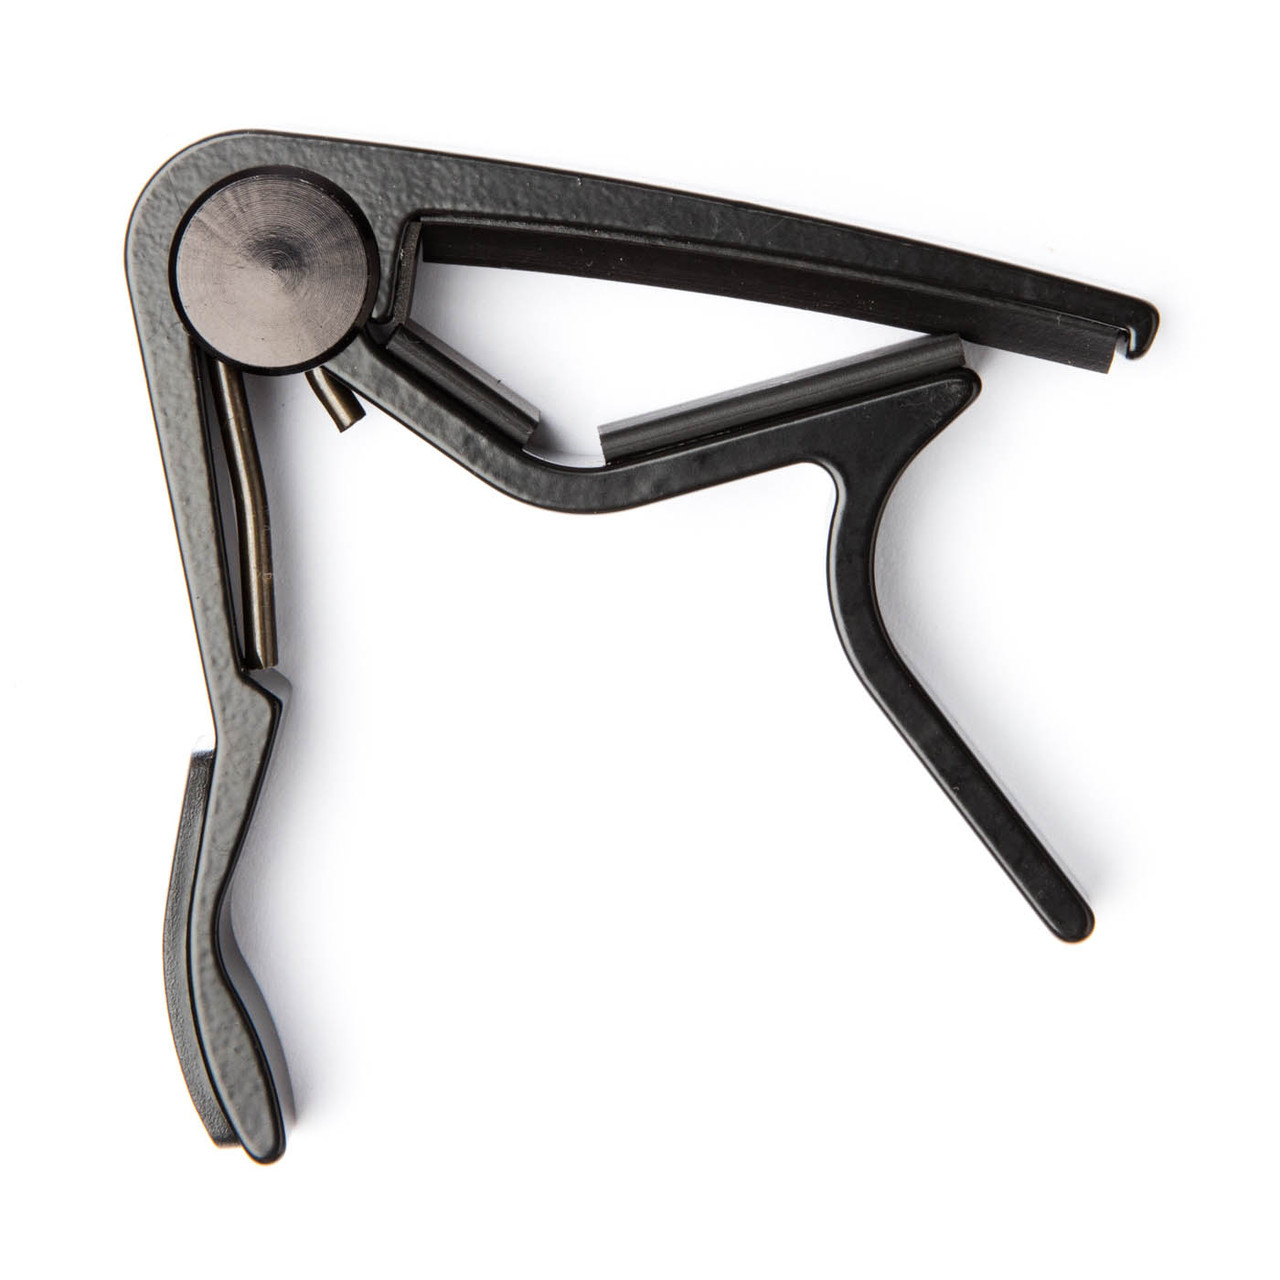
Great starter capo for learning and casual playing without breaking the bank.
Dunlop Trigger Curved Capo Affordable, reliable trigger capo with a curved pad that fits most acoustic fretboards. Good for beginners.
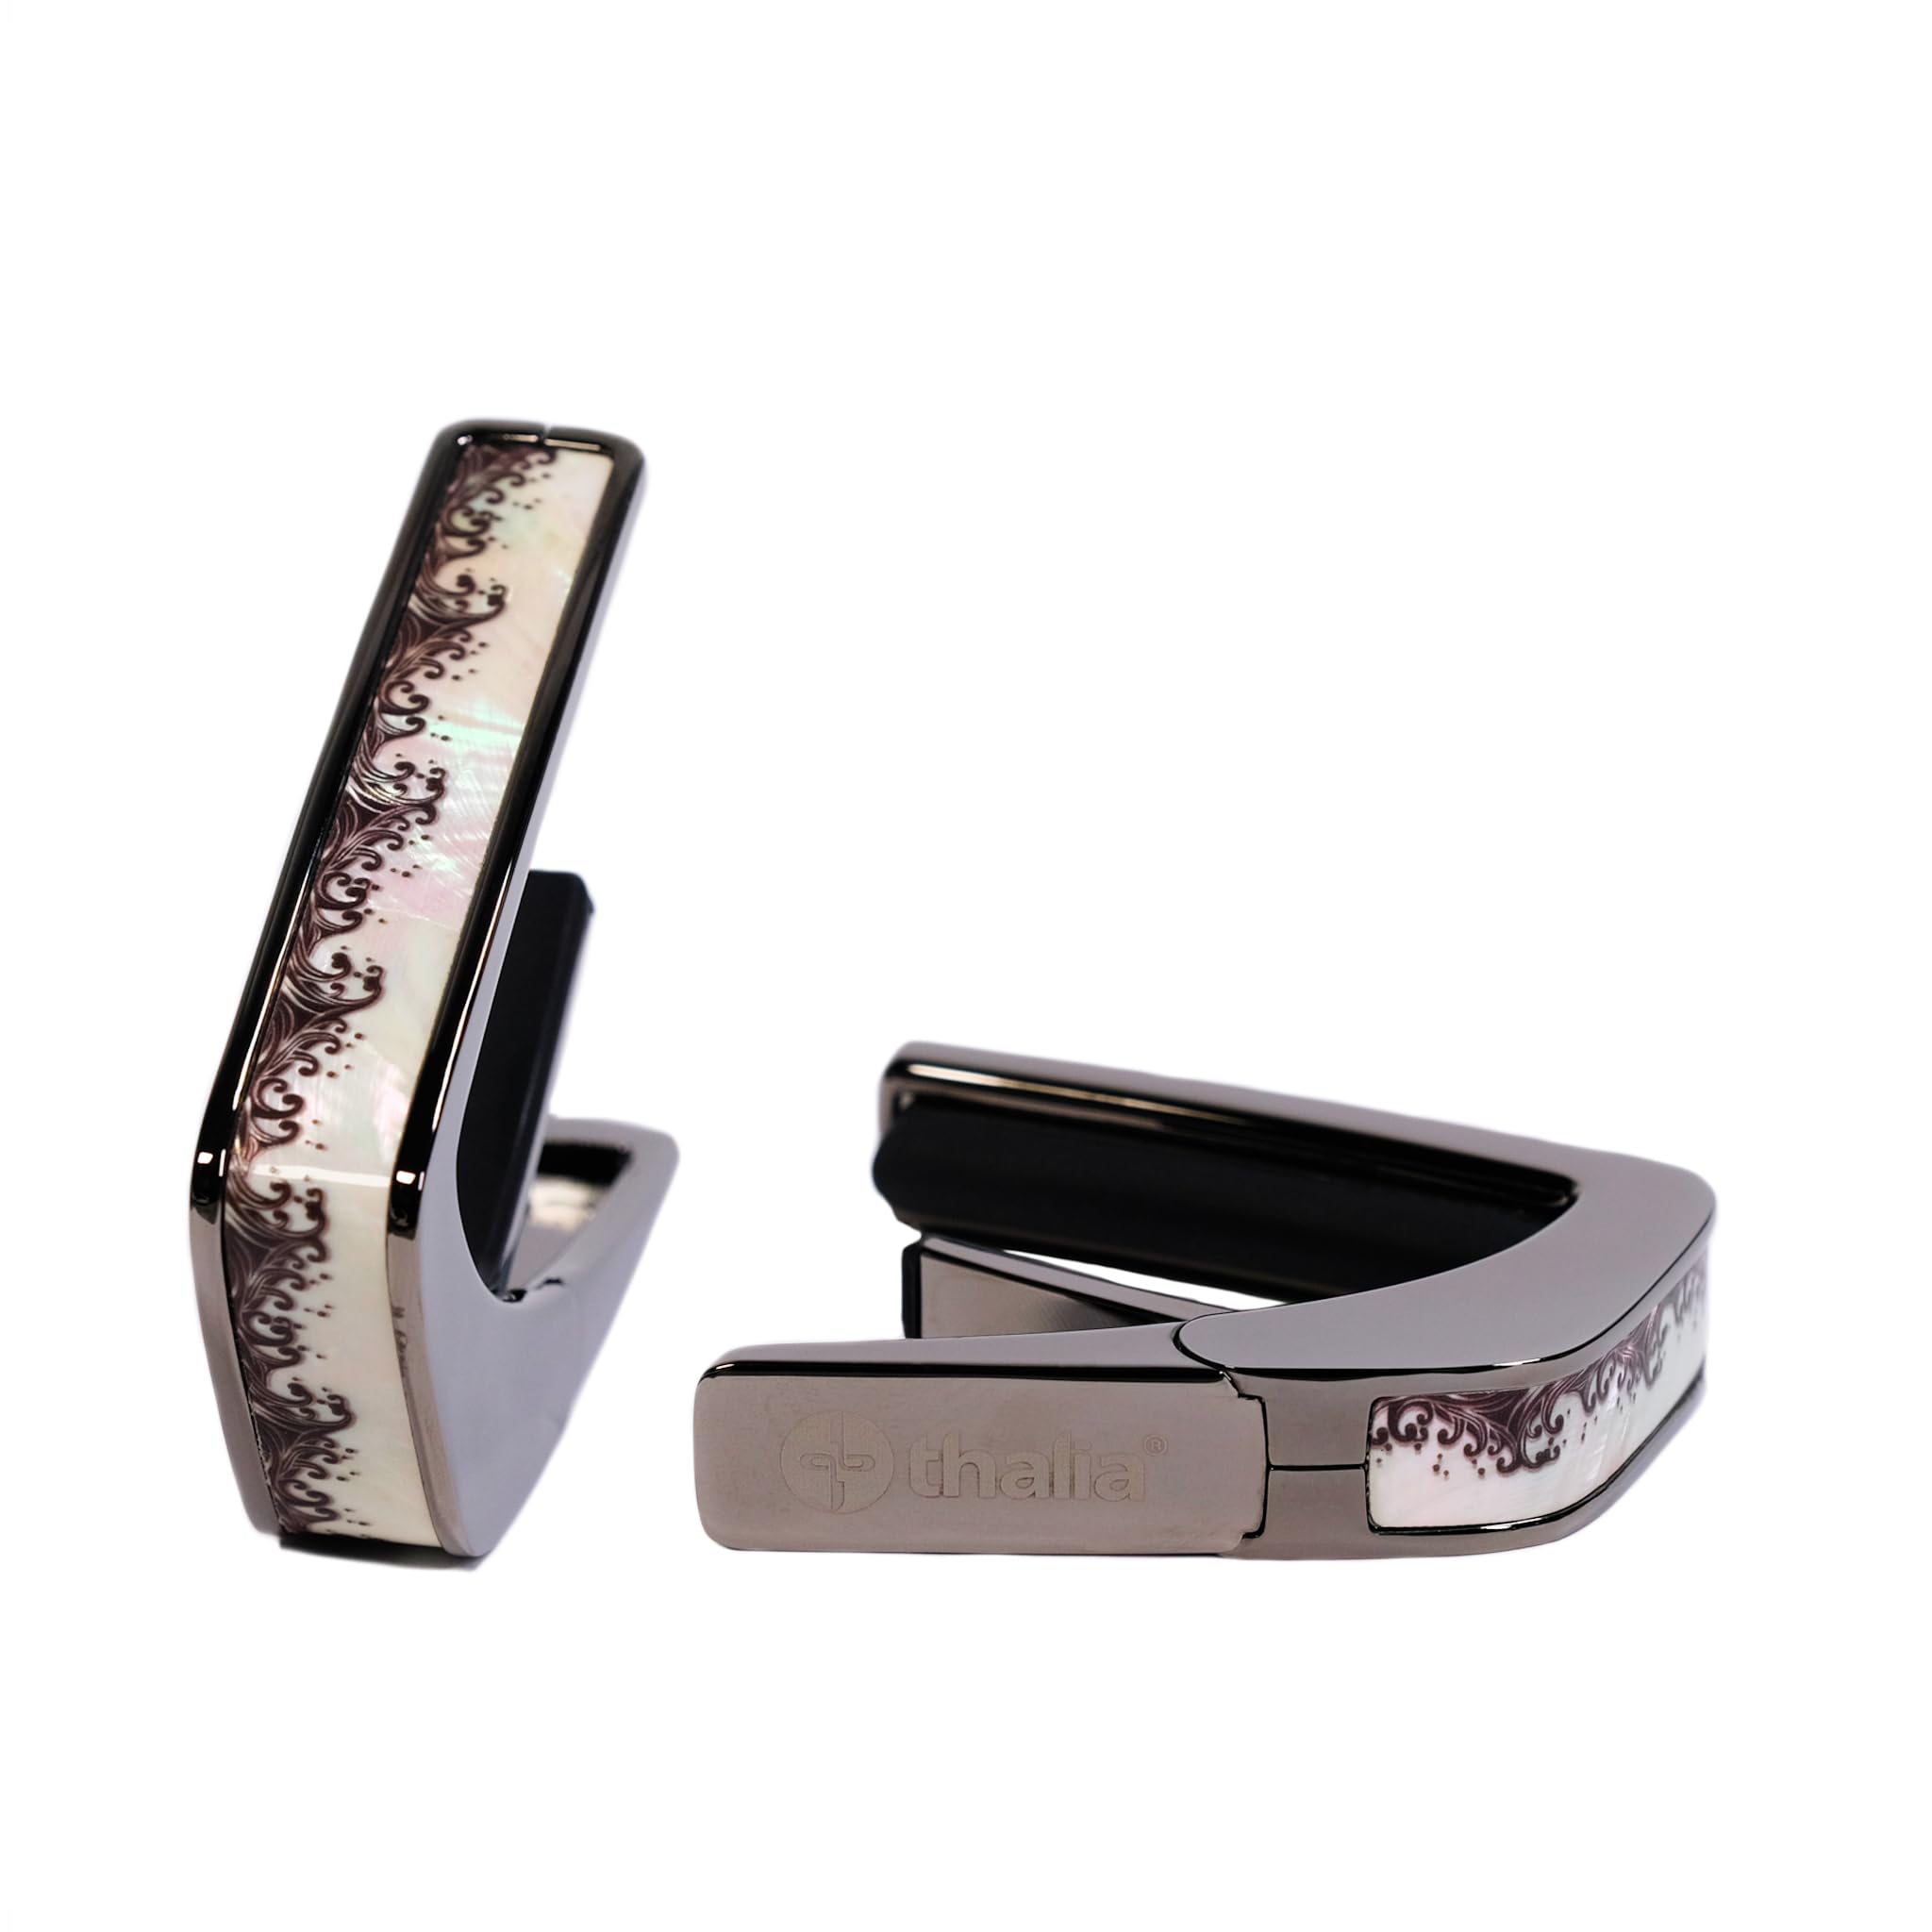
Versatile capo for players with multiple guitars of different neck specs, or for those who like customization.
Thalia Capo Interchangeable fret pads for different fretboard radiuses, plus built-in pick holders and a precision adjustment wheel.