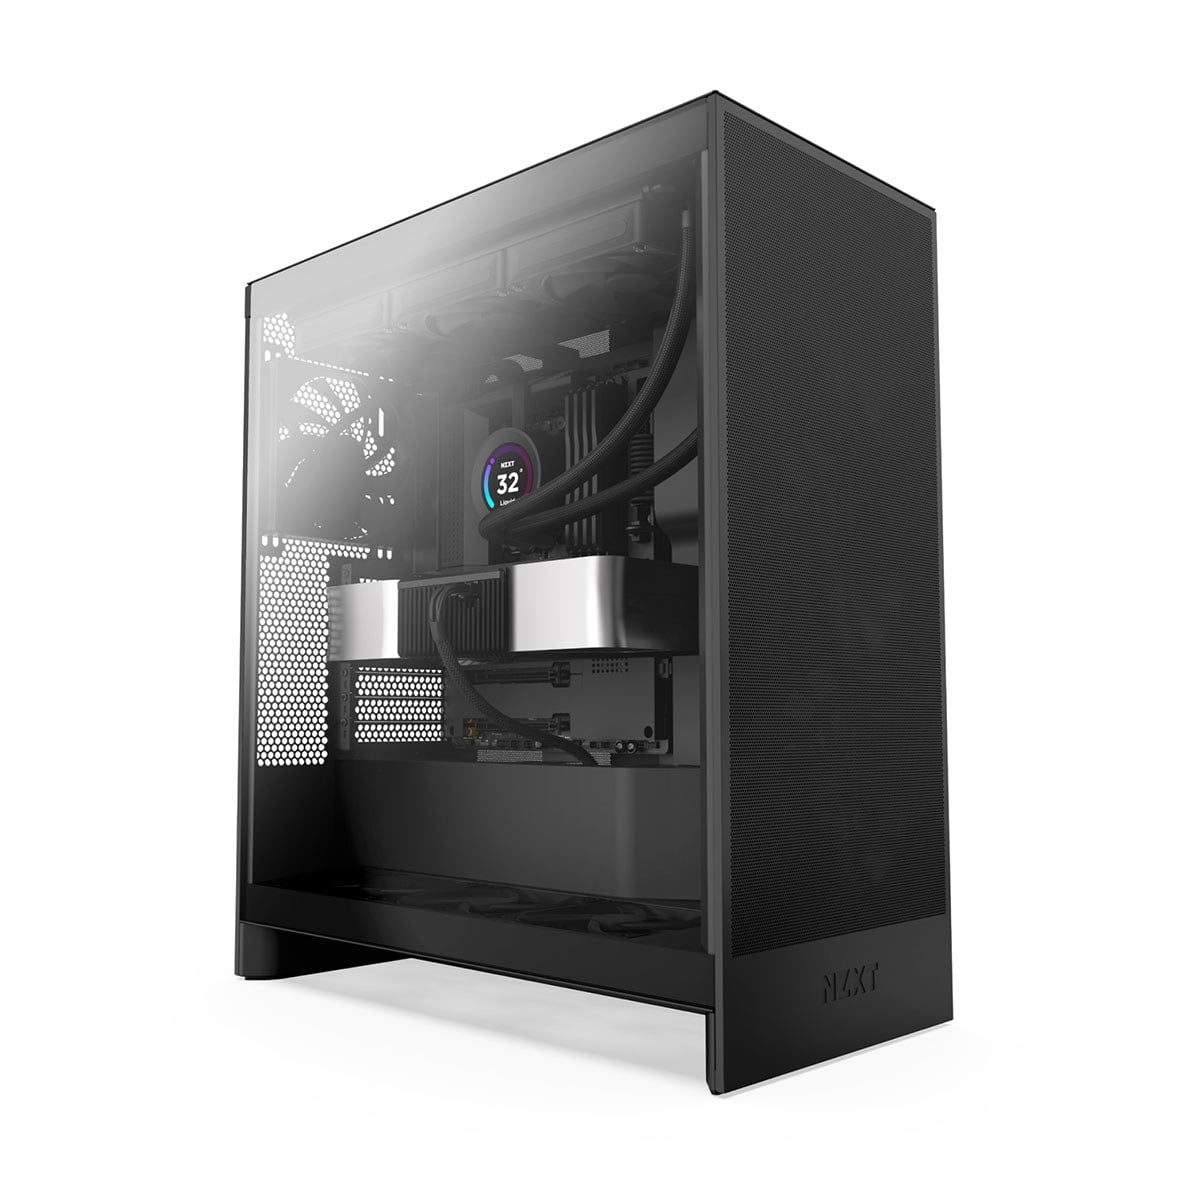
Building your own gaming PC gives you complete control over performance, aesthetics, and budget. Whether you're upgrading from a pre-built or moving from console gaming, assembling your own rig is a rewarding experience that often delivers better value than buying off-the-shelf. This guide walks advanced builders through the entire process—from selecting compatible components to first boot and BIOS configuration.
You'll learn how to physically assemble each part, manage cables for optimal airflow, and troubleshoot common issues. By the end, you'll have a custom gaming PC tailored to your needs, with the satisfaction of knowing exactly what's inside. Expect to spend 3–4 hours if you're organized, plus an additional hour for driver installation and Windows setup.
▸What You'll Need
- •CPU (compatible with chosen motherboard socket)
- •GPU (graphics card)
- •Motherboard (ATX, mATX, or ITX form factor)
- •RAM (DDR5 or DDR4, 2 sticks for dual-channel)
- •Storage (NVMe M.2 SSD recommended for OS, SATA SSD for games)
- •Power Supply (80+ Gold rated, sufficient wattage for components)
- •Case (with good airflow and appropriate form factor)
- •CPU Cooler (air or liquid, depending on CPU TDP)
- •Thermal paste (if not pre-applied on cooler)
- •Phillips-head screwdriver (magnetic tip recommended)
- •Anti-static wrist strap (optional but recommended)
- •Zip ties or Velcro straps for cable management
- •I/O shield (usually comes with motherboard)
- •Operating system (Windows 10/11 USB installer)
Estimated Time: 3–4 hours (assembly) + 1 hour for OS/drivers
Difficulty: advanced
▸Step-by-Step Instructions
Step 1: Prepare Your Workspace and Gather Components
Clear a large, clean, non-carpeted surface with good lighting. Unpack all components from their boxes and lay them out. Ground yourself by touching a metal object or wearing an anti-static wrist strap connected to the case (before plugging it in). Verify all components are present and check for any physical damage. Read the motherboard manual—it's your best friend during assembly.
💡 Tips:
- •Use a magnetic screw tray to keep screws organized.
- •Keep motherboard box as a temporary work surface.
⚠️ Warnings:
- •Avoid working on carpet; static discharges can damage sensitive electronics.
- •Do not unpack components on a metal surface that could short-circuit.
Step 2: Install CPU, RAM, and M.2 SSD onto Motherboard (Outside Case)
Place motherboard on its cardboard box. Open CPU socket lever, align CPU with triangle marker, gently drop it in (no force), then secure lever. Install RAM into slots A2 and B2 (commonly recommended for dual-channel); push until both clips click. Install M.2 SSD into its slot at an angle, then secure with the screw. This pre-building step saves frustration later.
💡 Tips:
- •For CPU, do not touch the gold contacts or socket pins.
- •RAM click sound means it's seated properly.
- •Refer to motherboard manual for which RAM slots to use first.
⚠️ Warnings:
- •Never force the CPU into the socket—it should drop in effortlessly.
- •Ensure the RAM notch aligns with the slot key.
Step 3: Mount the Motherboard into the Case
Install the I/O shield into the case's rear opening (push firmly from inside until it snaps). Place the motherboard inside the case, aligning I/O ports with shield holes. Screw in the motherboard standoffs (if not pre-installed) and secure the board using the provided screws. Tighten gently—over-torquing can crack the PCB.
💡 Tips:
- •Some cases have pre-installed standoffs; check compatibility with your motherboard size.
- •Use the motherboard screws that came with the case.
⚠️ Warnings:
- •Don't forget the I/O shield—installing it later is very difficult.
- •Use a manual to identify correct standoff positions.
Step 4: Install the Power Supply
Mount the PSU in its designated bay (usually bottom of case), fan facing downward (or upward if case has top intake, but bottom is standard). Secure with four screws from the back. Route the main 24-pin motherboard cable, 8-pin (or 4+4) CPU cable, PCIe cables for GPU, and SATA cables for storage through the cable management holes before connecting anything.
💡 Tips:
- •Use modular PSUs to reduce cable clutter—only attach cables you need.
- •Route cables behind the motherboard tray as you go.
⚠️ Warnings:
- •Never force PSU cables into wrong connectors; they are keyed differently.
- •Double-check the PSU voltage switch (if any) is set to correct region.
Step 5: Install the GPU (Graphics Card)
Remove PCIe slot covers on the case rear that align with your GPU's slot. Gently unbox the GPU, lift the PCIe lock lever on the motherboard, and insert the GPU into the top PCIe x16 slot until it clicks. Secure the GPU bracket to the case with screws. For large GPUs, consider using a support bracket to prevent sag.
💡 Tips:
- •Install GPU after all other cables are routed for easier access.
- •Some motherboards have reinforced PCIe slots for heavy cards.
⚠️ Warnings:
- •Handle GPU by edges; avoid touching the gold contacts or fans.
- •Don't forget to connect the PCIe power cables from PSU after installation.
Step 6: Install Additional Storage Drives
If using 2.5-inch SSDs or 3.5-inch HDDs, mount them in the case's drive cages or dedicated bays. Connect SATA data cables from drives to motherboard SATA ports (usually labeled SATA1, SATA2, etc.) and SATA power cables from PSU. For M.2 drives, skip this step if already installed in step 2.
💡 Tips:
- •Mount drives in positions that don't block airflow.
- •Use tool-less mounting brackets if available.
⚠️ Warnings:
- •SATA cables are fragile; do not bend sharply.
- •Ensure all SATA connections are secure—loose cables cause detection issues.
Step 7: Connect All Power Cables and Front Panel Headers
Connect the 24-pin motherboard power, 8-pin (or 4+4) CPU power, PCIe power to GPU, and SATA power to storage. Plug in case front panel headers (power button, reset, LEDs, USB, audio) following motherboard manual—these are easy to miswire. Connect case fans to motherboard fan headers (CHA_FAN, SYS_FAN, etc.).
💡 Tips:
- •Use the motherboard manual to identify each header.
- •Front panel connectors often have tiny text; use a flashlight.
⚠️ Warnings:
- •Reverse polarity on front panel LEDs won't damage them, but they won't light up.
- •Ensure CPU power cable is securely latched—loose connection can cause boot failure.
Step 8: Cable Management and Final Checks
Route all cables neatly behind the motherboard tray, using zip ties to bundle loose wires. Ensure no cables obstruct fans or airflow. Re-check all connections are fully seated (especially RAM, GPU, and power cables). Close the side panels.
💡 Tips:
- •Plan cable routing before tying—use shortest path.
- •Leave slack for component movement during future upgrades.
⚠️ Warnings:
- •Don't crimp or pinch cables against sharp edges.
- •Double-check that no tools or screws are left inside the case.
Step 9: Install CPU Cooler (Air or AIO)
For air coolers: apply thermal paste (pea-sized dot), mount cooler bracket, and tighten screws in cross-pattern. For AIO liquid coolers: install radiator in designated case location (top or front), mount pump block on CPU, and connect pump and fan headers to CPU_FAN and AIO_PUMP headers. Connect RGB cables if applicable.
💡 Tips:
- •Clean old thermal paste with isopropyl alcohol if reapplying.
- •Ensure radiator fans are oriented for intake or exhaust based on your airflow plan.
⚠️ Warnings:
- •Do not overtighten cooler screws—snug is enough.
- •Double-check AIO pump orientation for proper coolant flow.
Step 10: First Boot and BIOS Setup
Connect monitor to GPU, keyboard/mouse, and power. Turn on PSU switch (I position), then press case power button. Fans should spin, lights turn on, and you'll see motherboard logo or BIOS screen. If not, immediately power off and troubleshoot. Once in BIOS, enable XMP/EXPO for RAM speed, set boot order to your OS drive, and adjust fan curves if desired.
💡 Tips:
- •First boot can take 30+ seconds for memory training.
- •Update BIOS to latest version before installing OS if stability issues arise.
⚠️ Warnings:
- •If the system powers on but nothing displays, reseat GPU and RAM.
- •Do not force shutdown repeatedly; hold power button 10 seconds to hard shutdown.
Step 11: Install Operating System and Drivers
Insert Windows USB installer and boot from it. Follow installation prompts, selecting the correct drive (usually the M.2 SSD). After Windows installs, install motherboard chipset drivers from manufacturer's website, GPU drivers from Nvidia/AMD, and Windows updates. Install benchmarking tools like Cinebench or 3DMark to verify stability.
💡 Tips:
- •Download drivers beforehand onto USB drive if no internet during OS install.
- •Use DDU (Display Driver Uninstaller) if switching from an old GPU.
⚠️ Warnings:
- •Avoid installing bloatware—only essential drivers and software.
- •Test system with a stress test before heavy gaming to ensure stability.
▸Pro Tips
- •Build on a non-carpeted floor or anti-static mat to reduce ESD risk.
- •Test components (CPU, RAM, GPU) on the motherboard box before mounting in the case—easier to swap if defective.
- •Apply thermal paste in a pea-size dot (about 4mm); do not spread it manually.
- •Label your cables with small cable markers or tape for easier future upgrades.
- •Use a modular PSU to minimize cable clutter—only attach cables you need.
- •Install case fans in a balanced push-pull configuration for optimal airflow (front intake, rear/top exhaust).
- •Keep all original boxes and receipts for warranty purposes.
▸Common Mistakes to Avoid
- •Forgetting to install the I/O shield before the motherboard—causes misalignment and potential shorting.
- •Applying too much thermal paste—can spread onto motherboard contacts and cause overheating.
- •Using wrong screws (e.g., PSU screws for motherboard) that damage threads or cause shorts.
- •Insufficient PSU wattage or daisy-chaining GPU power cables—leads to crashing or instability.
- •Not enabling XMP/EXPO in BIOS—RAM runs at default slow speeds, leaving performance on the table.
▸Troubleshooting
Problem: Power on but no display (black screen)
Solution: Reseat GPU and RAM. Check monitor cable is not plugged into motherboard (if you have a discrete GPU). Try clearing CMOS by removing motherboard battery for 30 seconds.
Problem: PC powers on briefly then shuts off
Solution: Check CPU power cable and motherboard 24-pin are fully inserted. Reseat CPU and cooler. Ensure no stray screw is shorting the motherboard.
Problem: Boot loop (restarts repeatedly)
Solution: RAM instability or incompatible settings. Boot with one stick of RAM, reset BIOS or clear CMOS. Update BIOS to latest version.
Problem: Fans spin but no keyboard/mouse power
Solution: Check front panel header connections (power LED swapped with something else?). Update BIOS; try different USB ports.
Problem: OS not found after installation
Solution: Check boot order in BIOS—set the drive with OS as first priority. Disable CSM (Compatibility Support Module) if using UEFI mode.
Thermal Grizzly Kryonaut Thermal Paste
High thermal conductivity and easy application, ideal for enthusiasts who want optimal CPU temps.
Best for: When installing CPU cooler, especially for overclocking or high-TDP CPUs.
Price Range: $10–$15
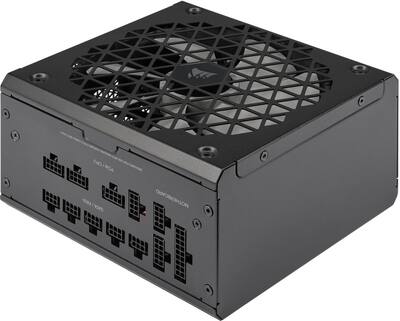
Corsair RM850x (2024) 80+ Gold PSU
Fully modular, reliable, and efficient with quiet operation; sufficient for most high-end builds.
Best for: Power supply for a mid-to-high-end gaming PC (RTX 4080/4090 or equivalent).
Price Range: $120–$140
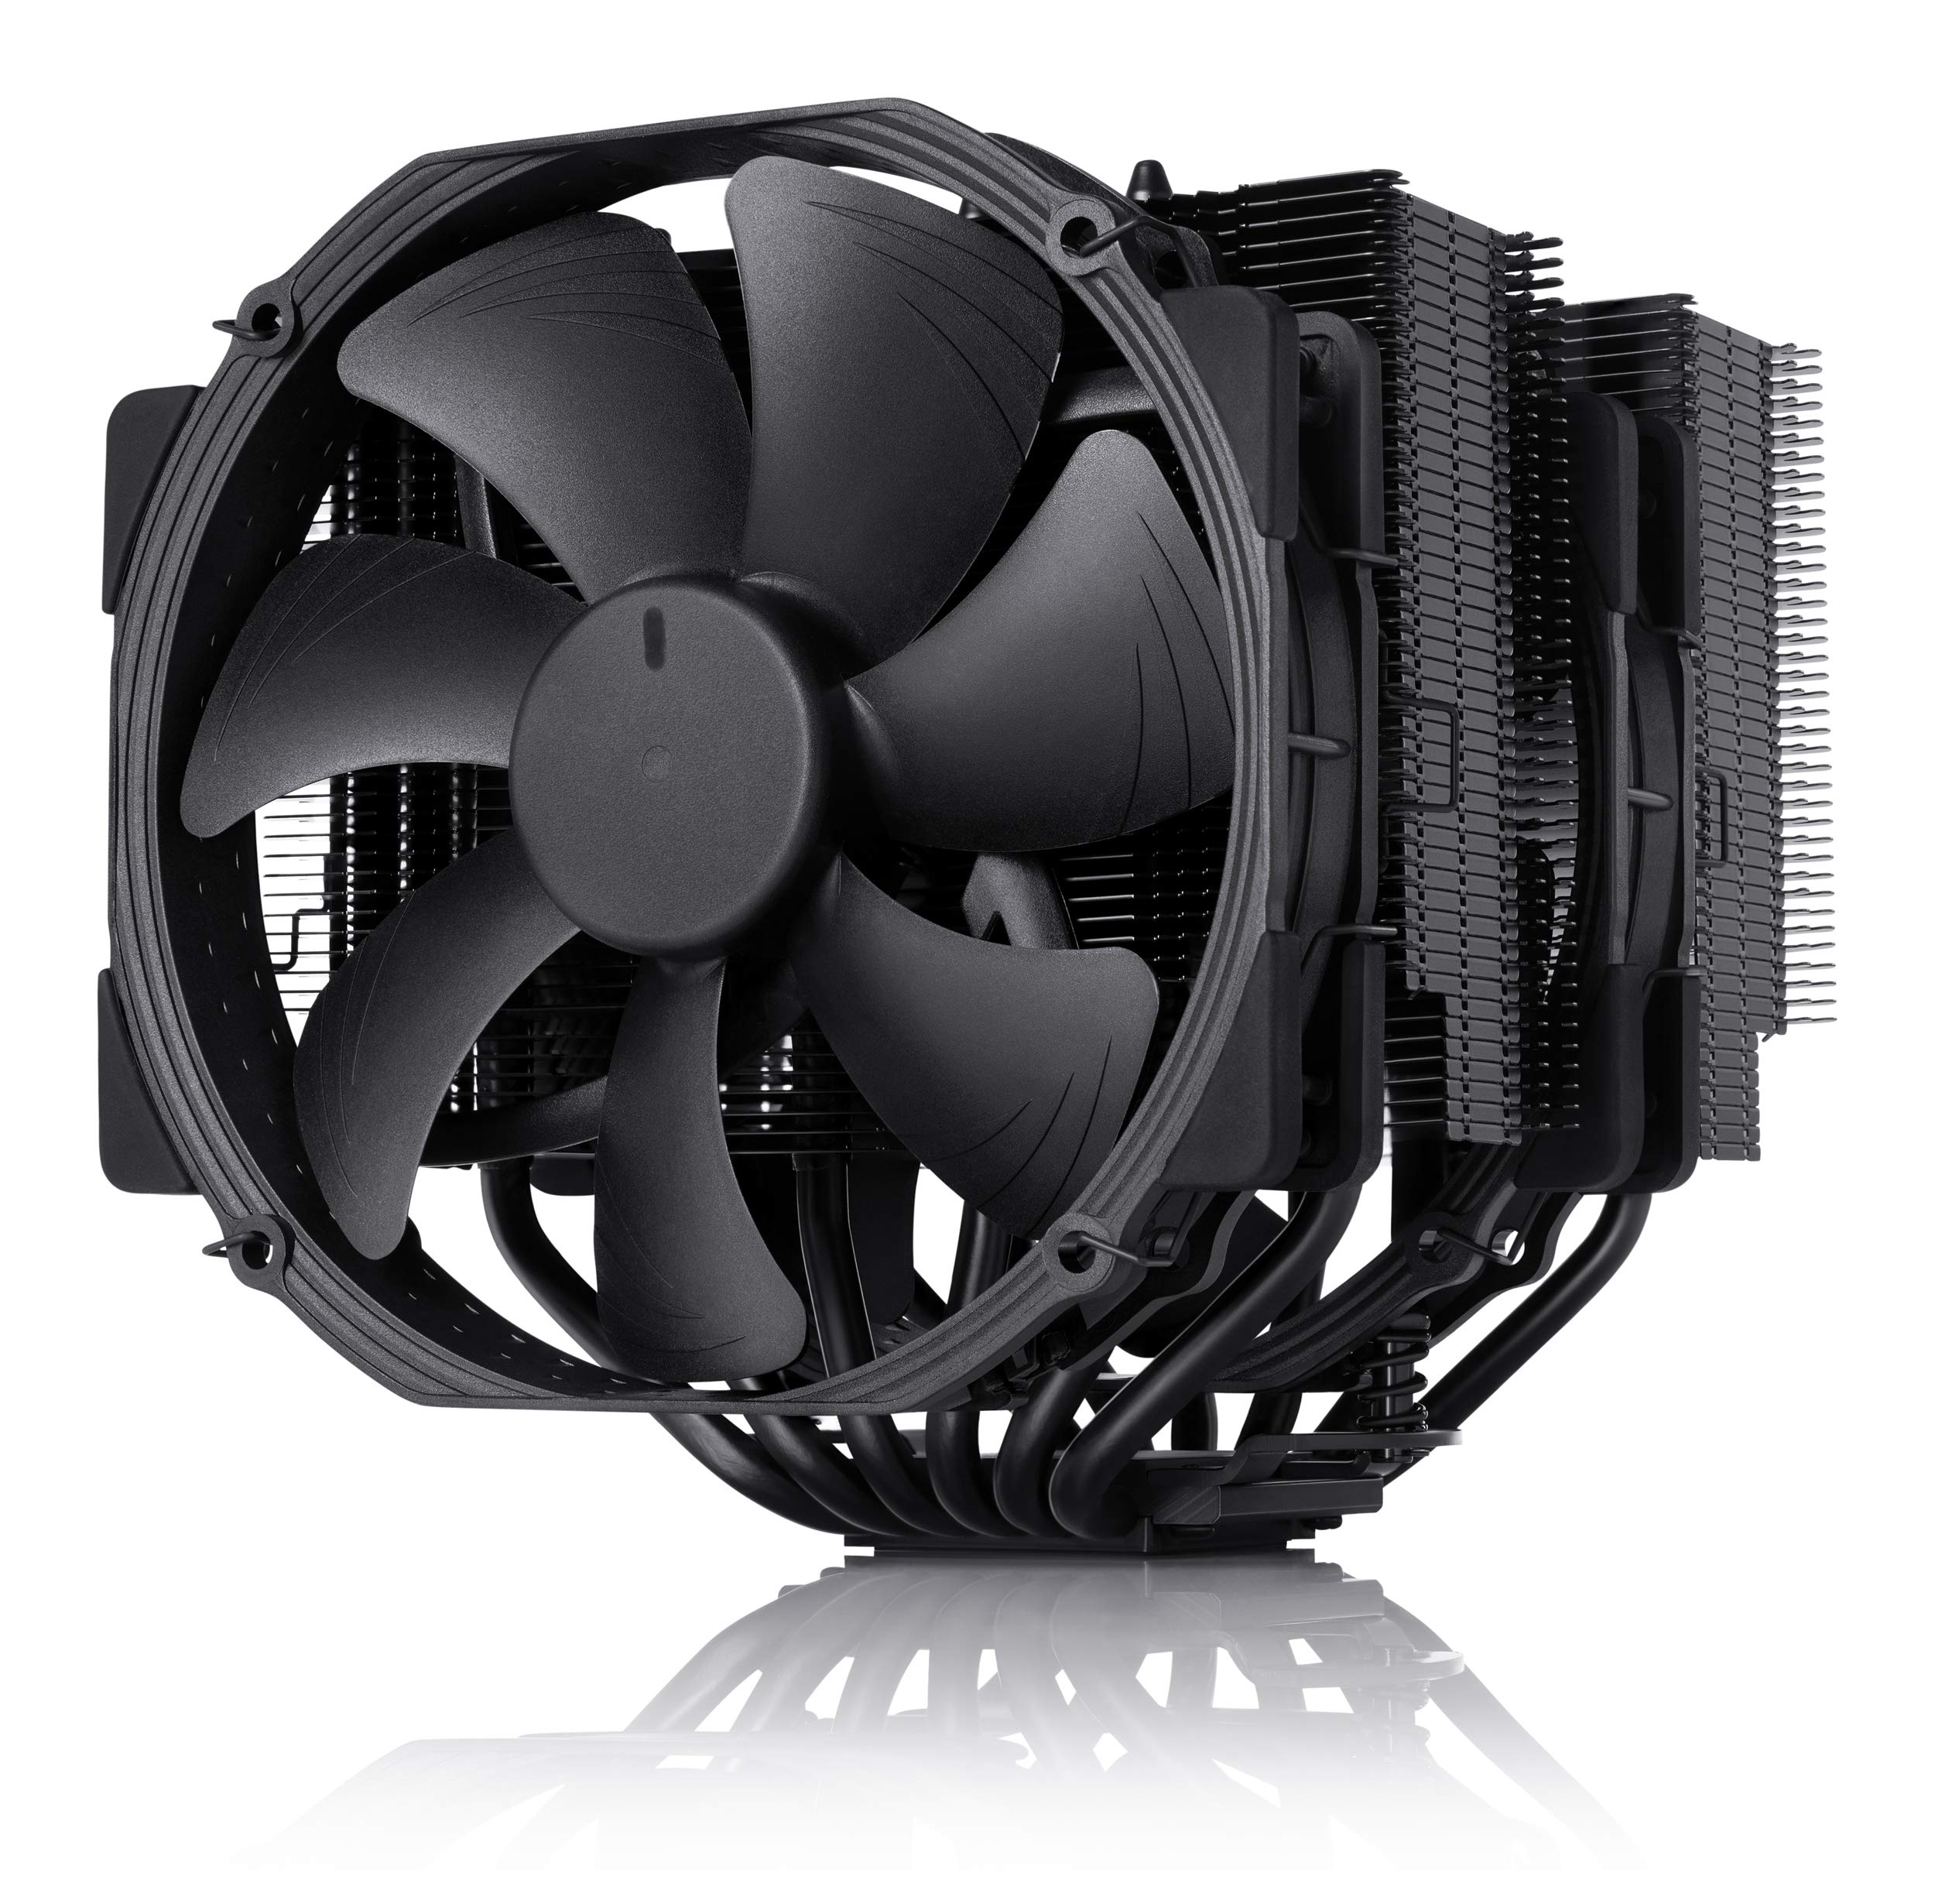
Noctua NH-D15 Chromax Black Air Cooler
Excellent cooling performance rivaling AIOs, extremely quiet, and now available in all-black.
Best for: Air cooling for CPUs like Ryzen 9 or Core i9, especially in cases with good airflow.
Price Range: $110–$120
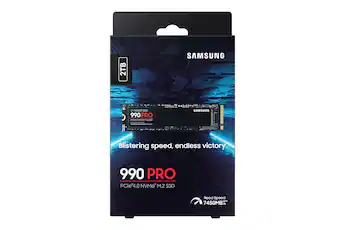
Samsung 990 Pro 2TB NVMe SSD
Blazing-fast PCIe 4.0 speeds for game loading and OS responsiveness, with excellent endurance.
Best for: Primary system drive and storage for AAA games.
Price Range: $150–$200
NZXT H7 Flow (2024) Mid-Tower Case
Excellent airflow with mesh front, spacious interior, and clean cable management design.
Best for: Case for a high-performance build with multiple AIO radiator options.
Price Range: $100–$130