Dust is the silent enemy of every gaming console. Over time, it collects on the cooling vents, clogs the internal fan, and acts as an insulator that traps heat. Your console responds by spinning its fan louder, running hotter, and in extreme cases, shutting down to protect itself. Regular cleaning prevents these problems and keeps your system running like new.
In this guide, you'll learn exactly how to clean your gaming console from the outside in. We'll cover the tools you need, the safest way to remove dust from vents and ports, how to disinfect controllers without damaging them, and when it's safe to open the shell for deep internal cleaning. The whole process takes about 30 to 60 minutes and is beginner-friendly.
By the end, you'll have a step-by-step routine that only uses supplies you likely already own or can buy cheaply. You'll also know how often to clean based on your environment, and you'll avoid common mistakes that accidentally damage electronics.
▸What You'll Need
- •Microfiber cloths (lint-free)
- •Compressed air duster or electric air blower
- •Isopropyl alcohol (70% or higher)
- •Cotton swabs
- •Soft-bristled brush (clean paintbrush or toothbrush)
- •Optional: Precision screwdriver set (for deep cleaning)
- •Optional: Soft towel or anti-static mat
- •Optional: Vacuum with soft brush attachment
Estimated Time: 30–60 minutes (external and basic internal cleaning)
Difficulty: beginner
▸Step-by-Step Instructions
Step 1: Gather your supplies and prepare your workspace
Choose a clean, well-lit area with enough room to work. Lay down a soft towel or anti-static mat to protect the console and prevent small parts from rolling away. Gather all of the tools listed above so you don't have to stop mid-cleaning.
Keep liquids like isopropyl alcohol away from the console itself, and use separate cloths for wet and dry cleaning. A tidy workspace reduces the risk of spills, scratches, and lost screws, and makes the whole job faster.
💡 Tips:
- •Use an anti-static wrist strap if you plan to open the console.
- •Set your phone flashlight nearby to spot hidden dust.
⚠️ Warnings:
- •Do not use paper towels or tissues—they can scratch the console finish.
Step 2: Power down and disconnect everything
Turn off the console using the power button, not just rest mode. Once the console is fully off, unplug the power cable, HDMI cable, and any USB or external drives. If the console has been running, let it sit for 10–15 minutes to cool down completely.
This step prevents electric shock, avoids short circuits, and keeps you from accidentally damaging connections. It also gives the console time to cool so that any dust you loosen doesn't get sucked back into the system by hot airflow.
💡 Tips:
- •Take a photo of the back connections before unplugging so you remember where each cable goes.
⚠️ Warnings:
- •Never clean a console that is plugged in or still warm.
Step 3: Dust the exterior surfaces
Use a dry microfiber cloth or a soft-bristled brush to wipe down the top, sides, and bottom of the console. Move in one direction to avoid grinding dust particles into the finish. Start with the large flat panels, then work into the seams and crevices.
This initial dry pass removes loose debris that could scratch the surface later when you use a damp cloth. Pay special attention to the top and bottom where dust accumulates the most, and use the brush to sweep dust out of any textured areas.
💡 Tips:
- •Turn the console so gravity helps pull dust out of gaps.
- •Don't forget the stand and any external attachments.
⚠️ Warnings:
- •Avoid pressing too hard on glossy plastic—it scratches easily.
Step 4: Clean the cooling vents with compressed air
Hold the can of compressed air upright and use short, controlled bursts. Insert the straw into the vent openings and blow out dust from the fins inside. Work at a slight angle and move the straw around to dislodge buildup from all sides.
Keep the can at least a few inches away to avoid condensation from the propellant. Repeat until no more dust escapes. This step is critical for maintaining airflow and preventing overheating, because clogged vents are the number one cause of loud fans and high temperatures.
💡 Tips:
- •Use a can invert angle to release colder air? Actually, keep the can upright to prevent freezing the nozzle.
- •If you have a powerful electric air blower, use it at a lower speed to avoid damaging fan blades.
⚠️ Warnings:
- •Don't tip the can upside down—liquid propellant can cause cold shock to components.
Step 5: Wipe the exterior with isopropyl alcohol
Dampen a microfiber cloth with 70% isopropyl alcohol. Never spray liquid directly onto the console. Wipe all hard plastic surfaces, including the glossy and matte parts. The alcohol evaporates within seconds, removes oils and fingerprints, and kills germs without leaving sticky residue.
Avoid letting moisture get into ports, buttons, or vents. Wring out the cloth thoroughly so it's just slightly damp, not wet. Work in sections, and use a fresh area of the cloth when it becomes dirty.
💡 Tips:
- •Use 70% isopropyl alcohol; 91% or 99% also work but evaporate even faster.
- •For sticky areas, let the cloth sit on the spot for a few seconds before wiping.
⚠️ Warnings:
- •Do not use household cleaners, bleach, or glass cleaner—they can damage the console's finish.
Step 6: Clean ports, seams, and crevices with cotton swabs
Use dry cotton swabs to collect dust that compressed air loosened around USB ports, Ethernet jacks, and controller buttons. For stubborn grime, lightly moisten the swab with isopropyl alcohol and wring it out before use. Move carefully around the edge of each port to avoid pushing debris deeper.
Cotton swabs are also great for cleaning the grooves on top of thumbsticks and the seam around the power button. Do not insert anything sharp or metallic—this can scratch the port contacts or cause static damage.
💡 Tips:
- •Use a wooden toothpick wrapped in a tiny piece of microfiber for tight spots.
- •Check the seams on the bottom of the console for hidden dust.
⚠️ Warnings:
- •No paperclips, needles, or metal tools near ports.
Step 7: Deep clean internal components (optional but recommended for older consoles)
If your console is over a year old, is out of warranty, and you're comfortable with light disassembly, you can remove the cover or back panel following the manufacturer's manual. Once open, use compressed air to blow dust off the internal fan, heat sink, and power supply. Use a soft brush to loosen clumps of dust that are stuck to the fan blades.
Do not touch sensitive components like the main board or metal parts of the heatsink unless necessary. A gentle burst of air from a few inches away is enough for most consoles. Reattach the cover carefully and make sure all clips or screws are secure before powering up.
💡 Tips:
- •Hold the fan blade still with a toothpick while blowing air so it doesn't spin and generate a current.
- •Look up a teardown video for your specific console model before you begin.
⚠️ Warnings:
- •Opening the console can void your warranty. If you're unsure, stick to external cleaning or hire a professional.
Step 8: Clean controllers and accessories
Wipe down each controller with a slightly damp microfiber cloth, paying extra attention to the grip areas and thumbsticks where dirt and grime build up. Use a dry cotton swab dipped in isopropyl alcohol to clean around buttons and the D-pad. For wireless headsets, wipe the ear cushions and replace the earpads if they're removable.
Cleaning the accessories keeps your whole gaming setup hygienic and can also make buttons feel more responsive. If your controller has a headphone jack, gently clean it with a dry cotton swab.
💡 Tips:
- •Turn the controller upside down while cleaning the buttons to let dislodged debris fall out.
- •Use a toothpick to clean around the thumbstick base.
⚠️ Warnings:
- •Do not submerge the controller in liquid or run it under water.
Step 9: Let everything dry, then reconnect
Wait at least 10 minutes for any isopropyl alcohol to evaporate completely. Inspect the console for missed spots or leftover streaks. Check the vents to make sure no dust clumps are blocking the airflow. Once everything looks clean, plug the power cable back in first, then HDMI and other cables.
Power the console on and listen. In a well-cleaned console, the fan should run quieter at idle, and the system should not feel as warm. If the console starts normally, your cleaning was successful.
💡 Tips:
- •Use the moment while waiting to throw away any dust piles and clean your workspace.
- •Double-check that you didn't leave any cotton fibers in ports.
⚠️ Warnings:
- •Never plug in cables while your hands are wet.
Step 10: Set up a regular maintenance schedule
Add console cleaning to your calendar every 2–3 months for a typical household. If you have pets, smoke indoors, or live near construction, clean more frequently—perhaps every 4–6 weeks. Dust accumulation is gradual, so regular upkeep prevents the need for deep cleaning sessions.
A quick monthly wipe-down and a blast of compressed air through the vents can keep your console running cool and quiet for years. Deep cleaning inside the case can be done once a year if you're comfortable with disassembly, but many gamers never need to open their console if they dust regularly.
💡 Tips:
- •Set a reminder on your phone for a day you always have a free hour.
- •Keep your console elevated and away from carpet to reduce dust intake.
⚠️ Warnings:
- •Don't vacuum the vents every week—over-vacuuming can generate static. Stick to compressed air.
▸Pro Tips
- •Always unplug the console before cleaning, even if you're just dusting the outside.
- •Use 70% isopropyl alcohol instead of hand sanitizer—it evaporates faster and doesn't leave sticky residue.
- •Never use paper towels, tissues, or abrasive cloths on your console.
- •Hold compressed air in short bursts to prevent condensation and freezing the nozzle.
- •Use a soft-bristled brush, like a clean paintbrush, to gently loosen dust in hard-to-reach areas.
- •Turn the console vertically while dusting so gravity helps pull dust out of the vents.
- •If you use a vacuum, always use a soft brush attachment at low suction and never touch the circuit board.
- •Consider an electric air blower instead of canned air to save money and reduce waste over time.
▸Common Mistakes to Avoid
- •Cleaning with the console plugged in—this risks electric shock and short circuits.
- •Using household sprays or glass cleaners—they can damage the plastic finish and leave harmful residue.
- •Blowing dust off with your mouth—moisture from your breath can corrode electronics.
- •Oversaturating the cloth with liquid—drips can get into vents and cause serious damage.
- •Opening the console without the right tools or documentation—you can break clips or void the warranty.
▸Troubleshooting
Problem: Console still overheats after cleaning
Solution: Dust may be trapped deep inside the heat sink or fan. Try an electric air blower for higher pressure, or take the console to a professional repair service for internal cleaning.
Problem: Fan is still loud after cleaning
Solution: If the fan noise persists, the bearing may be wearing out. Consider replacing the fan unit, which is available for most popular consoles.
Problem: Controller buttons feel sticky after cleaning
Solution: A tiny amount of moisture may have gotten under the buttons. Let the controller dry completely, then use a dry cotton swab with 70% alcohol to clean the button crevices again. If it doesn't improve, the button pad may need replacing.
Problem: Console won't turn on after cleaning
Solution: Double-check that all cables are fully reconnected and that the power cable is seated properly. Wait a few minutes—some consoles need time to reset. If nothing happens, consult the manufacturer or a certified technician.
Problem: When should I seek professional help?
Solution: If you don't feel comfortable opening the console, or if your warranty is still active, contact the manufacturer or a certified repair shop. Professional cleaning typically costs $50–$100 but is safer for fragile components.
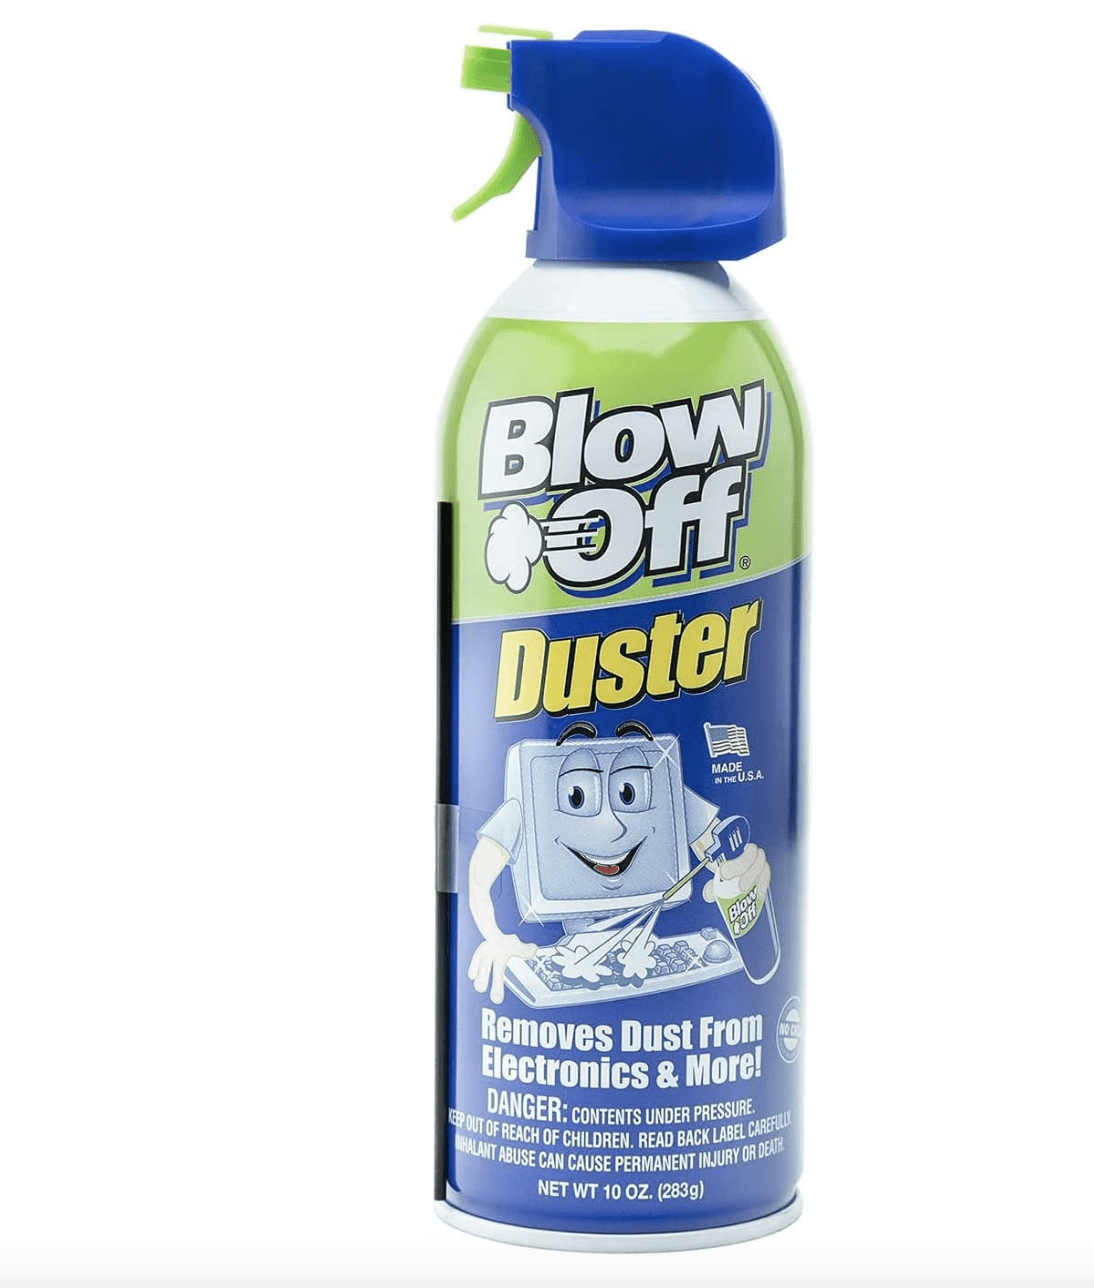
Compressed Air Duster (Canned Air)
The safest and most effective way to blow dust out of vents and internal components without touching sensitive parts.
Best for: For regular dusting of the console's cooling vents and fans.
Price Range: $10 – $20
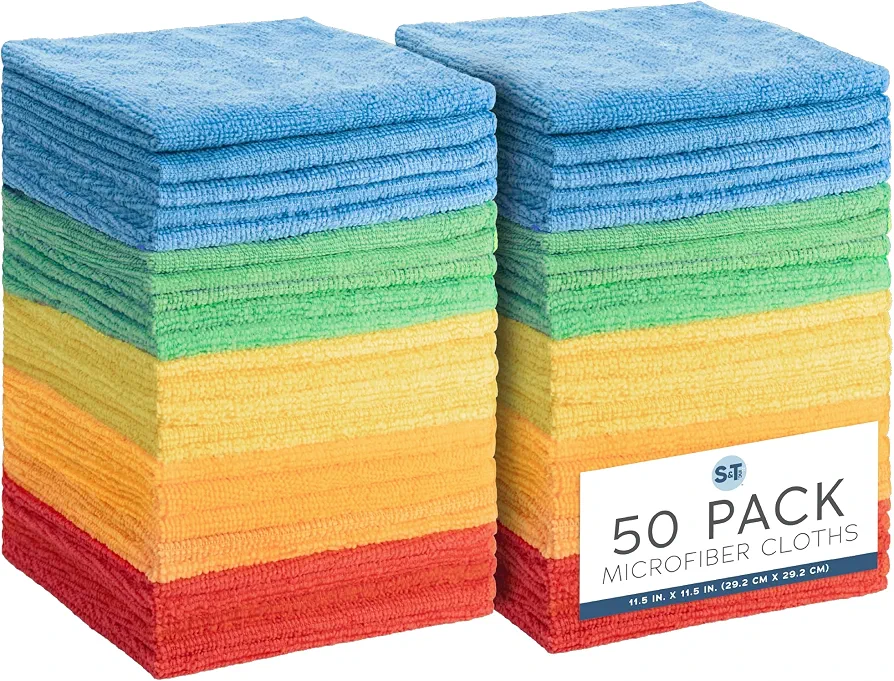
Microfiber Cleaning Cloth Set
Lint-free, scratch-safe cloths are perfect for wiping consoles, controllers, and screens without leaving streaks.
Best for: For exterior cleaning and final buffing.
Price Range: $8 – $15
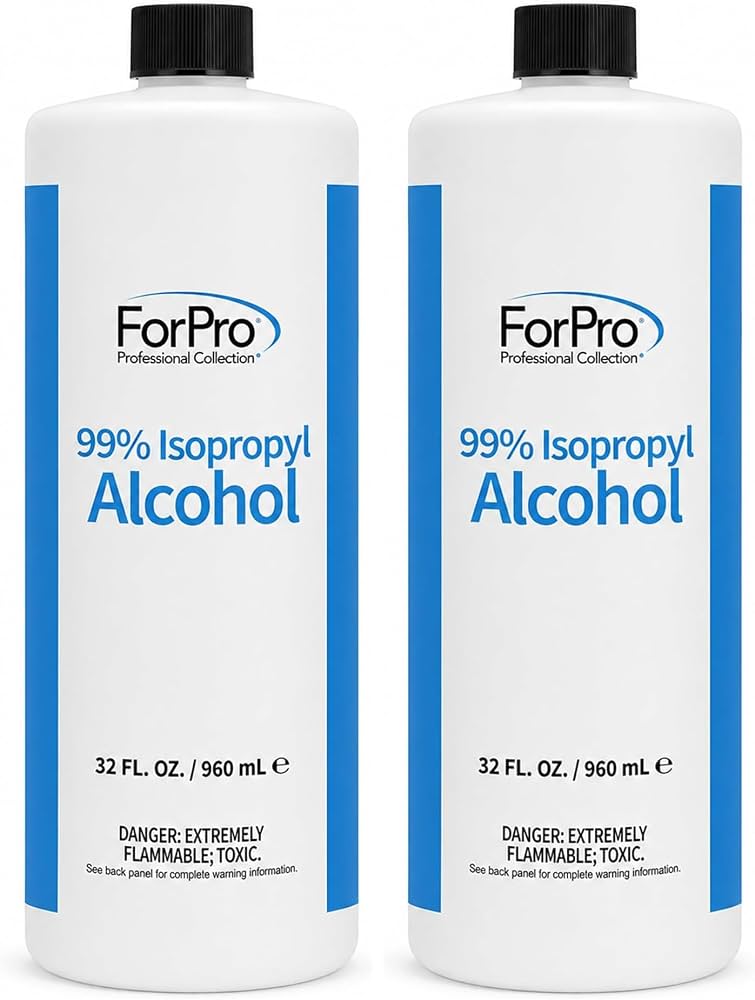
Isopropyl Alcohol 70% or 99%
Effectively removes grease, disinfects surfaces, and evaporates quickly without leaving residue.
Best for: For disinfecting the case and removing stubborn grime from controllers and ports.
Price Range: $8 – $15
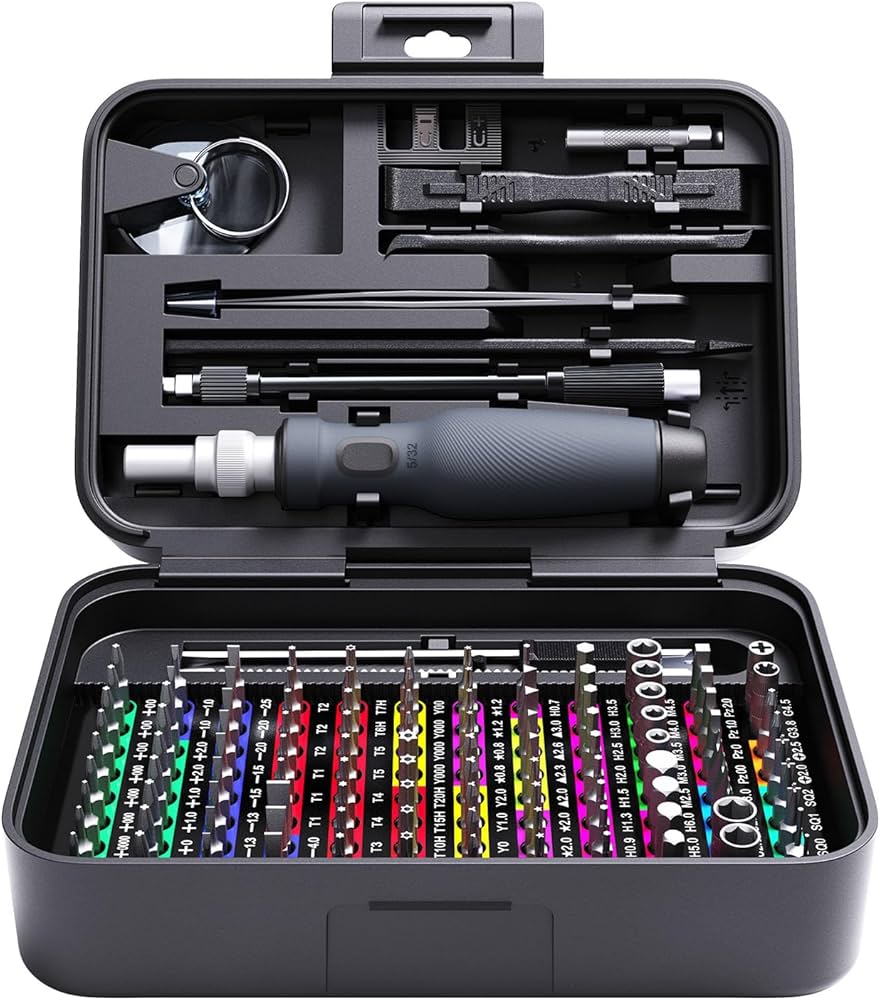
Precision Screwdriver and Repair Toolkit
A quality toolkit with the exact bits needed for opening console shells, swapping fans, and performing deep maintenance.
Best for: For safely opening the console shell and accessing internal parts.
Price Range: $20 – $50
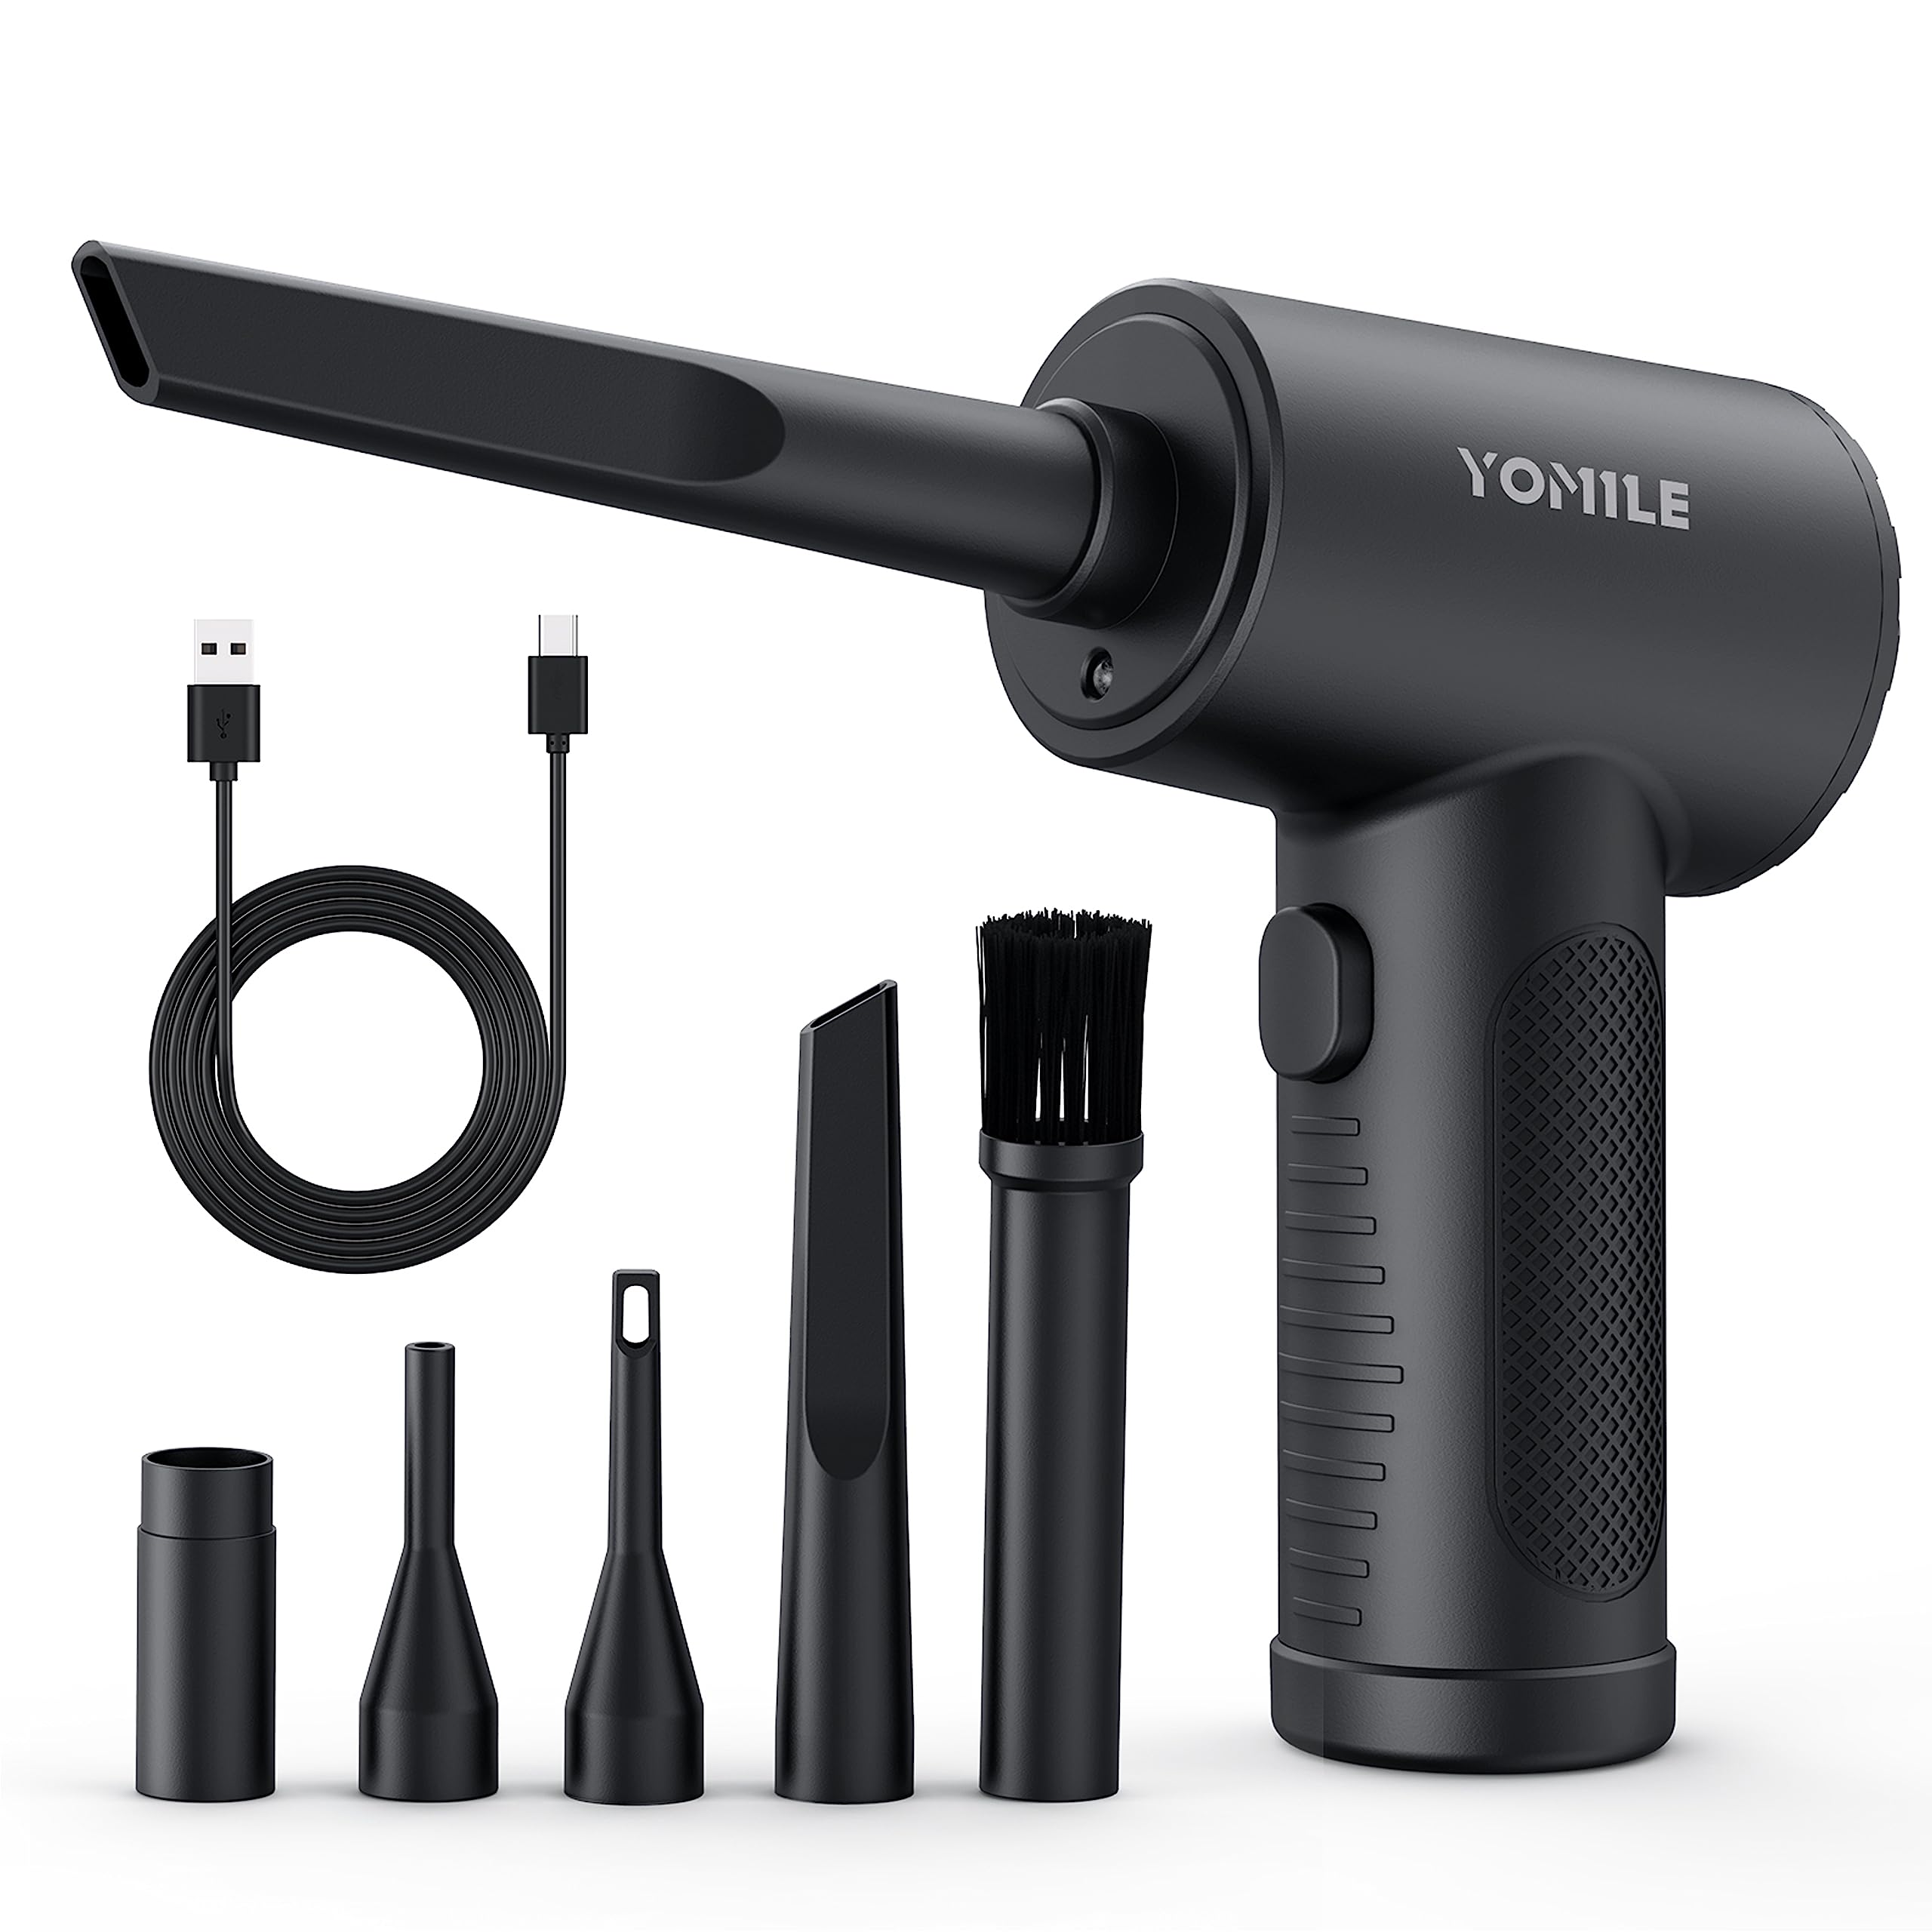
Rechargeable Electric Air Blower
An eco-friendly, cost-effective alternative to canned air with consistent pressure and no propellant.
Best for: For regular dusting of vents and internal components, especially in dusty environments.
Price Range: $30 – $50