Choose your first drone controller with confidence - our simple guide covers top picks, features, and mistakes to avoid for aerial photography beginners.
Picking your first drone controller feels overwhelming with so many buttons, screens, and tech terms thrown around. As a beginner into aerial photography, you worry about compatibility, crashing your drone, or buying something too complicated. Don't stress - this guide is designed for total newcomers like you.
Drone controllers (the remotes that fly your drone) seem complex, but most beginners only need a few key things: easy grips, simple buttons, and reliable signal for steady photos from the sky. We'll break it down without jargon, focusing on what helps you start capturing great shots right away.
By the end, you'll know exactly which controller to buy, what accessories to add, and how to avoid pitfalls. Let's get you flying confidently!
📋 In This Guide
• Why Beginners Struggle with Drone Controller
• What to Look For (Key Features)
• Top 4 Beginner-Friendly Drone Controller
• Essential Accessories for Beginners
• Common Beginner Mistakes to Avoid
• Your Progression Path
• FAQ & Learning Resources
😰 Why Beginners Struggle with Drone Controller
Beginners often feel lost because drone controllers look like video game controllers on steroids - tons of switches, joysticks, and screens that scream 'expert only.' Forums like Reddit's r/drones are full of newbies frustrated by poor range causing crashes during photo flights or controllers that don't pair easily with beginner drones like DJI Mini or Holy Stone models.
The jargon hits hard: terms like 'FHSS protocol,' 'gimbals,' or 'telemetry' confuse everyone at first, making shopping feel like decoding a secret language. Plus, with Amazon flooded by cheap knockoffs and pro-level gear, fear of wasting money on the wrong one is real - many report buying incompatible controllers that sit unused.
Overwhelm from options leads to paralysis: 'Do I need a screen? How many channels?' Without guidance, beginners grab the cheapest option and regret it when signal drops mid-photo shoot.
🔍 What to Look For: Key Beginner-Friendly Features
Focus on controllers that are plug-and-play with popular beginner drones for aerial photography. Look for ergonomic grips (comfy for long sessions), at least 6 channels (for basic flight + camera tilt), and stable 2.4GHz signal to avoid drops at 300-500ft - perfect for photo heights.
Beginner-friendly ones have intuitive joysticks (smooth, self-centering), beginner modes (auto-leveling flight), and clear pairing instructions. Skip fancy telemetry or customizable mixes until later - they add confusion. Value means good battery life (4+ hours) and receiver included.
Forgiving designs tolerate shaky hands, with features like return-to-home buttons to save your drone (and photos) if you panic. Check compatibility lists in reviews for your drone model.
✅ Essential Features for Beginners
•Ergonomic grips for comfy holding during long photo flights
•Simple 6+ channel setup for basic controls + camera functions
•Stable 2.4GHz signal with 500ft+ range
•Long battery life (4+ hours per charge)
•Easy pairing with beginner drones like DJI Mini
•Return-to-home button for panic-free flying
•Backlit screen or indicators for low-light use
•Included receiver to start immediately
🏆 Top 4 Best Drone Controller for Beginners
#1
💰 Budget
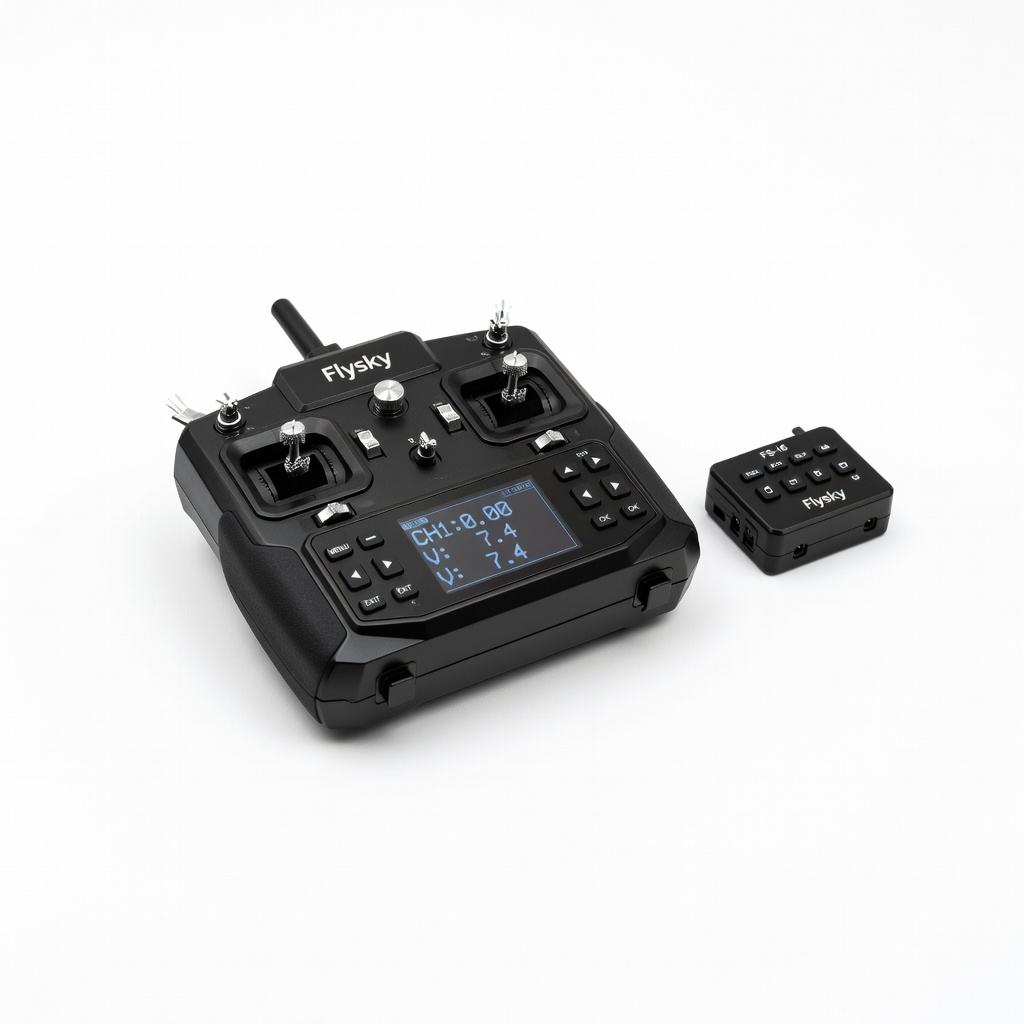
Flysky FS-i6 6CH RC Transmitter and Receiver
Learning Curve: Easy
$49.99
Difficulty: 1/5
Why Great for Beginners:
This is the perfect entry for total newbies - simple sticks and buttons pair instantly with most beginner drones. Great range for park photos without fancy extras overwhelming you. Includes receiver so you're flying in minutes.
✓ Beginner Pros
+Super cheap to start
+Easy one-button binding
+Comfy for small hands
+4-6 hour battery
✗ Beginner Cons
-No screen for signal check
-Basic range (300ft max)
-Plastic build feels light
👍 Best for: Absolute beginners testing aerial photography on a tight budget
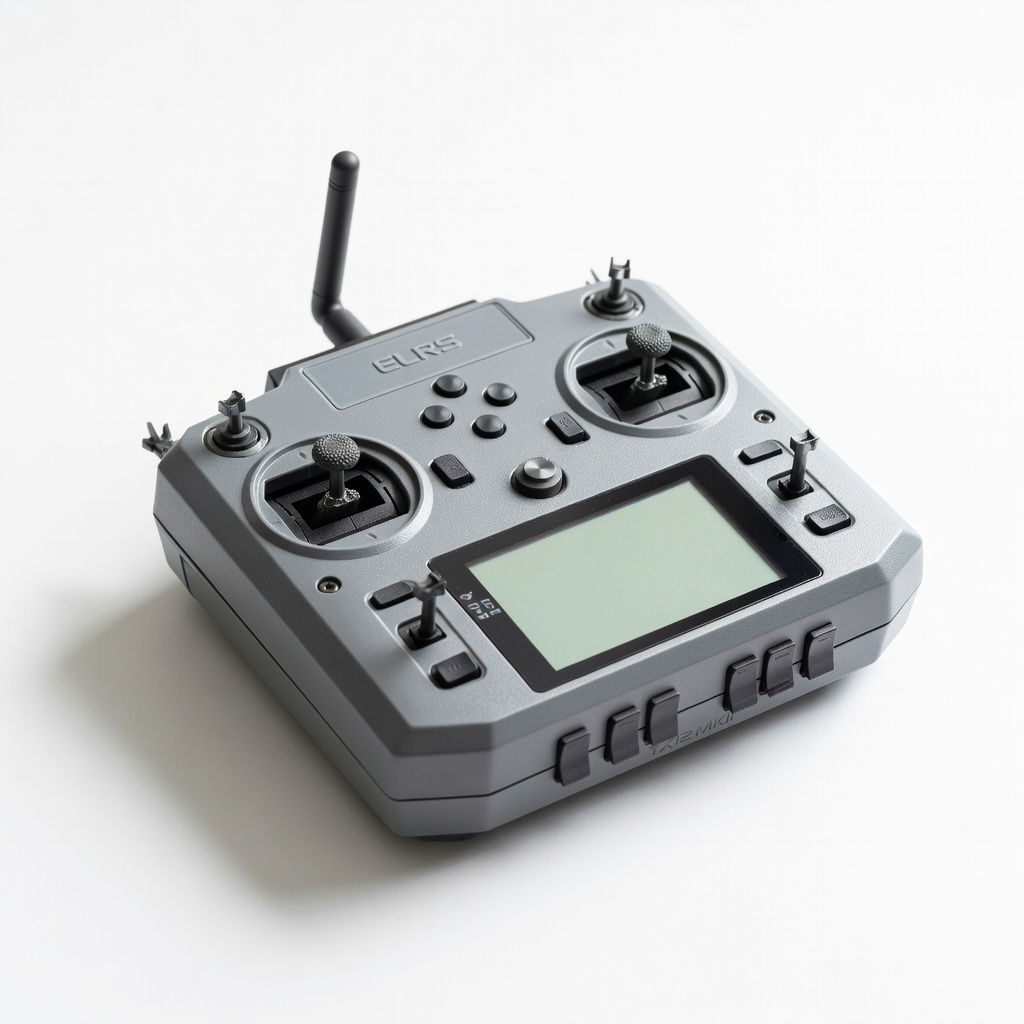
Sweet spot with open-source ease and app integration for drone camera apps. Vibration alerts prevent signal loss during photos, and hall-effect gimbals feel smooth without calibration hassles.
✓ Beginner Pros
+EdgeTX software is beginner-customizable
+Long 1000ft range
+Rechargeable battery lasts all day
+Lightweight for handheld shoots
✗ Beginner Cons
-Slight setup via app
-More switches than needed at first
👍 Best for: Hobbyist photographers wanting growth without upgrade
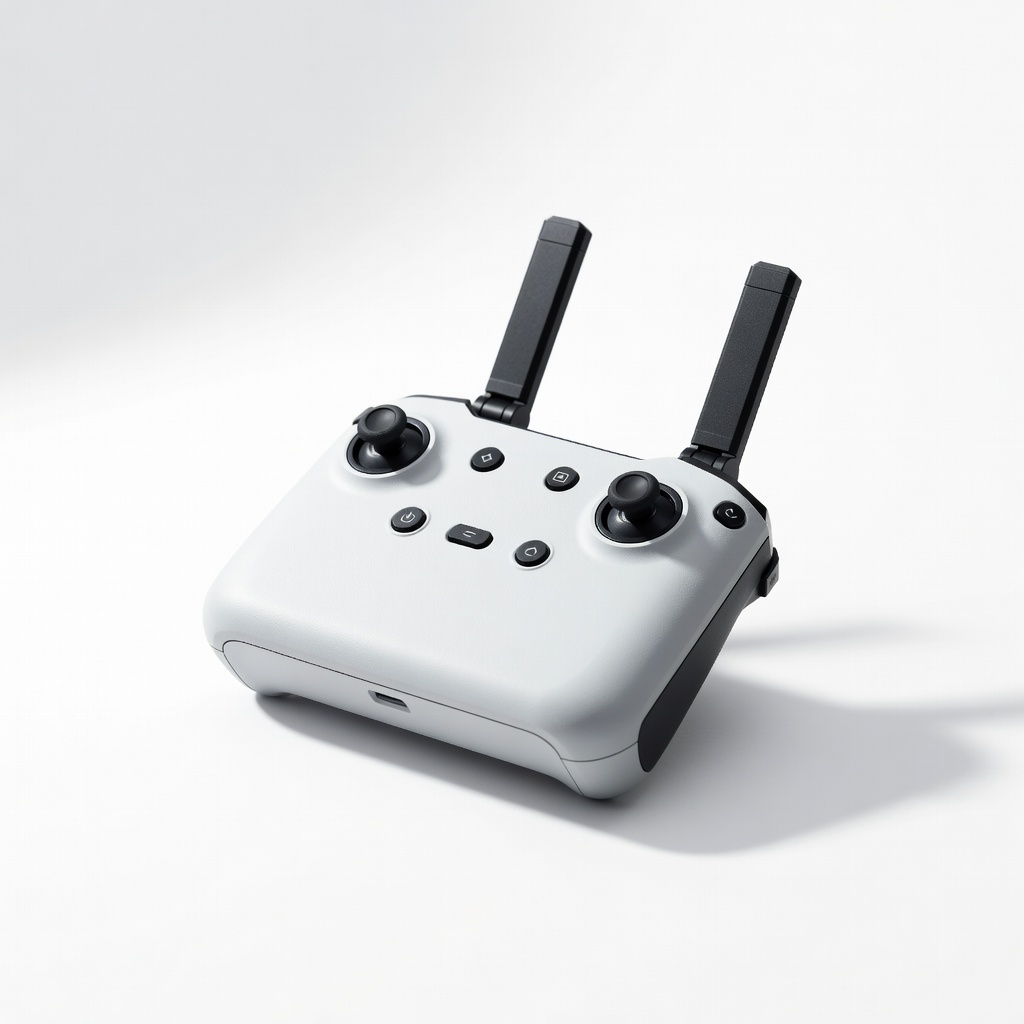
Designed for DJI beginner drones like Mini 3, with seamless app pairing for live photo previews. Intuitive buttons reduce crashes, ideal for aerial photography practice.
✓ Beginner Pros
+Plug-and-play with DJI apps
+Built-in screen for basics
+Quick return-home
+Ergo design for long holds
✗ Beginner Cons
-DJI-specific (less universal)
-Shorter battery than independents
👍 Best for: DJI drone owners focused on photography
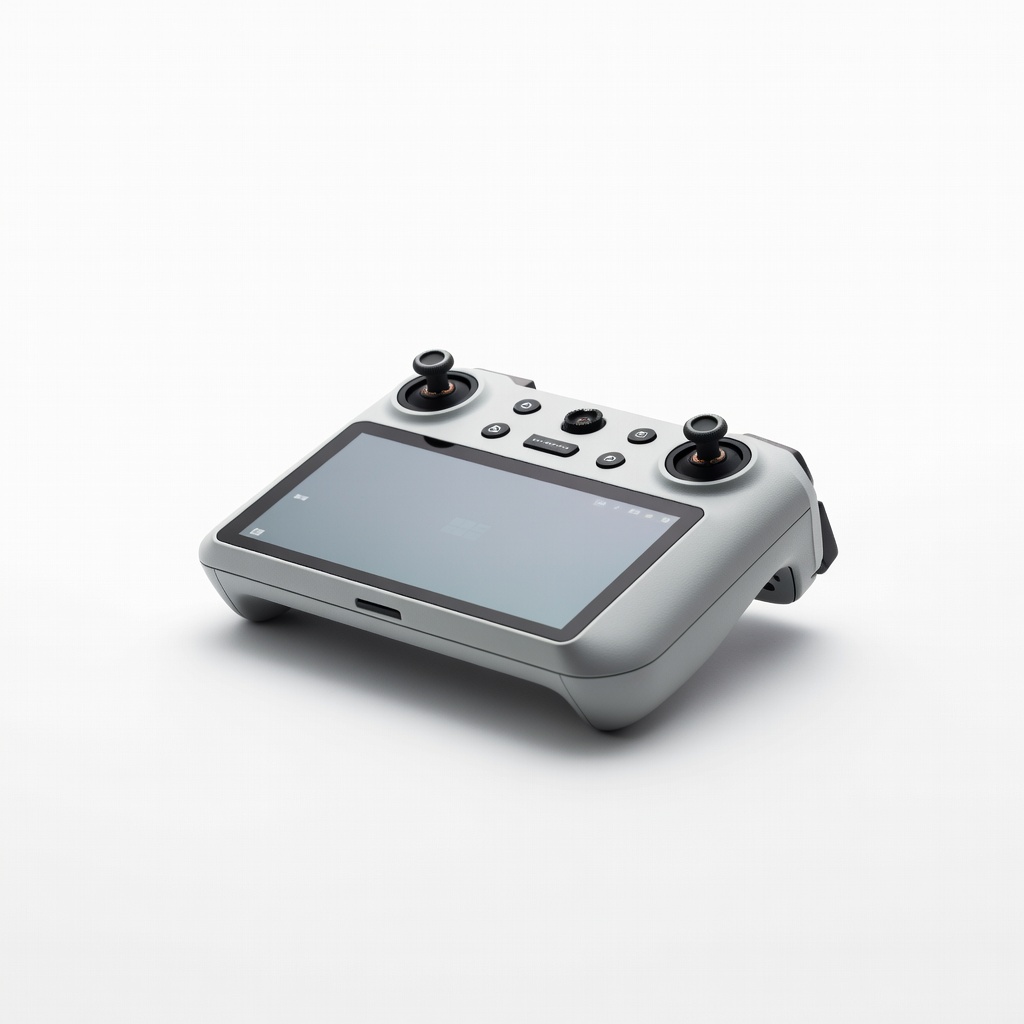
Premium pick with full color screen for live view - compose shots perfectly without phone. Ultra-stable signal for 10km range, forgiving for shaky beginner hands.
✓ Beginner Pros
+Bright screen for photo framing
+10km range
+12-hour battery
+Weather-sealed
✗ Beginner Cons
-Higher price
-DJI-locked ecosystem
👍 Best for: Serious beginners investing in pro photography
A drone controller is simply the remote that sends commands to your drone - left stick for up/down, right for turning, extras for camera pan/zoom in aerial photography. Basics: transmitter (handheld part) + receiver (tiny plug into drone).
Types: Basic analog (sticks only, cheap/easy), screen-equipped (shows battery/signal), gamepad-style (phone-linked for apps). For beginners, stick controllers are best - familiar like video games, less fiddly than touchscreens.
Beginner-friendly means 'forgiving': vibration feedback warns of low signal, auto-bind buttons skip manuals. Realistic expectations: You'll hover and snap photos in 30 mins of practice, not pro cinematic shots day one. Evaluate by reading 'first flight' reviews on Amazon.
Marketing traps: 'Pro-grade' often means steep learning; ignore if no beginner tutorials. Stick to brands like Flysky or Radiomaster with YouTube setup vids under 10 mins.
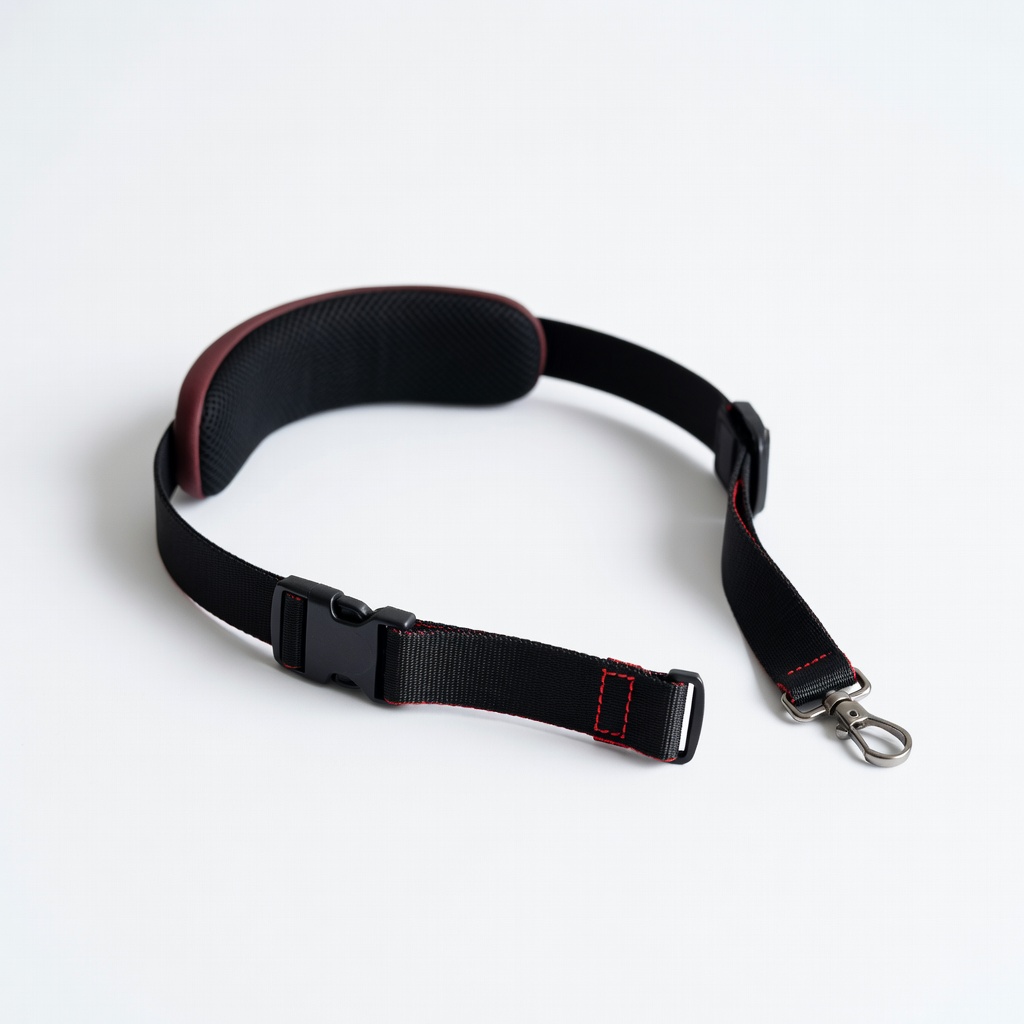
🔧 Essential Accessories for Beginners
Flysky Neck Strap for RC Controllers
⚠️ Essential
$12.99
When to buy:
Day one
Prevents drops during excited photo flights - hands-free when adjusting drone settings. Reduces arm fatigue for longer sessions.
Ask: What's my drone model? (Check compatibility first.) Budget? Time flying photos weekly? Start here: Under $50 for testing, $50-150 sweet spot for reliable photos, $150+ if serious.
Scenarios: Casual park photos? Budget Flysky. Weekend hobbyist? Recommended with screen. Pro aspiring? Premium. Red flags: No receiver included, vague range claims, poor English manual.
Growth: Pick one with upgradable firmware. Test in-store if possible, or buy Amazon for returns. Most beginners thrive on 'recommended' tier - balances ease and room to add features like GPS data for better shots.
💰 Budget Guide for Beginners
300+
Pro entry - customizable for advanced shots, overkill unless big budget
50 - $150
Sweet spot - reliable signal, comfy design, great for most beginner photographers
150 - $300
Premium beginner - screen + extras like vibration, lasts years without outgrowing
Under $ - $50
Entry level - basic sticks for trying aerial photos, short range, quick upgrade needed
⚠️ Common Beginner Mistakes to Avoid
Newbies grab $20 no-name controllers without receivers, then panic when drone won't respond - always check 'includes RX.' Forums rant about incompatibility: Buy for DJI? Don't get Flysky.
Many skip straps/cases, leading to cracked screens after bag tosses. Instead, prioritize protection day one. Pros say: Test range in open field first, not backyard.
Biggest: Buying 'feature-packed' pros overwhelming with menus - stick to 6-10 channels. Avoid by reading beginner reviews.
×Buying cheapest without receiver - can't fly
×Ignoring drone compatibility - wasted money
×Skipping neck strap - drops and breaks
×Overlooking battery life - mid-flight fails
×Choosing pro models with 16 channels - too complex
×No case - gear gets damaged in bag
×Forgetting range tests - crashes on photos
📈 Your Progression Path: Beginner to Intermediate
Start with hovering 10ft and basic pans for photos - 1-2 weeks practice. Build to waypoint shots via app integration.
Outgrow beginner gear when needing 1km+ range or FPV video. Signs: Craving custom mixes, longer flights. Upgrade receiver first, then controller - 3-6 months typical.
Intermediate: Learn EdgeTX software, add OSD for photo data. Path: Daily 15-min flights, join local drone groups.