Struggling with unstable power in your 3V Arduino projects? Sensors misreading, boards resetting randomly, or even fried components? These issues often stem from poor voltage regulation when powering 3.3V Arduinos like the Pro Mini or ESP32 from batteries or higher-voltage sources. Choosing the right regulator ensures clean, stable 3V (typically 3.3V) output.
In this guide, you'll understand voltage regulators, key specs for Arduino use, and the best options for beginners. We'll break it down simply—no advanced electronics needed. Expect to grasp concepts in 10-15 minutes and pick a regulator confidently.
We'll cover types, selection criteria, wiring basics, and real product recs. Perfect for hobbyists powering sensors, IoT gadgets, or wearables.
▸What You'll Need
- •Basic Arduino knowledge (e.g., wiring breadboards)
- •Multimeter (optional, for testing output voltage)
- •Arduino board (3.3V like Pro Mini or Nano 33 IoT)
- •Breadboard and jumper wires
- •Power source (e.g., 5V USB or 9V battery)
Estimated Time: 10-15 minutes to read and understand
Difficulty: beginner
▸Step-by-Step Instructions
Step 1: Why Do 3V Arduino Projects Need Voltage Regulators?
Most Arduino boards run at 5V, but 3V (3.3V logic) versions like the Arduino Pro Mini 3.3V or ESP8266/ESP32 handle low-power sensors and save battery life. However, batteries or solar panels fluctuate—4.5V to 6V typically. Without a regulator, voltage spikes can damage pins or cause erratic behavior.
Think of it like a garden hose: unregulated power is a wild spray; a regulator is the nozzle for steady flow. Aim for 3.3V ±5% stability.
What to expect: Stable power prevents 90% of beginner power issues.
💡 Tips:
- •Start with battery projects to see the difference immediately.
Step 2: Understand Voltage Regulator Basics
A voltage regulator converts and stabilizes input voltage (e.g., 5V) to a fixed output like 3.3V. It protects against drops, spikes, and noise.
Analogy: Like a bouncer at a club—only lets in the right 'voltage guests' and keeps the rowdy ones out.
Key role in Arduino: Powers MCU, sensors (e.g., BMP280 altimeter) without brownouts.
⚠️ Warnings:
- •Never connect unregulated >5V directly to 3.3V pins—risks permanent damage.
Step 3: Linear vs. Switching Regulators: Which for Arduino?
Linear regulators (e.g., LDOs) are simple, cheap, low-noise—great for beginners and low-power (<500mA). They 'burn off' excess voltage as heat.
Switching regulators (buck converters) are efficient (90%+), handle high current (1A+), but noisier and complex.
For 3V Arduino: Use linear/LDO for battery/solar (quiet, simple); switching for mains/high-power.
💡 Tips:
- •LDO = Low Dropout: Works even if input is just 0.2V above output.
Step 4: Key Specs for 3V Arduino Regulators
Focus on:
- •Output: 3.3V fixed.
- •Input range: 3.8V-12V (wider better).
- •Dropout voltage: <0.5V (LDO ideal).
- •Max current: 250mA+ for sensors.
- •Quiescent current (Iq): <10uA for battery life.
- •Package: TO-92/SOT-223 (easy soldering) or module.
Example: For 100mA sensor project, pick Iq <5uA.
Step 5: Top Linear/LDO Regulators for Beginners
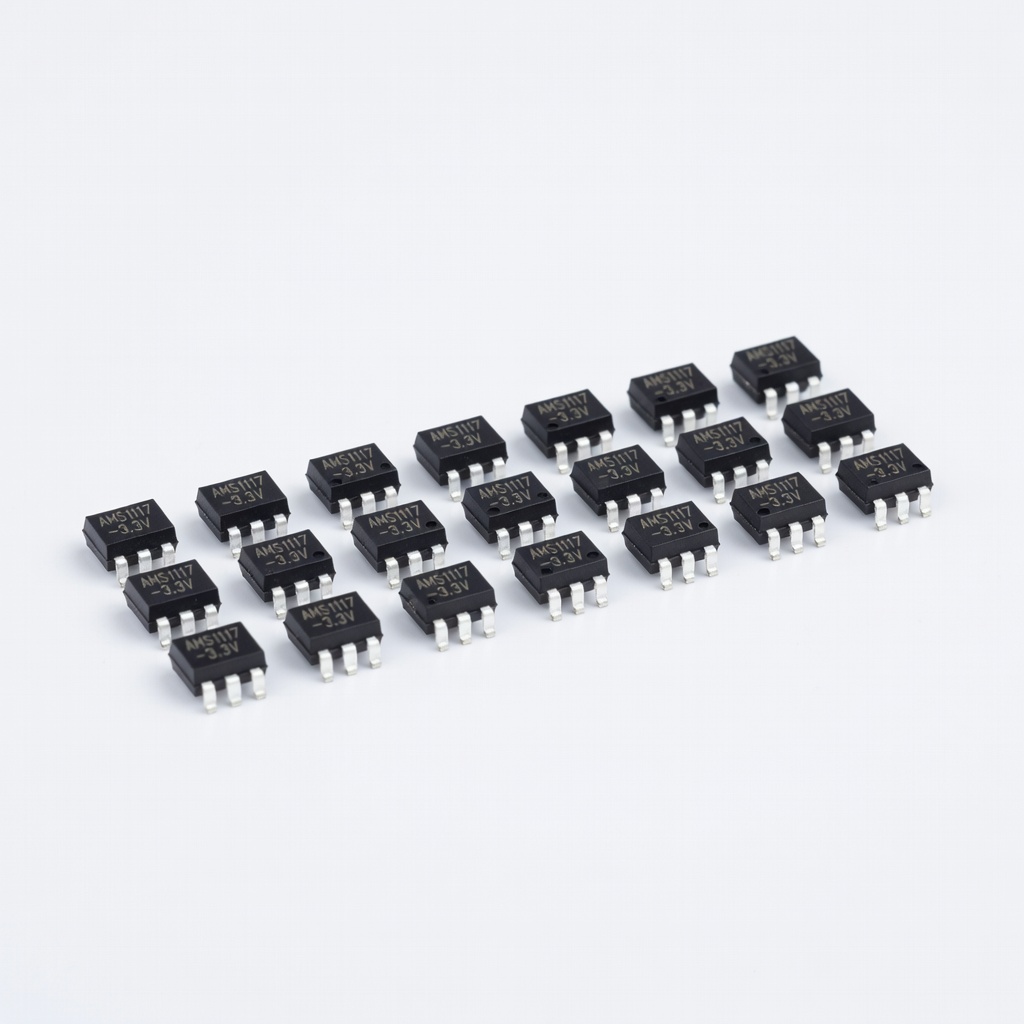
AMS1117-3.3: Cheap, 1A, 1.1V dropout—ubiquitous but hotter.
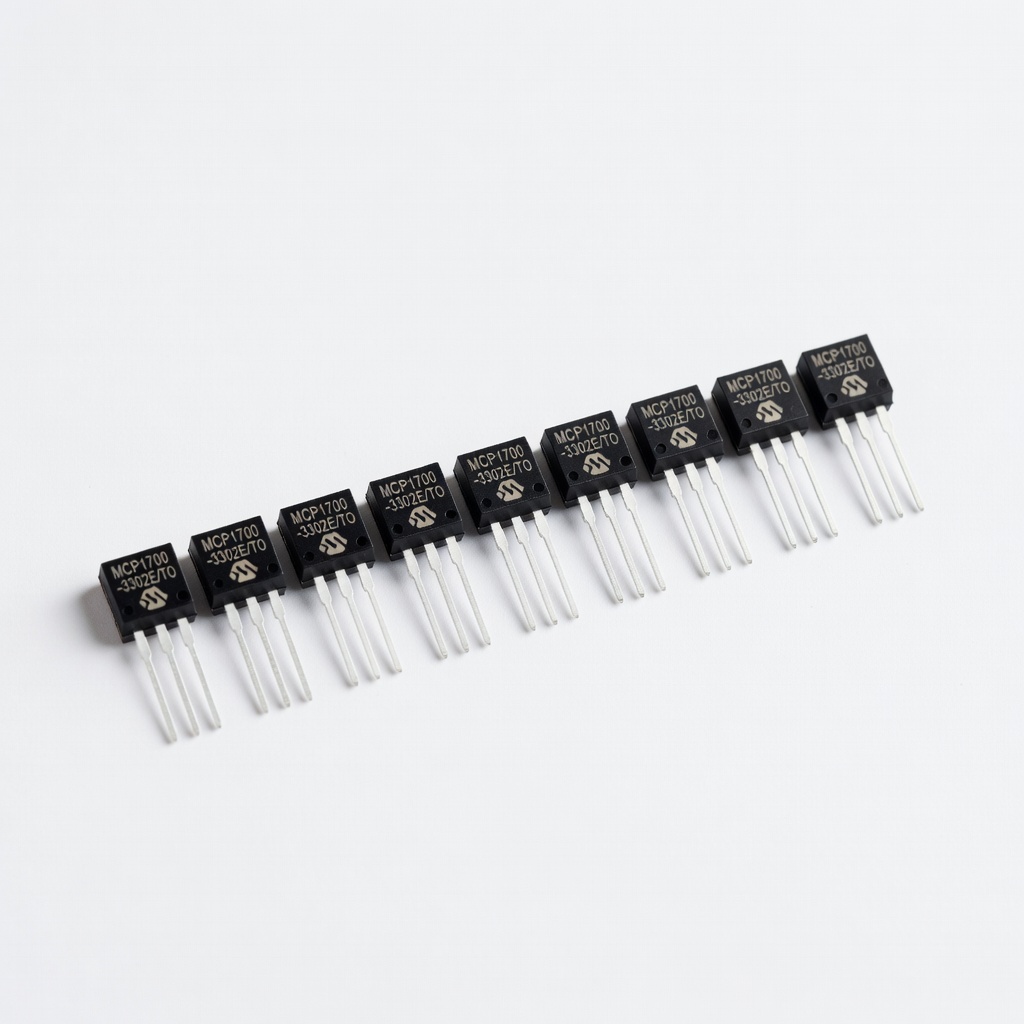
MCP1700-3.3: Ultra-low dropout (178mV), 250mA, 1.6uA Iq—battery king.
HT7333: Tiny, 250mA, 120mV dropout.
These handle Arduino + 5-10 sensors easily.
💡 Tips:
- •Buy in packs—under $1 each.
Step 6: When to Choose Switching Regulators
For >500mA or efficiency: MP1584EN module (3A, 90% eff., adjustable to 3.3V).
Use case: Motor + Arduino projects. Add caps (10uF in/out) to reduce noise.
Pro: Cool-running; Con: Ripple needs filtering for analog sensors.
⚠️ Warnings:
- •Test noise with oscilloscope if analog-heavy project.
Step 7: How to Wire a Regulator to Your Arduino
Basic circuit: Input+ to source+, Input- to GND, Output+ to Arduino 3.3V pin, Output- to GND. Add 10uF caps across input/output.
Breadboard it first. Example: 9V battery -> AMS1117 -> Arduino VCC.
Why: Caps smooth ripples; heat sink if >200mA.
💡 Tips:
- •Use module versions—no soldering!
Step 8: Test Your Regulator Setup
Use multimeter: Set to DCV, probe output—should read 3.28-3.32V steady.
Load test: Connect LED/resistor (100mA draw), voltage holds?
Upload blink sketch—stable? Success!
⚠️ Warnings:
- •Overheating? Add sink or switch to efficient type.
▸Pro Tips
- •Always add 0.1uF + 10uF ceramic caps for stability.
- •For battery life, prioritize low Iq (<5uA) LDOs.
- •Buy pre-made modules on Amazon—solder-free for beginners.
- •Measure input voltage first to match regulator range.
- •Use heat shrink tubing on wires to prevent shorts.
- •For ESP32, pair with >500mA regulator.
- •Log voltage over time with Arduino sketch for long tests.
▸Common Mistakes to Avoid
- •Connecting >5V directly to 3.3V pins—fries the board; use regulator always.
- •Forgetting decoupling caps—causes oscillations; add them every time.
- •Choosing high-dropout regulator for low batteries—output drops out; pick LDO.
- •Ignoring current needs—regulator overheats; calculate total load first.
- •No heat management—linear regs get hot; use sink or switching.
▸Troubleshooting
Problem: Output voltage too low
Solution: Check input > dropout + 3.3V; add input cap if sagging.
Problem: Regulator overheating
Solution: Reduce load or add heatsink; switch to buck converter.
Problem: Arduino resets randomly
Solution: Noise from switching reg—add LC filter; use LDO.
Problem: No output at all
Solution: Verify polarity; test with multimeter continuity.
HiLetgo 20pcs AMS1117-3.3V LDO Voltage Regulator
Cheap, reliable 1A linear reg with low noise—perfect beginner starter for most Arduino projects.
Best for: General 3.3V supply from 5-12V sources, up to 500mA loads.
Price Range: $6.99
Microchip MCP1700-3302E/TO LDO (Pack of 10)
Ultra-low dropout (178mV) and quiescent current (1.6uA)—extends battery life dramatically.
Best for: Portable, low-power sensor projects like wearables.
Price Range: $7.49
DROK MP1584EN 3.3V Buck Converter Module (5pcs)
Efficient switching (95%) for high-current without heat—future-proofs projects.
Best for: Power-hungry setups with motors or displays.
Price Range: $8.99
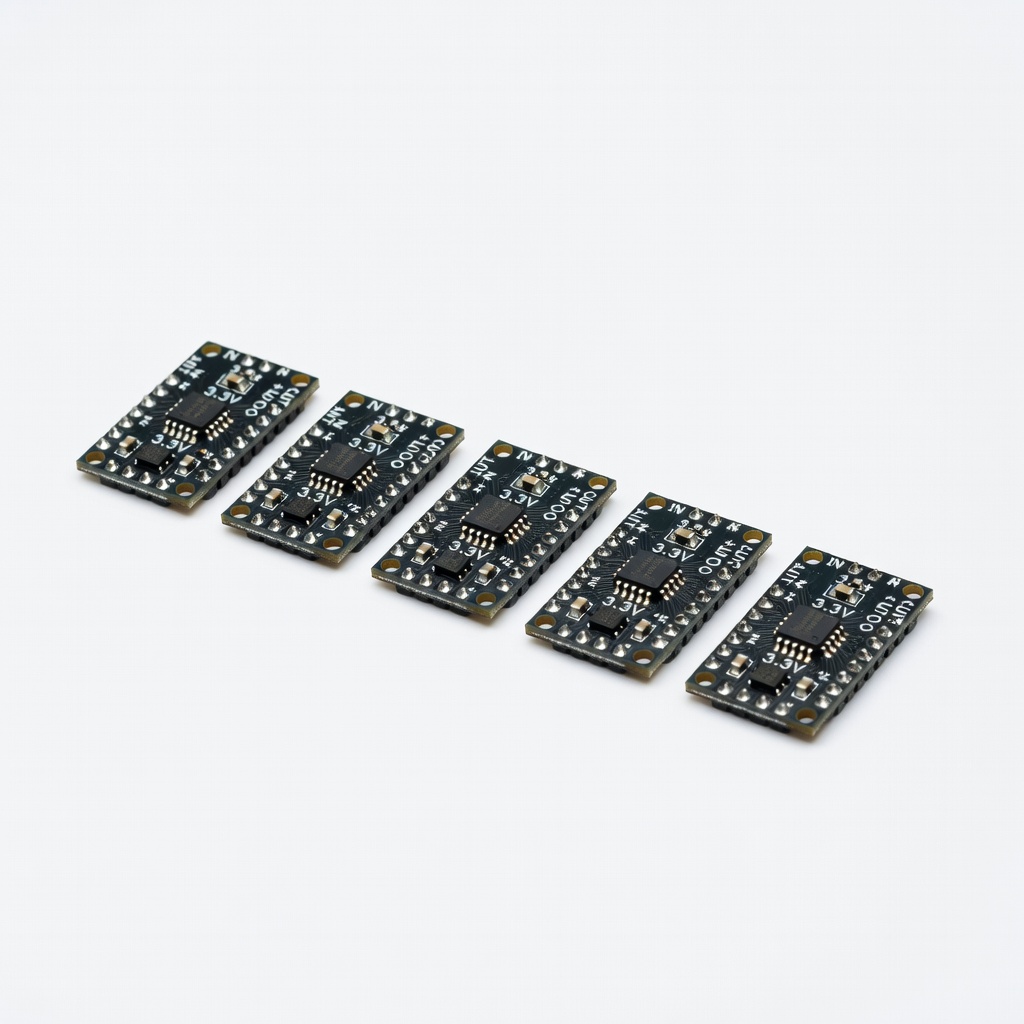
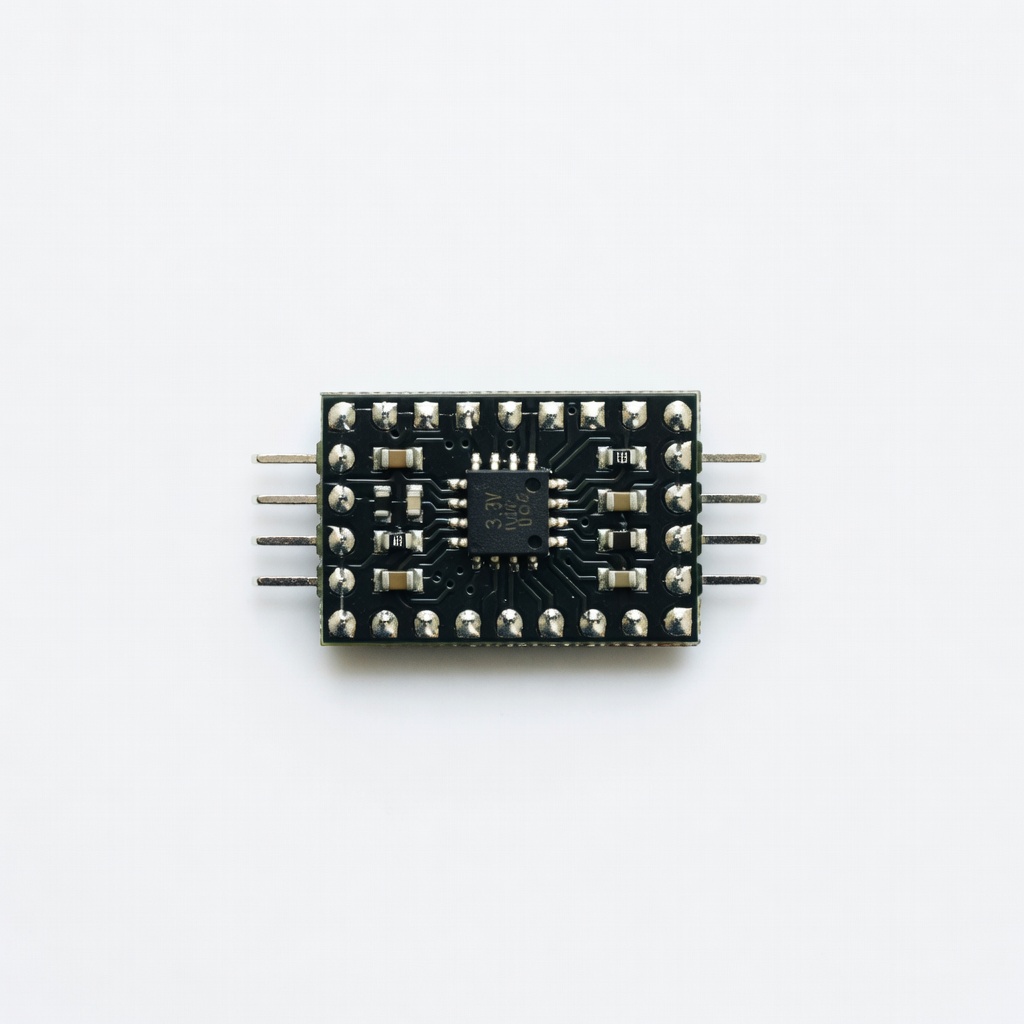
Adafruit 3.3V Low Dropout Regulator #1384
High-quality MCP1700-based with caps pre-added—plug-and-play reliability.
Best for: Quick prototyping on breadboards.
Price Range: $4.95
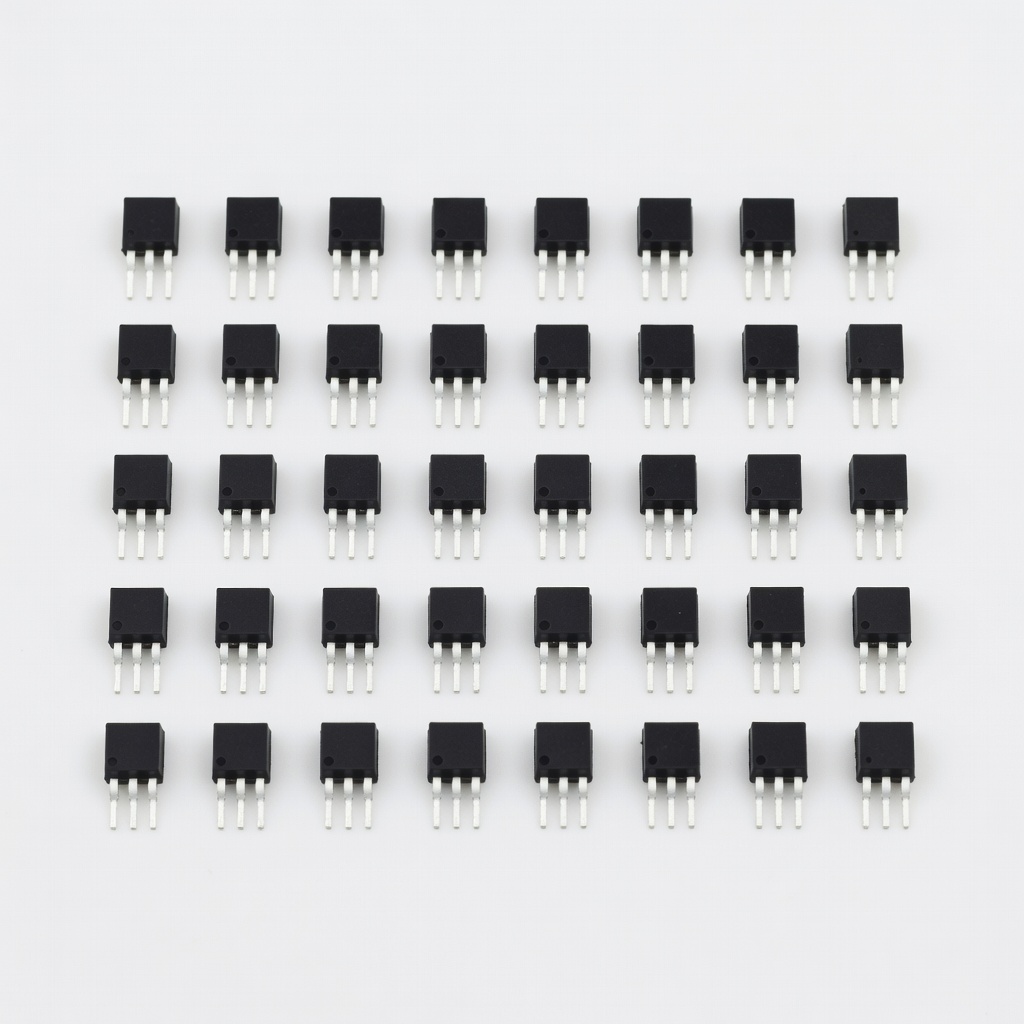
HiLetgo HT7333-A 3.3V LDO (30pcs)
Tiny package, very low dropout—ideal for compact builds.
Best for: Space-constrained IoT nodes.
Price Range: $5.99