Powering 6V toy motors with the wrong voltage regulator can lead to burnt-out motors, erratic speeds, or even fire hazards—a common frustration for DIY hobbyists building RC cars, robots, or model trains. Without proper regulation, input voltages from batteries or adapters fluctuate, damaging sensitive motors rated at exactly 6V.
In this guide, you'll learn how to assess your motor's needs, compare regulator types, calculate requirements, and pick the ideal option. Whether you're a maker tinkering with Arduino projects or upgrading old toys, you'll end up with stable 6V output every time. Expect to spend 30-45 minutes reading and applying these concepts—no soldering required for understanding.
We'll break it down from basics to pro tips, ensuring your setup runs cool, efficient, and long-lasting.
▸What You'll Need
- •Multimeter (for measuring motor current draw)
- •Motor datasheet or specs (voltage, max current)
- •Power source specs (e.g., 9V battery or 12V adapter)
- •Basic electronics knowledge (Ohm's law, series/parallel)
- •Optional: Breadboard for testing
Estimated Time: 30-45 minutes
Difficulty: intermediate
▸Step-by-Step Instructions
Step 1: Assess Your 6V Motor Specifications
Start by checking your toy motor's label or datasheet for rated voltage (6V nominal), no-load speed (RPM), stall current, and no-load current. Toy motors typically draw 100mA-1A no-load and up to 5A stalled.
Why it matters: Regulators must handle peak current without dropping voltage. Use a multimeter in series to measure actual draw under load—simulate with a propeller or gear.
Expect values like 200mA running, 2A stall for small DC motors.
💡 Tips:
- •Test at 6V exactly to avoid skewing data.
- •Average over 10 seconds for accurate RMS current.
⚠️ Warnings:
- •Never test stalled without current limit—motors can overheat in seconds.
Step 2: Understand Voltage Regulator Basics
A voltage regulator maintains a steady output voltage (6V here) despite input fluctuations (e.g., 7-12V batteries). Input voltage must be at least 2-3V higher than output for linear types, or wider for switching.
Key specs: dropout voltage (min input-output difference), max output current, efficiency (switching >80%, linear <50%). Analogy: Like a governor on an engine, preventing speed surges.
For toys, aim for compact, low-heat options handling 1-5A.
💡 Tips:
- •Use adjustable regulators for flexibility across projects.
Step 3: Compare Linear vs. Switching Regulators
Linear regulators (e.g., LM78xx) are simple, cheap, low-noise but wasteful—excess voltage turns to heat (Power = (Vin-Vout)*I).
Switching regulators (buck converters like LM2596) are efficient (85-95%), cool-running, but may introduce ripple (use capacitors to filter).
Choose linear for low current (<500mA), switching for >1A or battery-powered toys.
💡 Tips:
- •Switching for longer battery life in portable projects.
⚠️ Warnings:
- •Linear regs get scorching hot above 1W dissipation—add heatsinks.
Step 4: Calculate Current and Power Requirements
Multiply motor stall current by 1.5x safety margin (e.g., 2A stall → 3A regulator min). Power dissipation for linear: (Vin avg - 6V) * Iout.
Example: 9V input, 1A load → 3W heat. Use P = I * Vdrop.
For switching, focus on efficiency losses (<20%).
💡 Tips:
- •Use online calculators like DigiKey's regulator tool.
Step 5: Evaluate Heat Dissipation and Protection
Thermal resistance matters: TO-220 packages need heatsinks if >1W. Add input/output capacitors (10uF-100uF) for stability.
Look for overcurrent/short-circuit protection, thermal shutdown. Toys vibrate—use modules with screw terminals.
Test: Monitor temp after 5 mins; <60°C ideal.
💡 Tips:
- •Heatsink doubles as enclosure mount.
⚠️ Warnings:
- •Bare regulators without caps oscillate, frying motors.
Step 6: Select and Test Your Regulator
Match specs: For low-power toys, LM7806; high-power, LM2596 set to 6V. Wire: In+ to source, GND common, Out to motor.
Adjust potentiometer (switching), measure output unloaded/loaded. Golden rule: 6.0-6.2V max.
Scale up for multiple motors in parallel.
💡 Tips:
- •Breadboard prototype before soldering.
Step 7: Implement Best Installation Practices
Mount securely, away from motor heat. Fuse input (PTC resettable). Parallel capacitors reduce noise.
For battery toys, add low-battery cutoff. Monitor with LED indicators.
Final check: Run motor 10 mins, check voltage stability.
💡 Tips:
- •Use twisted wires to minimize EMI in switching regs.
▸Pro Tips
- •Always oversize current rating by 50% for stalls.
- •Battery input? Prefer switching to extend runtime 2x.
- •Add 0.1uF ceramic caps for high-frequency noise.
- •Log motor temps with IR thermometer for optimization.
- •Modular boards (e.g., LM2596) save wiring time.
- •For PWM speed control, regulate DC first, then PWM.
- •Bulk-buy regulators—test samples for consistency.
▸Common Mistakes to Avoid
- •Undersizing current: Causes voltage sag, slow motors—measure stall current first.
- •Ignoring heat: Linear regs melt without heatsink—calc Pdiss always.
- •No load testing: Output drifts high unloaded—test under real load.
- •Wrong input voltage: Below dropout = no output; use voltmeter.
- •Skipping caps: Oscillation spikes damage motors—standard 10uF in/out.
▸Troubleshooting
Problem: Output voltage drops under load
Solution: Increase input voltage or upgrade to higher current regulator. Check wiring resistance.
Problem: Regulator overheating
Solution: Add heatsink/fan for linear, or switch to buck converter. Verify calc.
Problem: Motor noise/jitter
Solution: Add output capacitors (100uF electrolytic + 0.1uF ceramic). Filter ripple.
Problem: No output
Solution: Check polarity, input > dropout. Test regulator alone with resistor load.
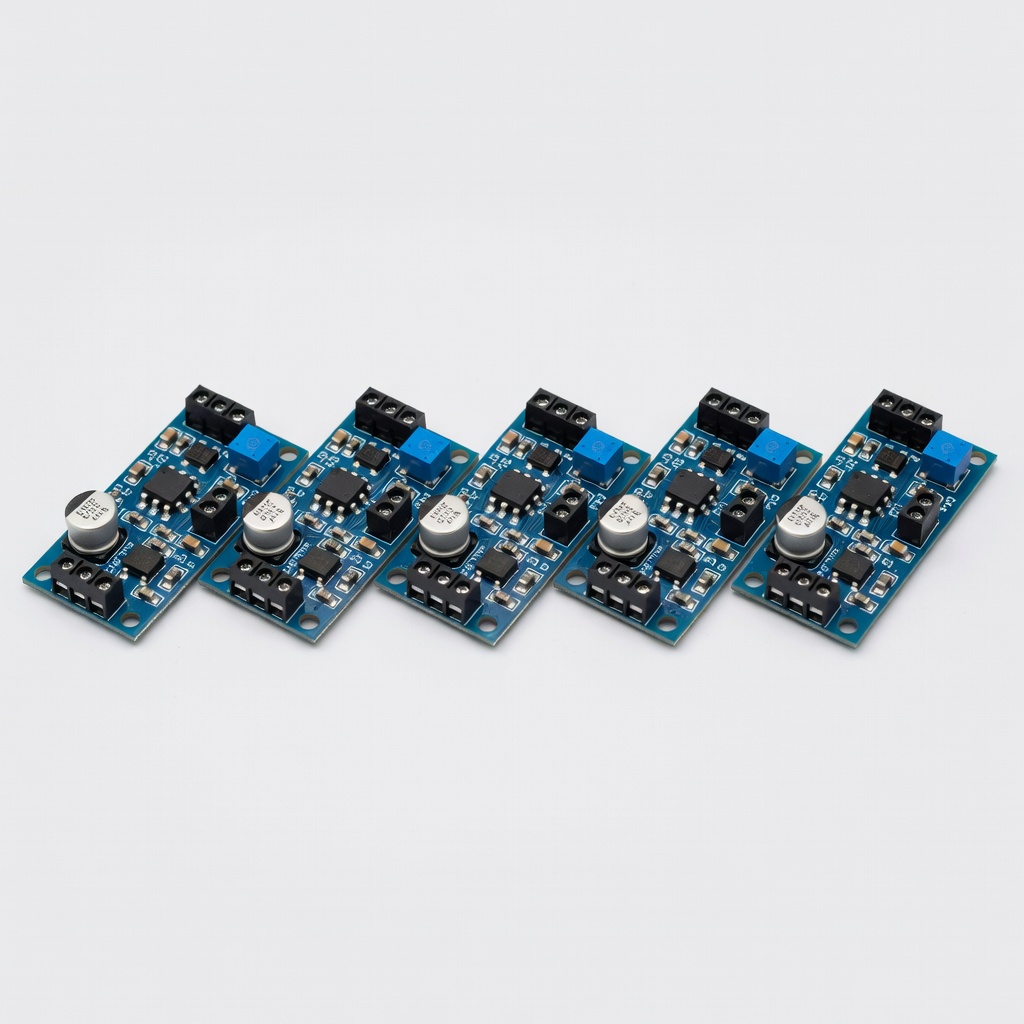
HiLetgo LM2596 DC-DC Buck Converter (5 Pack)
Efficient switching regulator, adjustable to exactly 6V, handles 3A continuous—perfect for most toy motors.
Best for: Battery-powered RC toys or robots needing stable 6V from 7-35V input.
Price Range: $9.99
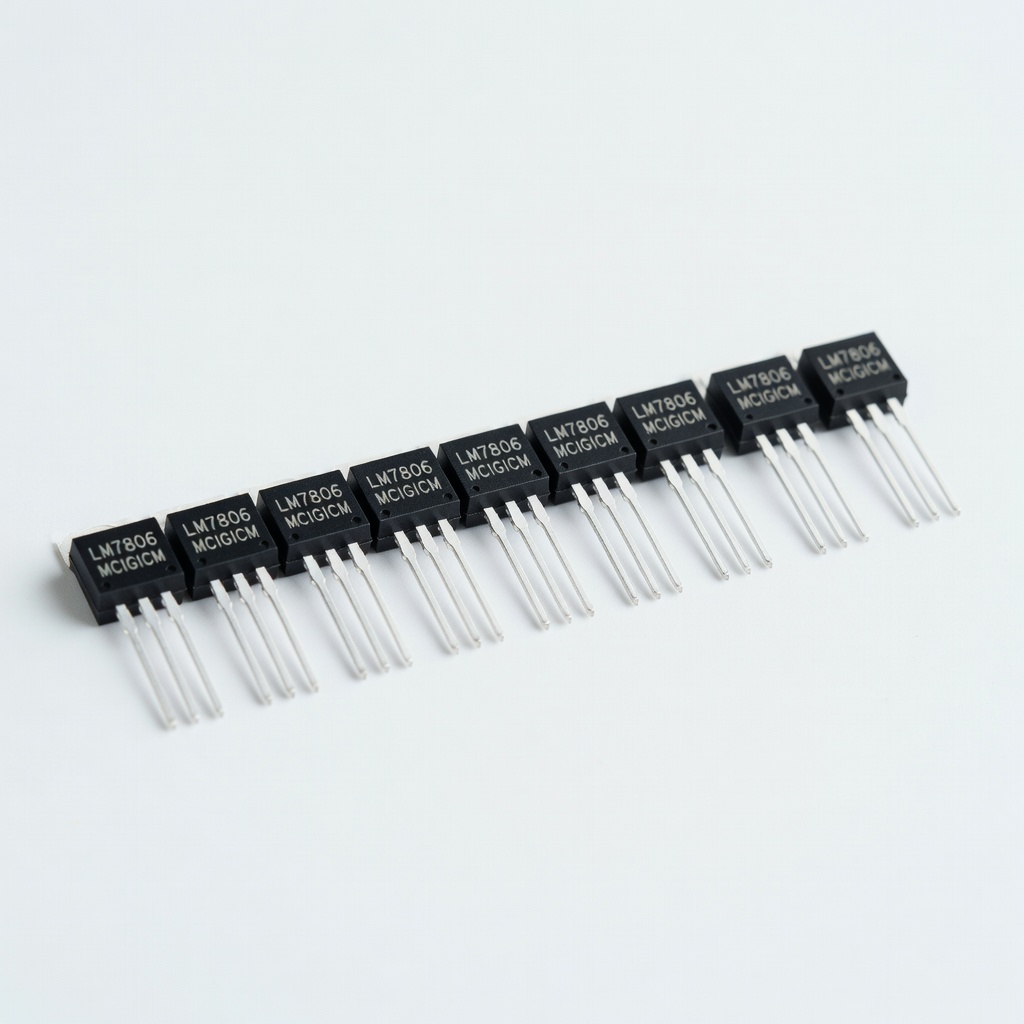
MCIGICM LM7806 Voltage Regulator (10 Pack, TO-220)
Simple fixed 6V linear regulator, low-noise for sensitive motors, easy drop-in.
Best for: Low-current (<500mA) toys from wall adapters; pair with heatsink.
Price Range: $6.99
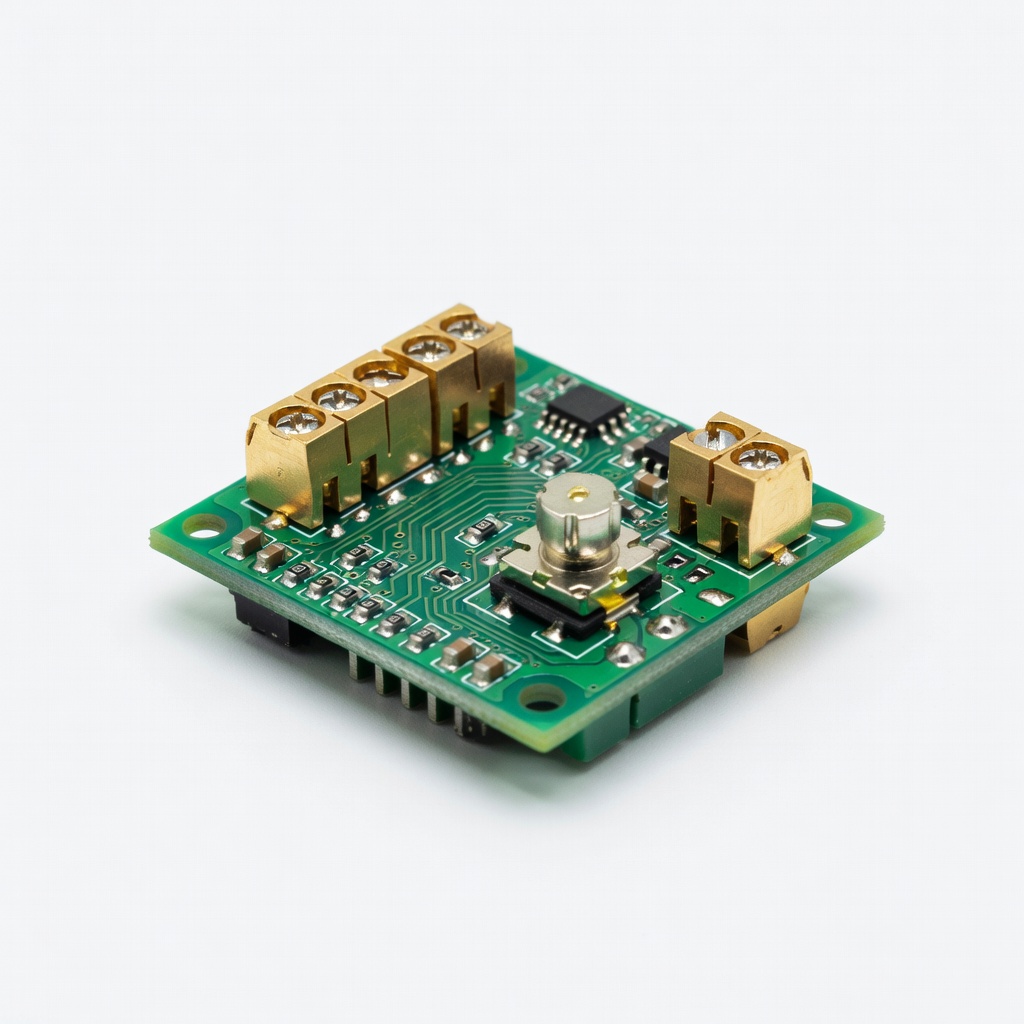
DROK 006V Adjustable Buck Converter Module
High-efficiency (95%), compact with display for precise 6V setting, up to 5A.
Best for: High-power multi-motor setups like crawlers or trains.
Price Range: $12.99
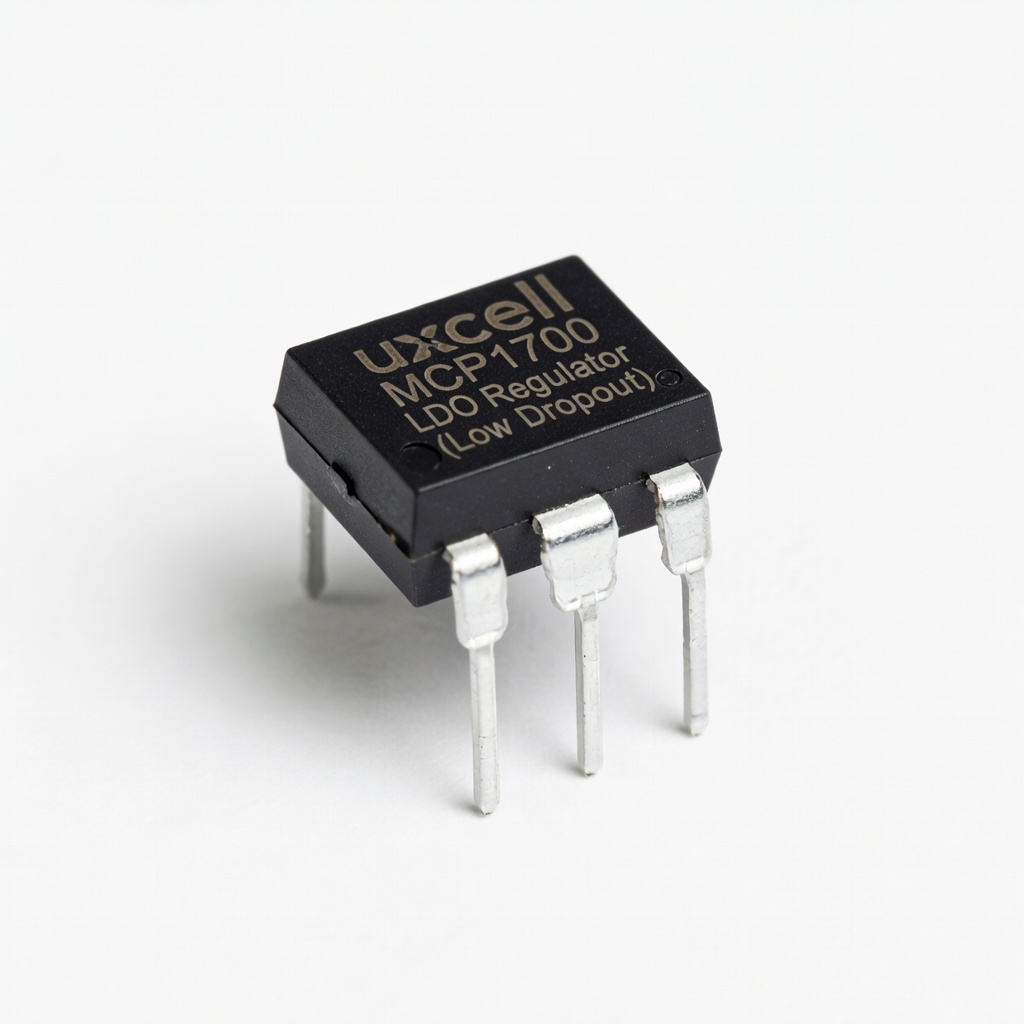
uxcell MCP1700 LDO Regulator (Low Dropout)
Ultra-low dropout (178mV), efficient linear for tight battery margins.
Best for: Single-cell Li-ion to 6V conversion in small toys.
Price Range: $8.99