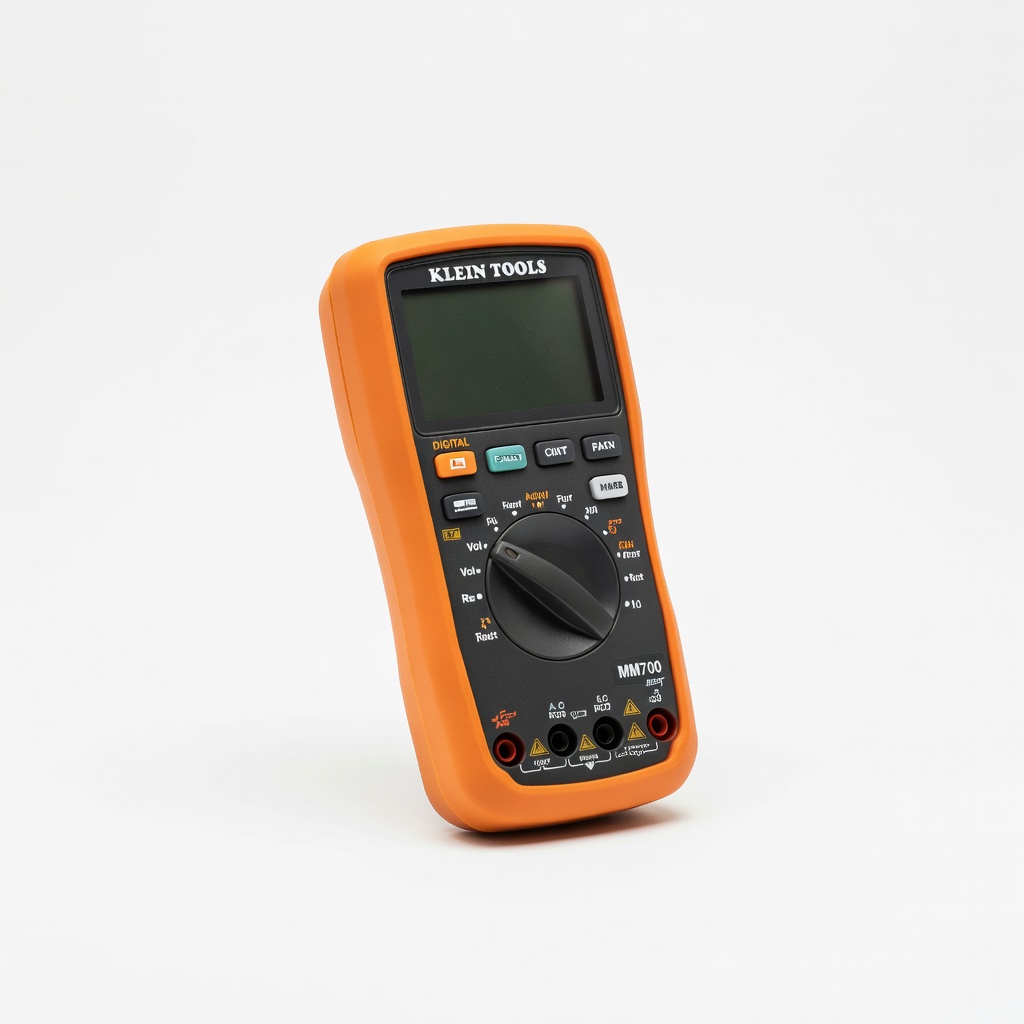
Klein Tools MM700 Digital Multimeter
Live vehicle diagnostics under load.
$50-$60
Klein Tools MM700 Digital Multimeter Accurate TRMS measurement for precise voltage drop testing in noisy 12V environments.
Get the App
Better experience on mobile
Master voltage drop to optimize performance, prevent failures, and extend the life of your 12V car accessories.
Ever installed high-power 12V accessories like LED light bars or winches, only to notice dim lights, sluggish motors, or unexpected shutdowns? That's voltage drop at work, robbing your gear of the power it needs in your vehicle's 12V system.
In this advanced guide, you'll learn what voltage drop is, why it plagues 12V setups, how to calculate and measure it precisely, and proven strategies to combat it. We'll break down the physics with real-world car examples, formulas, and data-driven insights—no fluff, just actionable knowledge for DIYers and installers.
Expect 20-30 minutes to read and apply concepts; advanced electrical knowledge (Ohm's Law, wire resistance) assumed. By the end, you'll diagnose and fix voltage drop like a pro.
Estimated Time: 20-30 minutes Difficulty: advanced
A 12V car system delivers nominal 12-14.4V from the alternator/battery, but actual voltage at accessories varies due to resistance.
Key concept: Voltage (V) is electrical potential; current (I) flows through resistance (R) per Ohm's Law. In vehicles, the battery/alternator supplies voltage, but long/thin wires create resistance, dropping voltage downstream.
Expect 13.8V at idle, dropping to 11-12V under load—know this baseline for drop analysis.
💡 Tips:
Voltage drop is the reduction in voltage from source to load, calculated as ΔV = I × R (where R is total circuit resistance).
In 12V accessories, >3% drop (0.4V) is problematic; >10% (1.2V) causes failure. For example, a 10A LED bar needs 12V—if drop is 2V, it gets 10V, halving brightness.
Analogy: Like water pressure loss in a long hose—source pressure high, but faucet weak.
⚠️ Warnings:
Main culprits: Wire length/resistance (longer/thinner = higher R), high current draw (amps amplify drop), connections (corrosion/loose terminals add R), ground paths (poor chassis grounds double drop).
Real-world: 50ft 16AWG wire at 20A drops ~3V round-trip. Undersized fuses or daisy-chained circuits worsen it.
Why matters: Accessories like inverters or fridges demand stable V; drop mimics low battery.
💡 Tips:
Formula: ΔV = 2 × L × I × (R_per_1000ft / 1000), where L=one-way length (ft), I=current (A), R=AWG resistance (Ω/1000ft).
Example: 20ft 14AWG (2.525Ω/1000ft), 15A load → ΔV = 2×20×15×(2.525/1000) = 1.52V (12.6% drop—too high!).
Use NEC Chapter 9 Table 8 for R values; apps automate for precision.
💡 Tips:
Drop starves accessories: LEDs dim/flicker, motors slow (winches stall), electronics reset (radios, GPS). High-draw (amps >10A) suffer most.
Data: 2V drop on 55W fogs = 30% less light; fridge cycles off below 11V.
Chronic drop overheats wires (I²R losses), risking fire.
⚠️ Warnings:
Method: Multimeter in voltage mode—probe battery (+/-) for source V, then accessory terminals under full load.
ΔV = Source V - Load V. Test hot/cranking/idle. Ground-side drop often overlooked (50% of total).
Expect: <0.5V drop ideal; log data for trends.
💡 Tips:
ABYC/automotive std: <3% continuous (<10% intermittent). For 12V: <0.36V steady, <1.2V peak.
Accessories vary: Critical (ECU) <1%, lights <5%, winches <10%. Adjust per spec sheet.
Solutions: Upsize wire (10AWG for 20A+), shorten runs, star-ground (dedicated grounds), add relays/fuses near battery, use boosters for remote loads.
Pro move: Power distro block + 4AWG feeds multiple accessories.
💡 Tips:
Problem: Sudden high drop (>2V) under load
Solution: Check loose/corroded connections; tighten or replace terminals. Retest.
Problem: Intermittent drop/flicker
Solution: Inspect grounds; clean chassis paint. Add dedicated ground wire.
Problem: Drop worsens when hot
Solution: Resistance rises—upsized wire or heat-shrink insulation needed. Seek pro if alternator failing.
Problem: Accessories work at idle, fail driving
Solution: Alternator overload—measure system Amps; add high-output unit.
Accurate TRMS measurement for precise voltage drop testing in noisy 12V environments.
Best for: Live vehicle diagnostics under load.
Price Range: $50-$60
Low-resistance 4AWG copper for high-current runs, minimizes drop over distance.
Best for: Powering winches, inverters from battery.
Price Range: $25-$35
Distributes power cleanly from thick feed wire, reduces multiple long runs.
Best for: Multi-accessory setups like off-road rigs.
Price Range: $15-$20
Compensates drop by boosting to stable 12V output for sensitive accessories.
Best for: Remote/rear installs far from battery.
Price Range: $15-$25
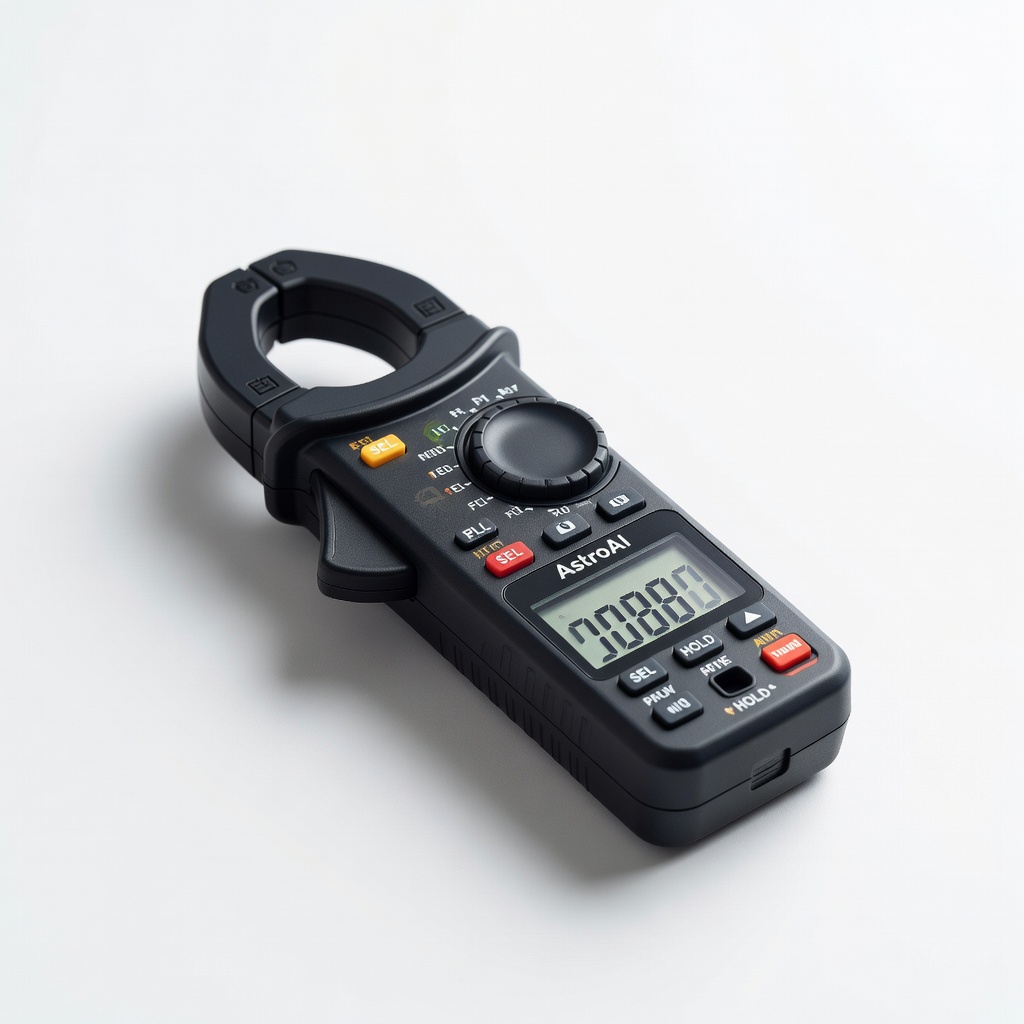
Measures current non-invasively alongside voltage for full Ohm's Law calcs.
Best for: Sizing wires before install.
Price Range: $30-$40
Live vehicle diagnostics under load.
Klein Tools MM700 Digital Multimeter Accurate TRMS measurement for precise voltage drop testing in noisy 12V environments.
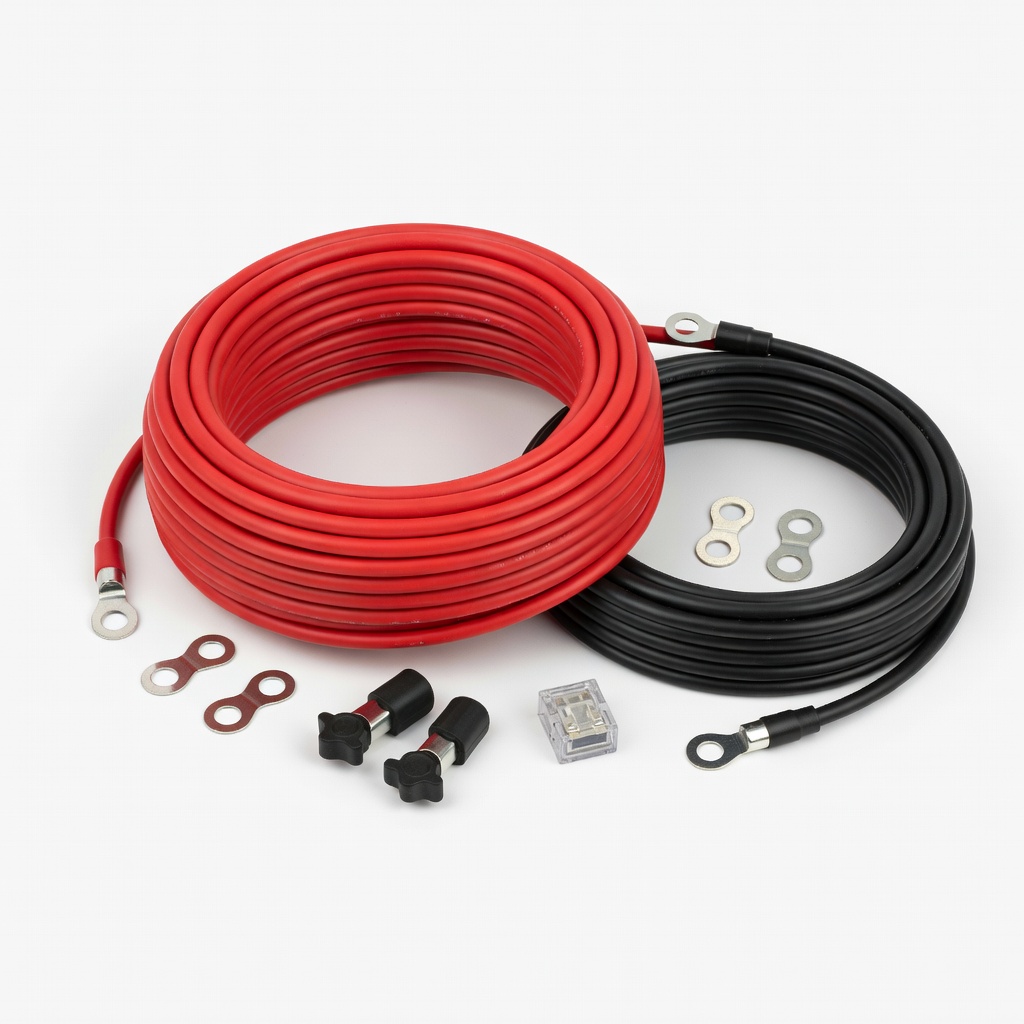
Powering winches, inverters from battery.
Nilight 4 Gauge 10FT Heavy Duty Wiring Kit Low-resistance 4AWG copper for high-current runs, minimizes drop over distance.
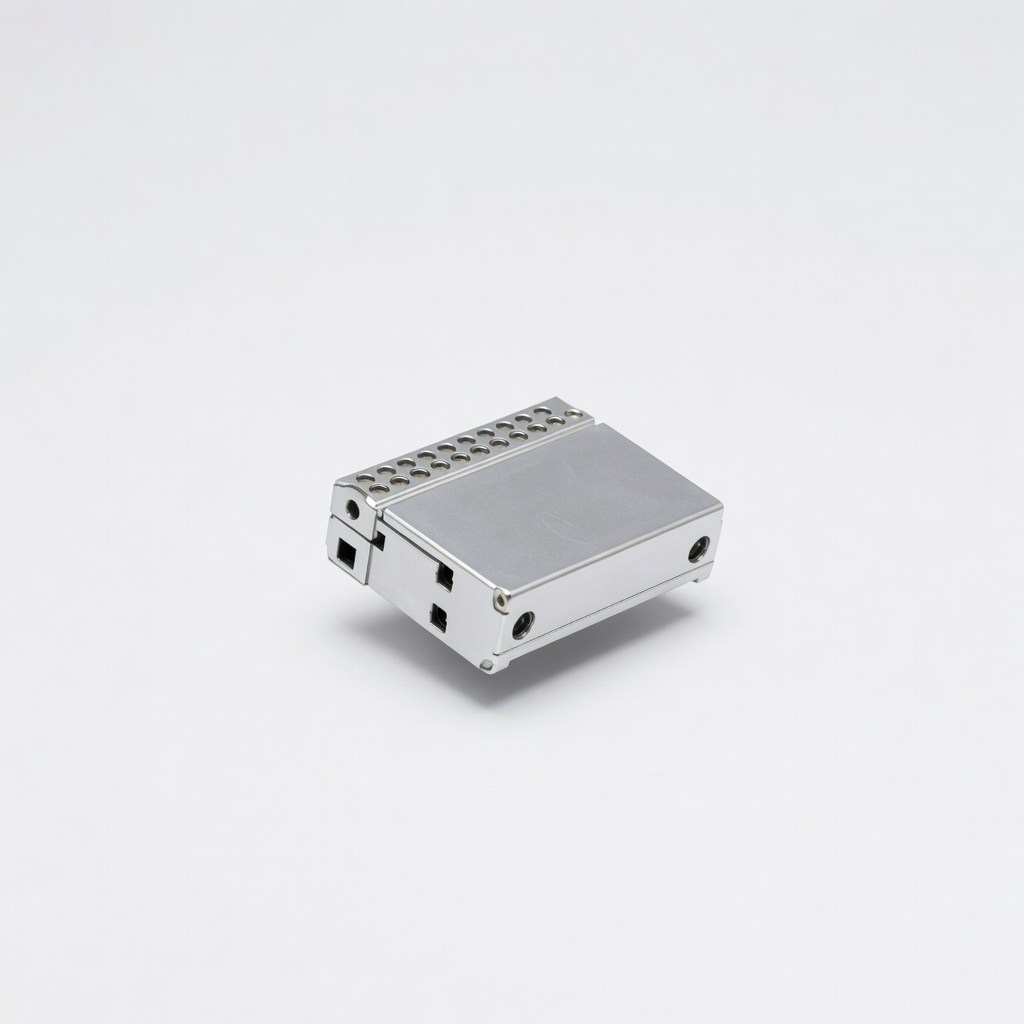
Multi-accessory setups like off-road rigs.
Ampper Aluminum Power Distribution Block Distributes power cleanly from thick feed wire, reduces multiple long runs.
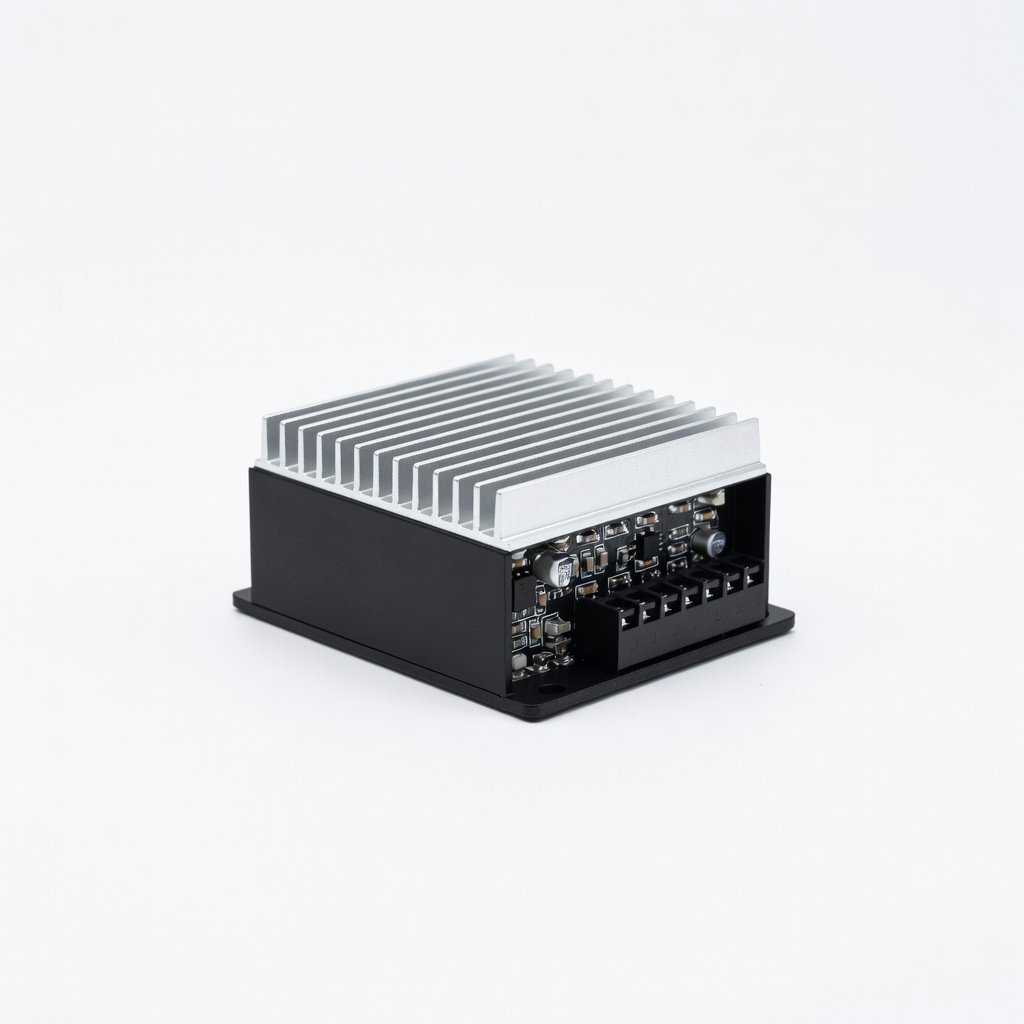
Remote/rear installs far from battery.
DROK 12V Voltage Booster Regulator Compensates drop by boosting to stable 12V output for sensitive accessories.
Sizing wires before install.
AstroAI Digital Clamp Meter Measures current non-invasively alongside voltage for full Ohm's Law calcs.