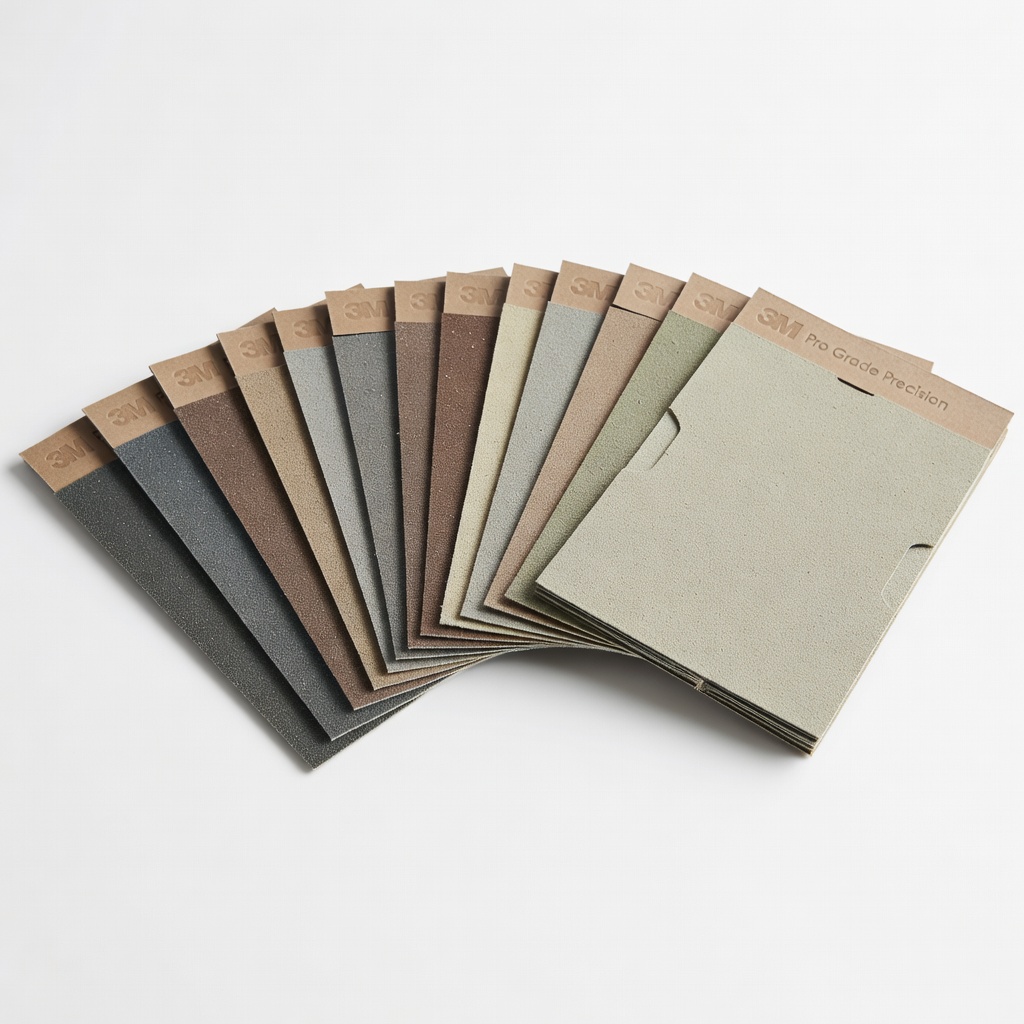
3M Pro Grade Precision Hand Sandpaper Assortment
All sanding steps on furniture or crafts.
$12-15
3M Pro Grade Precision Hand Sandpaper Assortment Versatile grits (80-220) cut fast without shredding; perfect beginner pack for hand sanding.
Get the App
Better experience on mobile
Get the beginner-friendly list of essential tools to sand wood smoothly and apply flawless finishes like a pro.
Ever started a woodworking project only to end up with rough surfaces or blotchy finishes that scream 'amateur'? Proper sanding and finishing are the secret to professional-looking wood pieces, but beginners often overlook the right tools, leading to frustration and wasted time.
In this guide, you'll learn the must-have tools for abrasives (sanding) and finishing products on wood. We'll break down what's required, optional power tools, and safety essentials, with clear explanations and why each matters. No prior experience needed—this is designed for beginners.
Expect a straightforward explainer: read in 10-15 minutes, then gather tools for your next project. Difficulty is low, focusing on basics before diving into projects.
Estimated Time: 10-15 minutes to read; 30-60 minutes to gather and test tools Difficulty: beginner
Before touching wood, prioritize protection. Wood dust from sanding is fine and harmful if inhaled, and finishes can splash into eyes.
Required items: N95 dust mask (or better, respirator), safety goggles, and nitrile gloves. These prevent respiratory issues, eye irritation, and skin contact with chemicals.
Why it matters: Skipping safety leads to health risks and interrupted work. Expect to feel secure and focused.
💡 Tips:
⚠️ Warnings:
Abrasives are sandpaper sheets or discs that remove material. Grits measure coarseness: low numbers (80-120) for rough sanding, higher (220+) for smoothing.
Key tool: Assorted grit sandpaper packs (garnet for hand sanding, aluminum oxide for power tools). Analogy: Like using coarse then fine steel wool on a pan.
You'll need 3-5 grits per project. Start coarse to shape, finish fine for baby-smooth wood ready for stain.
💡 Tips:
For small projects or details, hand tools rule. Sanding block (rubber or cork) holds sandpaper flat, preventing uneven gouges.
Sanding sponge works curves. Sand with the grain (wood's lines) in circular motions for power sanding.
Expect light dust; this builds control before power tools.
⚠️ Warnings:
Upgrade to random orbital sander for speed on large surfaces. It vibrates and spins to avoid swirls.
Palm sander for flats. Why? Cuts time 5x vs. hand sanding. Rent first if unsure.
Plug in, attach disc, test on scrap wood.
💡 Tips:
Tack cloth (sticky cheesecloth) or microfiber dampened with mineral spirits wipes dust.
Why critical: Dust ruins finishes, causing bubbles or pits. Wipe after each grit change.
Expect a tacky feel pulling debris.
💡 Tips:
Finishes protect and beautify: stain colors wood, polyurethane seals.
Oil-based for durability, water-based for easy cleanup. Test on scrap.
Analogy: Stain is makeup, topcoat is sunscreen.
⚠️ Warnings:
Natural bristle brush for even stain coats; foam brush for varnish to avoid streaks.
Lint-free rags for wiping excess stain.
Apply thin coats, let dry 4-6 hours between.
💡 Tips:
End with shop vac or brush for dust, mineral spirits for spills.
Dispose rags properly (oil rags can combust).
Keeps workspace safe and tools lasting.
⚠️ Warnings:
Problem: Sandpaper clogs quickly
Solution: Use sharp paper; clean with crepe rubber or replace. Avoid resinous woods without lubricant.
Problem: Uneven finish streaks
Solution: Sand lightly between coats (220 grit); use foam brush and thin layers.
Problem: Dust in finish
Solution: Improve prep: vacuum + tack cloth. Work in cleaner space.
Problem: Sander leaves swirls
Solution: Use random orbit type; keep moving, light pressure.
Versatile grits (80-220) cut fast without shredding; perfect beginner pack for hand sanding.
Best for: All sanding steps on furniture or crafts.
Price Range: $12-15
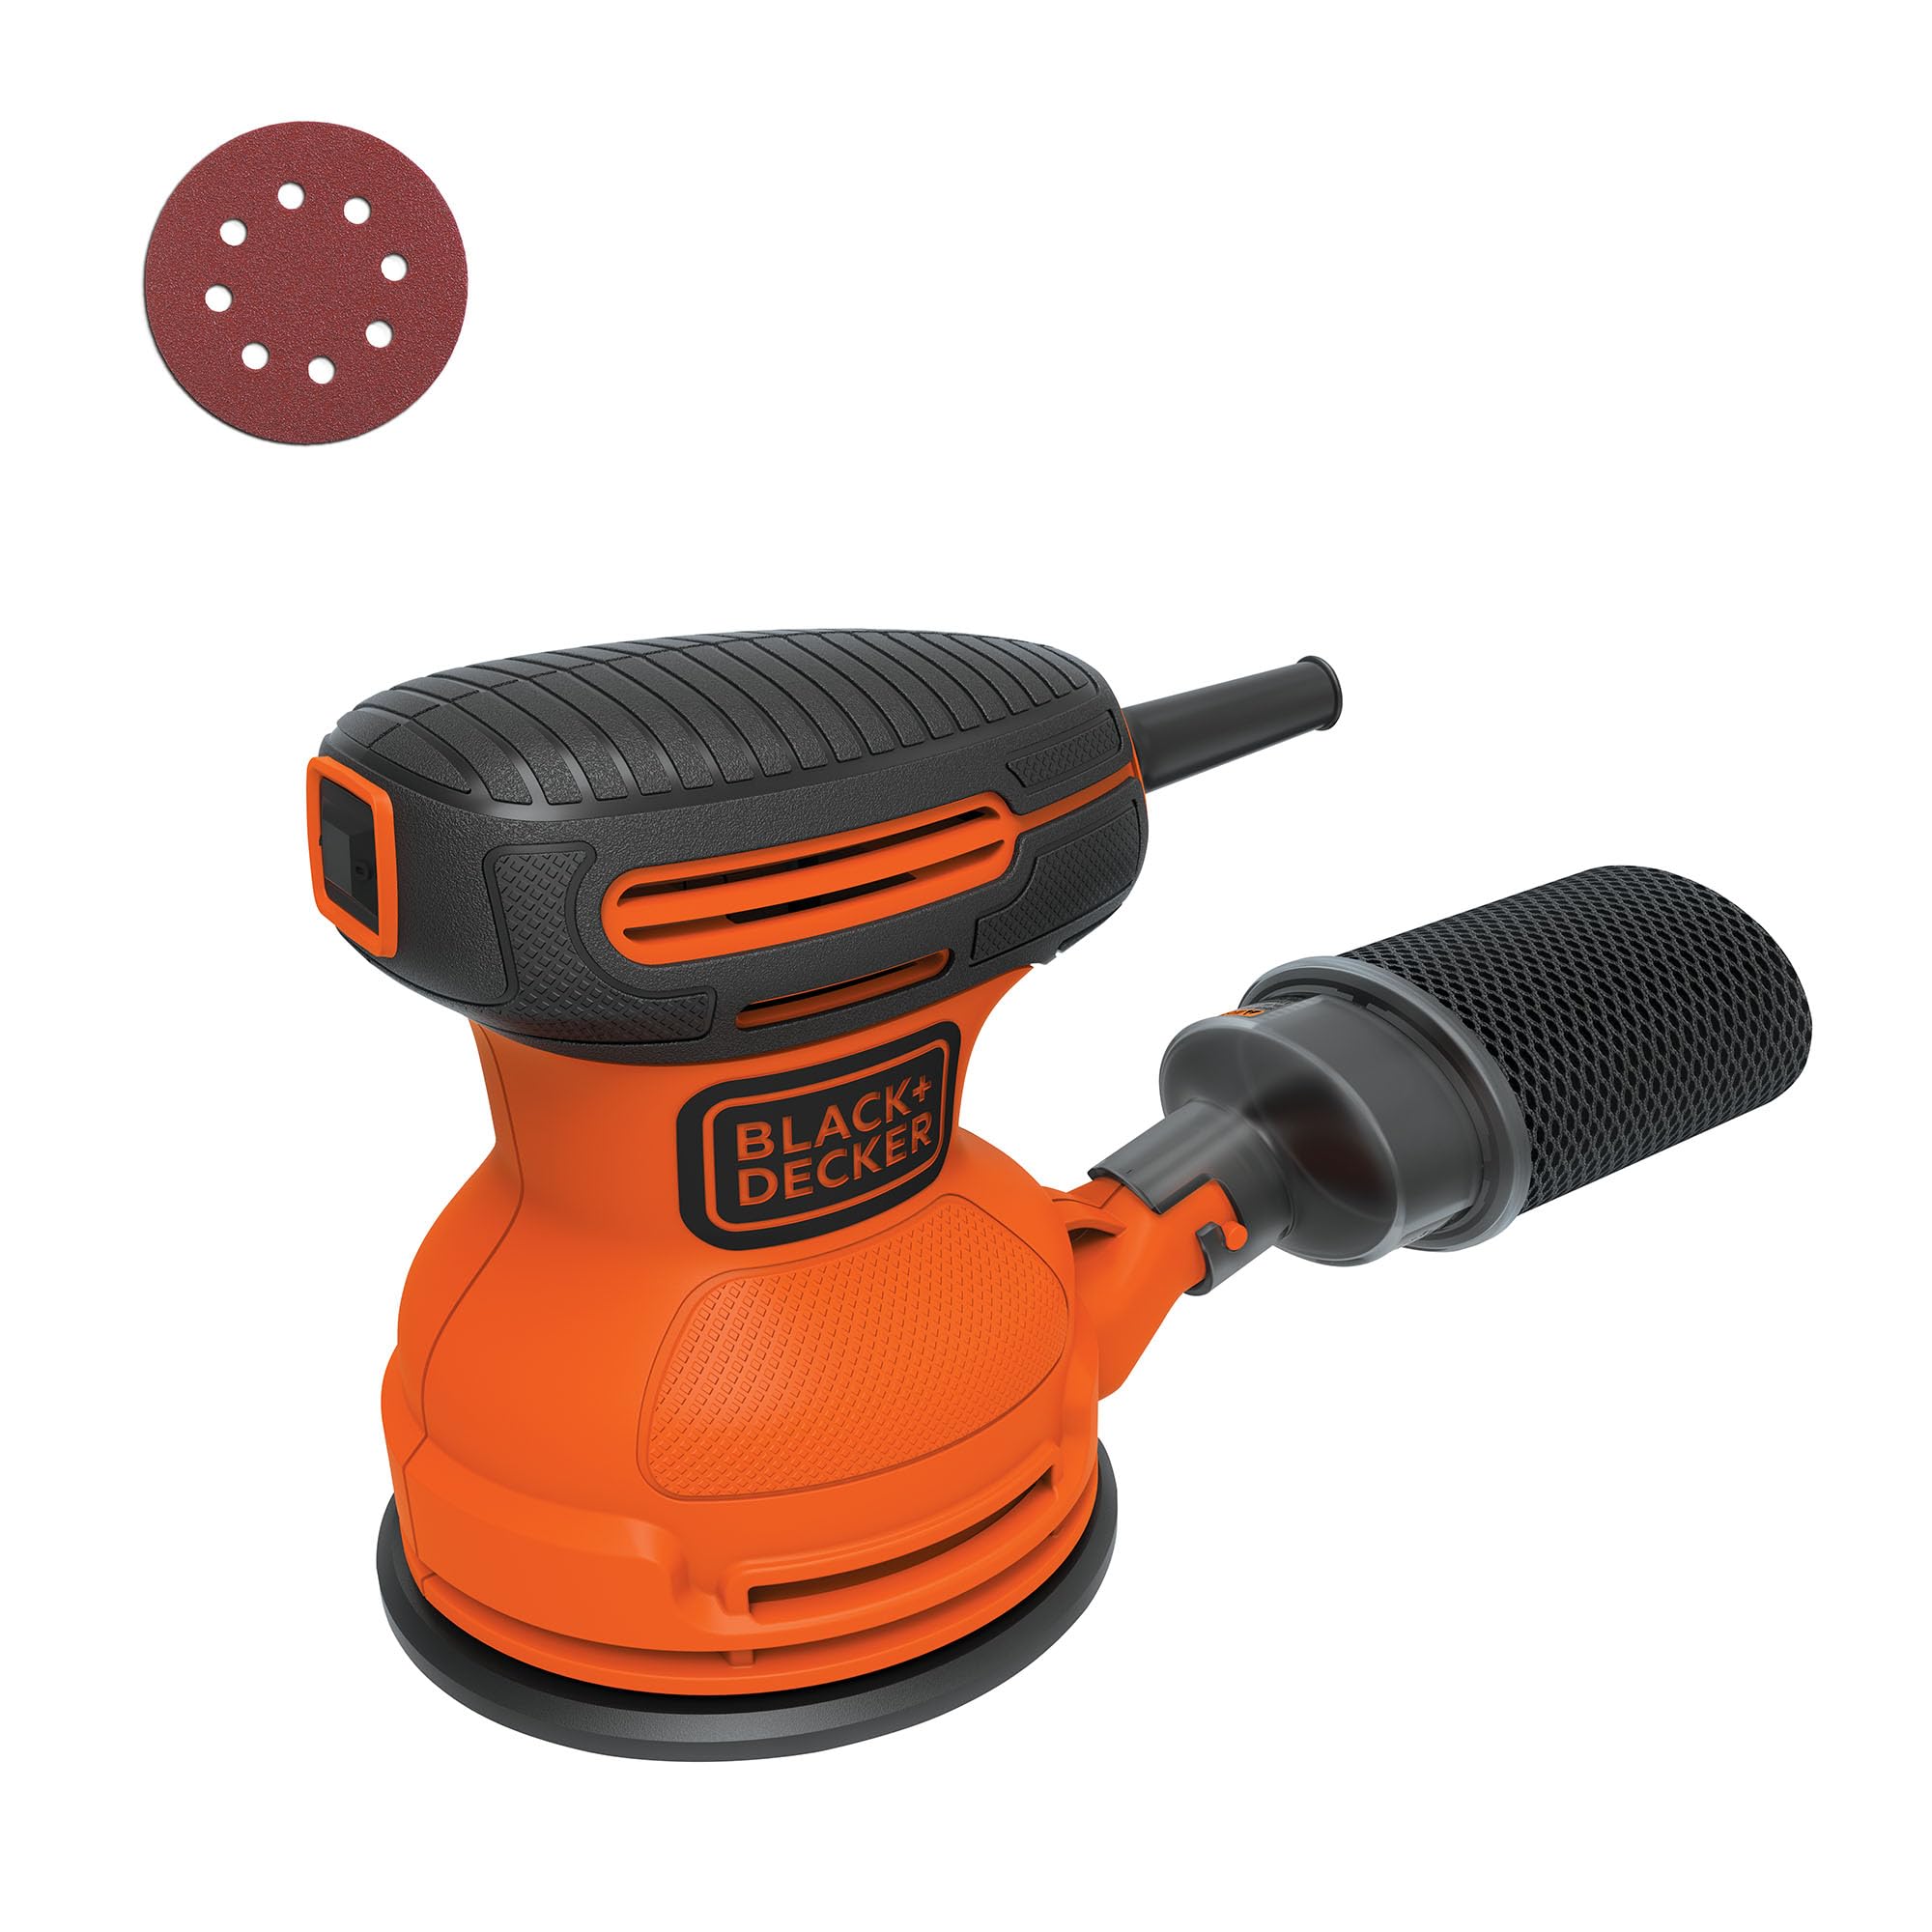
Affordable, low-vibration power tool speeds up large areas without swirls.
Best for: Flat surfaces like tabletops; beginner-friendly.
Price Range: $29-35
Easy-to-apply, even color penetration; oil-based durability for interiors.
Best for: Coloring pine or oak before sealing.
Price Range: $8-12
Sticky, lint-free dust removal; reusable saves money long-term.
Best for: Pre-finish wipe-downs.
Price Range: $6-10
High-quality nylon/poly for smooth stain/varnish flow; holds shape.
Best for: Applying finishes without bristles marks.
Price Range: $12-18
All sanding steps on furniture or crafts.
3M Pro Grade Precision Hand Sandpaper Assortment Versatile grits (80-220) cut fast without shredding; perfect beginner pack for hand sanding.
Flat surfaces like tabletops; beginner-friendly.
BLACK+DECKER BDERO100 Random Orbit Sander Affordable, low-vibration power tool speeds up large areas without swirls.

Coloring pine or oak before sealing.
Minwax 63333 Golden Oak Wood Finish Stain Easy-to-apply, even color penetration; oil-based durability for interiors.

Pre-finish wipe-downs.
Waxco Tack Cloth Reusable Sticky, lint-free dust removal; reusable saves money long-term.

Applying finishes without bristles marks.
Purdy XL Sprig Dale Paint Brush (2 inch) High-quality nylon/poly for smooth stain/varnish flow; holds shape.