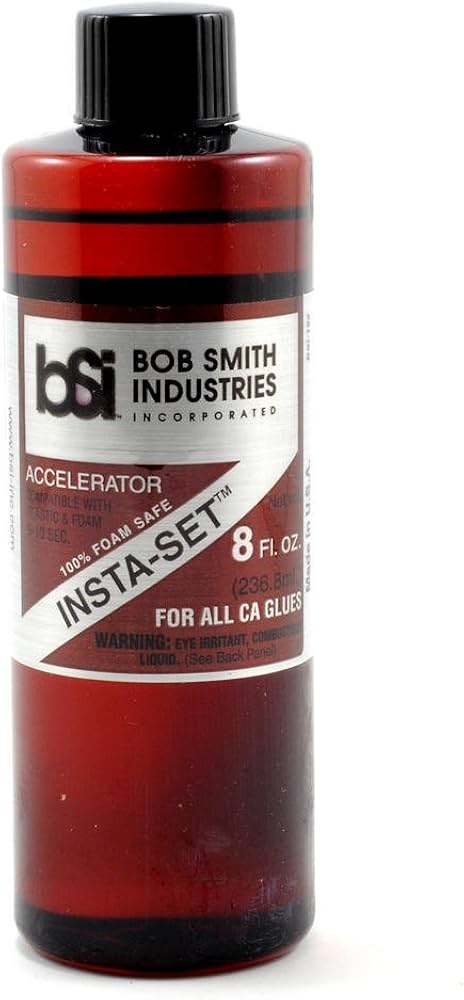
BSI Insta-Set Accelerator
Model building, quick repairs on passive surfaces.
$10-15
BSI Insta-Set Accelerator Fast-drying, non-clogging formula ideal for hobbyists and pros on metals/glass.
Get the App
Better experience on mobile
Learn to identify challenging surfaces where cyanoacrylate adhesives fail without accelerators for reliable, instant bonds.
Struggling with cyanoacrylate (CA) adhesives that take forever to cure or fail entirely on certain materials? This is a common frustration for advanced users in manufacturing, model building, and repairs, where slow bonding leads to weak joints, production delays, or rework. Adhesive accelerators solve this by kickstarting the polymerization process on passive surfaces.
In this guide, you'll master the science behind CA curing, pinpoint surfaces that demand accelerators, and get pro tips for optimal use. Expect a deep dive into surface chemistry—no fluff, just actionable insights for advanced applicators. Reading and applying concepts takes 15-20 minutes.
We'll break it down from curing basics to specific surface types, testing methods, and real-world application, empowering you to achieve 5-10 second set times even on tricky substrates.
Estimated Time: 15-20 minutes Difficulty: advanced
Cyanoacrylate adhesives cure through anionic polymerization, triggered by trace moisture on the surface that generates hydroxide ions (OH-) for initiation. On ideal surfaces like paper or skin, this happens in seconds via surface alkalinity. However, passive surfaces lack moisture or have acidic/passivating layers, delaying or preventing cure.
Accelerators are alkaline solutions (e.g., amines, sodium bicarbonate in solvents) applied to the mating surface, providing instant initiators. Why it matters: Understanding this predicts failure points. Expect bonds to form in 5-30 seconds post-accelerator vs. minutes or never without.
Image description: Diagram showing CA monomer polymerization chain with OH- initiation arrow pointing to accelerator spray on metal surface.
💡 Tips:
⚠️ Warnings:
Acidic surfaces (pH <7) neutralize initiators: examples include vegetable-tanned leather, some woods (teak, oak with tannins), and acid-etched metals. Oily residues from machining exacerbate this. These require accelerators to overwhelm acidity.
Apply accelerator to one surface, mate immediately—blooming occurs fast. Expect matte white residue (cured polymer) as success indicator.
Image description: Close-up of oily stainless steel before/after accelerator application with bond strength test swatch.
💡 Tips:
Most metals need accelerators due to oxide layers: stainless steel, aluminum (anodized), brass, titanium. Passivation films block moisture/ions. Without accelerator, cure can take 24+ hours or fail.
Spray lightly (1-2 seconds from 6-8 inches), allow 10-20 sec flash-off, apply CA to other surface. Why critical: Metals are common in aerospace/automotive bonds. Full strength in 24 hours.
⚠️ Warnings:
Silica-based glass and glazed ceramics are neutral/inert, low moisture. Accelerators provide the base kick. Porcelain, Pyrex, tiles all qualify.
Test: Dry fit shows no tack in 1 min? Needs accelerator. Expect crystal-clear bonds without whitening.
💡 Tips:
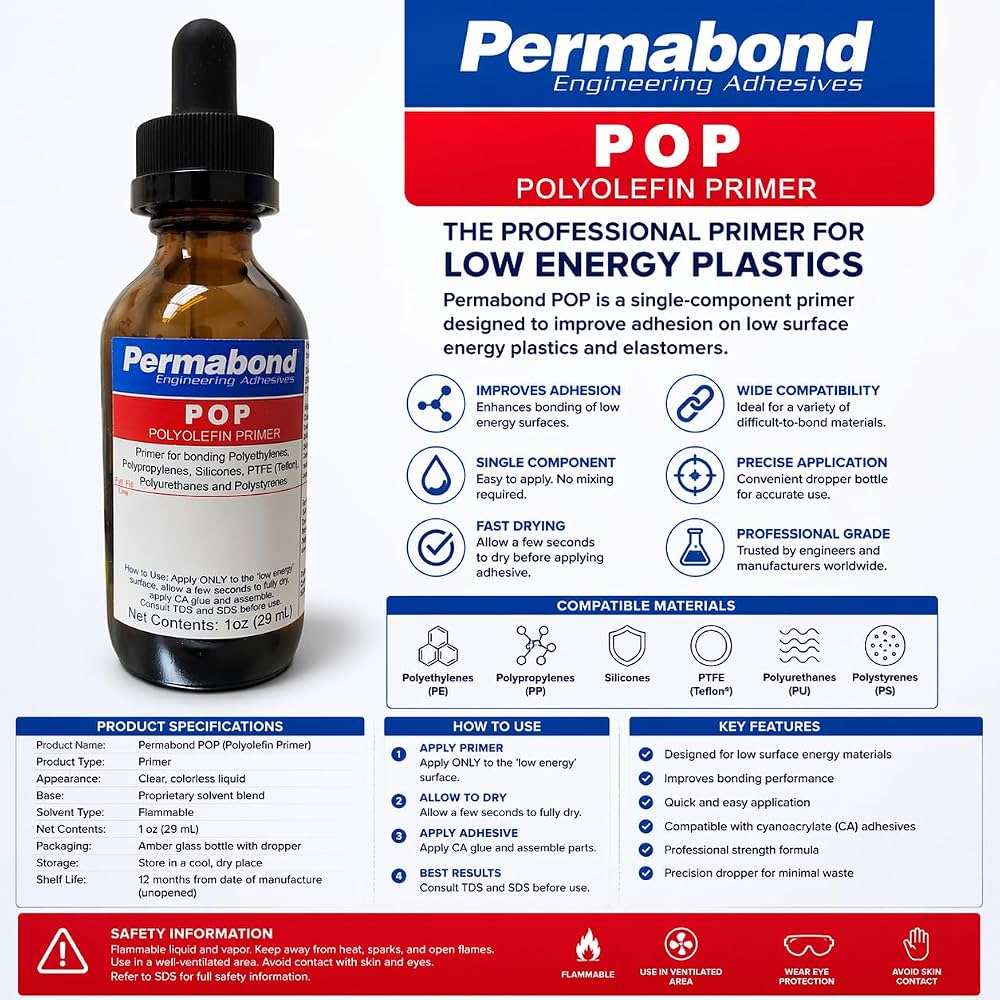
Polar plastics like acrylic, PVC, ABS sometimes cure slowly; low-energy ones (PE, PP, PTFE) need primers first, then accelerator. Composites (carbon fiber with epoxy residue) passivate.
Distinguish: If no bond in 2 min, try accelerator. Use case: RC models, 3D prints.
⚠️ Warnings:
EPDM, nitrile, silicone rubbers bloom inhibitors or low polarity. Accelerators help EPDM/viton; silicones need primers.
Apply to rubber side. Expect flexible yet strong joints for seals/gaskets.
💡 Tips:
Lap shear test: Bond samples, cure 24h, pull to failure. Surfaces failing <500 psi need accelerator. Iterate dilution/application distance.
Pro metric: Set time <10s = optimized.
Problem: Bond sets too fast, becomes brittle
Solution: Reduce accelerator dwell time or dilute 1:1 with solvent; use less spray.
Problem: White blooming or frosting
Solution: Wipe excess before mating; switch to low-bloom accelerator.
Problem: No cure after 5 min
Solution: Check surface passivation—abrade lightly; verify accelerator potency (test on paper).
Problem: Weak shear strength post-24h
Solution: Ensure full flash-off; test humidity >30%; use primer if LSE plastic.
Fast-drying, non-clogging formula ideal for hobbyists and pros on metals/glass.
Best for: Model building, quick repairs on passive surfaces.
Price Range: $10-15
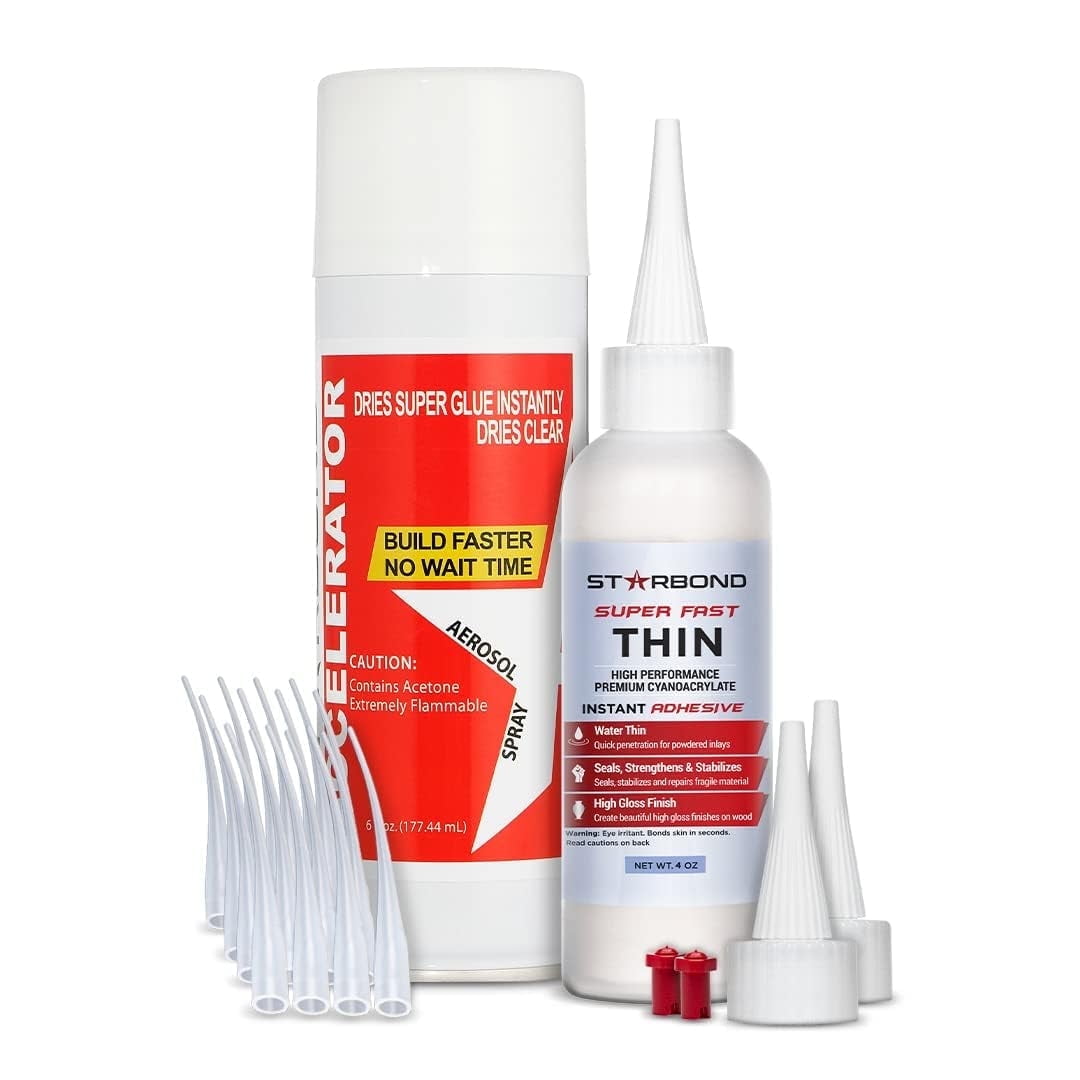
Precision pump bottle prevents waste; effective on oily metals/woods without residue.
Best for: Woodworking, 3D printing bonds.
Price Range: $12-18
Industrial-grade for stainless steel/aluminum; high reliability in production.
Best for: Manufacturing, automotive assemblies.
Price Range: $25-35
Universal for difficult rubbers/plastics; one-step acceleration.
Best for: Gaskets, composites.
Price Range: $30-50
Model building, quick repairs on passive surfaces.
BSI Insta-Set Accelerator Fast-drying, non-clogging formula ideal for hobbyists and pros on metals/glass.
Woodworking, 3D printing bonds.
Starbond EM-02 No-Clog Thin Accelerator Precision pump bottle prevents waste; effective on oily metals/woods without residue.

Manufacturing, automotive assemblies.
Loctite SF 7455 Primer/Accelerator Industrial-grade for stainless steel/aluminum; high reliability in production.
Gaskets, composites.
Permabond POP Primer Universal for difficult rubbers/plastics; one-step acceleration.