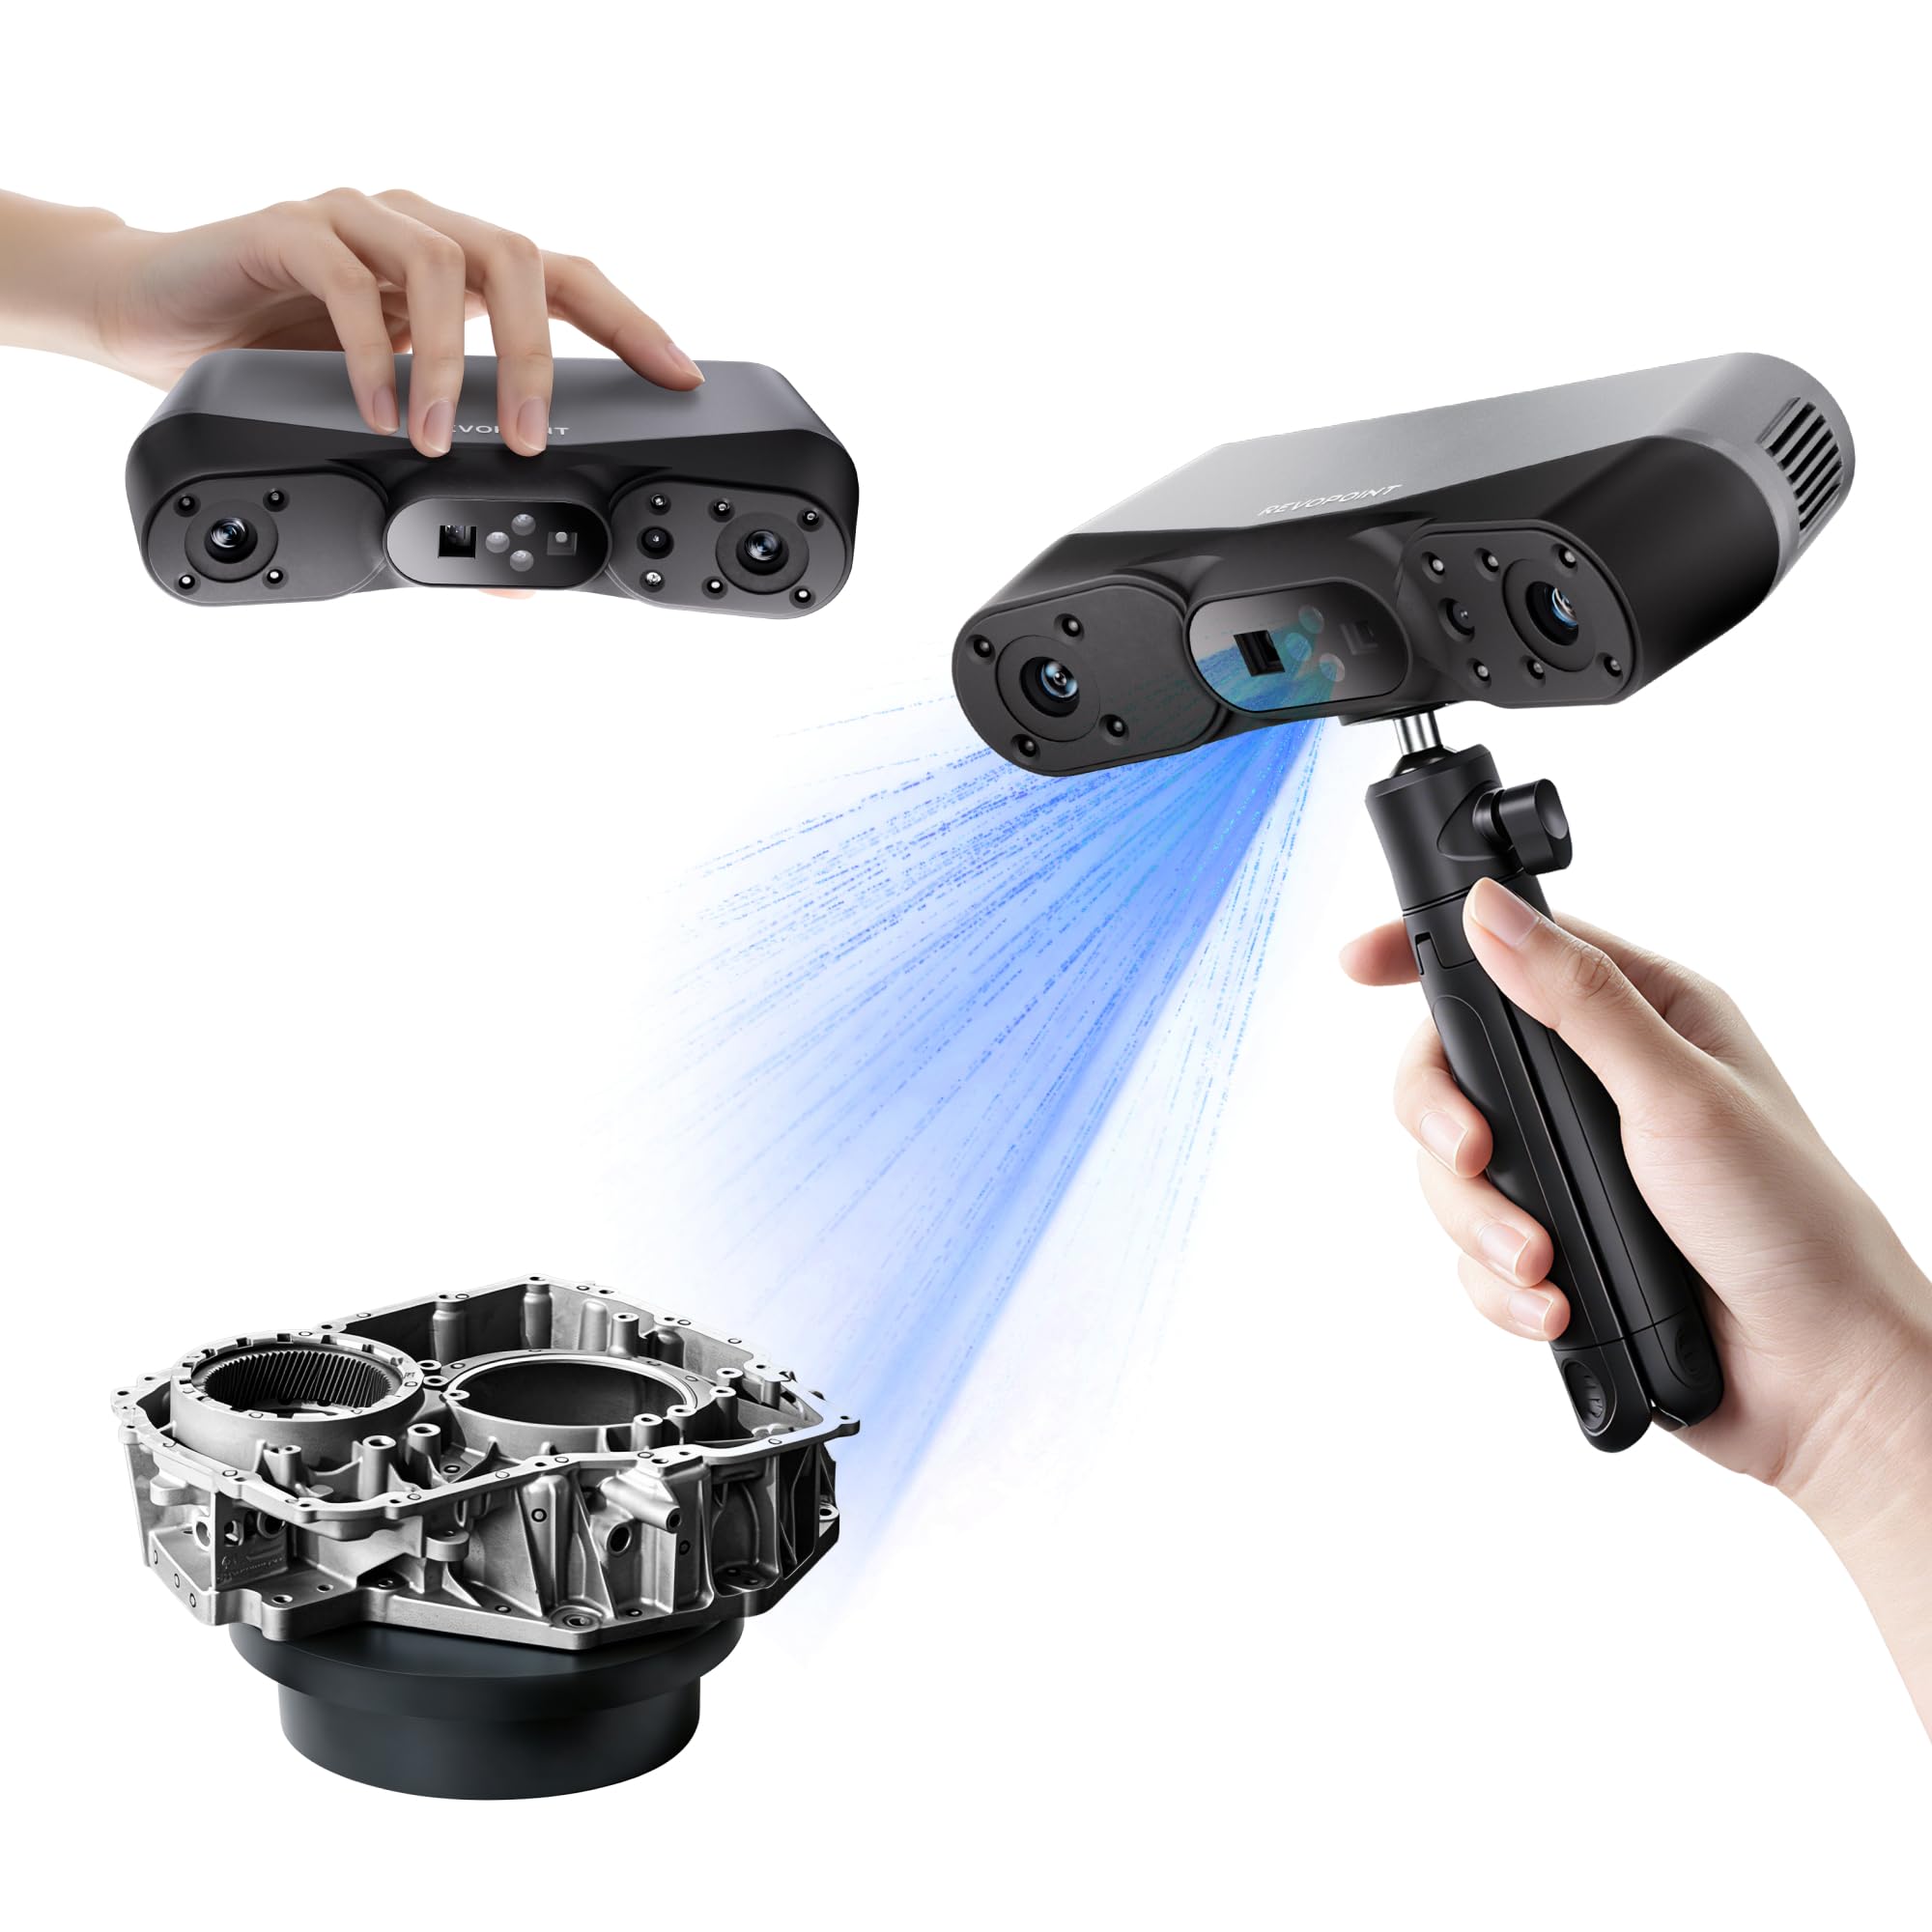
Revopoint POP 3 3D Scanner
Handheld scanning small objects like figurines; export to free editors.
$500-$600
Revopoint POP 3 3D Scanner Includes Revo Scan—intuitive capture software with AI alignment, perfect beginner pairing.
Get the App
Better experience on mobile
Unlock perfect 3D models with top beginner-friendly software that pairs seamlessly with your scanner—no advanced skills needed.
Buying a 3D scanner is exciting, but raw scans often come out noisy, incomplete, or misaligned. The real magic happens in software that captures, cleans, and refines your scans into usable 3D models. Without the right tools, beginners waste hours fixing glitches or get frustrated and quit.
In this guide, you'll learn the best software categories, top free and paid options that pair perfectly with popular beginner scanners like Revopoint or Creality models, and how to set up a simple workflow. Expect to go from messy scan to printable model in under an hour once you're set up. It's beginner-friendly, with no coding required.
We'll break it down step-by-step, from capture to export, so you can choose software that matches your scanner and goals—whether hobby projects, printing, or sharing online.
Estimated Time: 20-30 minutes to read and initial setup Difficulty: beginner
Every 3D scanner produces raw data like point clouds or rough meshes. Laser/handheld scanners (e.g., Revopoint) output .ply or .obj files; photogrammetry apps create textured meshes. Why it matters: Knowing this helps pick software that imports your format without conversion headaches.
Check your scanner manual for supported formats. Expect point clouds (millions of dots) for structured light scanners or images for phone-based ones. Analogy: Raw scans are like unedited photos—blurry and needing filters.
Pro tip: Test a quick scan first to see the file type.
💡 Tips:
Most beginner scanners come with proprietary software optimized for capture—like Revo Scan for Revopoint or Creality Scan for CR-Scan. Install it from the included USB or download from the manufacturer's site.
Why prioritize this? It handles real-time preview, alignment, and basic fusion automatically, reducing errors by 50-70%. Expect 5-10 minute scans with live feedback. For example, Revo Scan auto-aligns multiple passes into one model.
Download, connect via USB, calibrate (follow on-screen prompts), and scan a simple object like a mug.
⚠️ Warnings:
After capture, use tools like CloudCompare (free) to align, merge, and clean point clouds. Import .ply files, use ICP algorithm for auto-alignment.
This step matters because multi-angle scans need stitching. Expect to reduce file size by decimating points (remove extras). Analogy: Like Photoshop layers—merge them seamlessly.
Open file > Edit > Align > Apply. Preview in 3D view.
💡 Tips:
Meshmixer or Blender excels here. Import your mesh, use tools like 'Inspector' in Meshmixer to auto-fill holes and smooth noise.
Why essential? Raw scans have holes from reflections or occlusions. Beginners love Meshmixer's one-click fixes. Expect 10-20% size reduction post-clean.
In Meshmixer: Analysis > Inspector > Accept. Reduce polygons via Remesh.
Blender or Fusion 360 for sculpting, scaling, or adding details. Blender's sculpt mode smooths like digital clay.
This refines for printing or VR. Matters for realism—fix undercuts or thin areas. Expect creative freedom without steep learning.
Blender: Add > Mesh > Import > Sculpt mode > Brush tools.
💡 Tips:
Use Cura or PrusaSlicer to slice models (.stl export). Check wall thickness, supports.
Critical for physical output. Why? Scanned models often need hollowing or supports. Export as .stl or .obj.
Import to slicer > Orient > Slice > Print.
⚠️ Warnings:
Scan a test object (e.g., toy car), process end-to-end. Time it: Capture 5min, process 15min.
Builds confidence. Expect iterations—tweak settings per object material (matte best).
Problem: Software won't recognize scanner
Solution: Update USB drivers, try different port/cable. Restart PC.
Problem: Meshes have holes or noise
Solution: Apply filters in Meshmixer Inspector or scan from more angles.
Problem: Slow performance or crashes
Solution: Close other apps, decimate mesh, or upgrade RAM.
Problem: Colors/textures lost
Solution: Export with textures (.obj + .mtl), use Blender to rebake.
Includes Revo Scan—intuitive capture software with AI alignment, perfect beginner pairing.
Best for: Handheld scanning small objects like figurines; export to free editors.
Price Range: $500-$600
Bundled Creality Scan software offers anti-shake tracking and easy editing tools for starters.
Best for: Portable scanning for medium objects; great value with color scanning.
Price Range: $300-$400
Free for hobbyists (paid upgrade available); excellent for scan editing, CAM, and simulation.
Best for: Post-processing scans into printable/manufacturable models.
Price Range: Free (personal) or $50/year
Comes with EXStar software for seamless capture and basic processing.
Best for: High-accuracy scans for larger objects like parts or art.
Price Range: $900-$1000
Simplest mesh repair tool—one-click fixes for scan artifacts.
Best for: Quick cleanup before printing.
Price Range: Free
Handheld scanning small objects like figurines; export to free editors.
Revopoint POP 3 3D Scanner Includes Revo Scan—intuitive capture software with AI alignment, perfect beginner pairing.
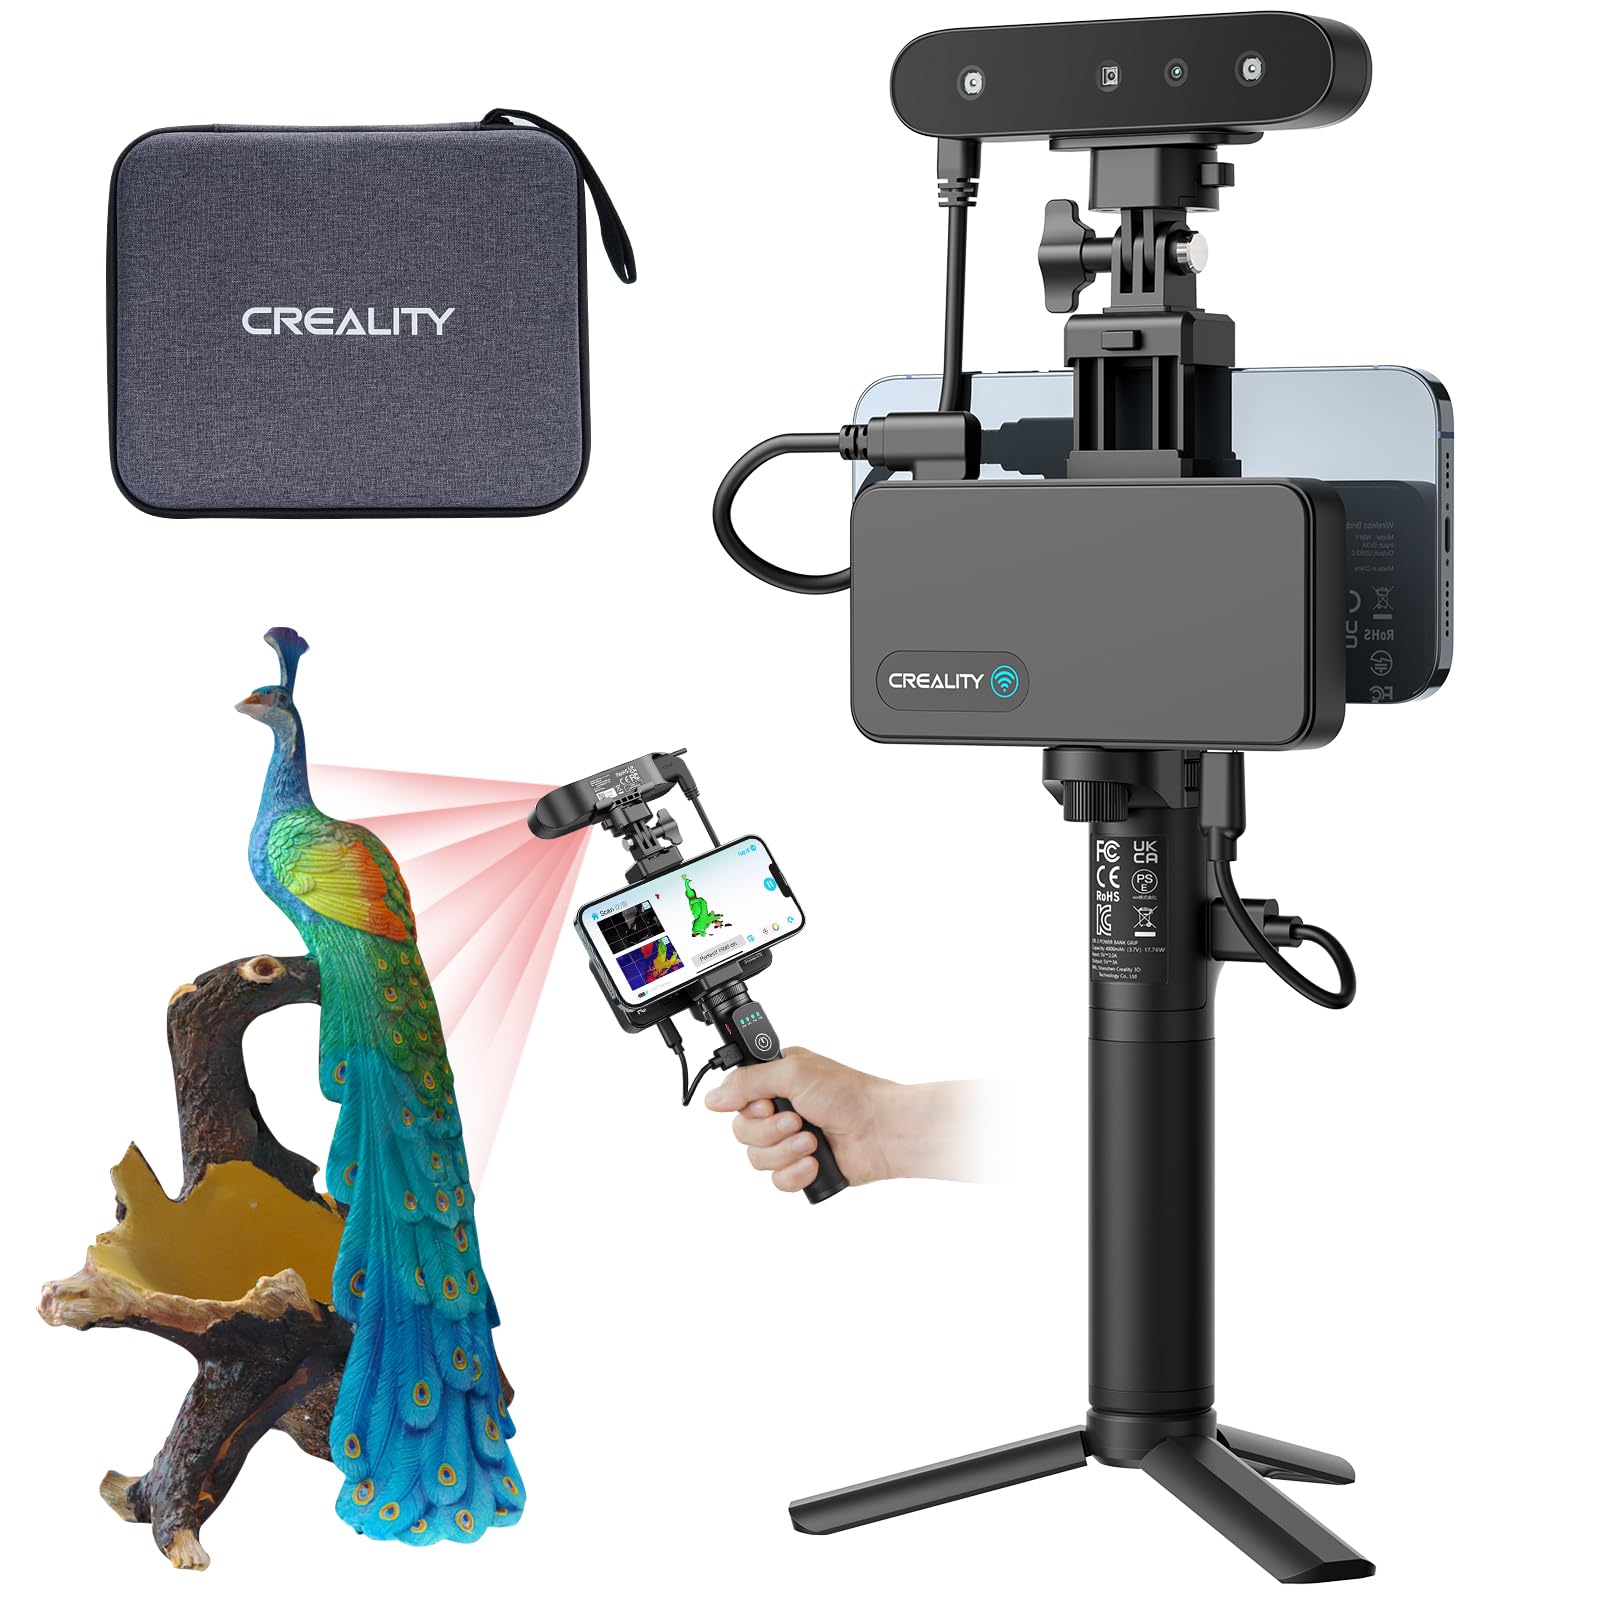
Portable scanning for medium objects; great value with color scanning.
Creality CR-Scan Ferret Pro Bundled Creality Scan software offers anti-shake tracking and easy editing tools for starters.
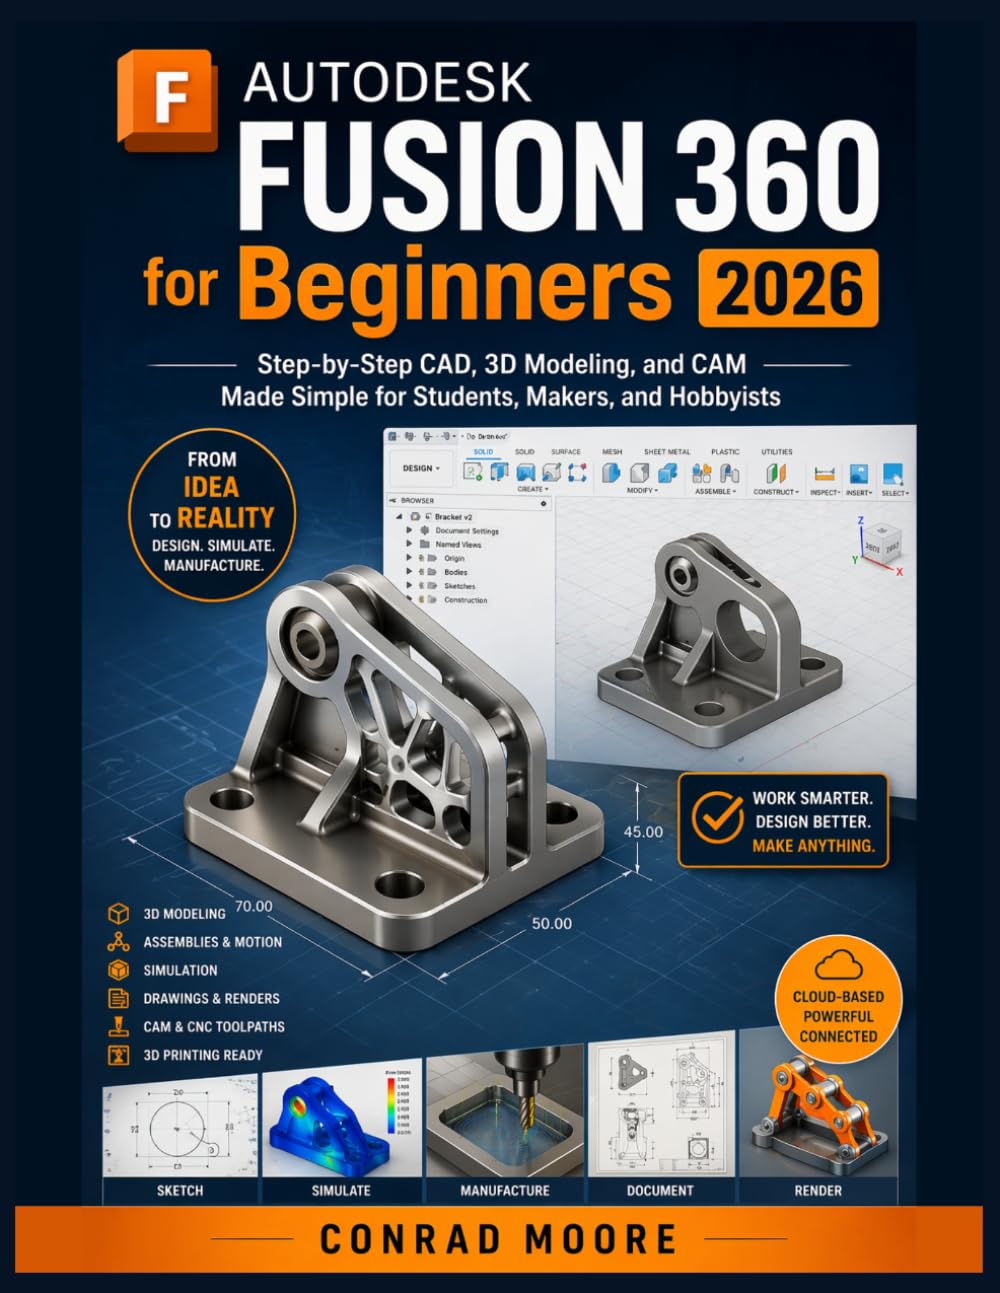
Post-processing scans into printable/manufacturable models.
Autodesk Fusion 360 Personal Use (3-Year Subscription) Free for hobbyists (paid upgrade available); excellent for scan editing, CAM, and simulation.
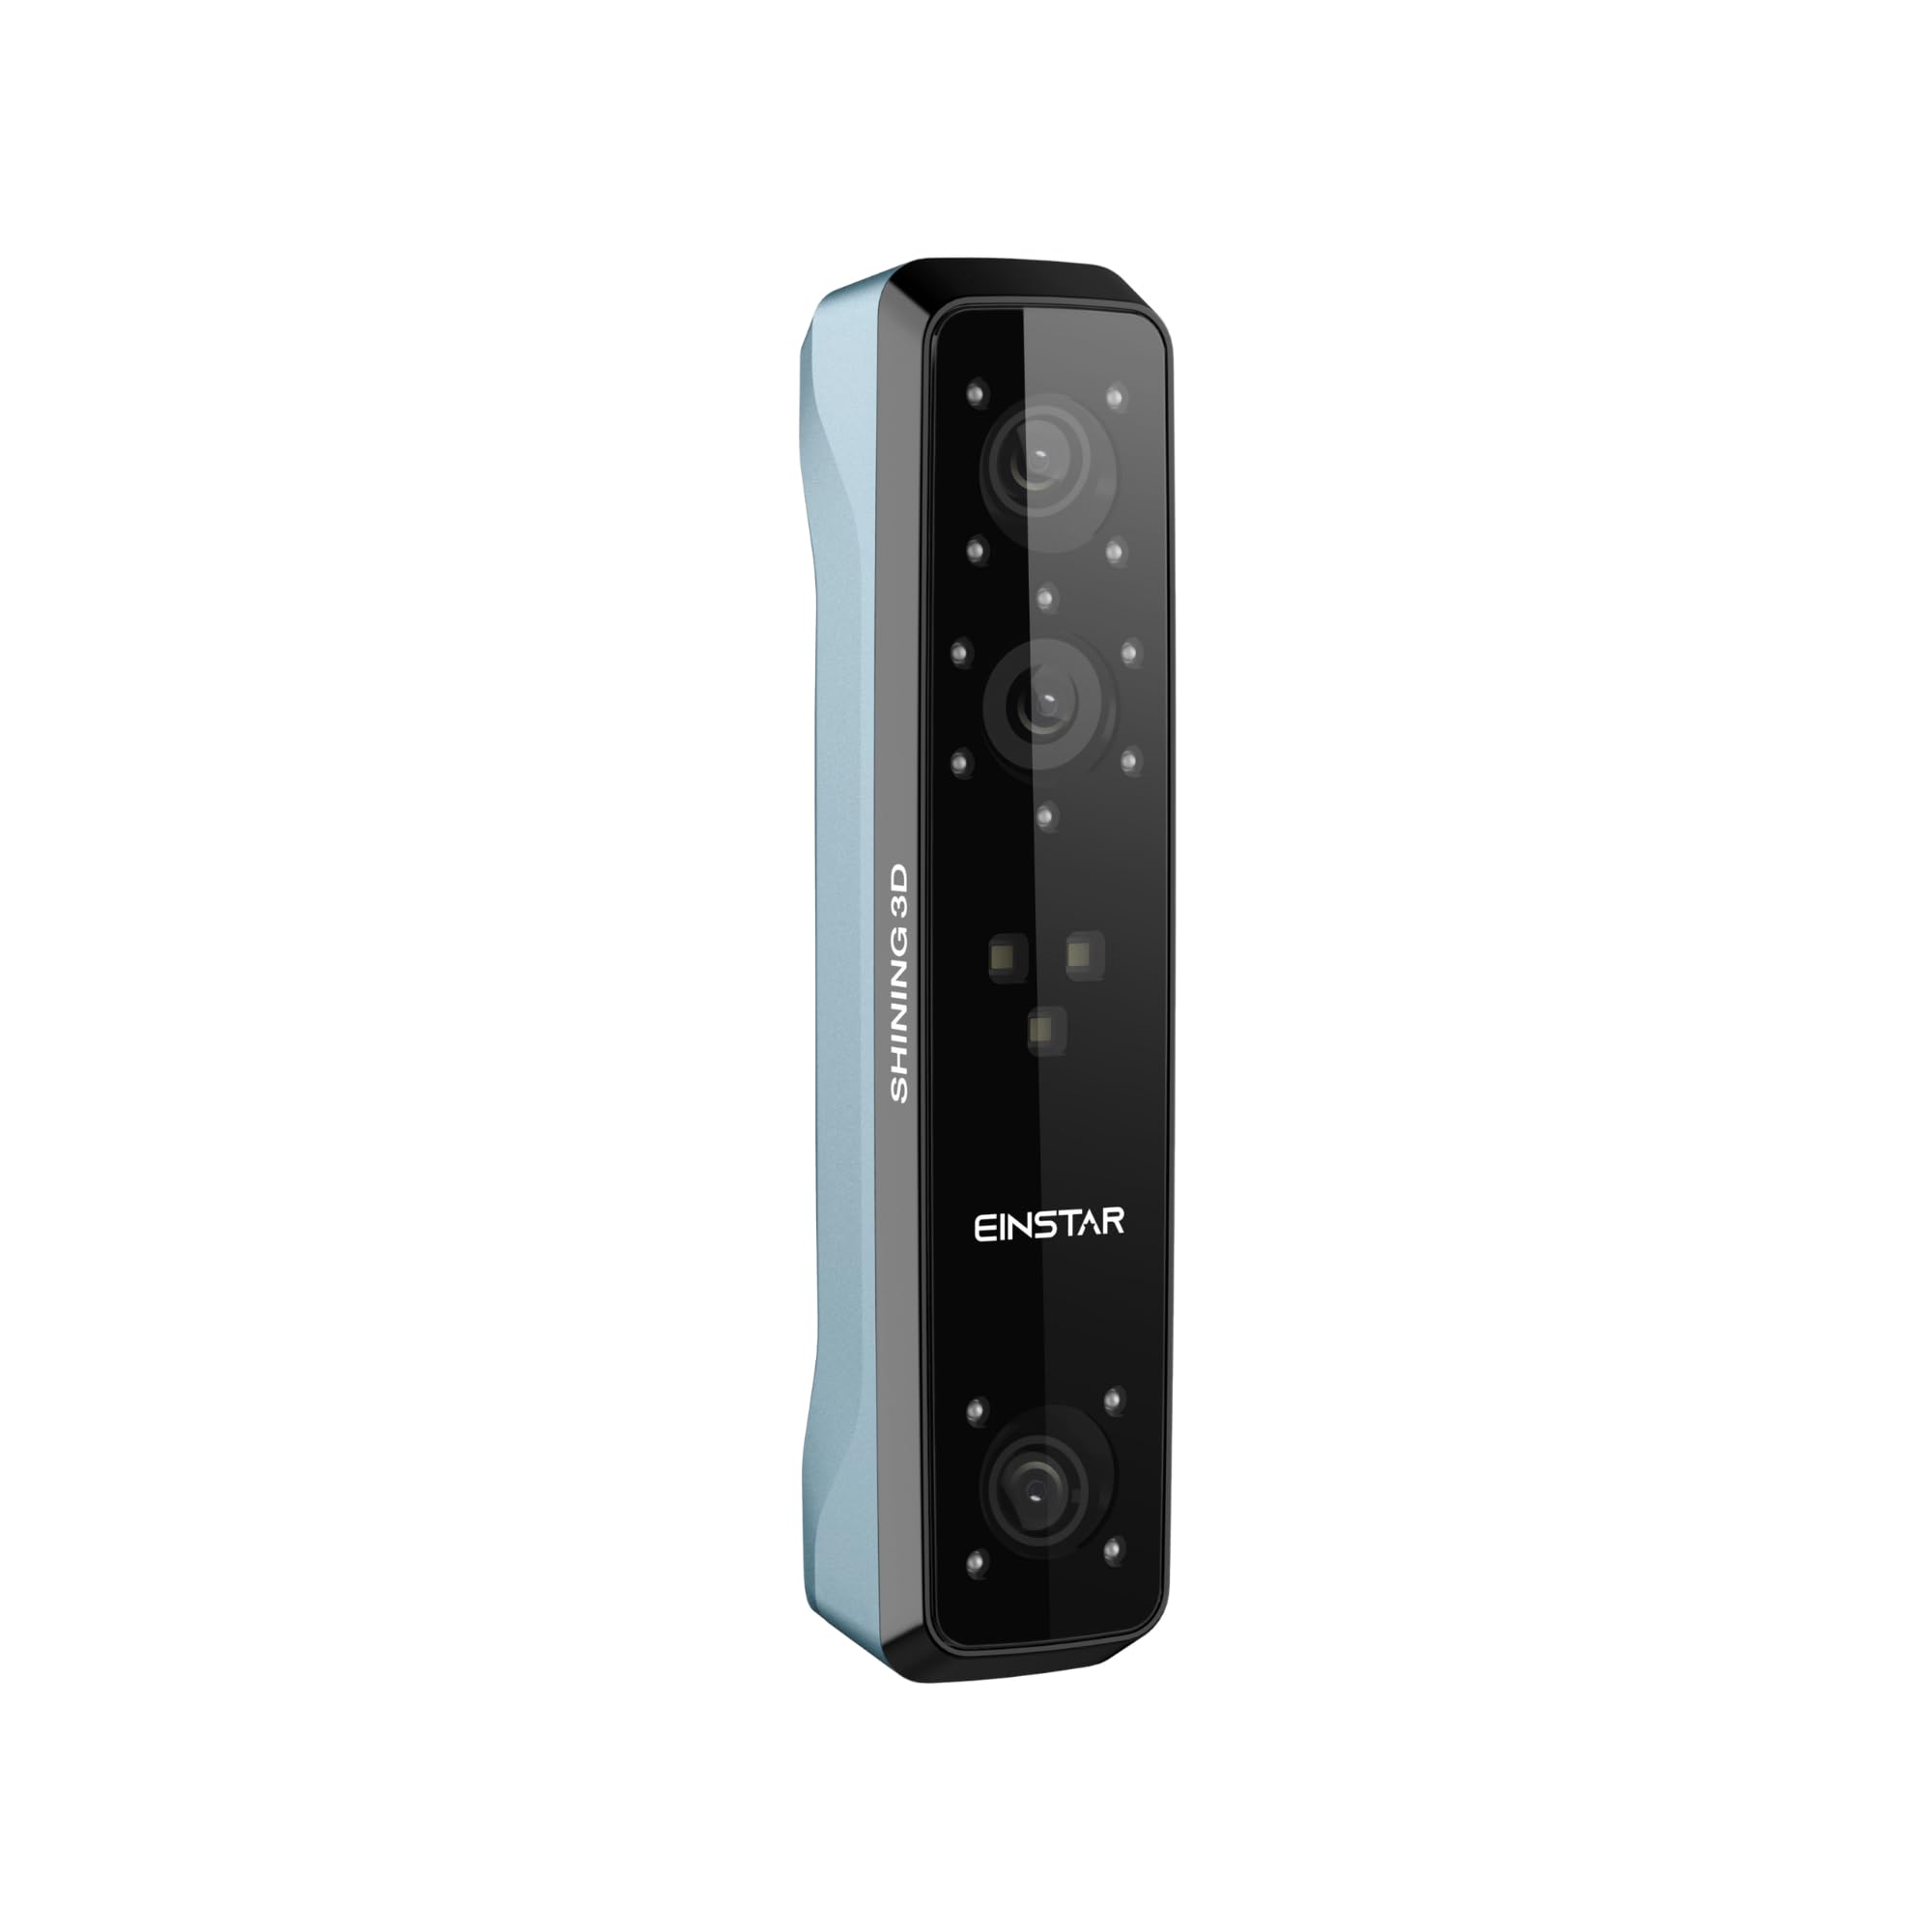
High-accuracy scans for larger objects like parts or art.
Shining 3D Einstar Portable 3D Scanner Comes with EXStar software for seamless capture and basic processing.

Quick cleanup before printing.
Meshmixer (Free Download from Autodesk) Simplest mesh repair tool—one-click fixes for scan artifacts.