In an era dominated by streaming, vintage vinyl collecting has surged in popularity, offering a tactile, nostalgic connection to music history that digital formats can't match. Whether you're drawn to rare pressings from the 1960s or classic rock albums, building a collection can be rewarding but requires knowledge to avoid costly mistakes. Common pain points include damaged records from poor storage or improper cleaning, leading to skips or loss of sound quality.
This guide will teach you what vintage vinyl collecting entails, how to start building your collection, and step-by-step cleaning tips to keep your treasures in top condition. You'll learn to identify valuable pieces, store them properly, and clean them effectively without risking damage. As an intermediate collector or enthusiast, expect to spend 1-2 hours initially sourcing and cleaning your first records, with ongoing maintenance taking just minutes per session.
By the end, you'll have the confidence to curate a collection that sounds as good as it looks, enhancing your listening experience with a turntable setup.
▸What You'll Need
- •Basic knowledge of music genres and eras (prerequisite for intermediate collectors)
- •Turntable or record player for playback
- •Record sleeves and inner sleeves (required for storage)
- •Soft microfiber cloth (required for dry cleaning)
- •Distilled water and mild soap or vinyl cleaning solution (required for wet cleaning)
- •Carbon fiber brush (optional but recommended for dust removal)
- •Record cleaning machine (optional for advanced cleaning)
Estimated Time: 1-2 hours for initial collection setup and first cleaning session; 10-15 minutes per record for ongoing maintenance
Difficulty: intermediate
▸Step-by-Step Instructions
Step 1: Understand What Defines Vintage Vinyl
Vintage vinyl refers to records pressed before the 1990s, often from the golden age of analog recording (1950s-1980s). These LPs (long-playing records) capture music in a warm, uncompressed sound that many audiophiles prefer over modern digital remasters. Think of it like comparing a handmade quilt to a mass-produced blanket—the imperfections add character.
Why it matters: Collecting vintage vinyl isn't just about owning music; it's preserving cultural artifacts. Expect variations in pressing quality, with originals often sounding superior due to master tapes used directly. As an intermediate collector, focus on eras like the British Invasion or disco to build thematic depth.
Start by researching labels like Capitol or Columbia, which produced iconic releases. This foundational knowledge helps you spot fakes or reissues masquerading as vintage.
💡 Tips:
- •Use Discogs.com to learn about specific releases and their vintage status.
- •Focus on genres you're passionate about to make collecting enjoyable.
⚠️ Warnings:
- •Avoid confusing 'vintage style' reissues with true originals, as they lack the same sonic depth.
Step 2: Explore the Appeal and Value of Collecting
The allure lies in the hunt, the history, and the hi-fi experience. Collectors value rarity—first pressings or promo copies can fetch hundreds, like a mint-condition Beatles 'White Album' worth over $1,000. Analog playback reveals nuances lost in compression, akin to tasting fresh ingredients versus processed food.
It matters because it connects you to artists' original intent and builds community through record stores or fairs. Expect emotional highs from scoring a deal, but budget wisely; start small to avoid overspending on hype-driven items.
For intermediates, value comes from condition grading (e.g., NM for near mint) and storytelling—each record has a backstory from its era.
💡 Tips:
- •Join forums like Vinyl Collective for insights on rising values.
- •Track market trends with apps like Discogs to predict investments.
⚠️ Warnings:
- •Don't chase trends; collect what you love to ensure long-term satisfaction.
Step 3: Source Your Vintage Vinyl Collection
Begin at local record stores, flea markets, or online platforms like eBay and Discogs. Look for thrift shops where gems hide for under $10. Analogy: It's like treasure hunting—patience uncovers deals.
Why it matters: Sourcing builds your eye for quality. Inspect for warps, scratches, or ring wear before buying. Expect to spend $5-50 per record initially.
As an intermediate, prioritize estate sales for untouched collections; negotiate prices and verify authenticity via matrix numbers etched in the deadwax.
💡 Tips:
- •Visit during store restock days for first picks.
- •Use apps like OfferUp for local deals to save on shipping.
⚠️ Warnings:
- •Beware of moisture-damaged records in basements—they can harbor mold.
Step 4: Evaluate and Grade Record Condition
Use the Goldmine Standard: Mint (sealed), Near Mint (like new), Very Good (minor surface noise). Check grooves with a light; deep scratches mean skips.
It matters for longevity and resale—poor grading leads to buyer's remorse. Expect 80% of used vintage to be VG or better if stored well.
For intermediates, use a jeweler's loupe for detailed inspection; note cover condition separately as it affects overall value.
💡 Tips:
- •Play a sample side on a store turntable if possible.
- •Document grades in a spreadsheet for your collection inventory.
⚠️ Warnings:
- •Skip records with writing on labels; it devalues them significantly.
Step 5: Store Your Collection Properly
Keep records upright in a cool, dry place away from sunlight—ideal is 65-70°F. Use anti-static inner sleeves to prevent dust buildup.
Why it matters: Improper storage causes warps or mildew, ruining irreplaceable items. Expect sleeves to yellow over time without protection.
Intermediates should invest in archival boxes; rotate stock to prevent shelf sag.
💡 Tips:
- •Label shelves by genre for easy access.
- •Use silica packs in storage boxes for humidity control.
⚠️ Warnings:
- •Never stack records flat; it leads to groove damage from weight.
Step 6: Inspect Records Before Cleaning
Remove from sleeve and hold by edges; examine for dust, fingerprints, or debris under good light.
It matters to target specific dirt without over-cleaning pristine areas. Expect visible grime on used vintage, but avoid water on labels.
This step prevents spreading contaminants during cleaning.
💡 Tips:
- •Work in a dust-free room to avoid re-contamination.
- •Use a white background for better visibility.
⚠️ Warnings:
- •Don't touch playing surfaces; oils from skin cause permanent noise.
Step 7: Perform Dry Cleaning for Surface Dust
Use a carbon fiber brush to gently sweep grooves in one direction, following the groove path.
Why it matters: Removes loose particles without moisture, preserving the vinyl's integrity. Expect 90% dust removal in one pass.
For intermediates, do this before every play; it's quick and extends wet cleaning intervals.
💡 Tips:
- •Brush after each use to maintain sound quality.
- •Store the brush in its case to keep fibers clean.
⚠️ Warnings:
- •Never use household dusters; they can scratch the surface.
Step 8: Apply Wet Cleaning for Deeper Grime
Mix distilled water with a drop of mild soap or use a vinyl solution; apply with a microfiber cloth or brush, then rinse.
It matters for removing fingerprints and residue that cause pops. Expect cleaner sound post-cleaning, but dry thoroughly.
Wipe in straight lines across grooves, not circles, to avoid spiraling dirt.
💡 Tips:
- •Test solution on a non-valuable record first.
- •Use a record mat for stability during cleaning.
⚠️ Warnings:
- •Avoid tap water; minerals leave spots. Never submerge the entire record.
Step 9: Dry and Final Inspection
Air-dry on a flat, lint-free surface for 10-15 minutes, or use a blower. Re-inspect for residue.
Why it matters: Moisture warps vinyl if not evaporated fully. Expect crystal-clear playback after proper drying.
Store immediately in clean sleeves post-drying.
💡 Tips:
- •Use a fan on low for faster drying without dust.
- •Play the record after to confirm cleaning success.
⚠️ Warnings:
- •Don't stack wet records; it causes sticking and damage.
▸Pro Tips
- •Always clean your stylus before playing to prevent groove wear.
- •Invest in UV-protective sleeves for colorful covers to prevent fading.
- •Catalog your collection digitally with photos and grades for insurance purposes.
- •Attend record shows for networking and exclusive finds.
- •Use anti-static spray sparingly to reduce attraction of new dust.
- •Rotate cleaning tools to avoid cross-contamination between records.
- •Listen in a quiet space to appreciate the full analog warmth post-cleaning.
▸Common Mistakes to Avoid
- •Using household cleaners like alcohol, which strips protective oils and causes cracking—stick to vinyl-specific solutions.
- •Storing records horizontally, leading to warping from gravity—always keep upright.
- •Over-cleaning pristine records, which wears down the grooves over time—clean only when necessary.
- •Ignoring inner sleeves, allowing paper dust to embed in grooves—replace with polyethylene ones.
- •Buying without inspection, resulting in hidden damages—always check under light.
▸Troubleshooting
Problem: Record skips after cleaning
Solution: Re-inspect for missed debris; ensure stylus is clean and aligned. If persistent, the groove may be damaged—seek professional restoration.
Problem: Mold on stored records
Solution: Isolate affected items, clean with isopropyl alcohol diluted 50/50 with water, then dry thoroughly. Improve storage humidity below 50%.
Problem: Static buildup causing dust attraction
Solution: Use an anti-static brush or spray before storage. Ground your turntable if possible.
Problem: Warped record
Solution: For minor warps, use a record flattening device; severe cases require replacement. Prevent by stable storage.
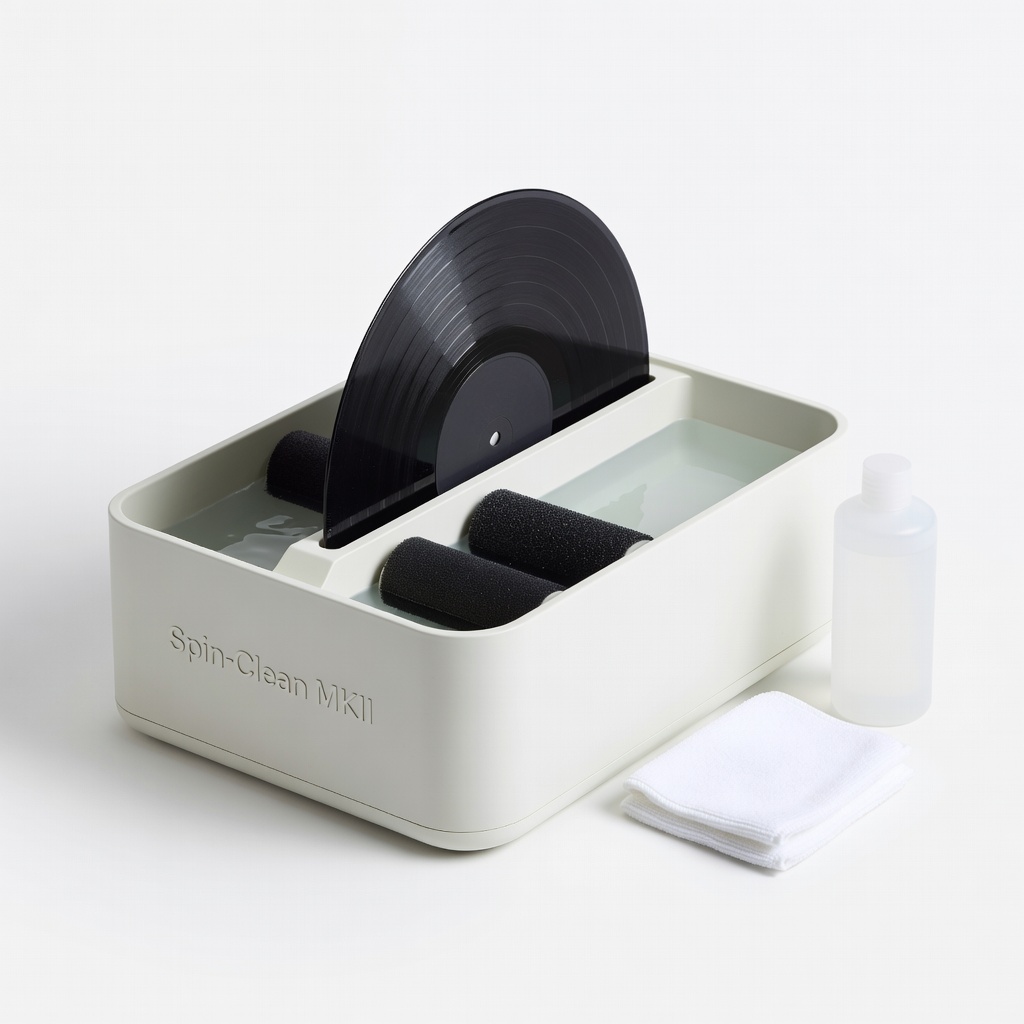
Spin-Clean MKII Vinyl Record Cleaning System
This manual machine effectively removes deep groove dirt without electricity, ideal for intermediate collectors handling multiple records.
Best for: Use for wet cleaning sessions on vintage LPs to restore sound quality before playback.
Price Range: $79.99
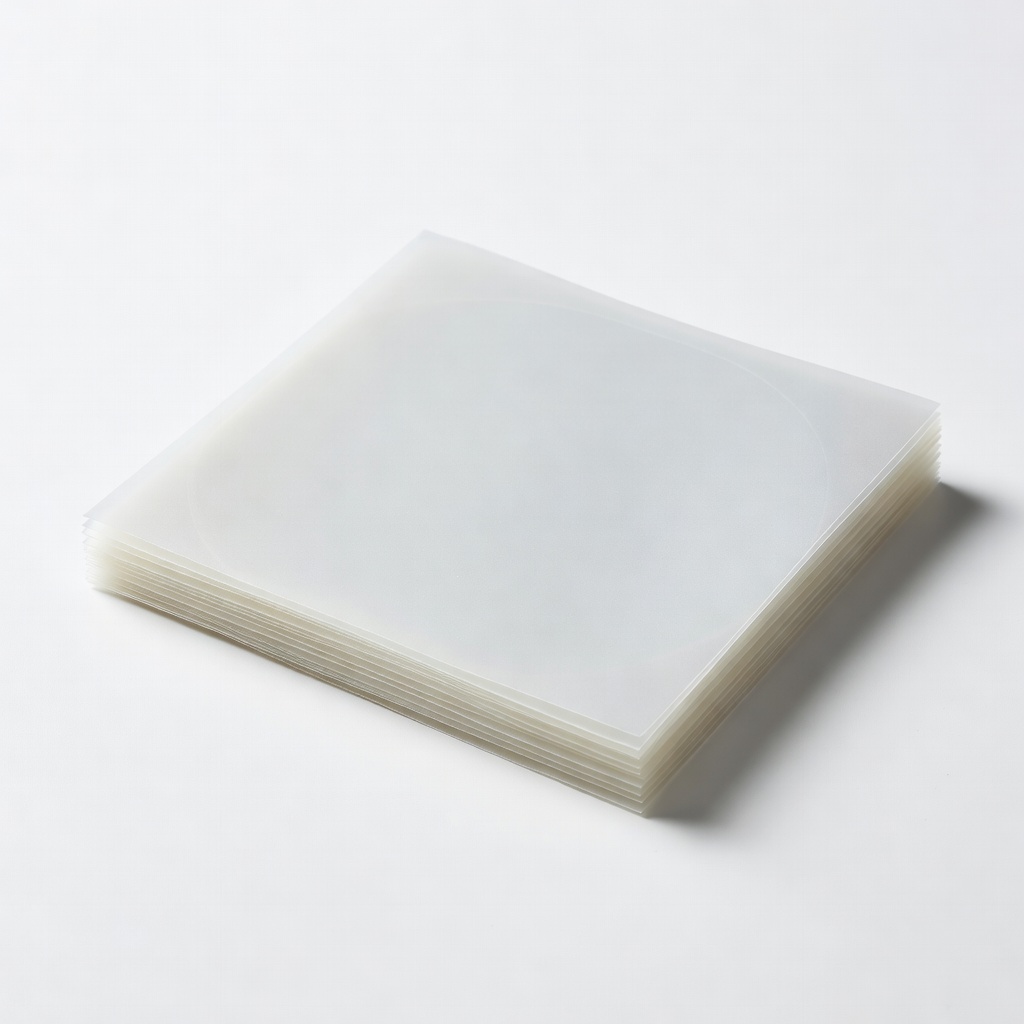
Mobile Fidelity Inner Sleeves (3mil)
These rice paper sleeves minimize static and dust, protecting vintage vinyl from sleeve wear better than standard paper.
Best for: Replace originals in your collection to prevent scratches during storage and handling.
Price Range: $20 for 25-pack
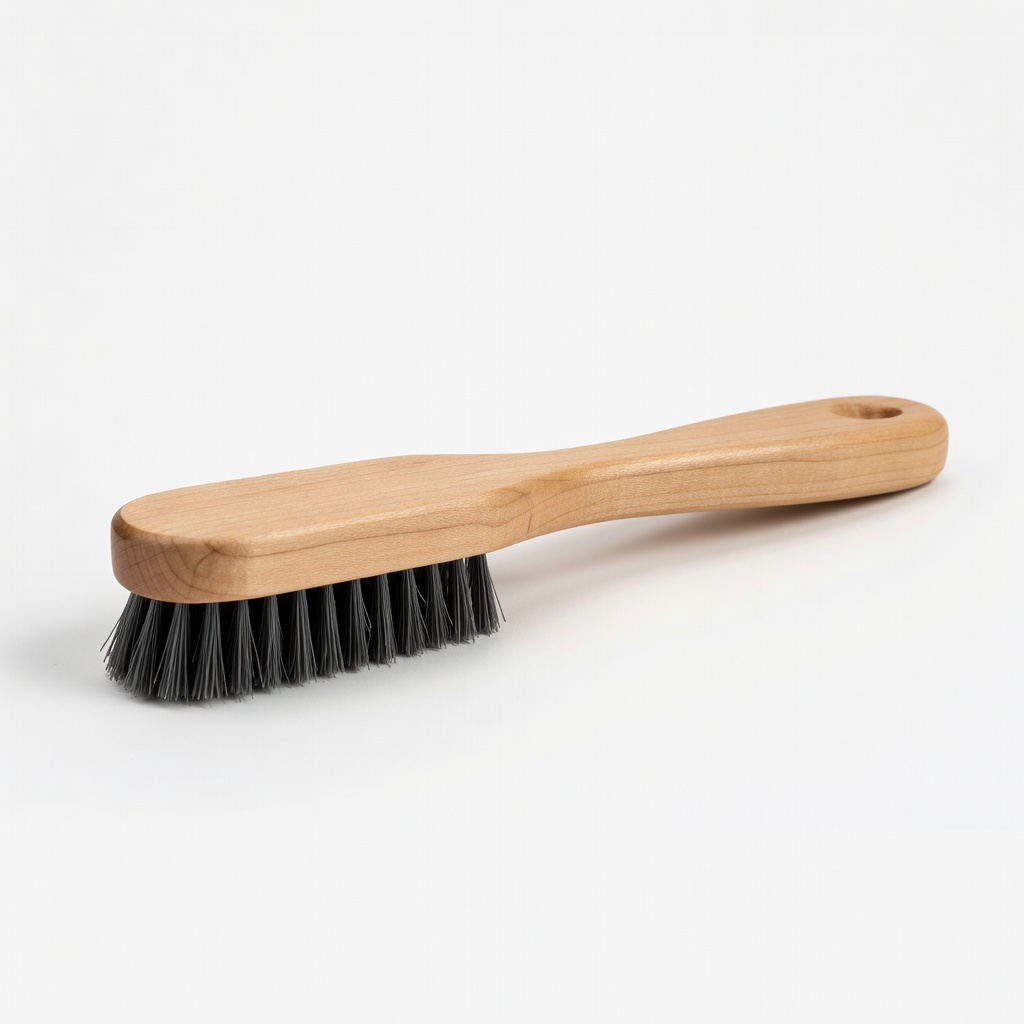
Nitty Gritty Record Cleaning Brush
The soft nylon fibers target stubborn particles without scratching, a staple for dry brushing routines.
Best for: Quick daily maintenance on lightly dusty records to keep them play-ready.
Price Range: $15-$20
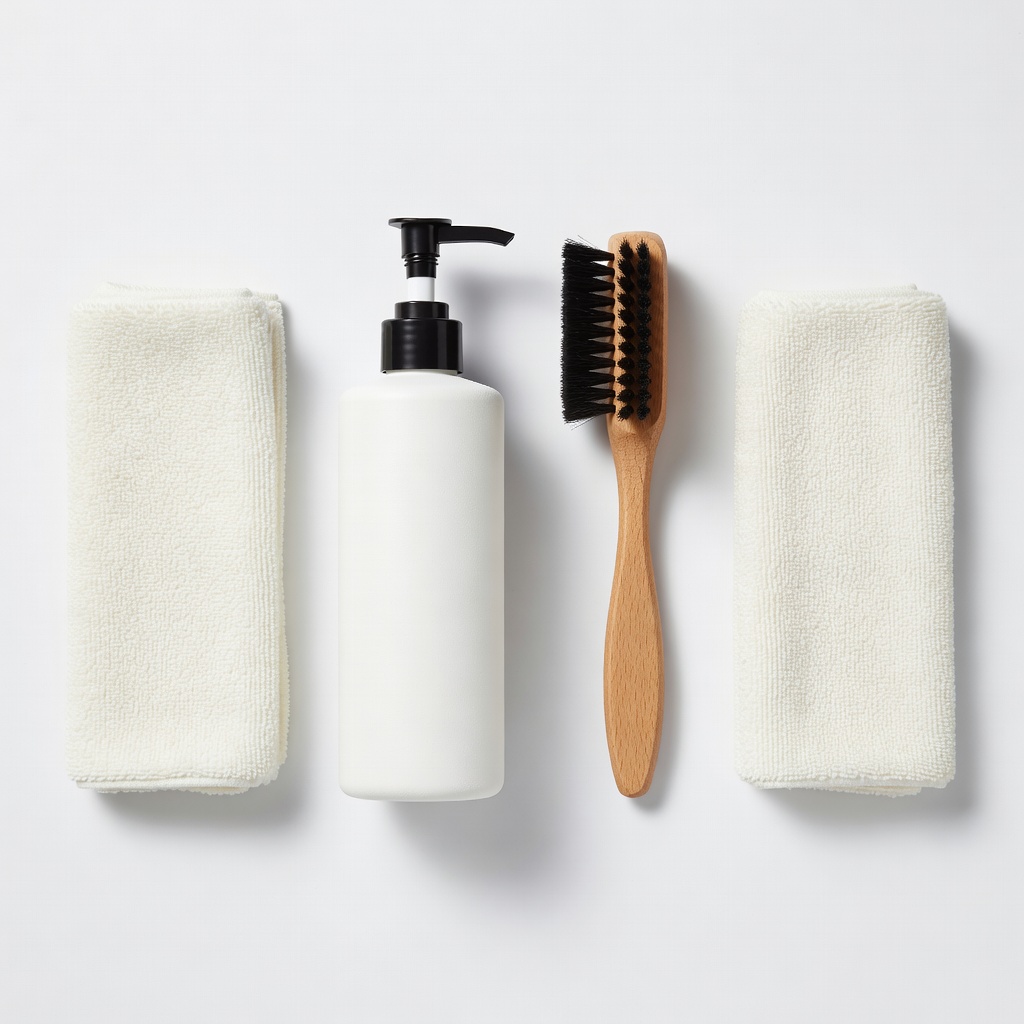
Hama Record Cleaning Kit
Includes solution, cloth, and brush for a complete beginner-to-intermediate setup, affordable and effective for home use.
Best for: Full cleaning process for occasional deep cleans on a budget collection.
Price Range: $25
Big Fudge Vinyl Cleaning Solution
Alcohol-free formula safely dissolves grime without residue, preserving the vinyl's natural oils for long-term health.
Best for: Mix with distilled water for wet cleaning heavily soiled vintage finds from thrift stores.
Price Range: $12 for 16oz