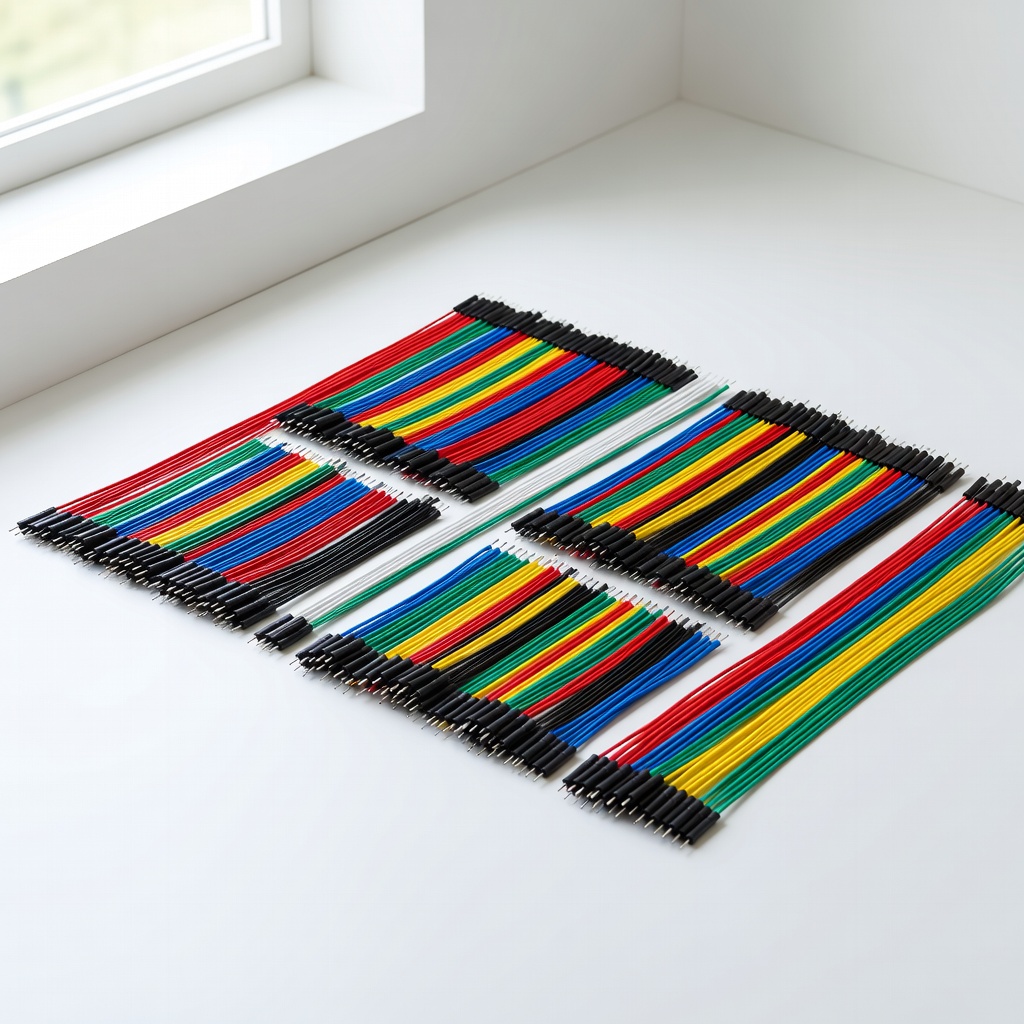
ELEGOO 120pcs Breadboard Jumper Wires
Connecting components on breadboard without mess.
$6.98
ELEGOO 120pcs Breadboard Jumper Wires Pre-cut, flexible wires perfect for beginners—no stripping needed.
Get the App
Better experience on mobile
Master safe, simple wiring for 3V LEDs in minutes—no soldering, no burnout—with beginner-friendly steps.
Ever grabbed a shiny 3V LED for your first electronics project, only to watch it flicker and die instantly? You're not alone—most beginners fry their LEDs by skipping a crucial resistor or ignoring polarity. This guide fixes that, teaching you the best, foolproof way to wire 3V LED circuits that light up reliably every time.
You'll learn LED basics, resistor math (made easy), breadboard wiring, and testing tips. By the end, you'll build a glowing circuit in under 30 minutes, ready for DIY projects like badges, ornaments, or sensors. Perfect for total newbies—no prior experience needed.
Expect straightforward steps with visuals in mind, real-world analogies, and pro warnings to avoid pitfalls. Let's light things up safely!
Estimated Time: 15-30 minutes Difficulty: beginner
LEDs are like one-way diodes: they only light if current flows from anode (longer leg, +) to cathode (shorter leg, - or flat side on bulb). A 3V LED has a forward voltage (Vf) of about 2-3V and needs 10-20mA current. Without a resistor, your battery dumps too much current, burning it out—like flooring a car's gas without brakes.
Check your LED's datasheet or legs: bend the cathode leg slightly for ID. Why it matters: Wrong polarity = no light; no resistor = fried LED.
💡 Tips:
Use Ohm's Law: R = (Vsupply - Vf) / I. For 3V battery, 2.2V Vf LED, 20mA (0.02A): R = (3-2.2)/0.02 = 40Ω. But 220Ω is safer for beginners (dims slightly but lasts forever).
Grab a 220Ω resistor—it's gold for 3V setups. Why? Limits current to ~4mA, preventing heat damage. Expect a bright-enough glow.
⚠️ Warnings:
Breadboards have power rails (+) and (-) on sides, connected vertically in rows. Insert components by pushing legs into holes—no soldering! Power one rail to battery +, the other to -.
Why breadboards? Reusable, safe prototyping—like Lego for circuits. Expect springy connections; wiggle if loose.
💡 Tips:
Snap CR2032 into holder. Jumper red wire (+) to breadboard + rail, black (−) to - rail. Use holder for easy swap—bare coins are fiddly.
Why first? Powers everything safely. Expect 3V steady; test with multimeter if unsure (red probe +, black −).
Insert LED: anode to + rail jumper, cathode to a row. Bridge row to resistor leg, other resistor leg to - rail. Current flows: battery → resistor (limits) → LED → ground.
Series means one path—like a single-lane road. Why best? Protects LED. Expect instant glow if correct!
💡 Tips:
⚠️ Warnings:
Power on—LED glows steadily? Success! Dim? Check connections. No light? Swap LED legs or test resistor.
Why verify? Catches errors early. Expect troubleshooting in 1-2 mins.
For 2 LEDs in series: total Vf ~4.4V >3V, so use parallel (each with own resistor). Wire each branch from + rail.
Why? Brighter projects. Expect even glow.
💡 Tips:
Problem: LED doesn't light
Solution: Check polarity, connections, battery voltage (>2.7V), resistor value. Test LED in known circuit.
Problem: LED too dim
Solution: Lower resistor (e.g., 100Ω) or check battery freshness.
Problem: Flickering
Solution: Tighten wires; clean battery terminals.
Problem: Gets hot
Solution: Disconnect immediately—wrong resistor or short; replace.
Pre-cut, flexible wires perfect for beginners—no stripping needed.
Best for: Connecting components on breadboard without mess.
Price Range: $6.98
Reliable 3V-compatible LEDs with long legs for breadboards.
Best for: Core lighting element for multiple projects.
Price Range: $8.98
Includes 220Ω and more; precise 1% tolerance for safe circuits.
Best for: Current limiting for LEDs and future builds.
Price Range: $14.95
Large board with rails; includes extras for expansion.
Best for: Prototyping multiple circuits at once.
Price Range: $9.99
Cheap, accurate for voltage/current checks—no guesswork.
Best for: Troubleshooting and verifying resistor values.
Price Range: $12.99
Connecting components on breadboard without mess.
ELEGOO 120pcs Breadboard Jumper Wires Pre-cut, flexible wires perfect for beginners—no stripping needed.
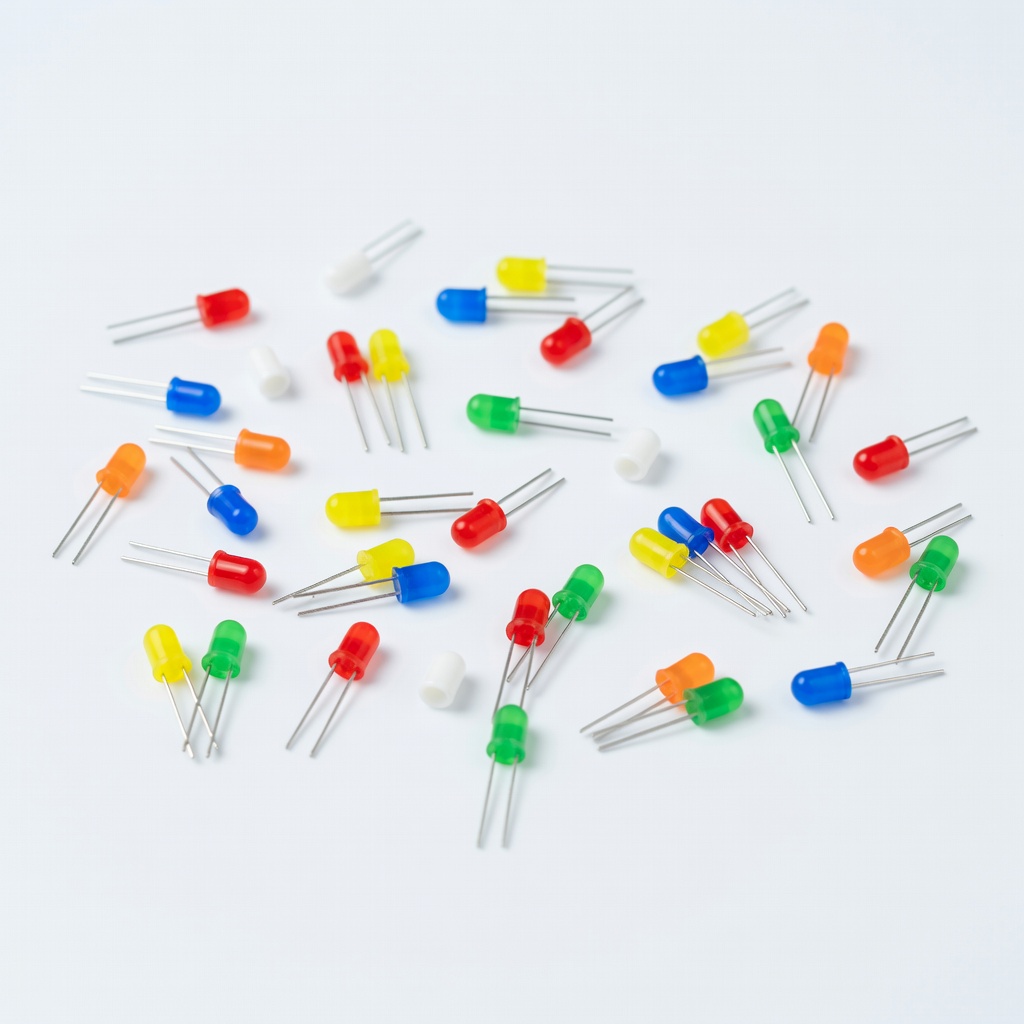
Core lighting element for multiple projects.
Chanzon 100pcs 5mm LEDs Assorted Reliable 3V-compatible LEDs with long legs for breadboards.
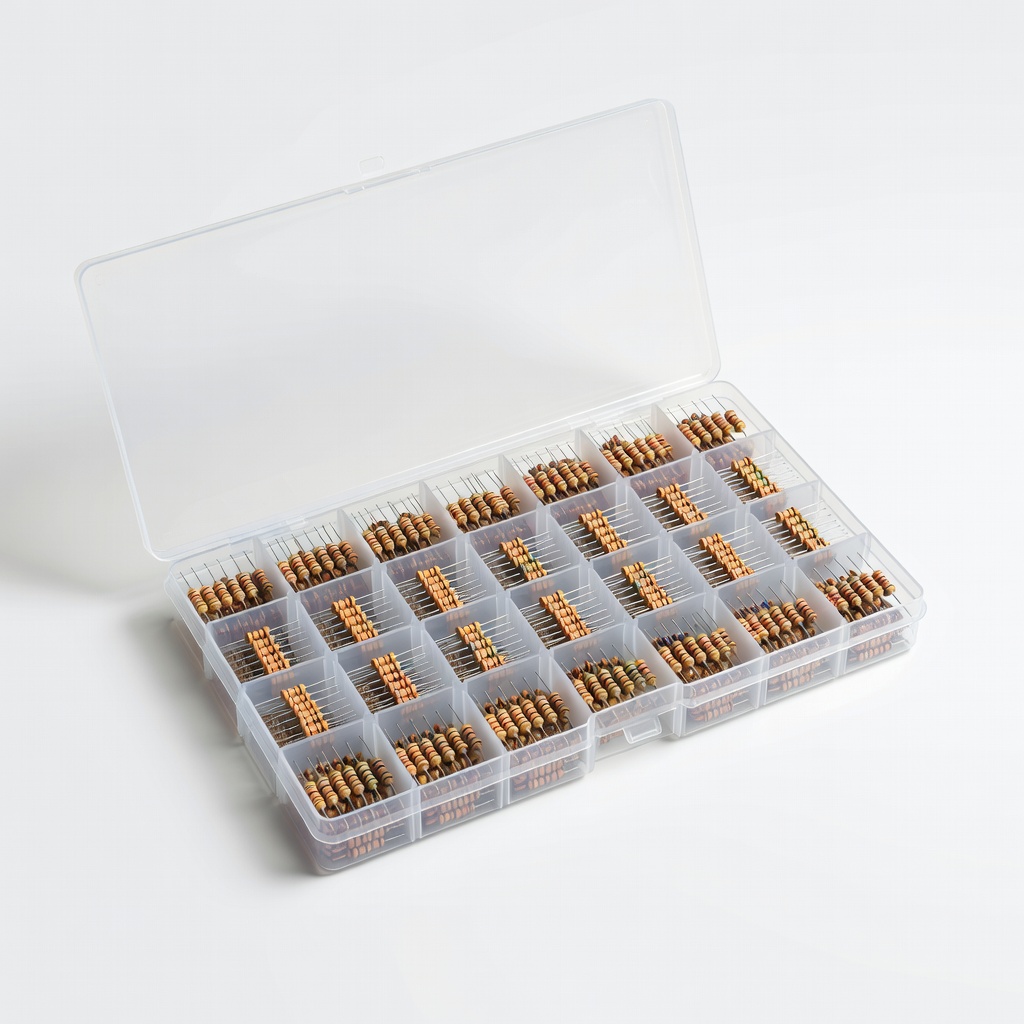
Current limiting for LEDs and future builds.
E-Projects 30 Values Resistor Kit 600pc Includes 220Ω and more; precise 1% tolerance for safe circuits.
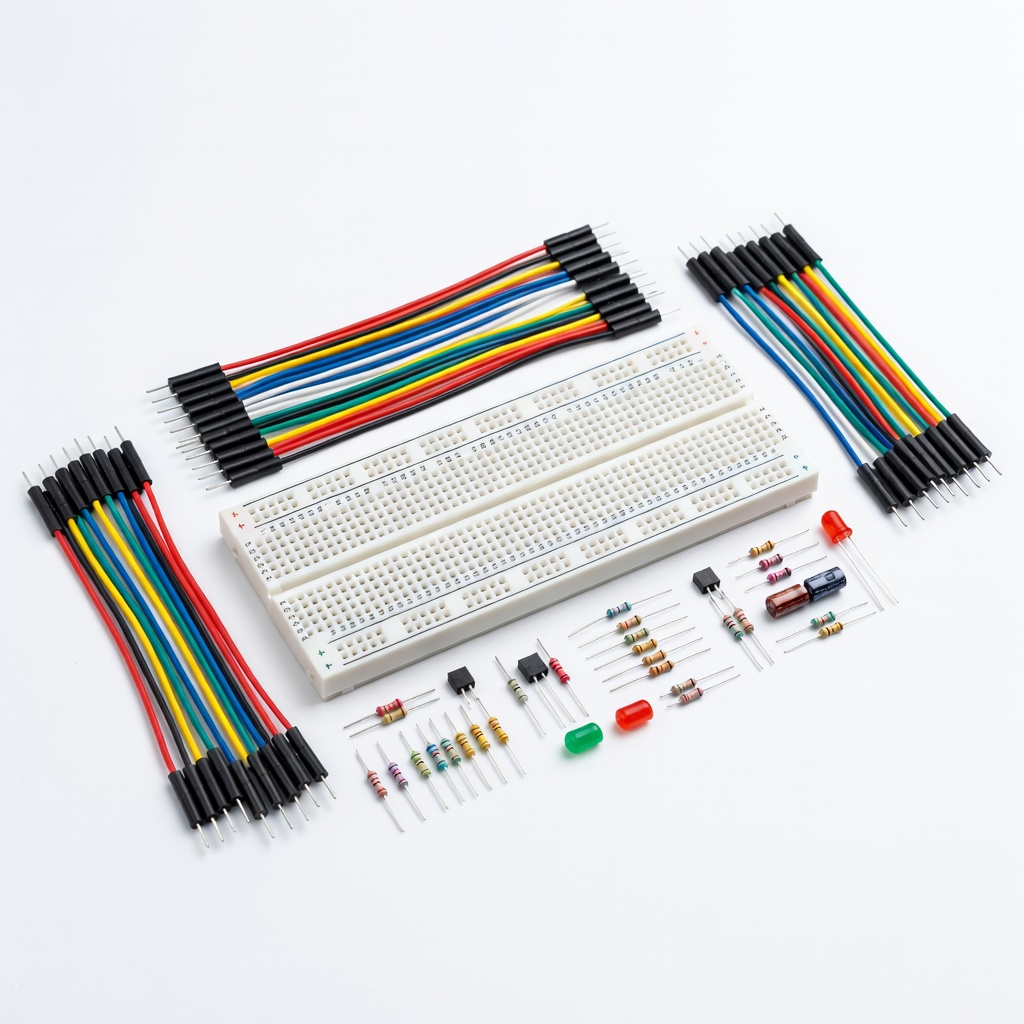
Prototyping multiple circuits at once.
DEYUE 830 Point Solderless Breadboard Kit Large board with rails; includes extras for expansion.
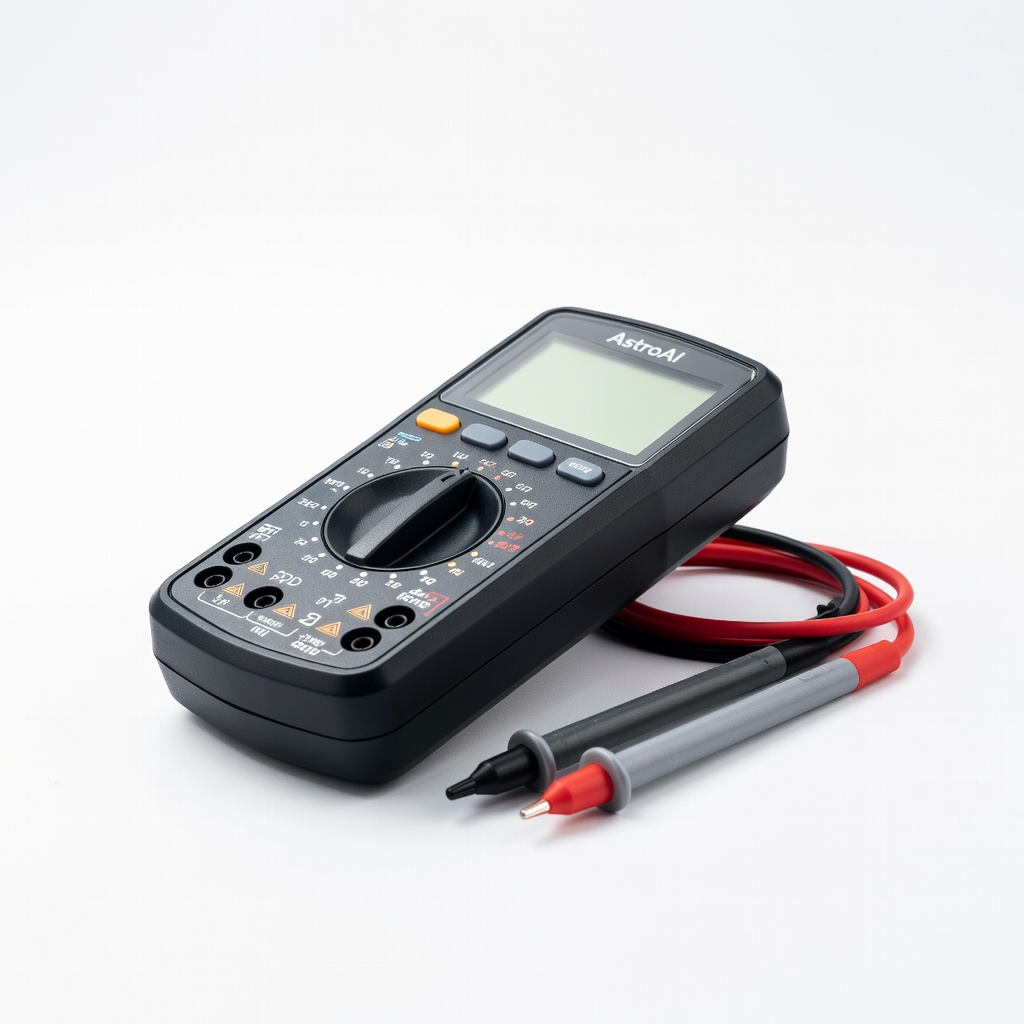
Troubleshooting and verifying resistor values.
AstroAI Digital Multimeter Cheap, accurate for voltage/current checks—no guesswork.