
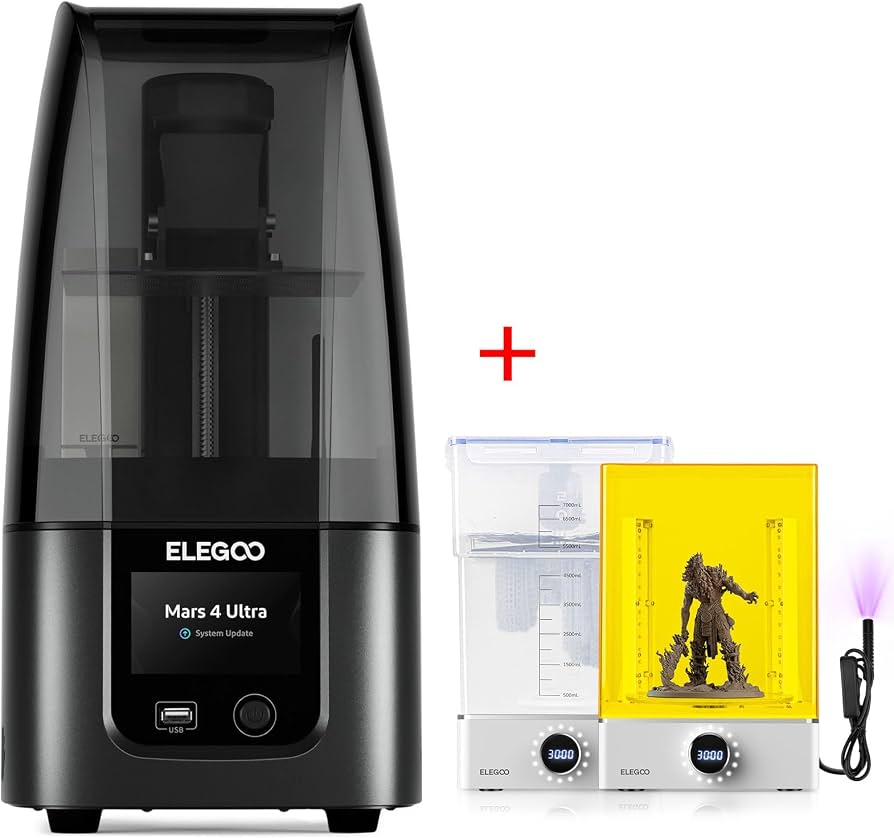
Elegoo Mars 4 Ultra
Printing detailed 28mm wargaming miniatures in resin at home.
$200-$300
Elegoo Mars 4 Ultra Best overall for miniatures – excellent 4K resolution, fast printing, and an easy-to-use interface for beginners and intermediate users.
Get the App
Better experience on mobile
Compare resin and FDM printers, key specs, and top picks for printing detailed tabletop miniatures.
You've seen those beautifully painted 28mm wargaming figures with crisp faces and defined armor, and you've decided you want to print your own. But walking into the 3D printing world can be overwhelming—there are dozens of printers with confusing specs, and a bad choice can lead to frustrating failed prints and wasted money.
That's where this guide comes in. We'll break down the two main technologies—resin (SLA) and filament (FDM)—and explain what actually matters for miniature printing. You'll learn about resolution, layer height, build volume, safety, and total cost, so you can confidently choose a printer that fits your needs and budget. Whether you're a beginner or an intermediate user, by the end of this guide you'll know exactly which printer to put in your cart.
Estimated Time: 15-20 minute read (plus 1-2 hours for deeper research on specific models) Difficulty: intermediate
The most critical decision is choosing between resin (SLA) and filament (FDM) printing. Resin printers use a UV screen to cure liquid photopolymer resin layer by layer, producing exceptionally high detail with a smooth surface finish. This makes them ideal for capturing the fine features of faces, weapons, and armor on tabletop miniatures. To put it simply, if you want to print a warrior with expressive eyes and a delicate sword edge, a resin printer is the way to go.
FDM printers, on the other hand, melt and extrude plastic filament, laying down plastic beads that result in visible layer lines. They are faster for large, functional parts and cheaper per print, but most miniatures printed on FDM will require significant sanding and priming to look acceptable. A common analogy: resin printing is like creating a sculpture with clay, while FDM is like building with LEGO blocks.
For this guide, we're focusing on resin printers as the best choice for miniatures, but we'll also discuss when an FDM printer might be a practical addition for printing terrain or larger scenery.
💡 Tips:
⚠️ Warnings:
Think about what you're going to print. Are you printing 28mm scale characters, 75mm display models, or large monsters? The smaller the miniature, the more detail you need, and the more you'll benefit from a high-resolution resin printer. 28mm miniatures have tiny details like eyes and belt buckles that require a printer capable of 0.02-0.04mm layer height.
You also need to consider the volume of prints. Do you plan to print an entire army, or just a few heroes? If you're printing hundreds of minions, a printer with a larger build plate will let you batch print multiple miniatures at once, saving time. If you're printing a single centerpiece model, build volume matters less.
Take stock of your goal before buying. This will help you narrow down the right resolution and build size, and avoid overpaying for features you don't need.
💡 Tips:
⚠️ Warnings:
Resolution and layer height are the two most important specifications for miniature quality. Resolution is the pixel density of the UV light source, typically expressed in 4K, 6K, or 8K. A higher resolution means smaller pixels and sharper details, especially on very small miniatures. For example, a 4K mono screen with a 5.5-inch screen size has an XY resolution of about 50 microns, while an 8K screen can achieve 25 microns or even lower. In practice, an 8K printer can render finer facial features and crisper edges than a 4K printer, but the difference is more noticeable on smaller models.
Layer height, measured in microns (0.025mm = 25 microns), controls the vertical curing depth. Lower layer heights produce smoother curves and reduce visible stepping. Most resin printers can go down to 0.01mm layer height, but for miniatures, 0.03mm or 0.035mm is a sweet spot balancing detail and print time. Beyond that, the improvement is barely visible and only prolongs your build.
When you compare printers, look at the pixel pitch (XY resolution) and the recommended layer heights, not just the marketing "8K" label.
💡 Tips:
⚠️ Warnings:
Build volume determines the maximum size of a single object you can print. For miniatures, a build volume like 150 x 80 x 160 mm is quite common. This fits a standard 28mm miniature with room for several at once on the build plate. If you plan to print larger models like busts or dragons, a bigger build plate (e.g., 200 x 120 x 250 mm) is helpful.
Keep in mind that the build volume is the maximum physical dimension, but you'll often need to add supports, which reduce the usable height. Also, the entire build plate is cured at once, so batch printing miniatures doesn't affect the per-layer time; you can print 10 miniatures in about the same time as one, as long as they fit in the XY area.
For most miniature enthusiasts, a standard-sized resin printer (like those in the Mars or Photon line) is enough. Go bigger only if you plan to print terrain or larger display pieces.
💡 Tips:
⚠️ Warnings:
Print speed matters if you're printing weekly batches. Resin printers cure an entire layer at once, so the XY area doesn't affect speed; speed depends on the layer height and rise/retraction speeds. Most modern mono resin printers have print speeds of around 50-100 mm/hour. That means a 5 cm miniature takes between 30 to 60 minutes at 0.03mm layer height. FDM printers are usually slower for multiple miniatures because they have to draw each contour with a tiny nozzle.
With a larger build plate, you can print a whole squad in one run, which effectively multiplies your throughput. Also look for printers with a mono screen, which speeds up every layer by shortening the exposure time.
If your workflow involves printing dozens of miniatures a week, prioritize a larger build plate and fast layer peel (like 1-2 seconds per layer). For occasional prints, any modern resin printer will be adequate.
💡 Tips:
⚠️ Warnings:
Resin printing requires more safety precautions than FDM. Liquid resin is a skin irritant and can be dangerous if inhaled, so you need a well-ventilated area, ideally a dedicated room or a large ventilated enclosure. You'll also need nitrile gloves, safety glasses, and isopropyl alcohol for cleaning. Some resins produce more fumes than others; look for low-odor resins if you're printing indoors.
Before you buy, assess your workspace. Do you have a table near an open window? A garage with a fan? Can you install a vent duct? Many users create an enclosure around their printer with a ducting system to exhaust fumes outdoors. This isn't optional if you're printing in a small apartment – the smell can easily permeate.
You also need a water-washable or alcohol-washable resin, plus a wash and cure station to clean and harden your prints. This adds to the total footprint of your setup. Factor this into your decision before you commit to resin printing.
💡 Tips:
⚠️ Warnings:
The purchase price is only the beginning. Resin printers are affordable now, often $200-$500, but you'll need to buy resin, FEP sheets, a wash and cure station, and cleaning supplies. Consider that a 500g bottle of resin costs $20-$40 and will print roughly 20-30 small miniatures, making each mini about $1-2 in resin. The FEP film that covers the screen gets scratched and needs replacing every few months, with a cost of $10-$20 per sheet. The wash and cure station is another $100-$150 investment.
If you're upgrading from an FDM printer, you may also need to buy a UV lamp for curing, although most stations include one. Some printers come with a basic toolbox, but you'll soon want a magnetic flexible print plate for easier removal and a good UV light with a controlled cure.
Set a realistic budget for the entire setup, not just the printer. A $200 printer plus $200 in accessories is no more of a deal than a $350 printer that includes a wash station.
💡 Tips:
⚠️ Warnings:
Finally, consider your own skill level and patience. Beginners may prefer a printer with auto-bed leveling, a sturdy frame, and a supportive community. The Elegoo Mars and Anycubic Photon lines are known for being user-friendly, with pre-configured profiles and lots of online tutorials. Intermediate users might want a printer with a tilting build plate, better Z-axis precision, or a higher resolution screen.
Your experience also affects your choice of resin and supports. If you're new to resin printing, buy a printer that uses generic files and supports popular slicing software like PrusaSlicer or Lychee. This makes it easier to find pre-supported models and troubleshoot issues.
Ultimately, the "best" printer is the one that fits your specific needs and comfort level. We'll walk through our top recommendations in the product section below.
💡 Tips:
⚠️ Warnings:
Problem: Prints are sticking to the FEP and not the build plate.
Solution: Increase the base layer exposure time or re-level the bed so the build plate is closer to the screen.
Problem: Layer lines are visible on my resin prints.
Solution: Lower your layer height to 0.03mm or ensure the printer is on a stable surface to reduce vibration.
Problem: Prints are failing or falling off the build plate.
Solution: Clean the build plate with IPA, increase first-layer curing time, and make sure the bed is level.
Problem: Fumes and smell are too strong.
Solution: Improve ventilation by placing the printer near a window, using an enclosure with ducting, or switching to a low-odor resin.
Best overall for miniatures – excellent 4K resolution, fast printing, and an easy-to-use interface for beginners and intermediate users.
Best for: Printing detailed 28mm wargaming miniatures in resin at home.
Price Range: $200-$300
A budget-friendly entry with surprisingly crisp details thanks to its 4K screen and reliable build quality.
Best for: Beginners who want to test resin printing without spending too much.
Price Range: $150-$250
Highest resolution (8K) and finest pixel pitch for professional-level facial detail on small miniatures.
Best for: Creating premium display miniatures and collector-grade models.
Price Range: $350-$450
Large build volume and 8K resolution, perfect for printing bigger monsters or an entire army plate in one go.
Best for: Batch printing multiple minis or printing larger display pieces.
Price Range: $400-$500
An excellent FDM printer for printing terrain and bulk fills quickly—a great complement to a resin printer for miniature setups.
Best for: Printing large terrain pieces, bases, or rapid prototyping alongside resin miniatures.
Price Range: $250-$350
Printing detailed 28mm wargaming miniatures in resin at home.
Elegoo Mars 4 Ultra Best overall for miniatures – excellent 4K resolution, fast printing, and an easy-to-use interface for beginners and intermediate users.
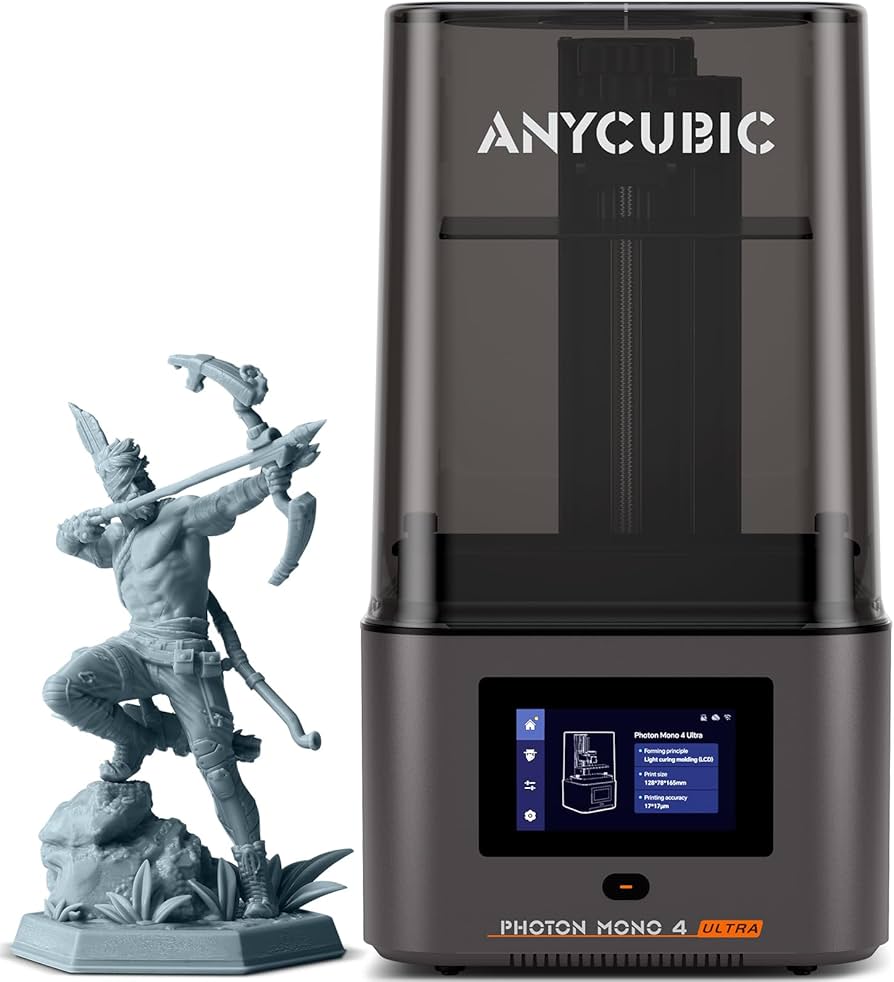
Beginners who want to test resin printing without spending too much.
Anycubic Photon Mono 4K A budget-friendly entry with surprisingly crisp details thanks to its 4K screen and reliable build quality.
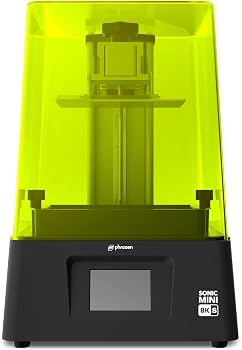
Creating premium display miniatures and collector-grade models.
Phrozen Sonic Mini 8K Highest resolution (8K) and finest pixel pitch for professional-level facial detail on small miniatures.
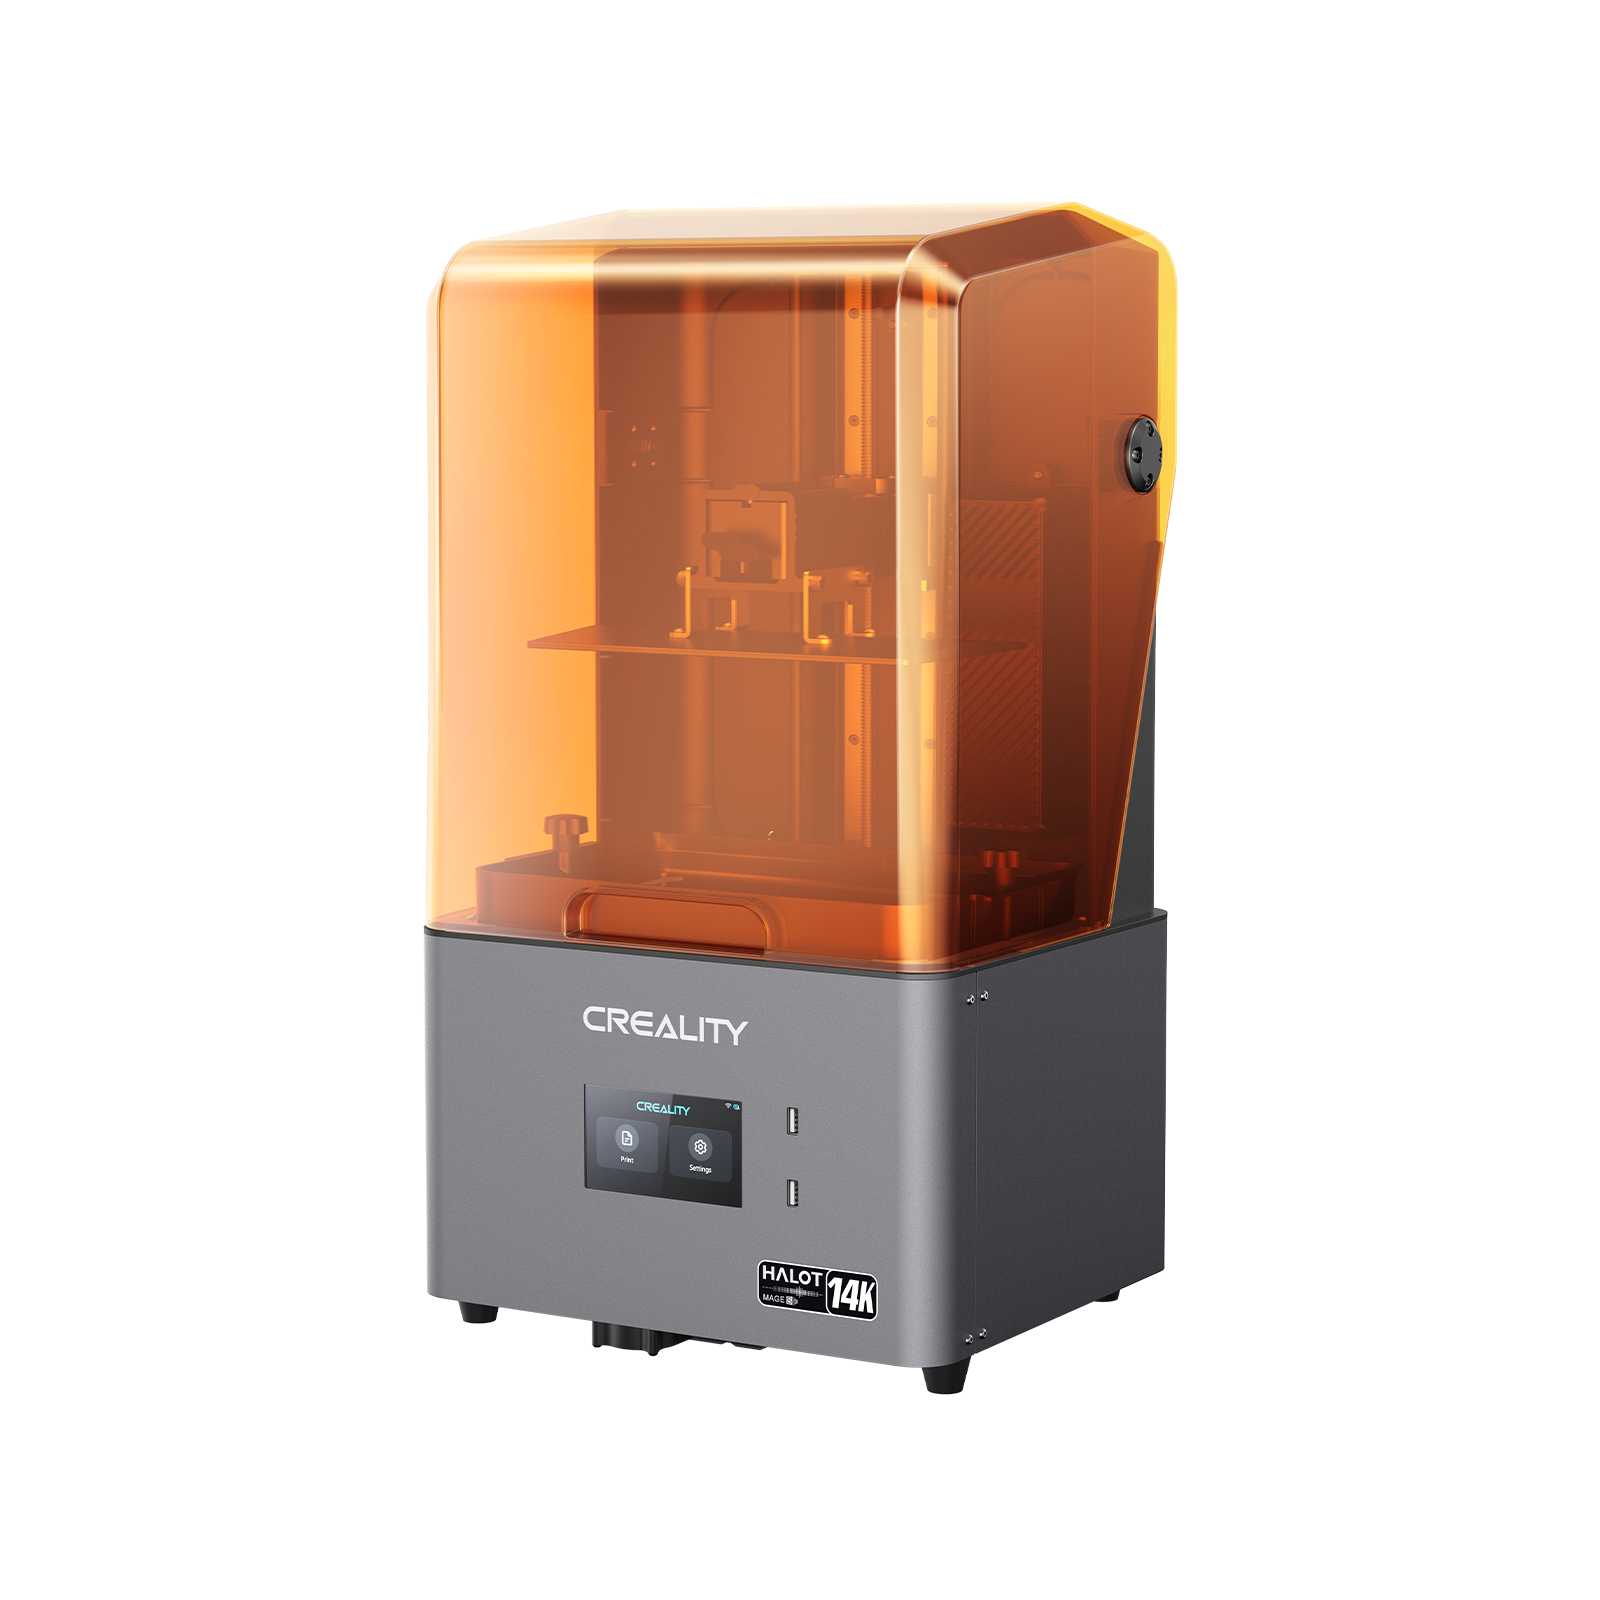
Batch printing multiple minis or printing larger display pieces.
Creality Halot Mage Pro Large build volume and 8K resolution, perfect for printing bigger monsters or an entire army plate in one go.
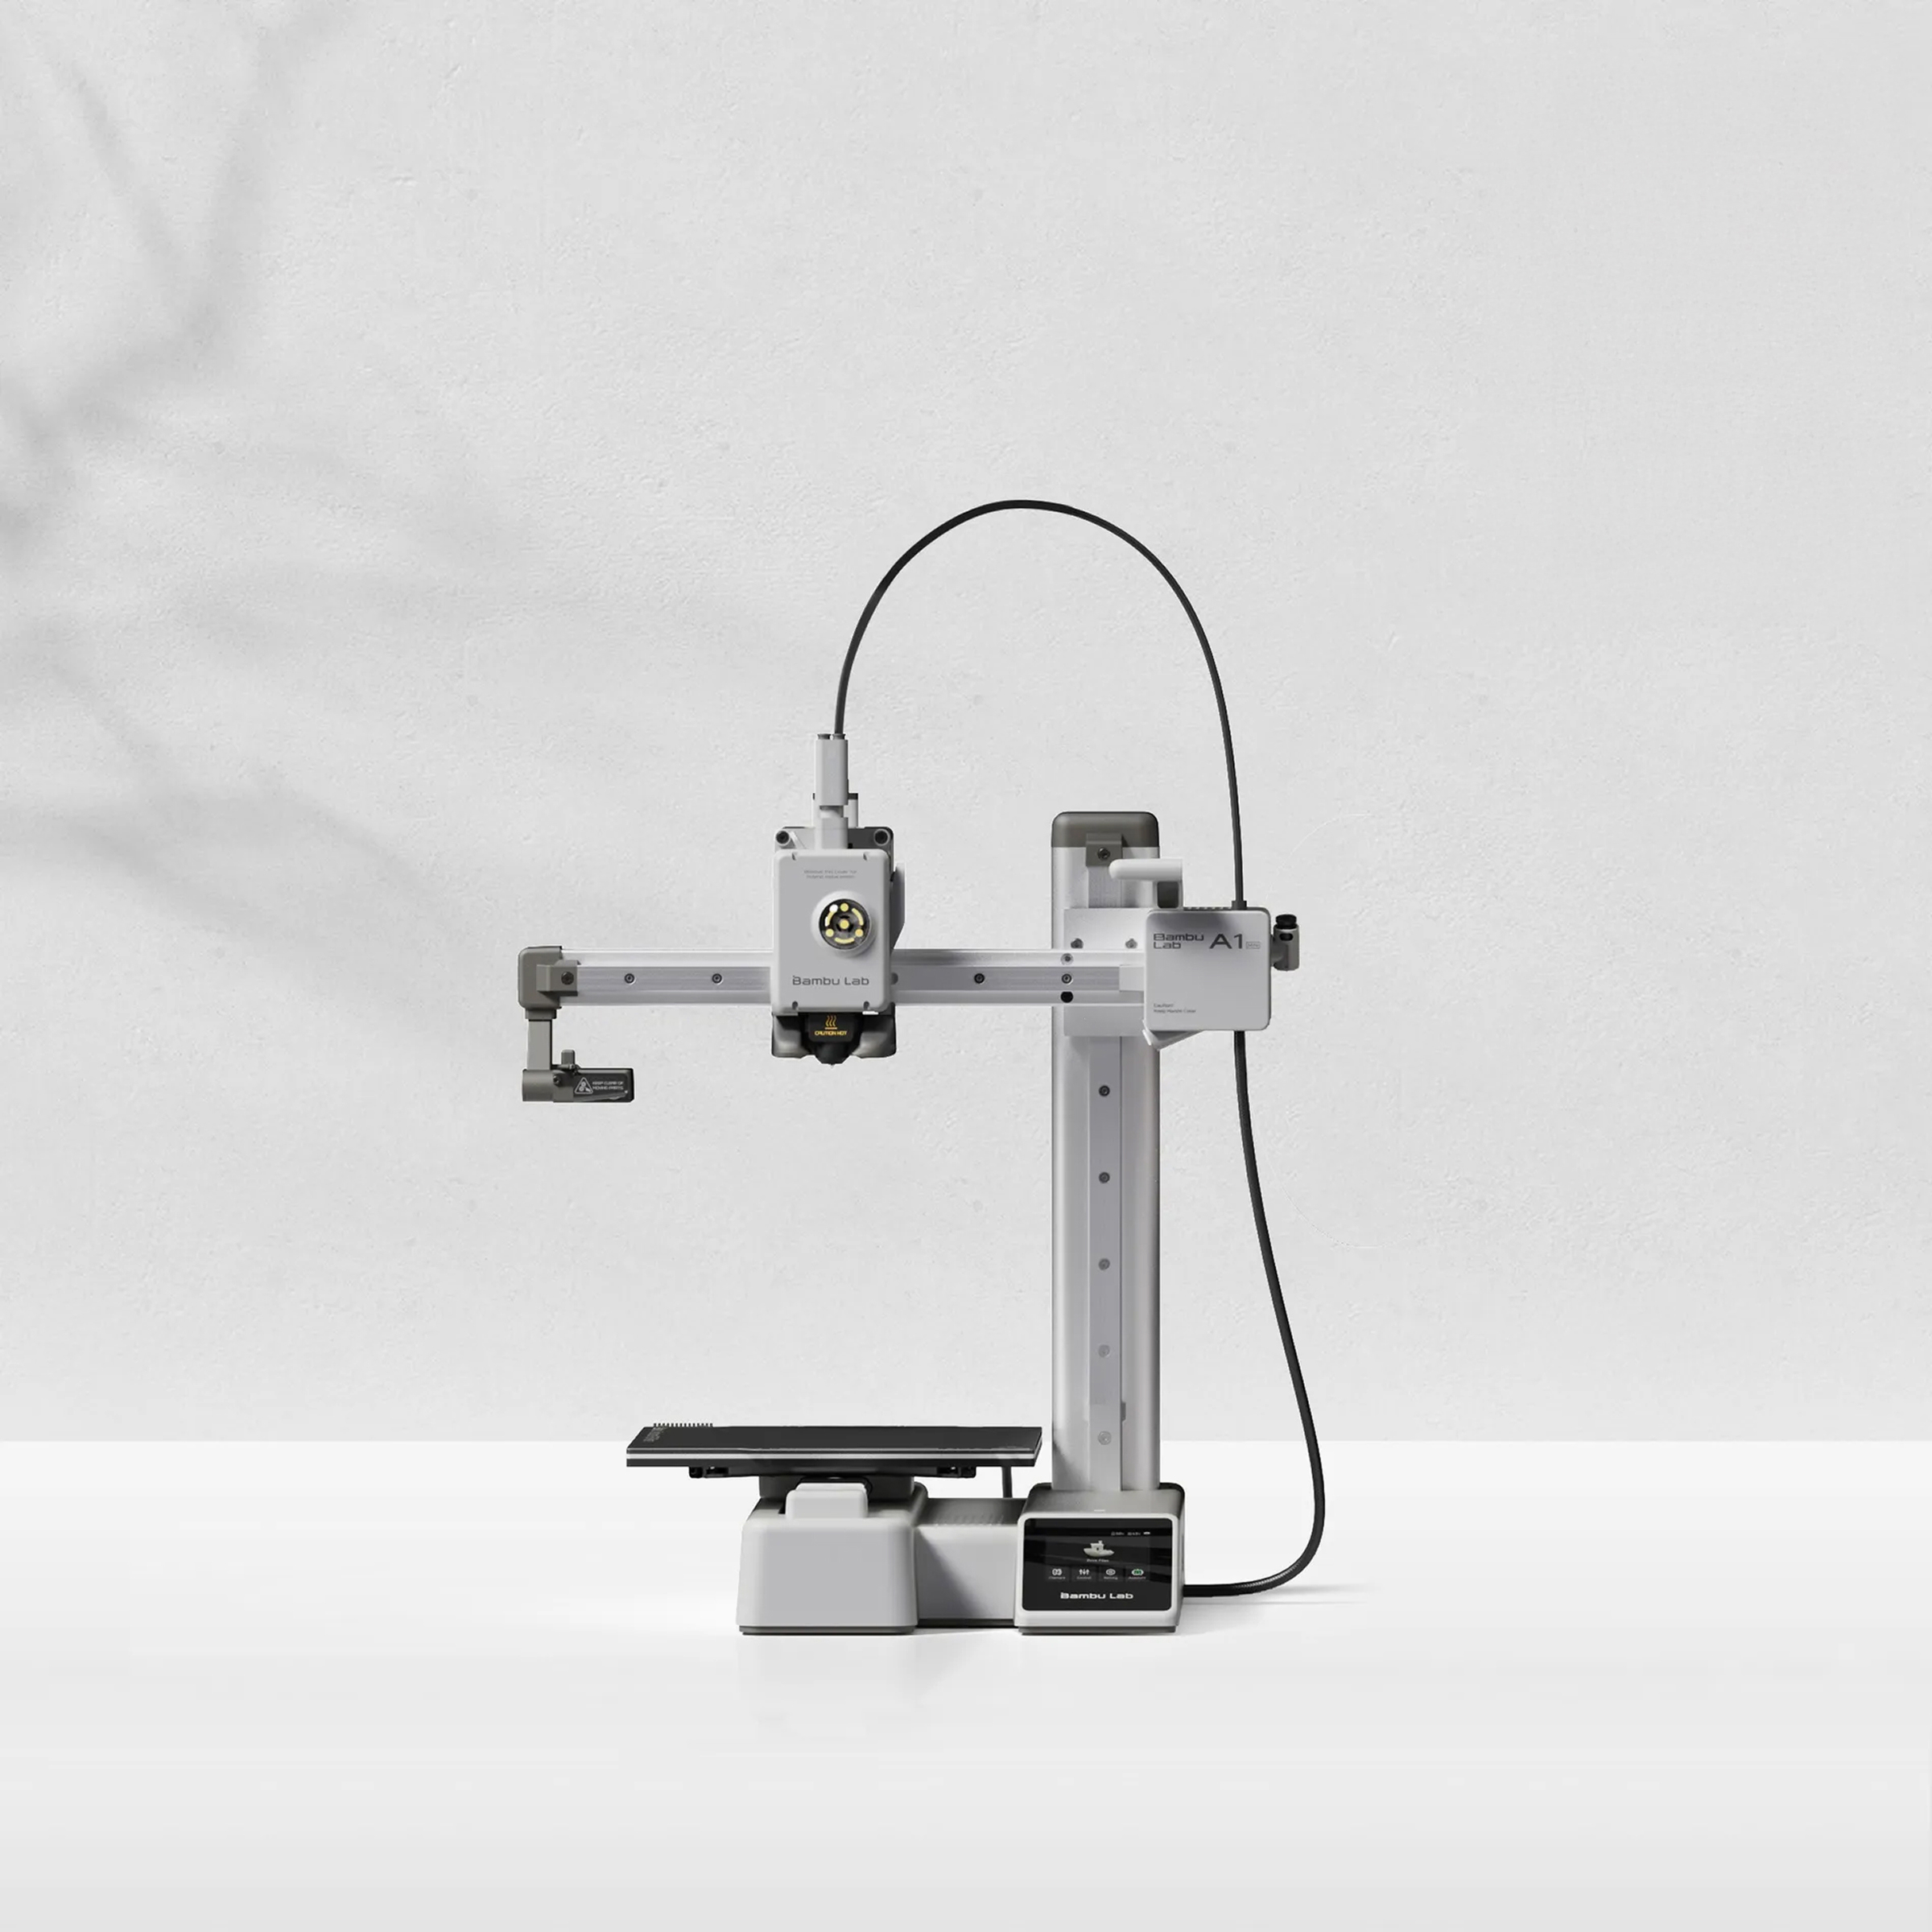
Printing large terrain pieces, bases, or rapid prototyping alongside resin miniatures.
Bambu Lab A1 Mini An excellent FDM printer for printing terrain and bulk fills quickly—a great complement to a resin printer for miniature setups.