
Creality Ender 3 V3 SE
Large batches of durable tabletop minis or terrain.
$199-$220
Creality Ender 3 V3 SE Best budget FDM for beginners—auto-leveling makes minis easy without hassle.
Get the App
Better experience on mobile
Learn the key differences between resin and FDM 3D printing to pick the perfect method for detailed miniatures and avoid common beginner pitfalls.
Printing miniatures for tabletop games like Warhammer or D&D can transform your hobby, but choosing between FDM (Fused Deposition Modeling) and resin printing confuses many beginners. FDM is affordable and forgiving, while resin delivers museum-quality detail—but each has trade-offs in cost, time, and mess. This guide breaks it down so you can decide without wasting money on the wrong setup.
You'll learn how each technology works, their pros and cons specifically for miniatures (think 28mm heroes), real-world examples, and when to use one over the other. No prior experience needed; we'll use simple analogies like comparing a hot glue gun (FDM) to a magical liquid sculptor (resin). Expect to finish reading in under 15 minutes and gain confidence to start printing.
By the end, you'll know exactly which suits your budget, detail needs, and workflow—plus tips to get pro results on day one.
Estimated Time: 10-15 minutes to read and understand Difficulty: beginner
FDM, or Fused Deposition Modeling, is like extruding toothpaste from a hot nozzle. A printer melts plastic filament (like PLA or ABS) and layers it to build your miniature from the bottom up.
Why it matters for minis: It's the most common entry-level method, great for larger parts. Imagine stacking thin slices of bread to form a figure—each layer is 0.1-0.3mm thick.
Expect sturdy prints that hold up to handling, but visible layer lines on fine details like faces or weapons.
💡 Tips:
Pros: Cheap printers ($150+), no post-processing mess, durable for play. Good for big minis or prototypes.
Cons: Layer lines make tiny details (eyes, chains) blurry. Minimum feature size ~0.4mm—fine for 32mm bases, rough for 10mm skirmishers.
Real example: Printing a Space Marine works okay, but armor rivets look blocky without sanding.
⚠️ Warnings:
Resin printing (SLA or DLP) uses UV light to harden liquid photopolymer layer by layer in a vat. Think of it as freezing magical liquid into solid form with a laser projector.
How it works: Model faces down on a build plate; light cures thin (0.01-0.05mm) layers. Pulls up to form the print.
For minis, this captures insane detail—like individual teeth on a dragon.
💡 Tips:
Pros: Razor-sharp details (0.025mm resolution), smooth surfaces—no sanding needed. Perfect for 28mm+ and jewelry-like minis.
Cons: Messy (sticky resin), toxic (wear gloves), needs washing/curing station. Prints are brittle without careful handling.
Post-print: Wash in IPA alcohol, cure under UV. Example: Orc bust with visible pores and fur texture.
⚠️ Warnings:
| Aspect | FDM | Resin |
|---|---|---|
| Detail | Good (0.2mm) | Excellent (0.05mm) |
| Speed | Faster for big | Slower batches |
| Cost/setup | $200 printer | $250+ + extras |
| Strength | Durable | Brittle |
For minis: Resin wins for heroes/villains; FDM for terrain/bases. Hybrid: FDM body + resin head.
💡 Tips:
FDM: $0.50/miniature (filament cheap), low upkeep.
Resin: $1-2/print (resin $30/L), but buy wash/cure ($100+). Ongoing: Resin disposal, screen replacements.
Beginner tip: FDM lower barrier; resin higher detail ROI for display pieces.
Budget < $300 + simple? FDM. Details matter + okay with mess? Resin. Start with free STL sites like Thingiverse.
Scale up: Supports crucial—tree supports in Chitubox for resin, auto in Cura for FDM.
💡 Tips:
Problem: FDM layers not sticking
Solution: Clean bed with IPA, level properly, slow first layer speed to 20mm/s.
Problem: Resin print fails to lift
Solution: Increase bottom exposure by 20%, add more bottom layers.
Problem: Elephant's foot on resin
Solution: Add negative offsets in slicer or sand lightly post-cure.
Problem: Stringing on FDM minis
Solution: Retraction 6mm, temp 195°C for PLA.
Best budget FDM for beginners—auto-leveling makes minis easy without hassle.
Best for: Large batches of durable tabletop minis or terrain.
Price Range: $199-$220
Top resin printer for minis with 9K resolution for ultra-fine details.
Best for: High-detail characters like D&D figures.
Price Range: $270-$300
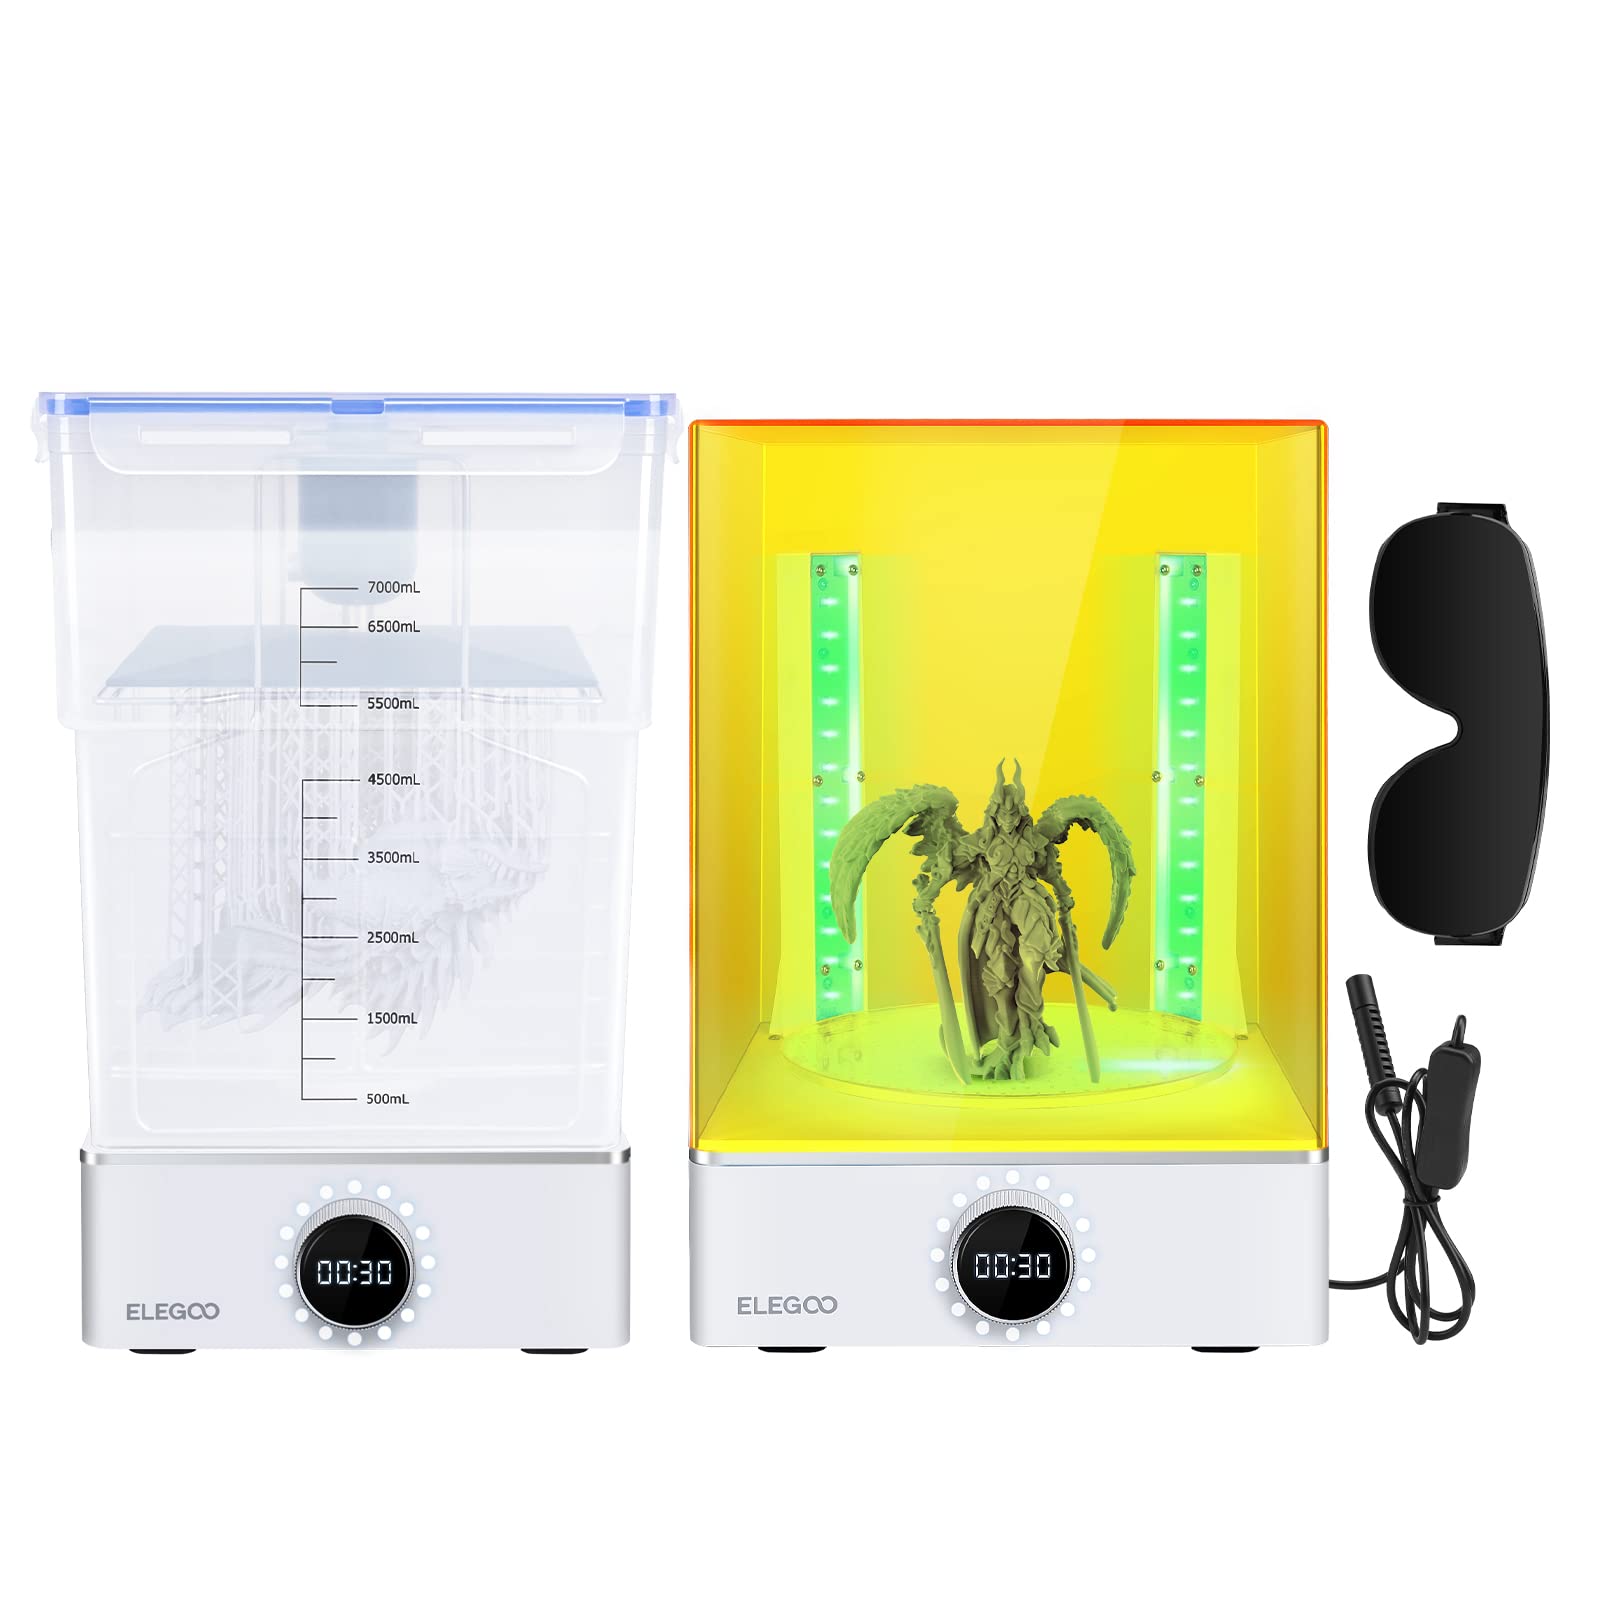
Essential wash and cure station simplifies resin workflow—no more messy IPA baths.
Best for: Post-processing every resin print batch.
Price Range: $150-$170
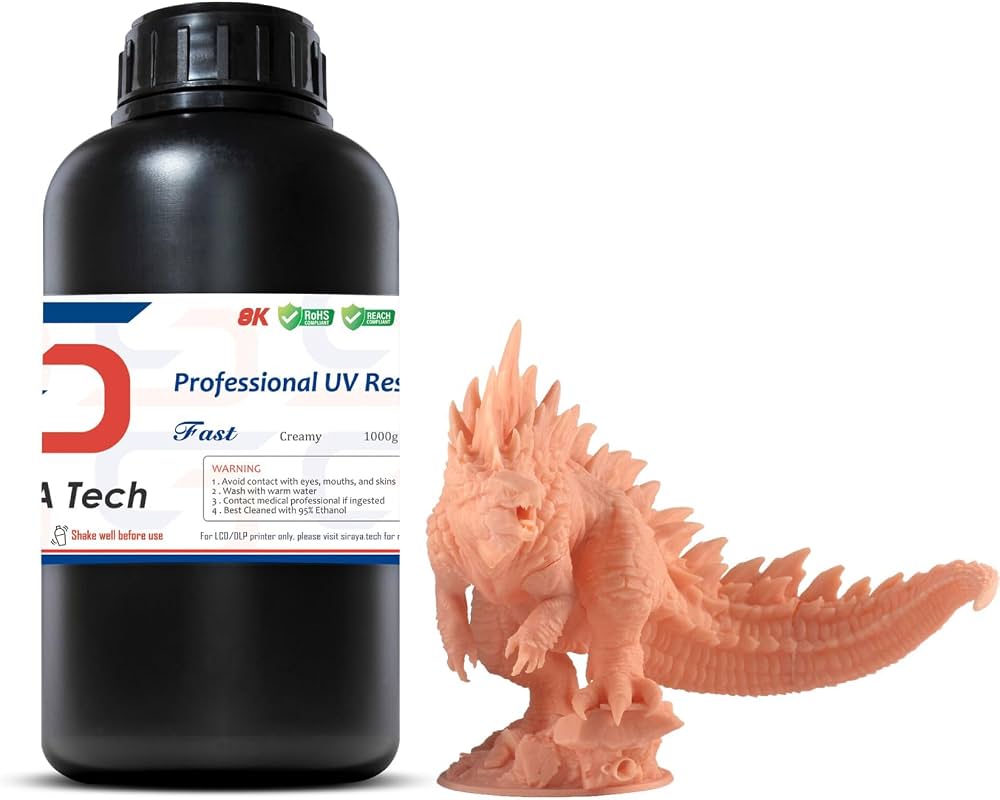
Tougher than standard resin, less brittle for playable minis.
Best for: Game-ready figures that survive dice rolls.
Price Range: $25-$35
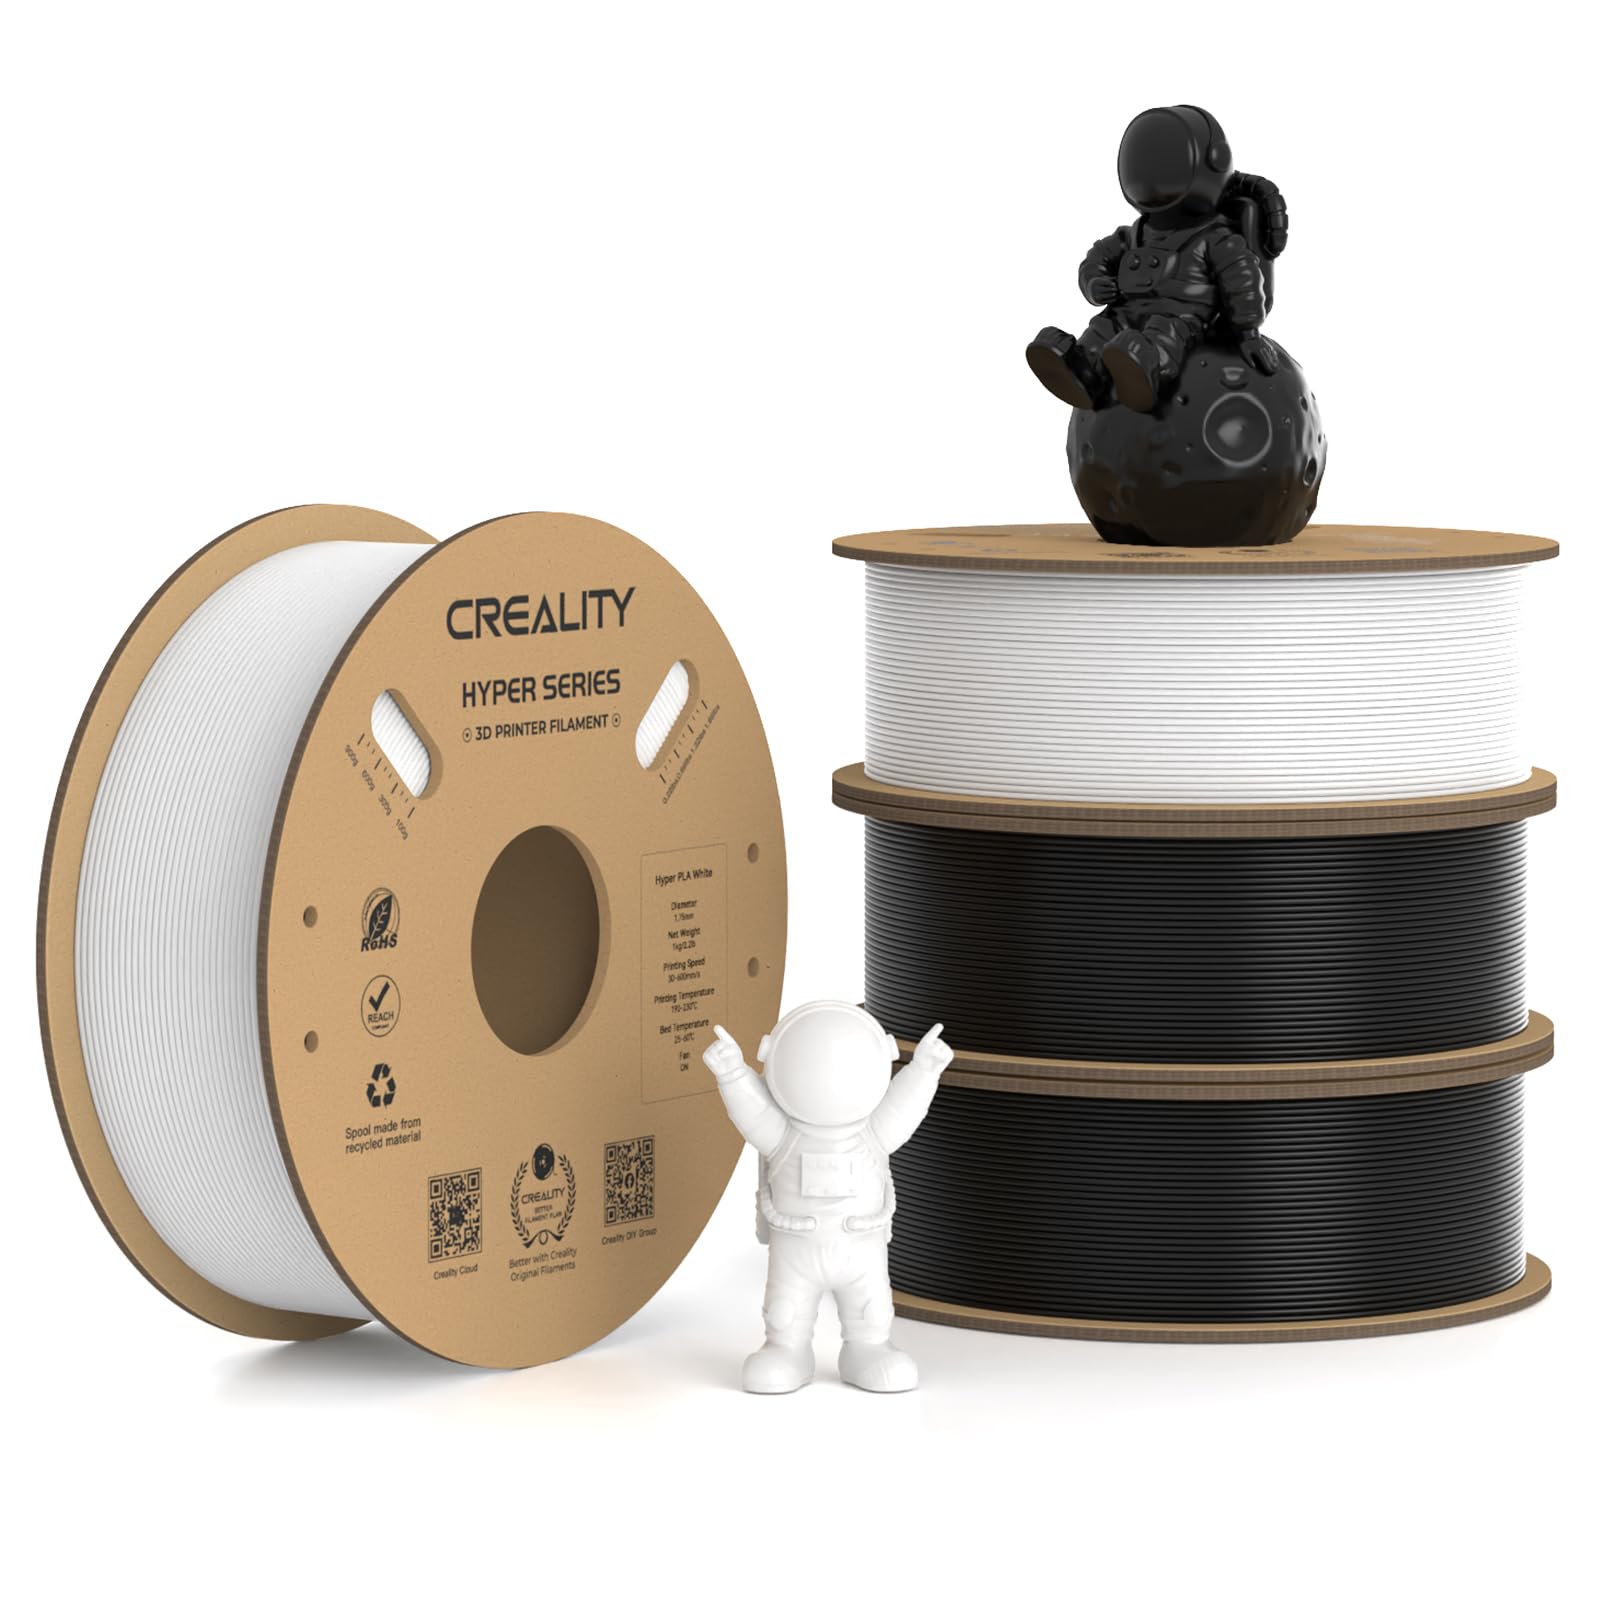
Smooth, fast-printing filament reduces layer lines on FDM minis.
Best for: Detail-oriented FDM prints without upgrades.
Price Range: $20-$25 per kg
Large batches of durable tabletop minis or terrain.
Creality Ender 3 V3 SE Best budget FDM for beginners—auto-leveling makes minis easy without hassle.

High-detail characters like D&D figures.
Elegoo Mars 4 Top resin printer for minis with 9K resolution for ultra-fine details.
Post-processing every resin print batch.
Elegoo Mercury XS Bundle Essential wash and cure station simplifies resin workflow—no more messy IPA baths.
Game-ready figures that survive dice rolls.
Siraya Tech Fast ABS-Like Resin Tougher than standard resin, less brittle for playable minis.
Detail-oriented FDM prints without upgrades.
Creality Hyper PLA Filament Smooth, fast-printing filament reduces layer lines on FDM minis.