Hook: Creating intricate jewelry like rings, pendants, or earrings with 3D printing can transform your hobby or business—but choosing between FDM (Fused Deposition Modeling) and resin printing is crucial for achieving that polished, high-detail look without frustration.
What you'll learn: This guide breaks down how each technology works, their strengths and weaknesses for jewelry making, and real-world comparisons to help you decide. Whether you're prototyping custom pieces or scaling production, you'll understand resolution, materials, costs, and more.
Overview: FDM extrudes plastic filament layer by layer, while resin uses UV light to cure liquid photopolymer. For jewelry, detail rules—expect to grasp concepts in 15-20 minutes of reading, with no hands-on required beyond basic 3D printing knowledge.
▸What You'll Need
- •Basic 3D printing knowledge (layer heights, slicing software)
- •Access to CAD software like Tinkercad, Fusion 360, or Blender for jewelry models
- •Examples of jewelry STL files (free from Thingiverse)
- •Optional: Demo access to FDM/resin printers via makerspaces
Estimated Time: 15-20 minutes to read and understand
Difficulty: intermediate
▸Step-by-Step Instructions
Step 1: Understand FDM 3D Printing Basics
FDM, or Fused Deposition Modeling, works by melting thermoplastic filament (like PLA or PETG) through a heated nozzle and extruding it layer by layer onto a build plate. Nozzles are typically 0.4mm, creating visible layer lines at standard 0.2mm layer heights.
For jewelry, FDM excels in durable prototypes but struggles with fine details under 0.5mm due to extrusion limits. Think of it like stacking Play-Doh strands—strong but rough.
Expect sturdy parts that need sanding/post-processing for shine.
💡 Tips:
- •Use 0.1-0.2mm layer heights for finer jewelry details.
⚠️ Warnings:
- •Avoid flexible TPU filament for rigid jewelry—it warps.
Step 2: Understand Resin 3D Printing Basics
Resin printing (SLA or DLP/MSLA) uses a vat of liquid photopolymer resin cured layer by layer with a UV laser or LCD screen masking light. Layer heights as fine as 0.01mm produce smooth, detailed surfaces.
Ideal for jewelry, it captures tiny features like prongs or engravings effortlessly—like injecting wax for lost-wax casting but faster. Prints emerge 'wet' and require cleaning/curing.
Results mimic injection-molded precision.
💡 Tips:
- •Choose jewelry-specific resins for castability.
⚠️ Warnings:
- •Resin is toxic—use gloves and ventilation.
Step 3: Compare Resolution and Detail for Jewelry
Jewelry demands sub-millimeter precision. FDM tops at ~0.1mm resolution with fine nozzles, but layer lines show on curves. Resin hits 0.025-0.05mm XY resolution (8K screens), perfect for filigree or gems.
Analogy: FDM is like pencil sketching; resin is inkjet printing. For a 2mm band ring, FDM needs heavy sanding; resin is print-and-wear ready after curing.
Test: Print a 1mm hole—FDM clogs it, resin nails it.
💡 Tips:
- •Benchmark with a resolution test model like 3DBenchy.
Step 4: Evaluate Material Properties and Finish
FDM uses filaments like PLA (brittle), ABS (tough), or metal-filled for casting. Finishes are matte/rough, requiring acetone smoothing or epoxy coating for jewelry shine.
Resin offers flexible, tough, or castable formulas (e.g., low-shrink for molds). Native glossy finish reduces post-work; colors via pigments.
For wearables, resin's biocompatibility edges out, but FDM is food-safe with right materials.
💡 Tips:
- •Pair FDM with PETG for jewelry durability.
⚠️ Warnings:
- •Standard PLA resins yellow over time in sunlight.
Step 5: Assess Speed, Cost, and Build Volume
FDM prints faster for large items (hours for a bracelet) at $0.50-2/print; build volumes 220x220x250mm. Resin is slower for big parts but flies through details (30min ring), $1-5/print due to resin cost; smaller volumes like 130x80x160mm.
Jewelry favors resin's speed for batches. Startup: FDM printers $200+, resin $250+ with extras.
💡 Tips:
- •Batch small jewelry on resin for efficiency.
Step 6: Review Post-Processing Needs
FDM: Sand, fill gaps, paint/epoxy. 30-60min/part.
Resin: Wash in IPA, UV cure, optional sanding. 10-20min/part, but messy.
Jewelry workflow: Resin direct-to-cast; FDM for mockups.
💡 Tips:
- •Use Formlabs Wash+Cure stations for resin speed.
⚠️ Warnings:
- •Uncured resin causes skin allergies.
Step 7: Consider Safety and Workspace
FDM: Fumes minimal, enclosed printers safe. Resin: Strong odors, skin irritant—needs ventilation, PPE.
Jewelry home setups: FDM garage-friendly; resin dedicated space.
💡 Tips:
Step 8: Choose Based on Jewelry Use Cases
FDM for: Large prototypes, durable chains, low-cost testing.
Resin for: Fine rings, settings, production casting.
Hybrid: FDM master, resin duplicates.
💡 Tips:
- •Start FDM, upgrade resin for pro jewelry.
▸Pro Tips
- •Orient jewelry prints vertically on resin for minimal supports.
- •Use voxel-based slicers like Lychee for resin jewelry optimization.
- •Test metal-infused FDM filaments for direct casting trials.
- •Calibrate resin printer leveling daily for flawless details.
- •Hollow jewelry models to save resin/materials.
- •Combine methods: FDM for bases, resin for intricate tops.
- •Invest in anti-aliasing for smoother resin curves.
▸Common Mistakes to Avoid
- •Using FDM for sub-0.5mm details—results in clogged nozzles and poor fits; switch to resin.
- •Skipping resin post-cure—parts stay tacky and brittle; always UV 5-10min.
- •Ignoring resin shelf life—old resin fails; store cool/dark, use within 6-12 months.
- •Overlooking supports in FDM jewelry—causes droops; add tree supports.
- •Poor ventilation with resin—leads to health issues; use fume hoods.
▸Troubleshooting
Problem: FDM layer lines too visible on jewelry
Solution: Reduce layer height to 0.1mm, use 0.2mm nozzle, or vapor smooth with acetone.
Problem: Resin prints sticky or failed layers
Solution: Check exposure times in slicer, clean FEP film, ensure proper leveling.
Problem: Warped FDM rings
Solution: Use enclosure, brim/raft, slower speeds, or ABS/PETG.
Problem: Resin drains too fast/costs high
Solution: Hollow models with 2mm walls, reuse IPA via distillation.
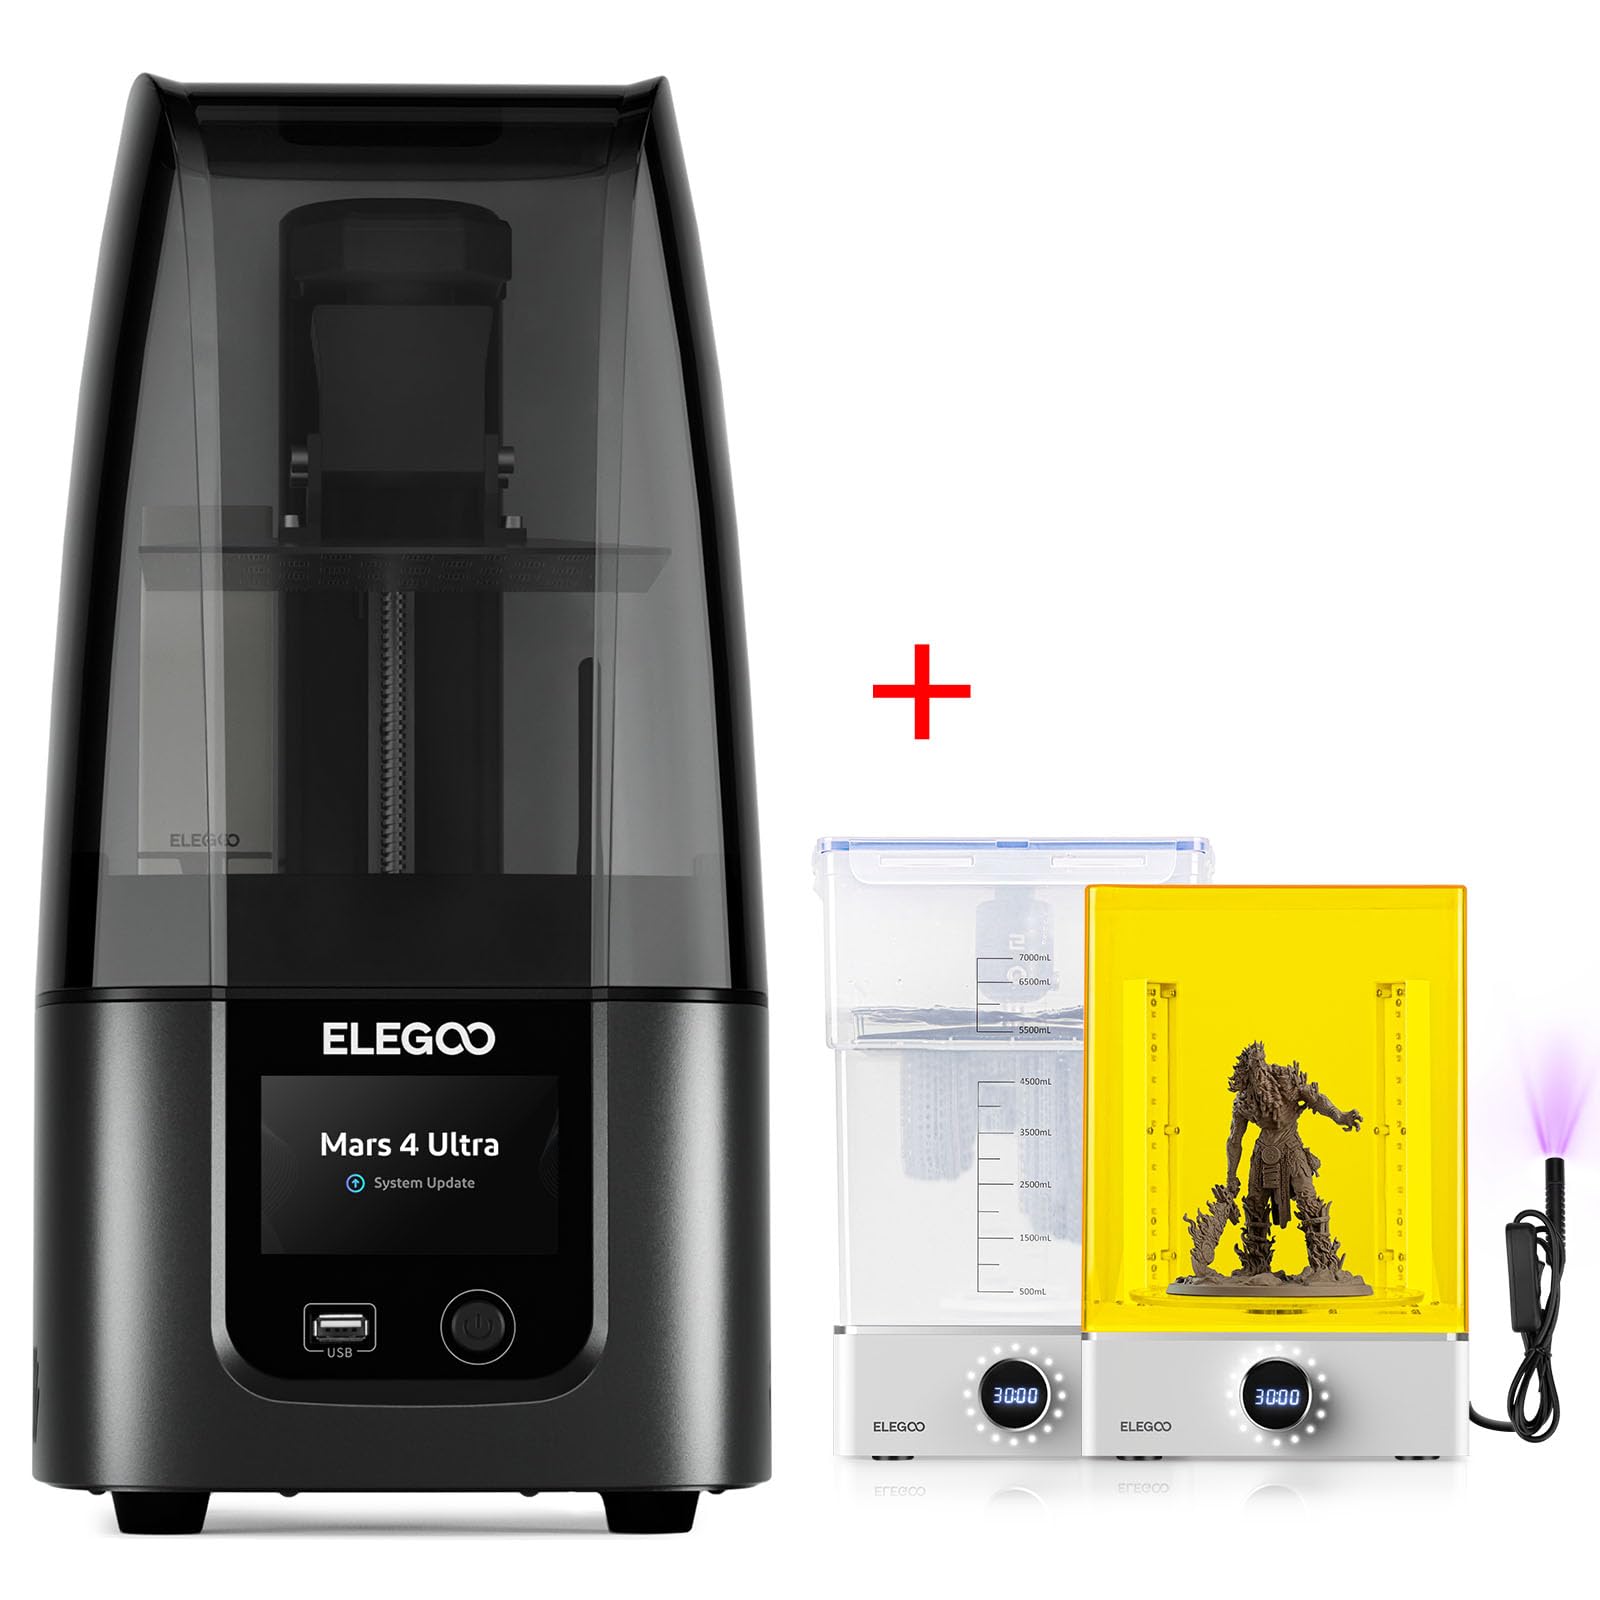
Elegoo Mars 4 Ultra
8K monochrome LCD for ultra-fine jewelry details (down to 18-micron XY resolution), fast print speeds, and reliable for batch production.
Best for: Printing intricate rings, earrings, or molds for casting precious metals.
Price Range: $260-$300
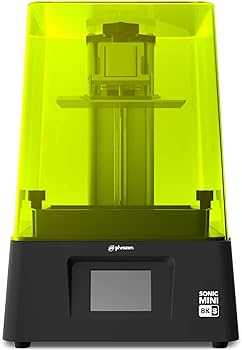
Phrozen Sonic Mini 8K
High-resolution 8K screen and jewelry-optimized build volume make it perfect for small, detailed pieces with minimal post-processing.
Best for: Prototyping fine filigree pendants or settings for gems.
Price Range: $200-$250
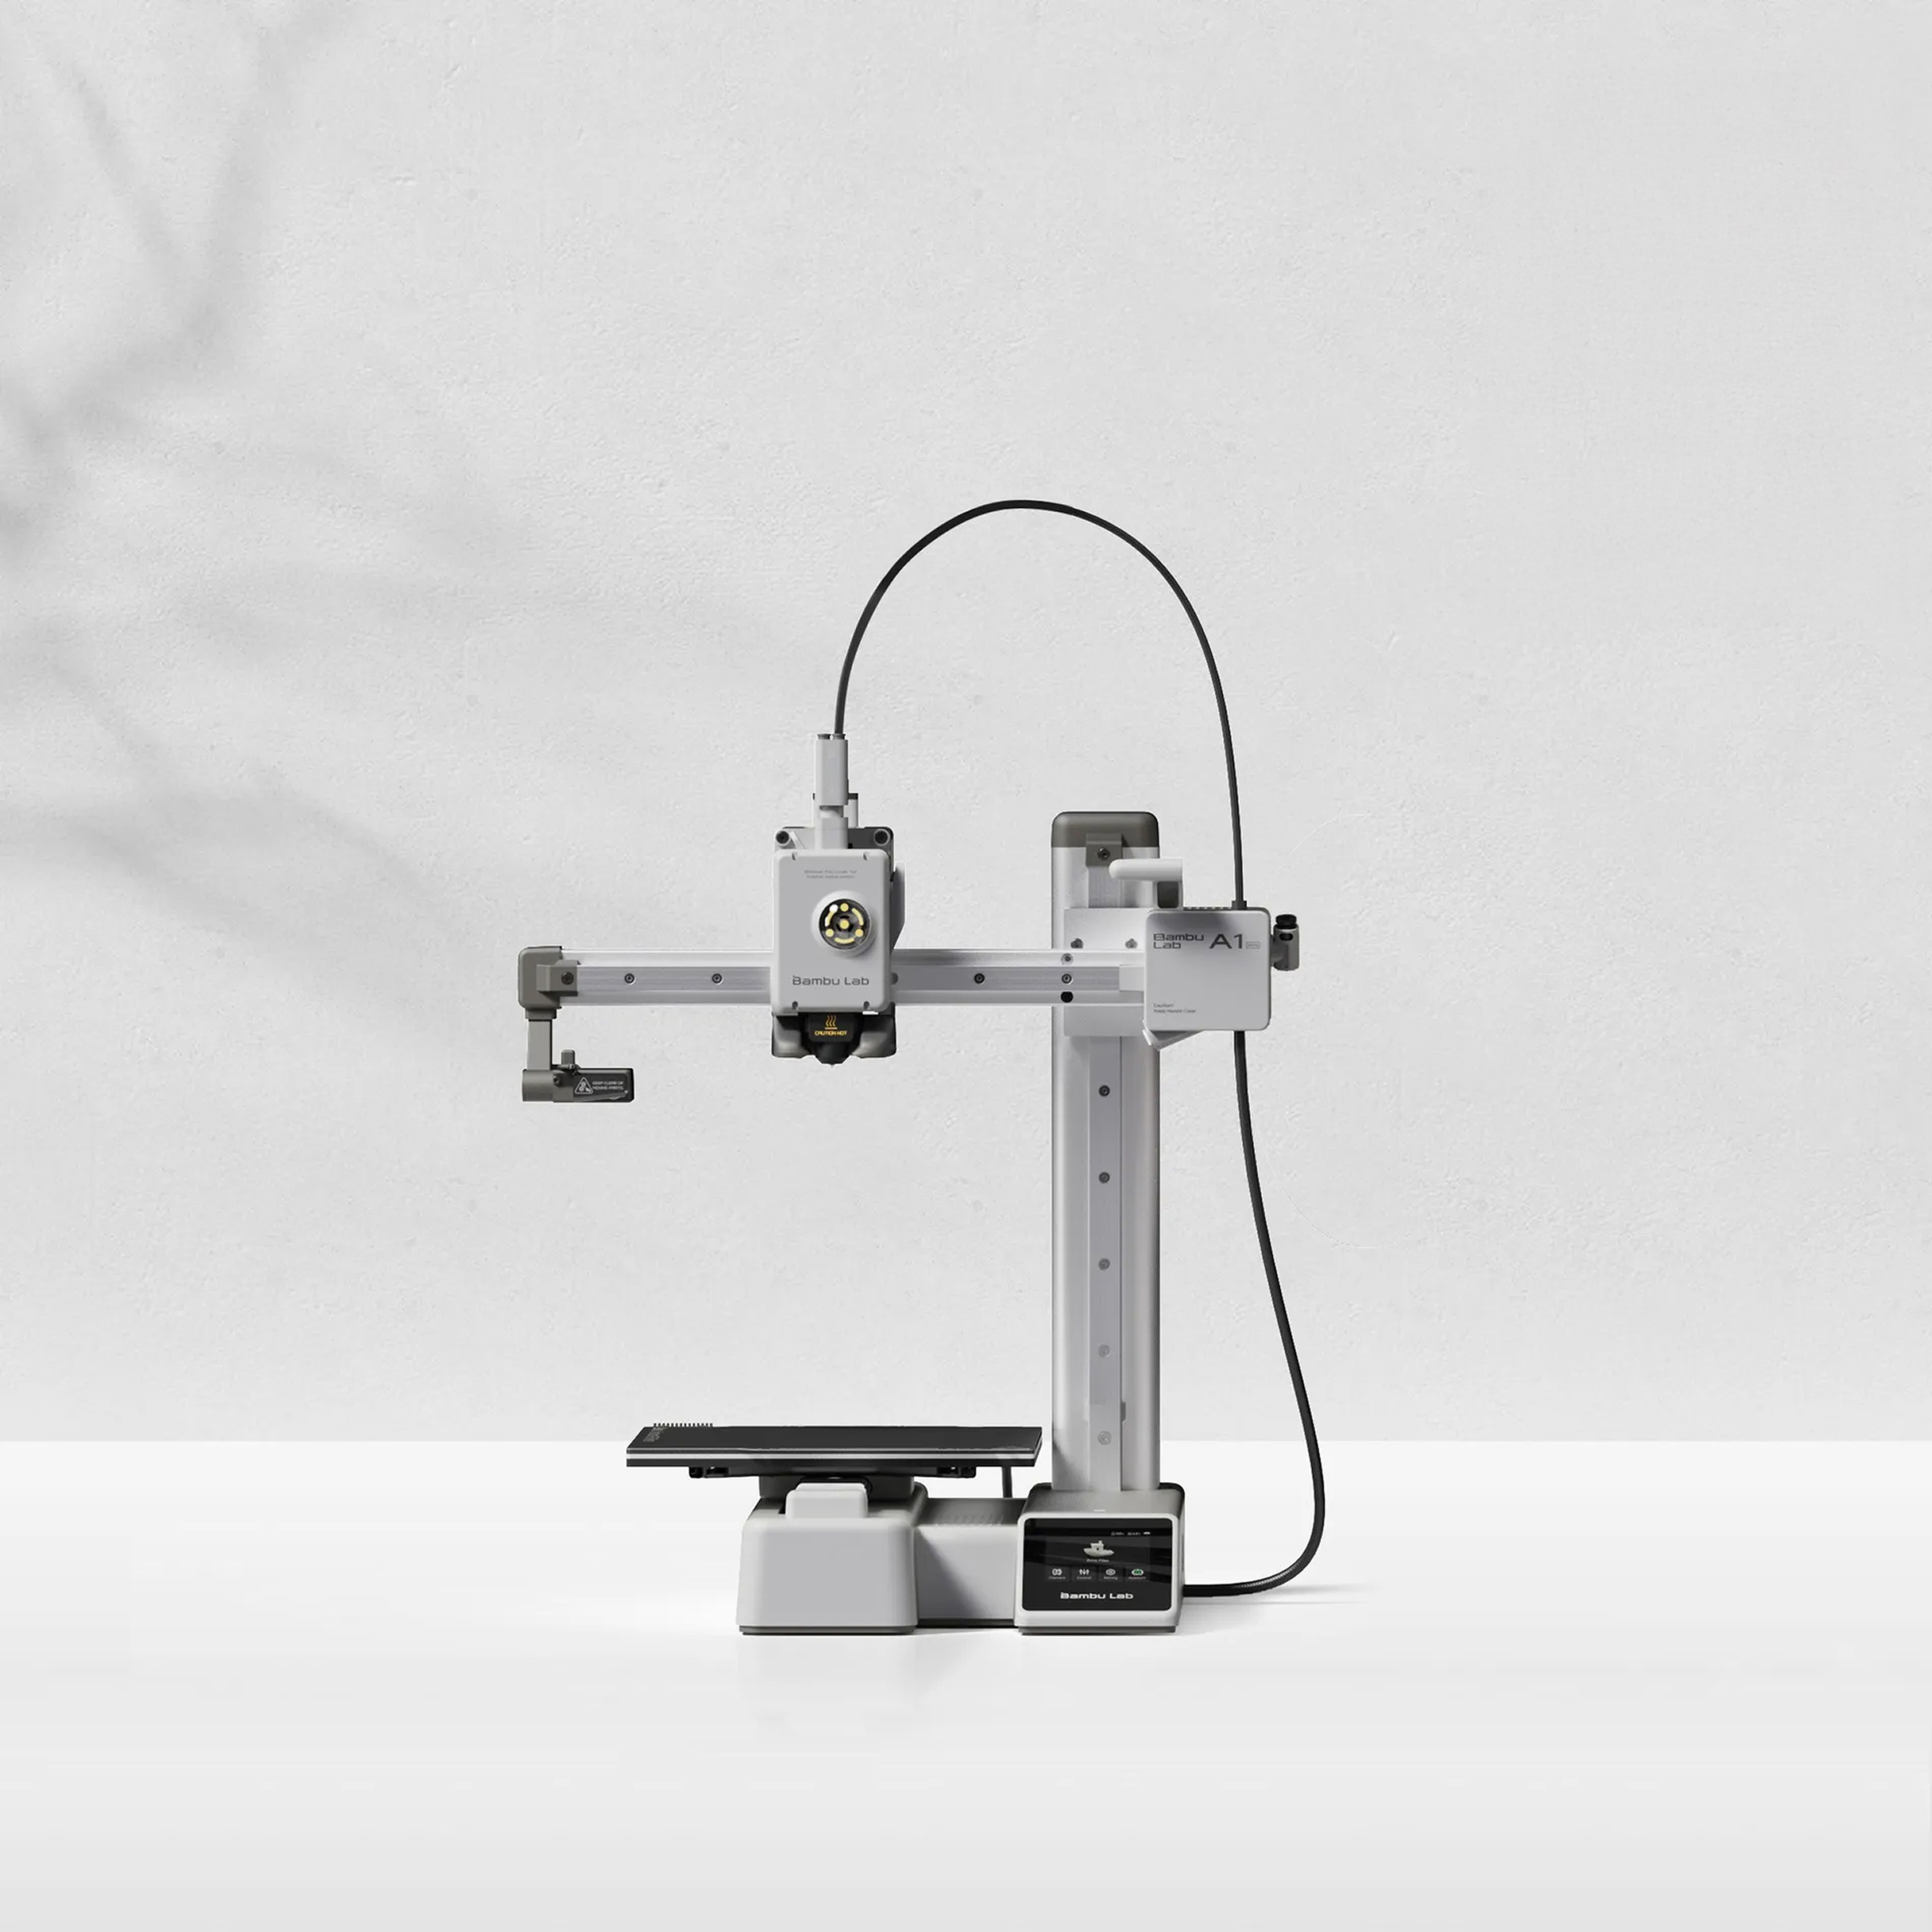
Bambu Lab A1 Mini
Compact FDM with 0.1mm precision and multi-color capability for quick, affordable jewelry prototypes.
Best for: Testing large bracelets or chain links before resin refinement.
Price Range: $180-$220
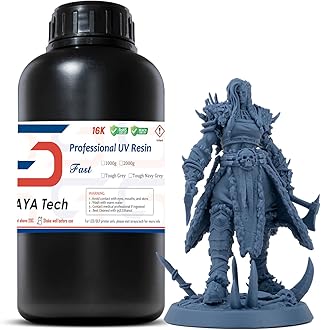
Siraya Tech Fast Navy Gray Resin
Low odor, high toughness, and castable for direct jewelry molding with excellent detail retention.
Best for: All-purpose resin for durable wearables or lost-wax casting.
Price Range: $25-$35
Creality Ender 3 V3 SE
Budget FDM with auto-leveling for reliable jewelry prototypes without fuss.
Best for: Beginner entry to FDM for oversized or functional test pieces.
Price Range: $200-$250