Imagine printing a single object that combines flexible rubber grips with rigid plastic housing and vibrant colors—all in one go. That's the power of multi-material 3D printing, revolutionizing prototyping, manufacturing, and hobbies by mimicking real-world products like shoes or tools. For beginners frustrated with single-material limitations, this tech opens endless possibilities.
In this guide, you'll grasp what multi-material 3D printing is, the main technologies behind it, and how it works step-by-step. No prior expertise needed—we'll use simple analogies and examples. Expect a 15-minute read that equips you to explore printers and accessories confidently.
We'll cover from basics to applications, helping you decide if it's right for your projects.
▸What You'll Need
- •Basic understanding of FDM 3D printing (optional, explained here)
- •A computer or tablet to view 3D models and slicer software demos
Estimated Time: 15-20 minutes
Difficulty: beginner
▸Step-by-Step Instructions
Step 1: Grasp Single-Material 3D Printing Basics
Most beginners start with FDM (Fused Deposition Modeling) 3D printing, where a single plastic filament (like PLA) melts and extrudes layer-by-layer to build objects. Think of it like a hot glue gun drawing in 3D.
Multi-material builds on this but adds complexity by switching materials mid-print. Why start here? Understanding single-material avoids confusion—multi-material printers often use similar FDM tech but with upgrades.
💡 Tips:
- •Watch a 2-minute FDM video for visuals.
Step 2: Define Multi-Material 3D Printing
Multi-material 3D printing creates objects using 2+ different materials (or colors) in one print. It differs from multi-color (same material, different hues) by allowing varied properties: rigid + flexible, soluble supports, etc.
Analogy: Like baking a cake with chocolate batter, vanilla filling, and strawberry icing—each part serves a purpose. This enables functional prototypes, like a phone case with soft-touch areas.
⚠️ Warnings:
- •Don't confuse it with multi-color; true multi-material changes mechanical properties.
Step 3: Explore Key Technologies
Main types: Dual/Multi-Extruder FDM (affordable, uses multiple nozzles); PolyJet (professional, jets photopolymer droplets like inkjet); Hybrid systems like SLS with binders.
FDM suits beginners—printers switch extruders. PolyJet offers high resolution but costs more. Why matters: Choose based on budget and needs.
💡 Tips:
- •Start with dual-extruder FDM for home use.
Step 4: Understand Dual Extruder Mechanics
In dual-extruder FDM, two hotends (nozzles) hold different filaments. Software 'slices' the model into toolpaths, pausing one extruder to switch.
Purging (ooze control) wipes excess: A 'purge tower' or 'prime pillar' prints waste filament. Expect slight seams but strong bonds if calibrated.
💡 Tips:
- •Calibrate extrusion multipliers per material.
Step 5: Dive into Advanced Methods Like PolyJet
PolyJet sprays tiny droplets of liquid resin, cured by UV light instantly. Multiple printheads handle materials simultaneously—no purging needed.
Analogy: High-tech inkjet for plastics. Results: Smooth, multi-durometer parts. Used in dentistry/automotive, but pricey ($50K+ machines).
⚠️ Warnings:
- •Not DIY-friendly; focus on FDM for starters.
Step 6: Prepare Models and Software
Design in CAD (Fusion 360, Blender) assigning materials to parts. Slice in software like PrusaSlicer or Orca Slicer, which generates G-code for switches.
Why key: Poor slicing causes failures. Free tools support MMU setups.
💡 Tips:
- •Use pre-made multi-material models from Thingiverse.
Step 7: Select Compatible Materials
PLA/ABS for rigid; TPU for flexible; PVA for supports. Must have similar melt temps for FDM.
Pro tip: Match shrinkage rates to avoid warping. Colors count as 'materials' in multi-filament systems.
Step 8: See Real-World Applications
Uses: Custom prosthetics (soft/rigid), shoe soles, electronics housings. Hobby: Toys with moving parts.
Future: Mass customization. Start small to experiment.
▸Pro Tips
- •Always print a purge tower to minimize color bleeding.
- •Match filament diameters (1.75mm standard) exactly.
- •Dry filaments before use to prevent moisture issues.
- •Start with 2 materials before scaling to 4+.
- •Use enclosed printers for better temp control.
- •Calibrate Z-offset between extruders precisely.
- •Opt for AMS systems for hands-off filament swaps.
▸Common Mistakes to Avoid
- •Ignoring temperature differences between materials, causing clogs—solution: Profile each filament.
- •Skipping purge calibration, leading to color contamination—build a test print first.
- •Overlooking model design; non-watertight models fail slicing—use solid meshes.
- •Poor bed adhesion for supports—use glue stick and brim.
- •Confusing multi-color with multi-material—check properties, not just hues.
▸Troubleshooting
Problem: Filament oozing or stringing between materials
Solution: Increase retraction distance (4-6mm), enable combing, or add more purge volume.
Problem: Layer shifts during extruder switch
Solution: Reduce print speed to 30-50mm/s; check belt tension.
Problem: Materials not bonding well
Solution: Ensure 5-10% overlap in design; match extrusion temps.
Problem: Filament jams in MMU
Solution: Clean selector and use high-quality filament; lubricate gears.
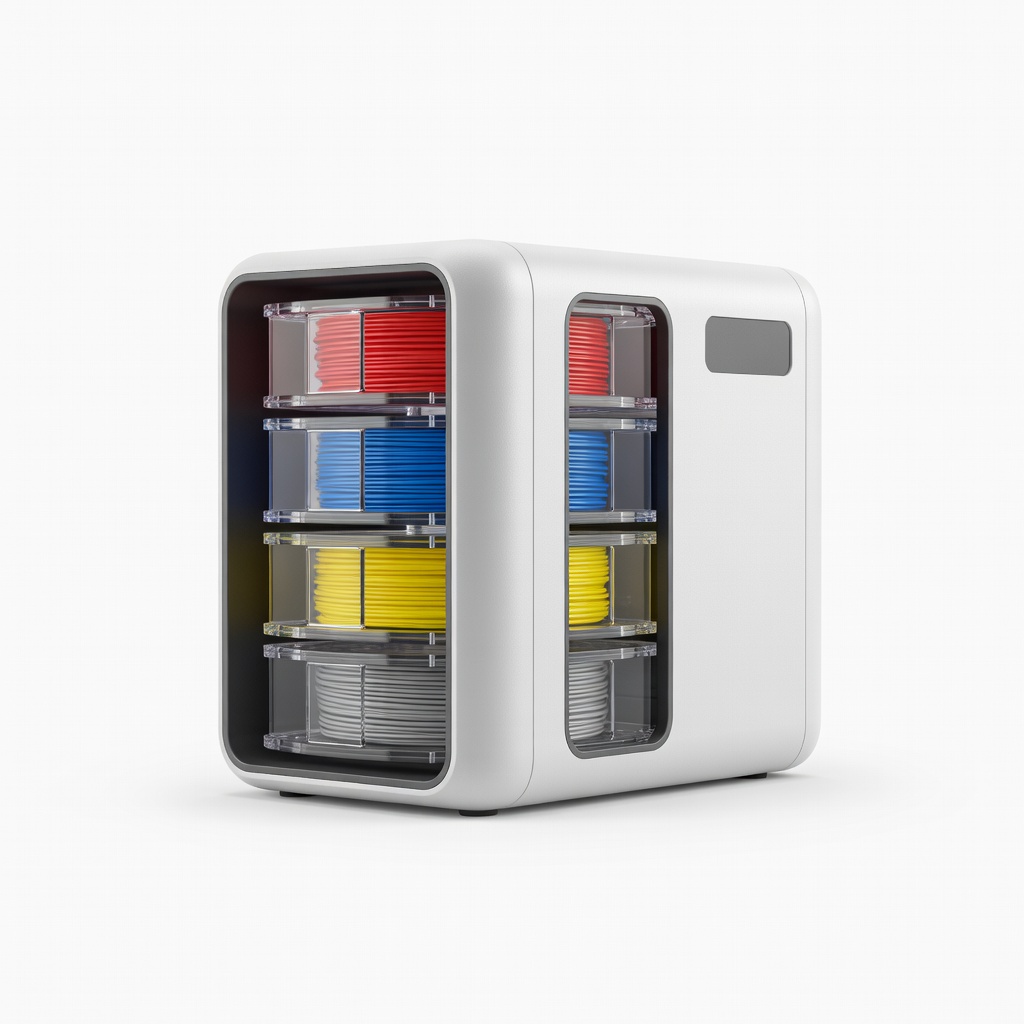
Bambu Lab AMS (Automatic Material System)
Simplifies multi-material swaps with dry storage for 4 spools, ideal for beginners avoiding manual changes.
Best for: Pair with Bambu X1C for seamless 4-color/material prints without jams.
Price Range: $349
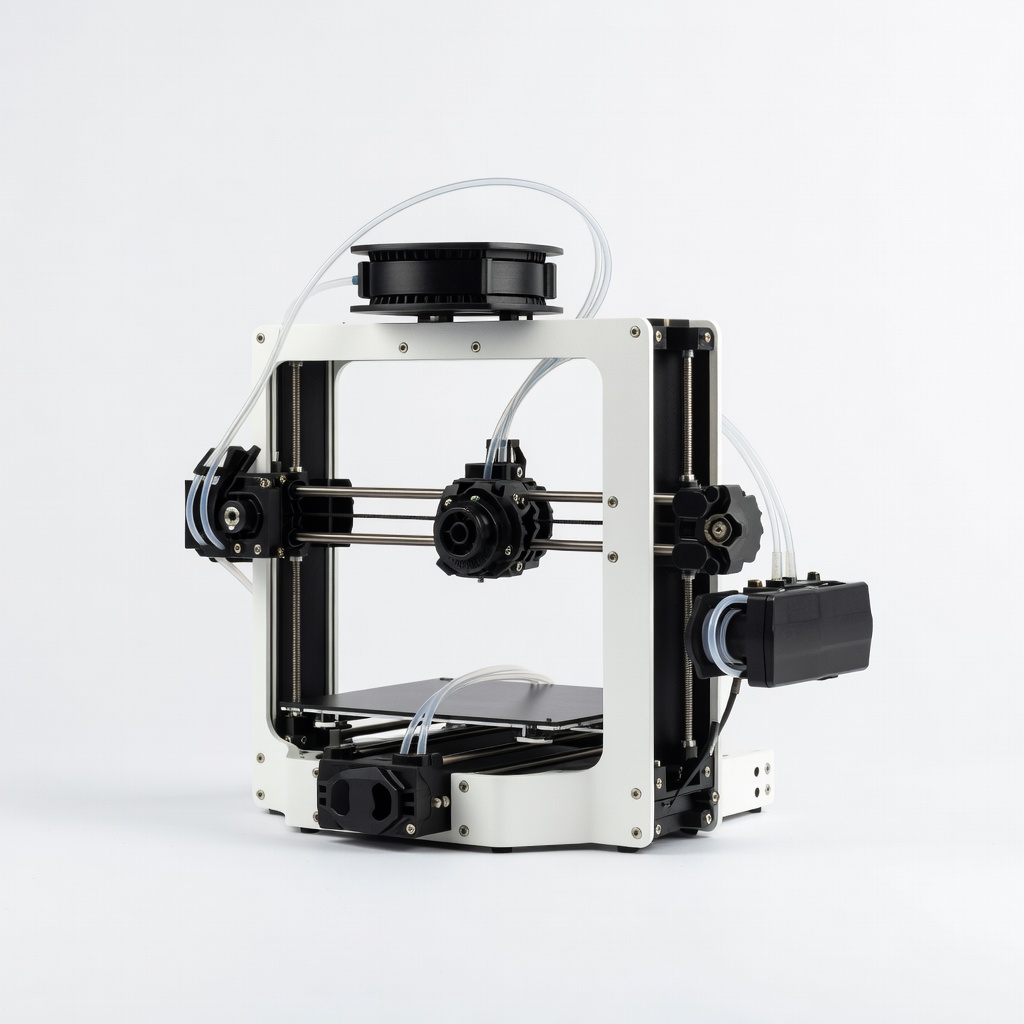
Prusa Research MMU3 (Multi Material Upgrade 3)
Reliable for up to 5 materials on Prusa MK4/MK3S+, with smart jam detection.
Best for: Upgrading existing Prusa for complex prints like multi-part prototypes.
Price Range: $299
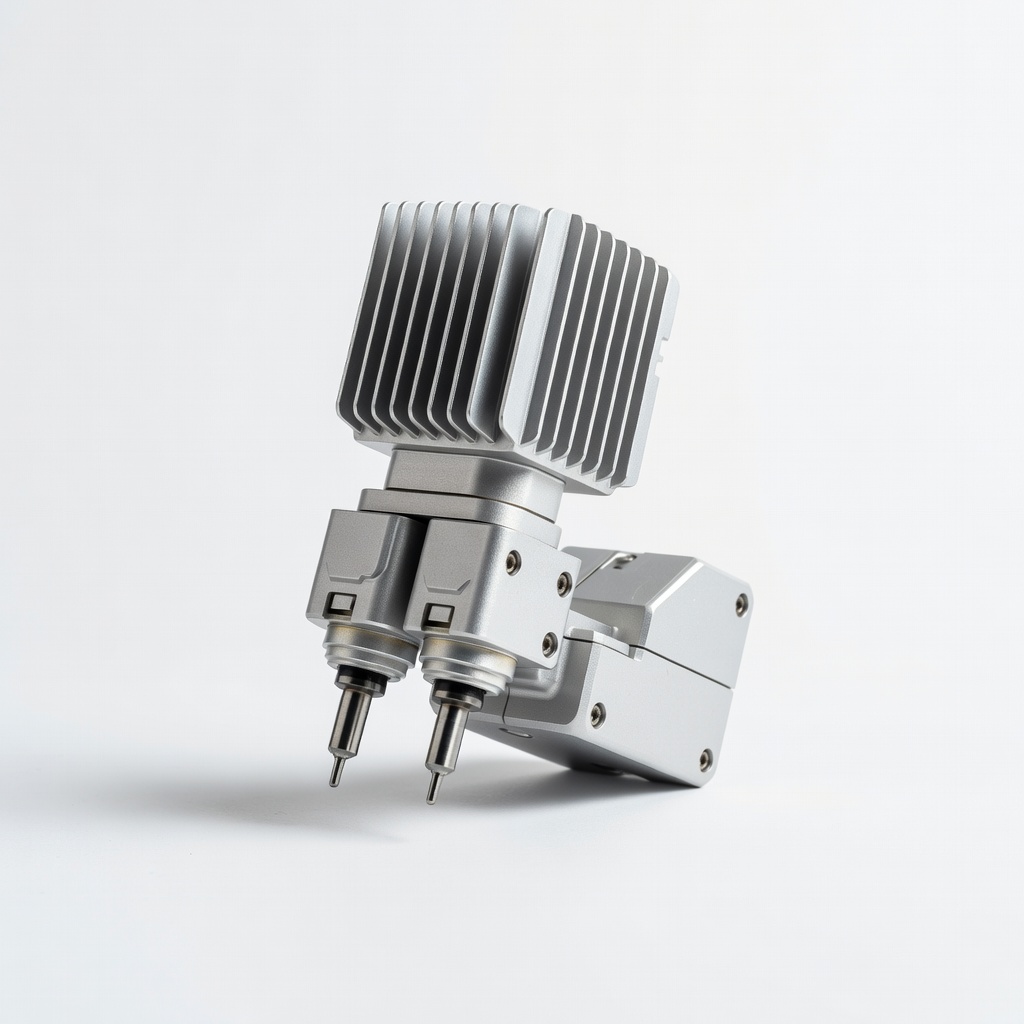
E3D Chimera 5 Dual Hotend
High-flow dual nozzle for mixing materials precisely, reducing purge waste.
Best for: DIY dual-extruder upgrades on Ender 3 or CR-10 for affordable multi-material.
Price Range: $80-$100
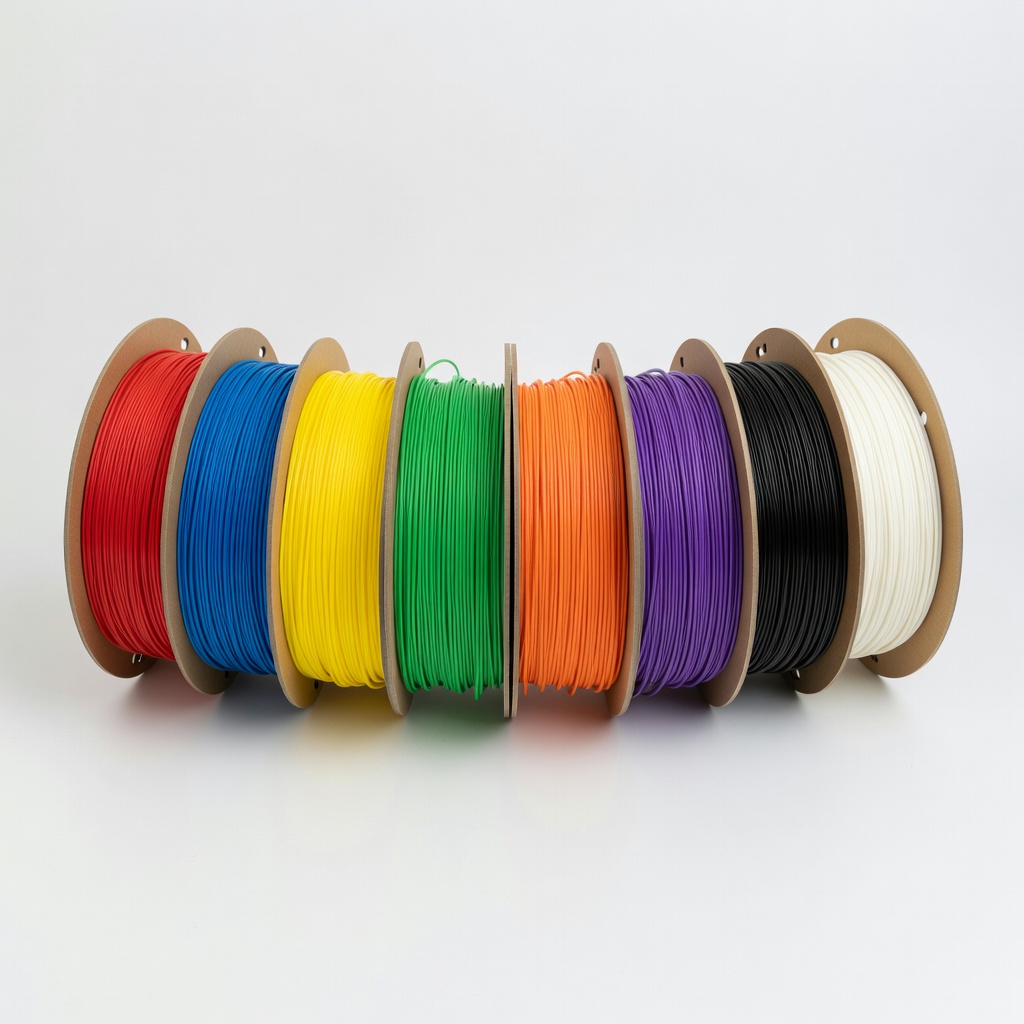
Polymaker PolyLite PLA 8-Color Filament Pack
Consistent quality across colors/materials, perfect for testing multi setups.
Best for: Entry-level multi-color prints to learn without material inconsistencies.
Price Range: $60-$80
BIQU H2 Direct Drive Dual Extruder Kit
Budget-friendly upgrade for any Cartesian printer, supports TPU/rigid mixes.
Best for: Converting single-extruder printers like Ender 3 to multi-material.
Price Range: $50-$70