In a world craving handmade, personalized decor, macrame has made a stunning comeback. This ancient knotting technique, once popular in the 1970s, is now a go-to for boho-chic wall art, plant hangers, and jewelry. If you've ever felt overwhelmed by craft stores or wondered how those intricate patterns come together, you're not alone—many beginners start with confusion but end up hooked after tying their first knot.
In this guide, you'll discover what macrame really is, its history, and why it's perfect for stress-relieving creativity. We'll break down the essentials and walk you through beginner-friendly knot tutorials with clear steps and visuals. By the end, you'll have the confidence to start your own project, whether it's a simple keychain or a statement piece.
Expect a gentle learning curve: no prior skills needed, just patience and practice. You'll spend about 1-2 hours total, with each knot taking 10-20 minutes to master. Let's untangle the mystery and get knotting!
▸What You'll Need
- •Macrame cord (3-5mm thick cotton or synthetic, at least 10-20 yards for practice; required)
- •Scissors or sharp craft shears (required for cutting cords cleanly)
- •Dowel rod, wooden ring, or dowel (4-6 inches long, optional but helpful for mounting practice knots)
- •Measuring tape or ruler (optional for precise cord lengths)
- •Clipboard or board (optional to secure your work while tying)
Estimated Time: 1-2 hours (30 minutes for basics + 10-20 minutes per knot practice)
Difficulty: beginner
▸Step-by-Step Instructions
Step 1: Understand the Basics of Macrame
Macrame is the art of knotting cords or ropes to create decorative items, using only your hands and basic knots—no needles or hooks required. Originating from 13th-century Arabic sailors who knotted nets for storage, it evolved into intricate textiles in cultures worldwide, from South American hammocks to Victorian-era plant holders. Today, it's loved for its versatility: you can make wall hangings, bags, or even lampshades with just a few core knots.
Why does this matter? Unlike weaving or crocheting, macrame focuses on structure through tension and patterns, making it meditative and forgiving for beginners. You'll start with 'working cords' (the ones you tie) and 'filler cords' (the base). Expect loose ends at first—practice builds tight, even knots.
This foundation sets you up for success, preventing frustration later.
💡 Tips:
- •Watch a 2-minute video demo online to visualize the knots before starting.
- •Think of macrame like friendship bracelets: simple loops create complex beauty.
⚠️ Warnings:
- •Don't rush—loose knots lead to unraveling projects.
Step 2: Set Up Your Workspace
Choose a flat, well-lit surface like a table or desk. Cut your macrame cord into lengths: start with 4-6 pieces of 2-3 yards each for practice. This length allows room for knots without running short.
Secure one end: Tape the tops of your cords to a clipboard or tie them to a dowel for stability. Why? A steady base mimics real projects and prevents cords from shifting, which causes uneven knots. Expect to adjust tension as you go—cords should feel taut but not stretched.
This step takes 5 minutes but saves hours of redoing work.
💡 Tips:
- •Work sitting comfortably to avoid hand cramps during longer sessions.
⚠️ Warnings:
- •Avoid working on carpet; loose fibers can tangle with cords.
Step 3: Learn the Lark's Head Knot (Mounting Knot)
The Lark's Head is the simplest starting knot, used to attach cords to a base like a ring or dowel. Fold a cord in half to form a loop, place it behind your dowel, then pull the loose ends through the loop from front to back. Pull tight to secure.
This matters because it's the foundation for all macrame pieces—without it, your project has no anchor. Expect a clean, centered mount; if it's off, redo for symmetry. Practice on 4 cords spaced evenly.
It's like buckling a seatbelt: quick and essential for safety (or in this case, structure).
💡 Tips:
- •Use an even number of cords for balanced designs.
Step 4: Master the Square Knot
The Square Knot is the workhorse of macrame, creating flat, braided patterns. With 4 cords (two fillers in the center, two working on sides), take the left working cord over the fillers and under the right, then bring the right over the fillers and under the left. Pull both to tighten, alternating sides for the next row.
Why essential? It forms the base for most patterns, like chevrons or panels. Expect alternating over-under to create a reversible weave; loose tension makes it wavy—aim for flatness.
Practice 5-10 rows; it's forgiving and builds hand-eye coordination.
💡 Tips:
- •Keep cords untangled by working from the center out.
- •Use a comb to even out knots after tying.
⚠️ Warnings:
- •Don't alternate sides inconsistently, or it'll spiral instead of square.
Step 5: Try the Spiral Knot Variation
Build on the Square Knot for a Spiral: Repeat the same over-under but always start with the same side (e.g., left over right repeatedly). This twists the cords into a rope-like spiral.
It matters for adding texture to projects like bag handles. Expect a natural curl after 8-10 knots; if it doesn't spiral, check your starting side consistency.
This is like twisting a towel—repetition creates the magic.
💡 Tips:
- •Secure the bottom with tape to prevent untwisting while practicing.
Step 6: Practice the Half Hitch Knot
The Half Hitch adds loops for fringes or branches. Drape a working cord over a filler, bring it around and under, then pull through the loop. Repeat in the same direction for a chain.
Why? It's great for asymmetrical designs like leaves. Expect a series of connected loops; reverse direction for a different slant.
Tie 5-7 in a row to see the pattern emerge.
💡 Tips:
- •Hold the filler taut with your non-dominant hand.
⚠️ Warnings:
- •Too loose, and it slips; too tight, and cords fray.
Step 7: Create a Simple Berry Knot Cluster
For texture, use the Berry Knot: Gather 4-6 cords, loop them together in a ball shape by wrapping and tucking ends inward, then secure with a wrapping knot.
This finishes pieces with pops of volume, like fruit motifs. Expect a bumpy cluster; trim ends evenly after.
It's the cherry on top—literally, for berry designs.
💡 Tips:
- •Practice on scrap cords to perfect the tuck.
Step 8: Finish and Trim Your Practice Piece
Once knots are tied, trim dangling ends to 1-2 inches for fringes. Untape and admire your mini wall hanging.
Why? Clean finishes make it display-worthy. Expect satisfaction from your first creation—hang it up!
This step reinforces learning through completion.
💡 Tips:
- •Seal ends with glue if using synthetic cords to prevent fraying.
▸Pro Tips
- •Start with thicker cords (5mm) for easier gripping and visibility.
- •Use natural light or a desk lamp to spot tension issues early.
- •Practice knots on paper first by drawing them to memorize sequences.
- •Keep a knot cheat sheet nearby for quick reference during projects.
- •Moisten cords slightly if they're stiff—it makes them more pliable.
- •Join online macrame communities for pattern inspiration and feedback.
- •Rotate your work every few knots to maintain even tension.
▸Common Mistakes to Avoid
- •Inconsistent tension: Leads to bumpy or loose patterns. Avoid by checking after each knot and pulling evenly.
- •Using too-thin cords: Hard to handle for beginners. Start with 3-5mm to build confidence.
- •Not securing the base: Cords shift, ruining symmetry. Always tape or clip before starting.
- •Over-tightening knots: Causes fraying or warping. Tie firmly but not forcefully.
- •Skipping practice rows: Jumps to complex projects fail. Master basics with 10-20 reps first.
▸Troubleshooting
Problem: Knots are coming undone
Solution: Retie with more tension or add a finishing knot at the end. Use cord with good grip, like cotton over synthetic.
Problem: Cords tangle easily
Solution: Work in small sections and use weights (like binder clips) on the bottom to keep straight. Untangle immediately.
Problem: Patterns look uneven
Solution: Measure cord lengths precisely and alternate hands for symmetry. Practice on a larger scale next time.
Problem: Hands cramp during long sessions
Solution: Take 5-minute breaks every 20 minutes. Use ergonomic grips or thicker cords to reduce strain.
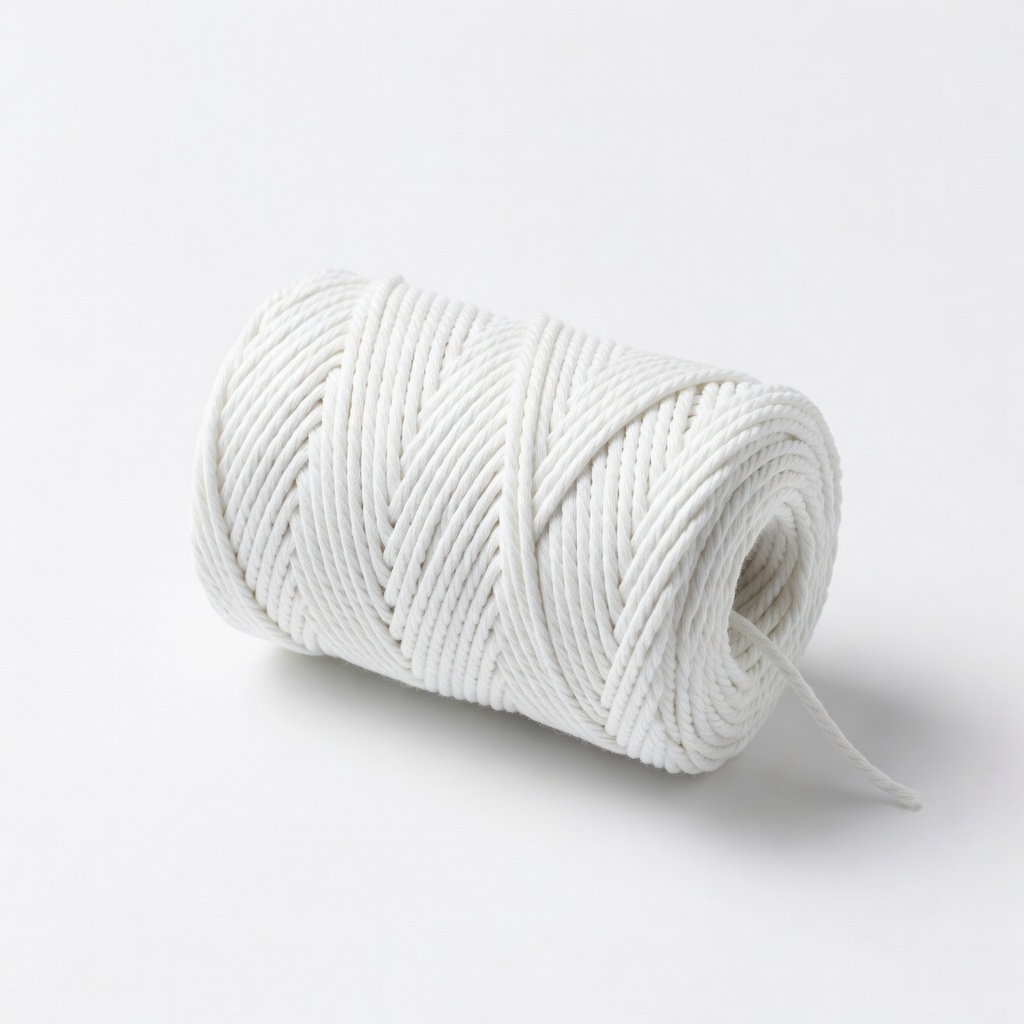
Mandala Crafts Macrame Cord, 3mm, 100 Yards
This cotton cord is soft yet durable, perfect for beginners to practice knots without fraying easily.
Best for: Ideal for initial tutorials and small projects like keychains or wall hangings.
Price Range: $12.99
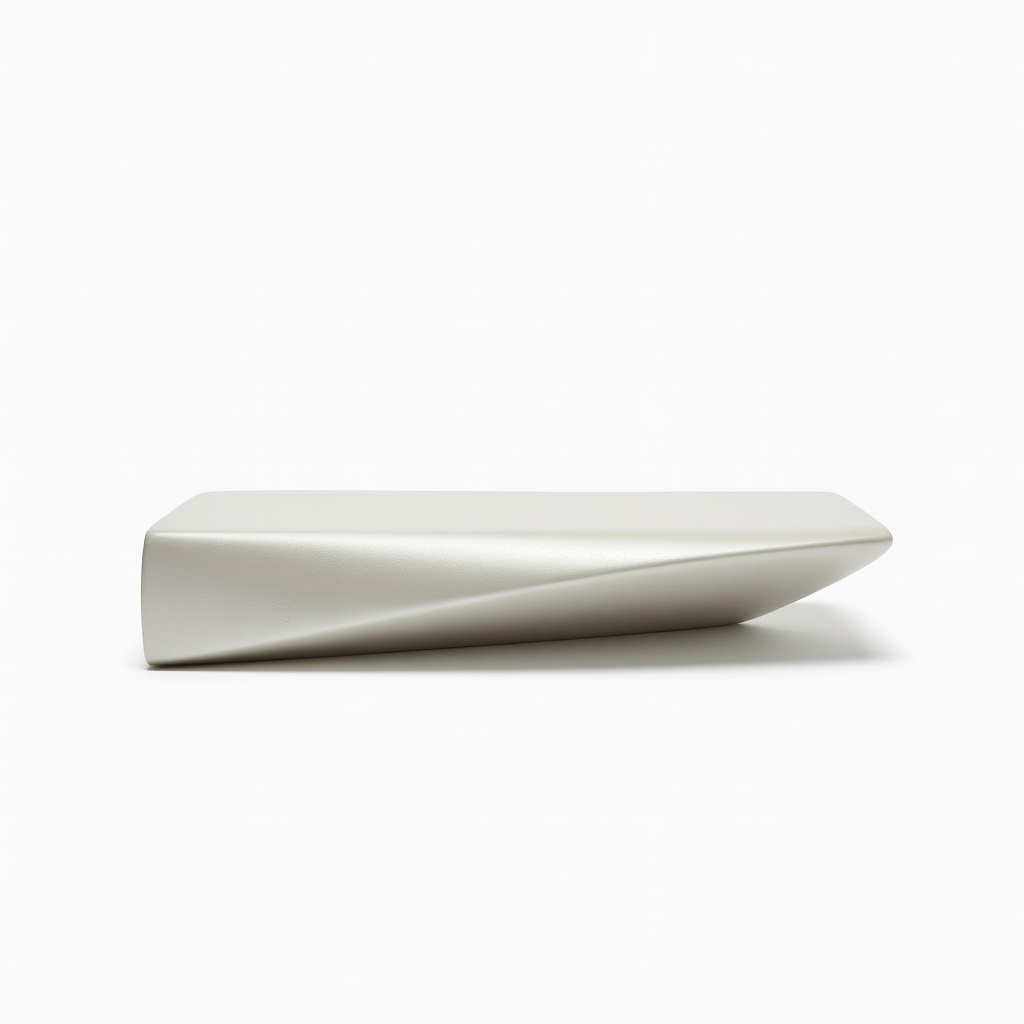
Weaver's Vault Wooden Dowel Rod, 12mm x 12 inches
Provides a sturdy base for mounting knots, essential for stable practice pieces.
Best for: Use when learning Lark's Head or Square Knots to simulate real project anchors.
Price Range: $8.99
undefined
undefined
Best for: undefined