
Seachem Stability
Add daily for first 7 days post-acclimation.
$14.99
Seachem Stability Boosts beneficial bacteria during acclimation and mini-cycles to prevent ammonia spikes.
Get the App
Better experience on mobile
Discover live rock's role in reef tanks and master safe acclimation steps for a thriving aquarium ecosystem.
If you're setting up or upgrading a reef aquarium, live rock is a game-changer—but mishandling it can introduce pests, crash parameters, or kill beneficial bacteria. Many intermediate aquarists lose corals and fish to 'new rock syndrome' from skipping proper acclimation. This guide explains what live rock is, why it's essential, and how to acclimate it correctly.
You'll learn the science behind live rock, its benefits for biological filtration, and a step-by-step acclimation process using drip methods. Expect initial setup in 30-60 minutes, with full integration over 4-6 weeks. This intermediate-level guide assumes basic knowledge of saltwater parameters and testing.
By the end, your live rock will be pest-free, stable, and ready to support corals, fish, and inverts without shocking your tank.
Estimated Time: 30-60 minutes for initial acclimation + 4-6 weeks monitoring Difficulty: intermediate
Live rock is natural or aquacultured porous rock from marine environments, colonized by beneficial bacteria, coralline algae, sponges, and microfauna. It acts as a natural biological filter, breaking down waste via nitrifying bacteria (converting ammonia to nitrite to nitrate).
Unlike base rock or dry rock, live rock comes 'alive' with ecosystems that mature your tank faster. Analogy: Think of it as the 'soil' in a planted aquarium—full of microbes that support life. Expect pieces 6-12 inches, lightweight due to aragonite structure.
Image description: Close-up of vibrant purple live rock with coralline algae, polyps, and hitchhikers in a reef tank.
💡 Tips:
⚠️ Warnings:
Common types: Fiji Live Rock (branchy, Indo-Pacific, high bacteria), Marco Rock (aquacultured, pest-free), Pukani Rock (porous Hawaiian lava derivative). Dry live rock is cured and inoculated, safer for beginners.
Choose based on tank size: branchy for fish caves, flat for coral frags. Real-world: Fiji rock densifies faster but may need more curing.
This step prevents buying incompatible rock that crumbles or harbors aiptasia.
💡 Tips:
Upon arrival, wear gloves and inspect for pests (mantis shrimp, bristle worms, flatworms) using a flashlight. Rinse gently in tank-matched saltwater (not tap water) to remove loose debris.
Place in a dedicated quarantine bucket/tank. Why? Prevents introducing parasites to your display tank. Expect some die-off smell initially—normal as organics break down.
Image description: Aquarist in gloves inspecting live rock under magnification light, bucket setup nearby.
⚠️ Warnings:
Mix RO/DI water with saltwater mix to match your tank's salinity (1.025 SG) and temperature (76-78°F). Test pH (8.1-8.4), alkalinity (8-12 dKH). Aerate for 24 hours.
This matches parameters gradually, reducing osmotic shock to microbes. Pro tip: Use the same salt mix as your main tank.
💡 Tips:
Suspend rock in bucket with tank water dripping slowly (2-4 drops/second) via airline tubing siphon. Aim for 1-2 hours until volume doubles.
Monitor temp/salinity hourly. Why drip? Slow changes prevent bacteria die-off, releasing ammonia spikes. Expect cloudy water—normal.
Image description: Drip acclimation setup with tubing from tank to bucket, thermometer floating.
⚠️ Warnings:
Every 30 minutes, test ammonia (<0.25 ppm), nitrite (0), nitrate (<20 ppm). If spikes, extend drip or add bacteria supplement.
This catches issues early. Analogy: Like checking fever during illness recovery.
💡 Tips:
After 1-2 hours drip (or overnight for large pieces), use tongs to place rock in tank. Position for aquascaping: base layer stable, branches elevated.
Run carbon/protein skimmer to handle organics. Why now? Rock is acclimated, bacteria ready to colonize.
⚠️ Warnings:
Test parameters daily for 2 weeks, water change 10-20% if ammonia >0.5 ppm. Expect 'new tank syndrome' mini-cycle (1-4 weeks).
Add beneficial bacteria booster. Success: Coralline growth in 4-6 weeks.
💡 Tips:
Problem: Ammonia spike after addition
Solution: Water change 25%, dose bacteria starter like Seachem Stability, reduce feeding.
Problem: Pests like aiptasia or flatworms appear
Solution: Remove manually or use peppermint shrimp; quarantine future rock longer.
Problem: Rock crumbling or white fuzz
Solution: Normal curing—patience 4 weeks; if persistent, test alkalinity and add buffer.
Problem: No coralline growth after 6 weeks
Solution: Increase magnesium (1250-1350 ppm), provide 12+ hours pink/purple LED light.
Boosts beneficial bacteria during acclimation and mini-cycles to prevent ammonia spikes.
Best for: Add daily for first 7 days post-acclimation.
Price Range: $14.99
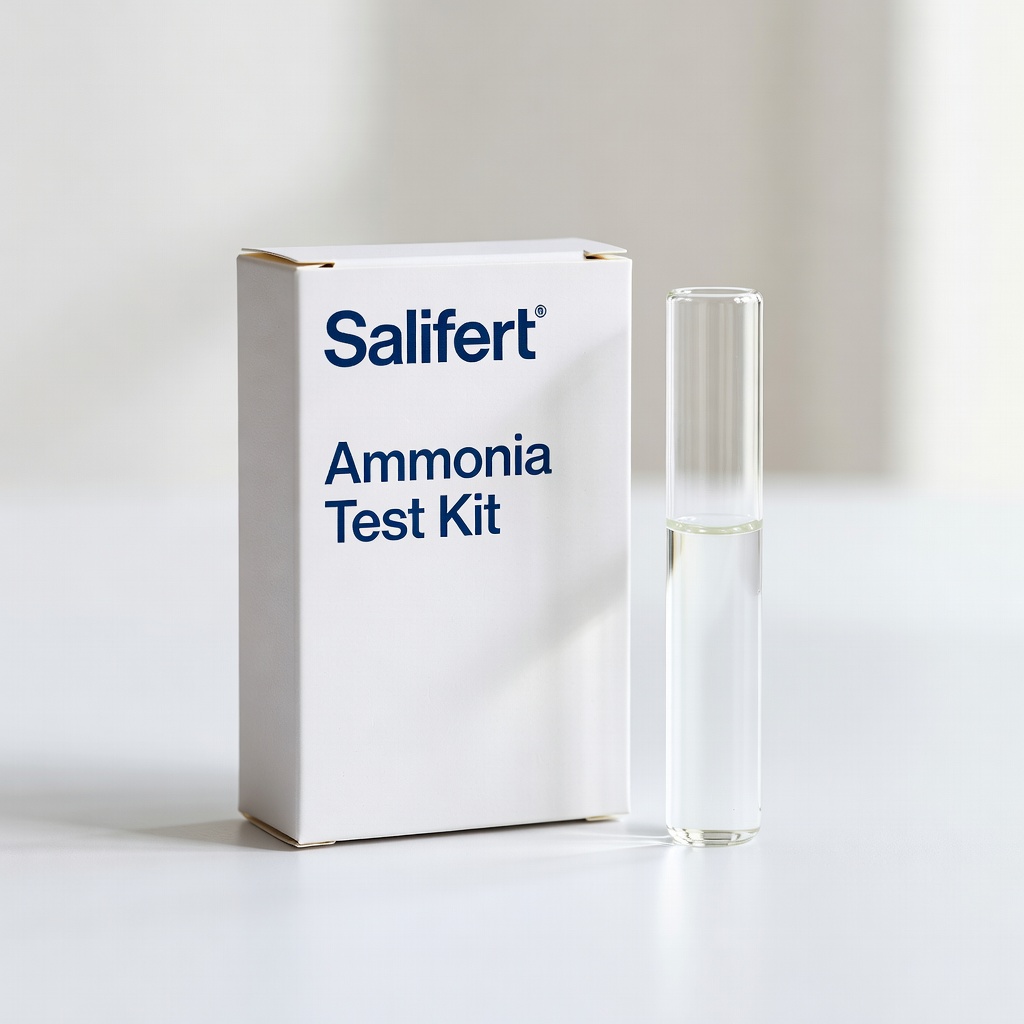
Accurate, easy-to-read tests for monitoring during drip acclimation.
Best for: Test every 30 mins during process.
Price Range: $19.95
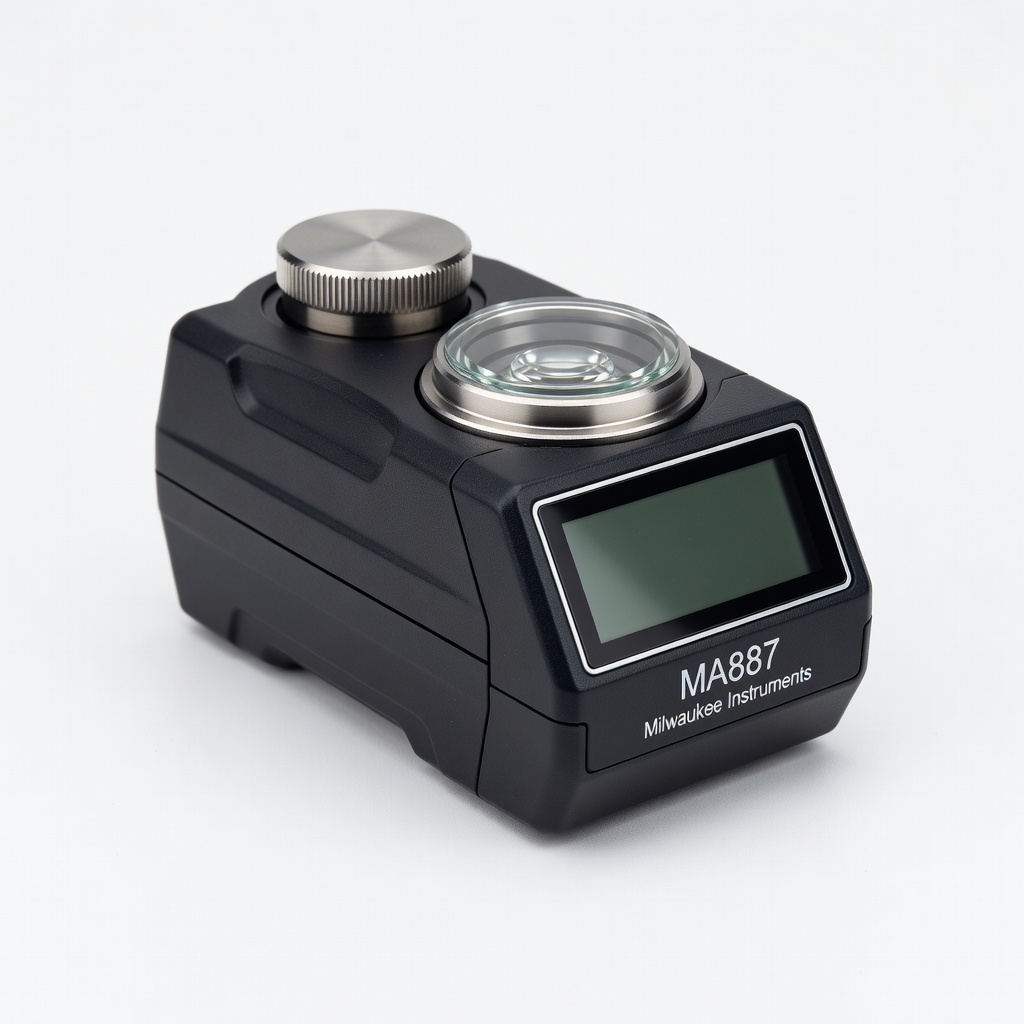
Precise salinity matching (0.001 SG accuracy) essential for shock-free acclimation.
Best for: Check source and drip water hourly.
Price Range: $49.99
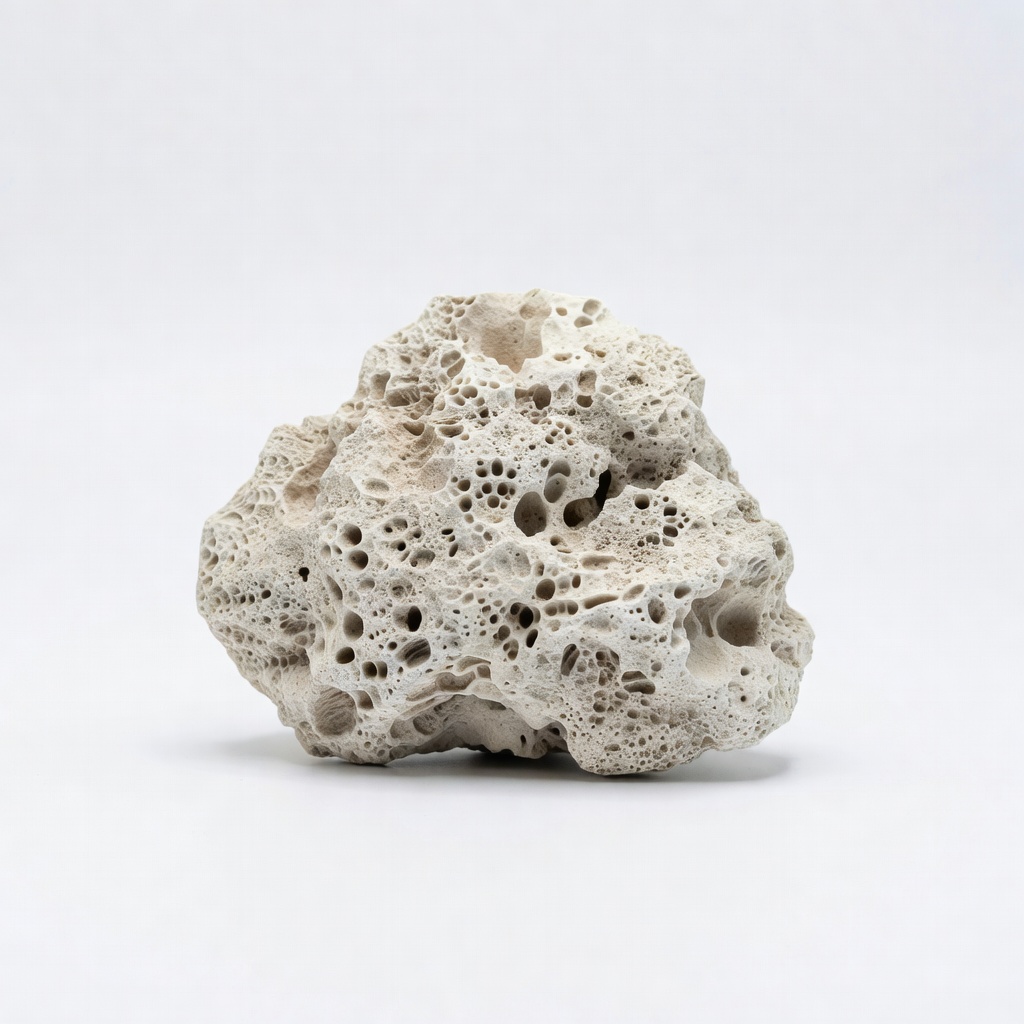
Pest-free, pre-inoculated rock that's easier to acclimate than wet live rock.
Best for: For beginners wanting live rock benefits without quarantine risks.
Price Range: $50-$100 (per 20 lbs)
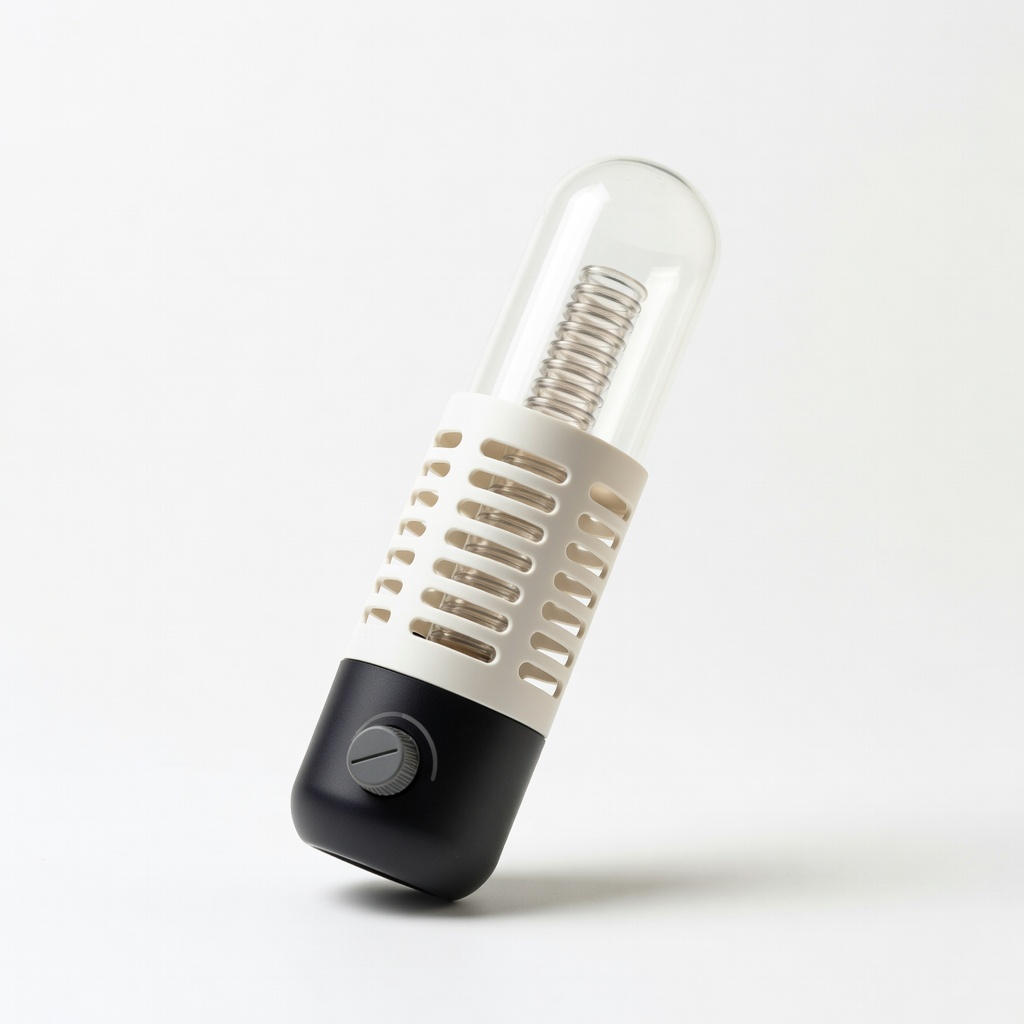
Maintains stable 78°F during bucket acclimation for bacteria survival.
Best for: Quarantine setups under 10 gallons.
Price Range: $29.99
Add daily for first 7 days post-acclimation.
Seachem Stability Boosts beneficial bacteria during acclimation and mini-cycles to prevent ammonia spikes.
Test every 30 mins during process.
Salifert Ammonia Test Kit Accurate, easy-to-read tests for monitoring during drip acclimation.
Check source and drip water hourly.
Milwaukee Instruments MA887 Refractometer Precise salinity matching (0.001 SG accuracy) essential for shock-free acclimation.
For beginners wanting live rock benefits without quarantine risks.
CaribSea LifeRock (Dry Live Rock Alternative) Pest-free, pre-inoculated rock that's easier to acclimate than wet live rock.
Quarantine setups under 10 gallons.
Aqueon Submersible Aquarium Heater 50W Maintains stable 78°F during bucket acclimation for bacteria survival.