Ever finished sanding a DIY project only to run your hand over stubborn scratches or uneven spots? You're not alone—many beginners overlook finishing sandpaper, leading to frustrating results that ruin the look of their work.
This guide breaks down what finishing sandpaper is, why it's crucial for professional-level smoothness, and provides simple steps to master it. You'll understand grit ratings, types, techniques, and tips to avoid common pitfalls.
Perfect for woodworking, auto detailing, or metal polishing, this beginner-friendly explainer takes 30 minutes to read and 1-2 hours to practice on a scrap piece—no prior experience required.
▸What You'll Need
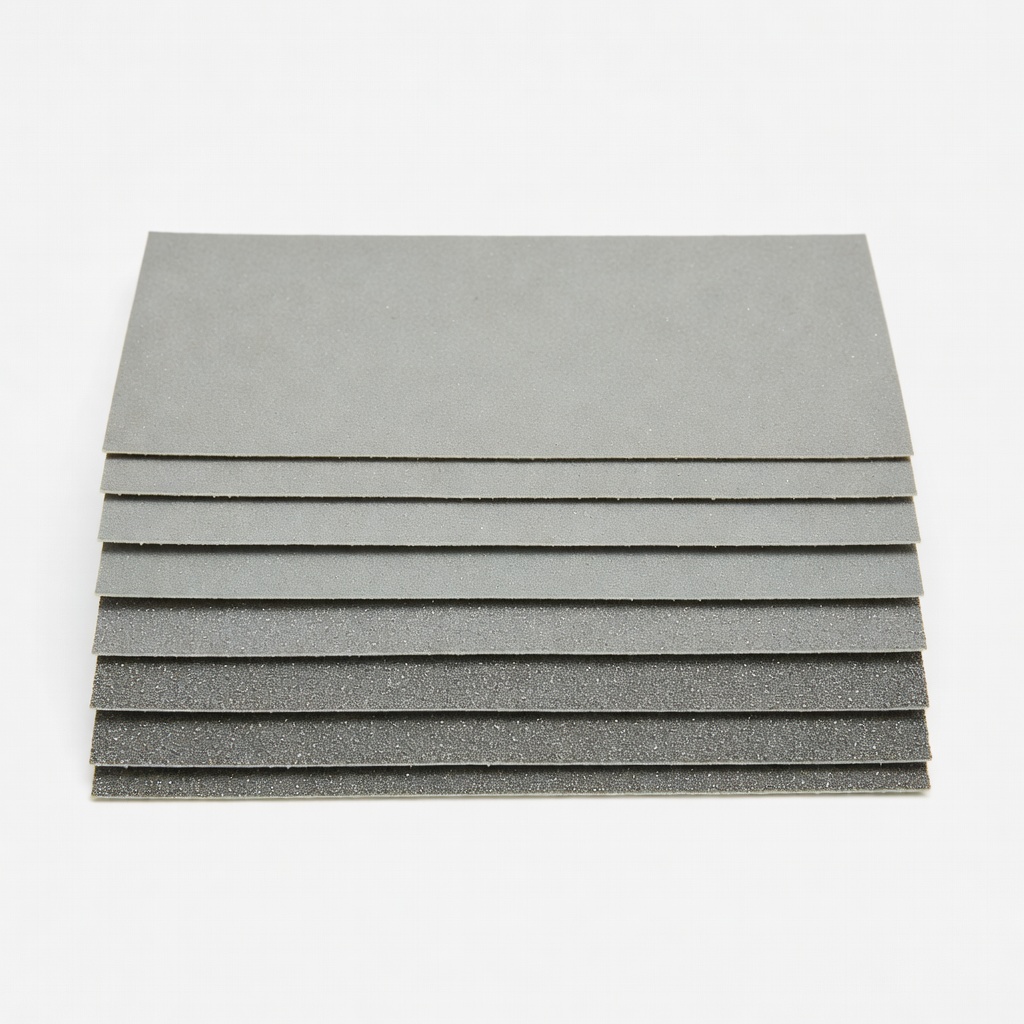
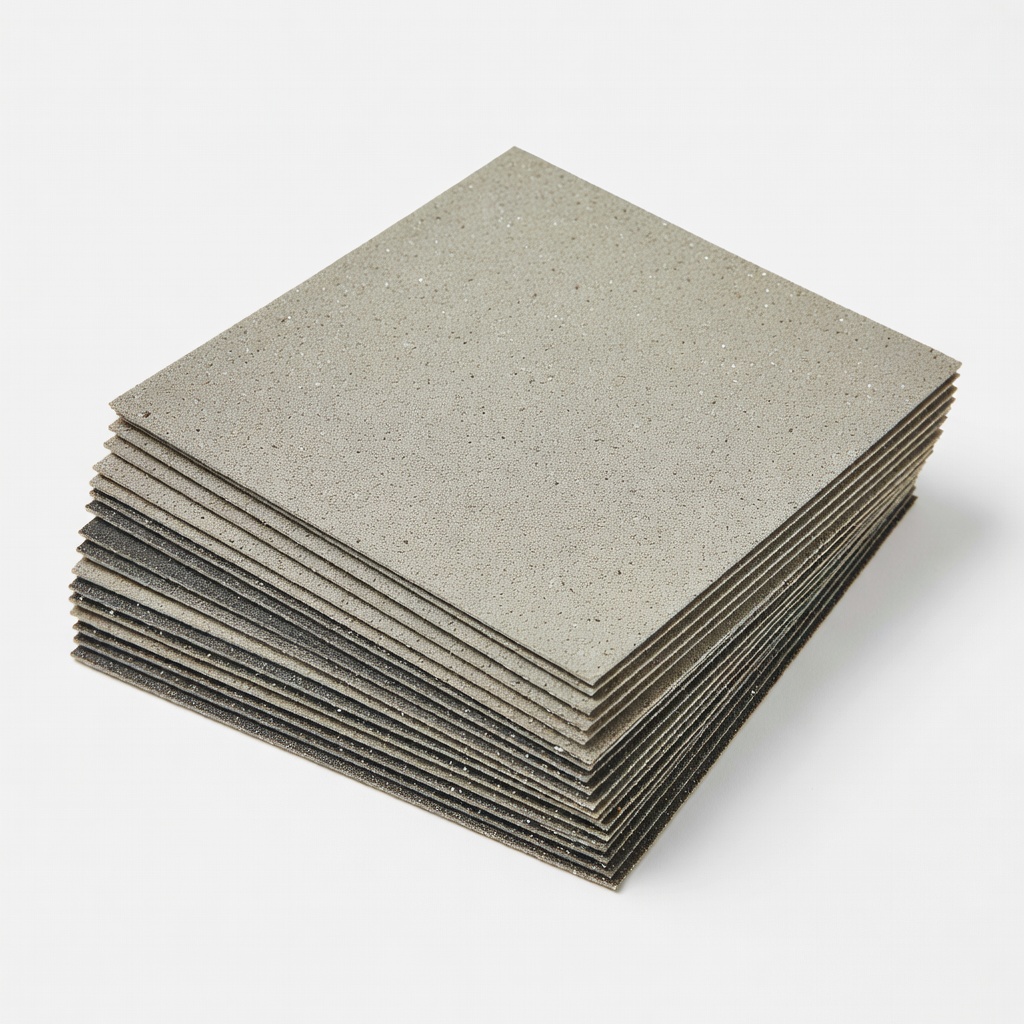
- •Finishing sandpaper (220+ grit sheets or discs, e.g., 320, 400, 600, 2000)
- •Sanding block (required for even hand sanding)
- •Random orbital sander (optional, for larger areas)
- •Safety glasses and dust mask (required)
- •Tack cloth or shop vacuum (for dust removal between grits)
- •Workpiece (e.g., scrap wood or metal piece)
- •Water spray bottle (for wet sanding)
Estimated Time: 30 minutes to read + 1-2 hours hands-on practice
Difficulty: beginner
▸Step-by-Step Instructions
Step 1: Understand What Finishing Sandpaper Is
Finishing sandpaper refers to high-grit abrasives (typically 220 grit and finer, up to 3000+) designed for the final stages of sanding. Unlike coarse sandpaper that removes material quickly, finishing sandpaper refines the surface, eliminating scratches and creating a smooth, paint-ready or polish-ready finish.
Think of it like this: coarse sandpaper is gravel underfoot (rough), while finishing sandpaper is fine powder—polishing away imperfections without digging in. It's essential for woodworking, metalworking, and automotive prep to achieve a glass-like surface.
Expect minimal material removal; the goal is refinement. Common materials include aluminum oxide or silicon carbide for durability.
💡 Tips:
- •Always check the backing: paper for dry, waterproof for wet sanding.
Step 2: Master Grit Sizes and Progression
Grit numbers indicate particle size: higher = finer. Finishing starts at 220 grit (removes light scratches) and progresses to 400, 600, 1200, or even 2000+ for mirror finishes.
Analogy: Progress like school grades—start with C (220, decent smooth) to A+ (2000+, flawless). Skipping grits (e.g., 120 to 600) leaves visible marks.
Why it matters: Each grit polishes the scratches from the previous, building smoothness layer by layer. Test on scrap first to see the transformation.
💡 Tips:
- •Standard progression: 220 → 320 → 400 → 600 for wood; go wet 1500+ for metal/auto.
⚠️ Warnings:
- •Never skip more than double the grit (e.g., no 220 to 800).
Step 3: Know the Types of Finishing Sandpaper
Choose based on project:
- •Dry sheets/discs: Hook-and-loop or PSA for sanders; aluminum oxide for wood.
- •Wet/dry: Waterproof paper for water-lubed sanding, reduces dust and heat (ideal for metal, plastic).
- •Sponges/blocks: Flexible for contours.
Examples: Hand sheets for small areas, 5-inch discs for orbital sanders. Why? Wet prevents clogging on resins; dry is faster for wood.
💡 Tips:
- •Hook-and-loop for tool-free swaps on sanders.
Step 4: Select Sandpaper for Your Project
Match material:
- •Wood: 220-400 dry.
- •Metal/auto: 600-3000 wet.
- •Plastic: 320-800 to avoid melting.
Consider size (9x11 sheets for hand, 5" discs for power tools) and quantity (use 2-3 sheets per grit). Buy assortments for progression. Why? Wrong grit wastes time or damages surface.
💡 Tips:
- •Buy packs with multiple grits to save money.
Step 5: Prepare Your Workspace and Surface
Clear a dust-free area, wear safety gear. Start with a surface sanded to 150-180 grit—no deeper scratches.
Vacuum or wipe with tack cloth. For wet sanding, mist lightly. Why? Dust causes new scratches; uneven start amplifies issues.
Expect a clean base for true smoothness.
⚠️ Warnings:
- •Avoid sanding over glue, paint, or contaminants—they embed and scratch.
Step 6: Sand Progressively from Coarse to Fine
Wrap paper on block (or load disc). Sand with the grain in light, even strokes or circles (orbital). Spend 2-5 minutes per grit, advancing only when no scratches remain.
Wipe dust between grits. For power: Low speed, feather-light pressure. Why? Builds cumulative smoothness—each pass refines the last.
💡 Tips:
- •Change direction 90° per grit to spot scratches easily.
Step 7: Apply Advanced Techniques for Ultra-Smoothness
Wet sanding: Mist surface, sand lightly—flushes debris for finer finish.
Random orbital: Moves elliptically to avoid swirls.
Burnishing: Final light rub with 2000+ grit or Scotch-Brite pad.
Why? Minimizes heat buildup and micro-scratches. Expect glassy feel after 1500+ grit.
💡 Tips:
- •Use mineral spirits for wet on wood if water warps.
⚠️ Warnings:
- •Heavy pressure gouges; let tool do work.
Step 8: Inspect and Maintain the Finish
Run hand flat over surface—no drag or bumps? Tilt under light for scratches. If good, apply finish (stain, paint). Store paper flat, dust-free.
Why? Touch + visual confirms pro results. Re-sand if needed.
Pro result: Surface reflects light evenly, ready for topcoat.
💡 Tips:
- •Magnifying glass or phone camera reveals hidden scratches.
▸Pro Tips
- •Always sand with the grain on wood to avoid visible lines.
- •Clean surface between grits with tack cloth—dust is enemy #1.
- •Light pressure: Let abrasive sharpness do the cutting.
- •Practice on scrap matching your project material.
- •For curves, use sanding sponges over rigid blocks.
- •Vacuum sander ports prevent 90% of dust.
- •Progress slowly: Better too many grits than skips.
- •Label grits on sheets for quick grabs.
▸Common Mistakes to Avoid
- •Skipping grit progressions—leaves ladder-like scratches; always double previous grit max.
- •Sanding against the grain—creates cross-hatch marks; follow wood lines strictly.
- •Using too much pressure—burns material or dulls paper fast; feather-light is best.
- •Ignoring dust buildup—embeds particles causing new scratches; wipe religiously.
- •Wrong type for material (dry on metal)—clogs or heats; match wet/dry to need.
▸Troubleshooting
Problem: Swirl or circular marks
Solution: Switch to random orbital motion or finer grit; sand perpendicular to swirls.
Problem: Paper clogs quickly
Solution: Tap off dust often; use wet sanding or anti-clog (P-grade) paper.
Problem: Uneven surface or dips
Solution: Use sanding block for flatness; check workpiece level first.
Problem: Burn marks or discoloration
Solution: Reduce pressure/speed; wet sand to cool. Seek pro if material damaged.
Astro Pneumatic Tool 3041 400-3000 Grit Wet/Dry Sandpaper (10 Pack)
Versatile assortment for progressive wet/dry finishing; achieves mirror-smooth results without gouging.
Best for: Automotive panels, wood polishing, or plastic smoothing where ultra-fine grits are needed.
Price Range: $14.99
3M 511P Pro Grade Precision 5in x 5in Sanding Sheets Assortment (25 Pack, up to 220 Grit base for finishing start)
Precision-engineered for fast scratch removal and smooth transition to higher grits; tear-resistant.
Best for: Hand sanding furniture or cabinets before fine finishing grits.
Price Range: $19.99
BLACK+DECKER BDERO100 5-Inch Random Orbit Sander
Low-vibration design prevents swirls during finishing; variable speed for control.
Best for: Large flat surfaces like tabletops or doors for efficient smoothness.
Price Range: $34.99
Sanding Block Kit with 12 Assorted Grit Sheets
Ergonomic block ensures flat sanding; includes grits for full progression.
Best for: Detail work on edges or small projects without a sander.
Price Range: $9.99