Imagine printing a vibrant, multi-colored toy or a functional part with flexible grips and rigid body—all in one go, without messy painting or assembly. That's the magic of dual extrusion 3D printing, solving common pain points like time-consuming post-processing for intermediate makers who’ve outgrown basic single-color prints.
In this guide, you'll learn what dual extrusion is, its key benefits, hardware options, and a step-by-step process to set it up on your printer. Whether upgrading an Ender 3 or using a native dual-extruder machine, expect to grasp concepts in 20 minutes and complete initial setup in 1-2 hours.
No advanced engineering needed—just intermediate 3D printing knowledge. By the end, you'll print complex models confidently.
▸What You'll Need
- •Dual extruder-capable 3D printer (e.g., Ender 3 with upgrade kit) or native dual extrusion printer
- •Two spools of compatible 1.75mm filament (e.g., PLA for both, different colors)
- •Slicer software (Ultimaker Cura or PrusaSlicer—free download)
- •Basic tools: Allen keys, screwdriver, nozzle cleaning kit (optional but recommended)
- •Prerequisite: Experience with single-extrusion 3D printing and basic printer maintenance
Estimated Time: 20 minutes reading + 1-2 hours for hardware/software setup
Difficulty: intermediate
▸Step-by-Step Instructions
Step 1: Understand Single Extrusion Basics
Single extrusion uses one nozzle to melt and deposit filament layer by layer, great for simple monochrome prints but limited for complex designs.
Dual extrusion builds on this by adding a second nozzle, allowing two filaments to be used simultaneously or switched mid-print. Think of it like having two pens in a plotter—one for the body, one for details.
Why it matters: Grasping this foundation prevents confusion when adding the second extruder. Expect uniform layers from your existing setup.
💡 Tips:
- •Review your printer's single-extrusion calibration first for best results.
⚠️ Warnings:
- •Skipping basics leads to failed dual prints.
Step 2: Learn How Dual Extrusion Works
Dual extrusion involves two hotends (nozzles) fed by separate filaments. The slicer software decides which nozzle extrudes where, pausing one while the other works.
During printing, unused nozzles retract or park to avoid oozing. A 'prime tower'—a small waste structure—purges old filament before switching.
Analogy: Like a kitchen with two ovens; you bake cookies in one while cake rises in the other, switching as needed.
💡 Tips:
- •Visualize prints in slicer preview mode to see nozzle paths.
Step 3: Discover the Benefits
Key advantages: Multi-color prints without painting, multi-material (rigid + flexible), soluble supports (PVA dissolves), and water-soluble prototypes.
Saves time/materials vs. manual assembly. Real-world: Print a phone case with TPU grips on PLA body.
Expect: 20-50% longer print times but superior results.
💡 Tips:
- •Start with color contrasts for visible benefits.
Step 4: Know the Types of Dual Extrusion
- •
Independent Dual X/Y Carriage (IDEX): Nozzles move separately—best for large builds, less waste (e.g., Bambu Lab method).
- •
Y-Splitter: Single carriage shares hotends—cheaper, compact (e.g., Cyclops hotend).
- •
Toolchanger: Swaps heads (e.g., Prusa XL)—scalable to multi-tool.
Choose based on budget/space.
⚠️ Warnings:
- •Y-splitters limit material combos due to shared heat block.
Step 5: Choose or Upgrade Hardware
Native printers: Qidi X-Max (affordable dual). Upgrades: Add dual hotend kit to Ender 3/CR-10.
Ensure dual Z-axis for alignment. Filaments must match diameter/temperature.
Pro tip: Check community mods on Printables.com.
💡 Tips:
- •Budget $50-200 for kits.
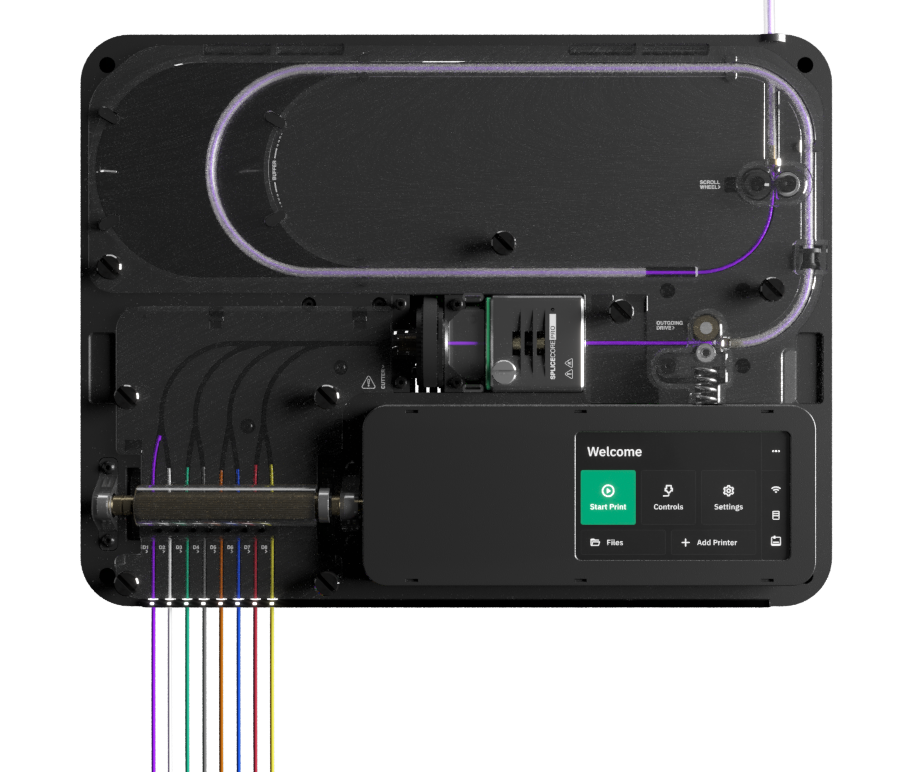
Step 6: Install Dual Extruder Hardware
Mount hotends per kit instructions (e.g., secure to carriage with screws). Route Bowden tubes to separate extruders/motors.
Update firmware if needed (Marlin for most). Level bed as usual.
Time: 30-60 mins. Test motors move independently.
⚠️ Warnings:
- •Misaligned nozzles cause crashes—measure offset precisely.
Step 7: Configure Slicer Software
Download Cura/PrusaSlicer. Add printer profile, set two extruders (T0/T1).
Define filament types/colors, nozzle offsets (X/Y distance between tips, e.g., 30mm). Enable prime tower (width 15mm).
Slice a test model like dual color cube from Thingiverse.
💡 Tips:
- •Use Cura's 'Dual Extrusion' plugin if needed.
Step 8: Calibrate and Run First Print
Heat both nozzles, run live Z-adjust for each. Print calibration square per nozzle to check flow.
Prime tower ensures clean switches. Monitor first print for stringing/ghosting.
Success: Sharp color boundaries, no gaps.
⚠️ Warnings:
- •Over-extrude causes blobs—tune retraction (5-6mm).
Step 9: Optimize and Scale Up
Tune settings: Retraction 1mm/s, coasting on. Try multi-material (PETG + TPU).
Join communities like Reddit r/3Dprinting for models.
Next: Experiment with vase mode dual prints.
▸Pro Tips
- •Always use same-diameter filaments to avoid jams.
- •Enable 'wipe nozzle' and 'retraction' for clean switches.
- •Print prime tower in corner to save bed space.
- •Calibrate nozzle offset with paper test for precision.
- •Use different temp filaments sparingly—match heat blocks.
- •Store slicer profiles for reuse.
- •Start small: 50x50mm test prints.
▸Common Mistakes to Avoid
- •Ignoring nozzle offset: Causes misalignment—measure with calipers.
- •Poor retraction settings: Leads to oozing/stringing—start at 5mm.
- •Skipping dual Z upgrade: Bed wobble ruins layers—install first.
- •Wrong filament pairs: PLA + ABS warps—stick to compatibles.
- •No prime tower: Color bleed—always enable.
▸Troubleshooting
Problem: Oozing or stringing between colors
Solution: Increase retraction distance/speed (6mm/40mm/s), enable combing and wipe.
Problem: Nozzle crash or offset errors
Solution: Re-measure X/Y offset, run Z-offset for each nozzle separately.
Problem: Uneven layer heights
Solution: Install dual Z-axis kit, re-level bed with both nozzles.
Problem: Filament jams on switch
Solution: Check Bowden tube friction, use Capricorn tubing upgrade.
Creality Dual Z Lead Screw Upgrade Kit for Ender 3
Provides rock-solid Z-axis stability essential for dual extrusion to prevent wobbling and misalignment.
Best for: Upgrading single Z Ender printers for dual setups.
Price Range: $29.99
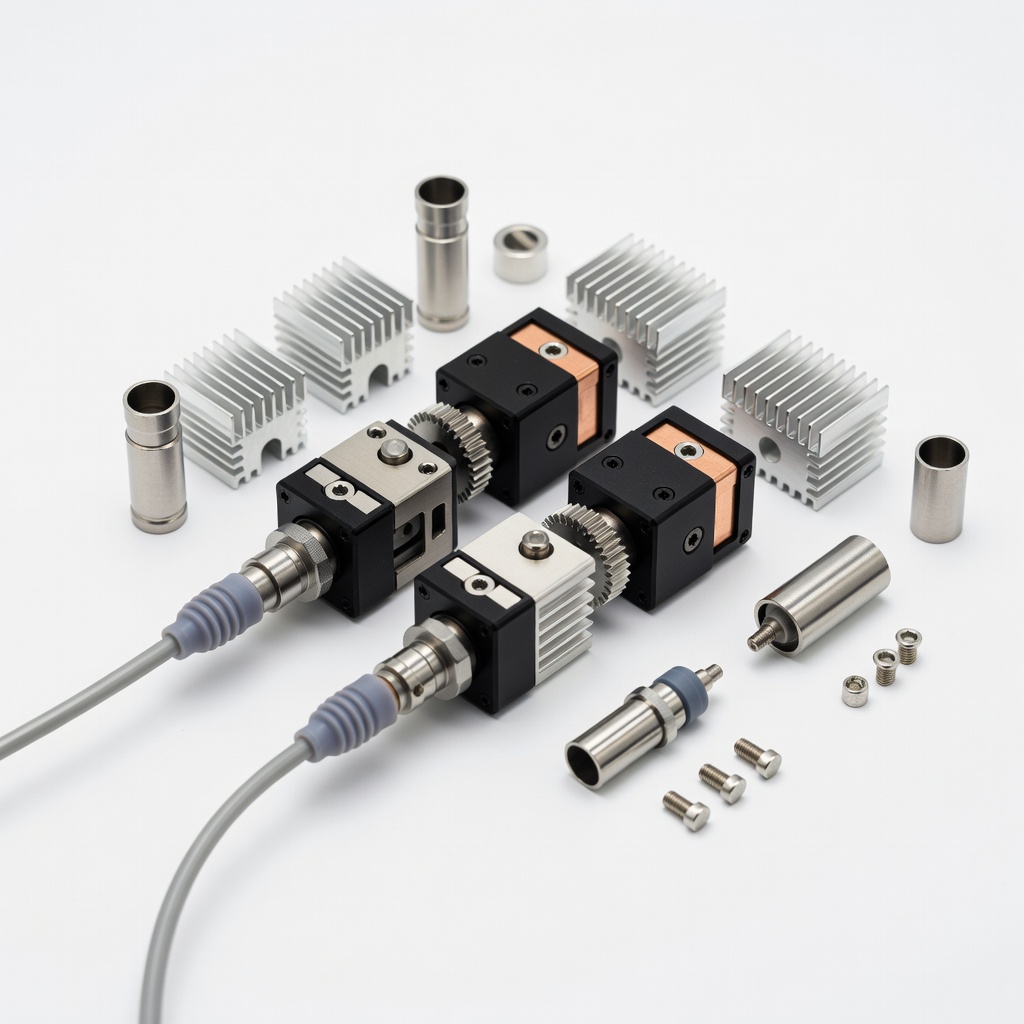
BIQU BX Dual Extruder Hotend Kit
Compact, high-flow dual hotend with independent heaters for reliable material switching.
Best for: DIY dual extrusion on CoreXY or Cartesian printers like Ender series.
Price Range: $79.99
Mosaic Palette 3
Splice multiple filaments into one for 'virtual' dual/multi up to 8 colors without hardware mods.
Best for: Single extruder users wanting multi-material without full dual upgrade.
Price Range: $699
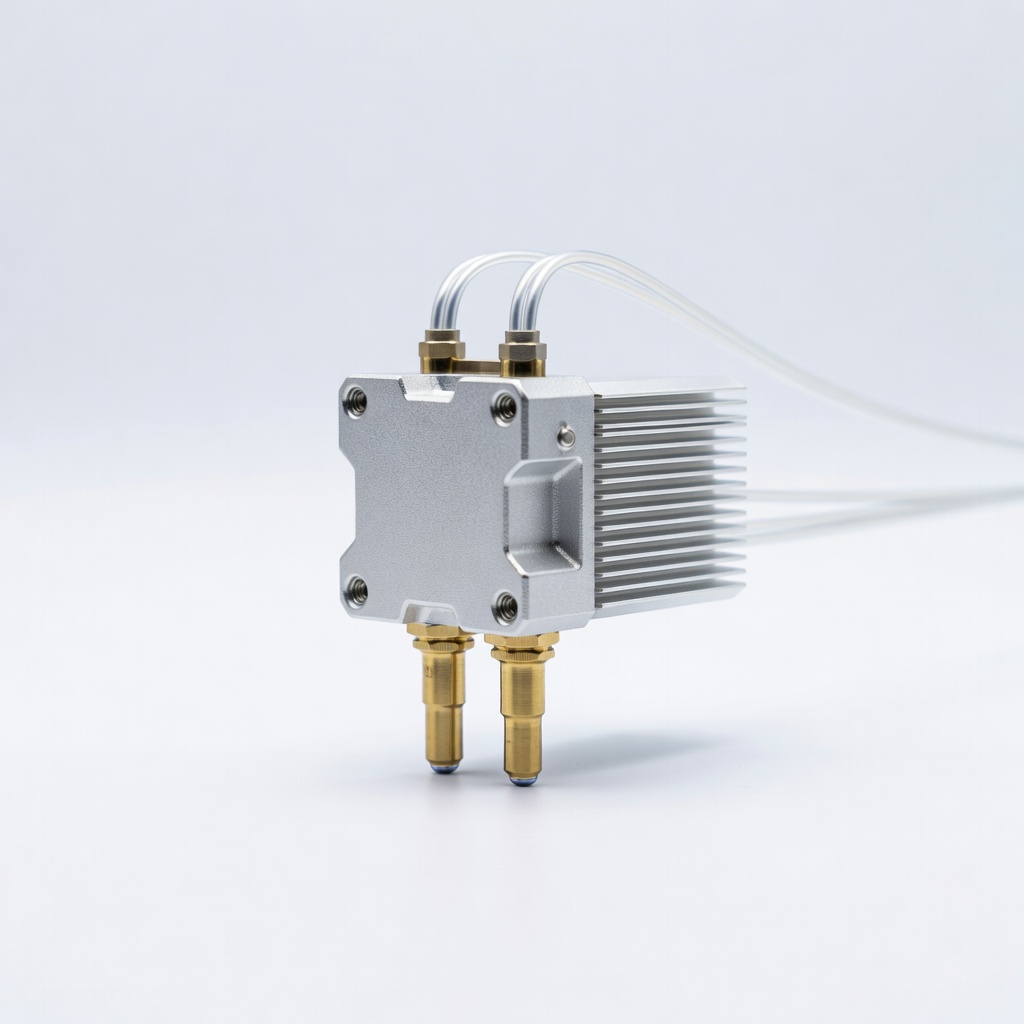
E3D Chimera+ Dual Filament HotEnd
Premium bowden-compatible hotend for shared melt zone, excellent for similar-material dual prints.
Best for: Advanced users printing supports or color accents.
Price Range: $110
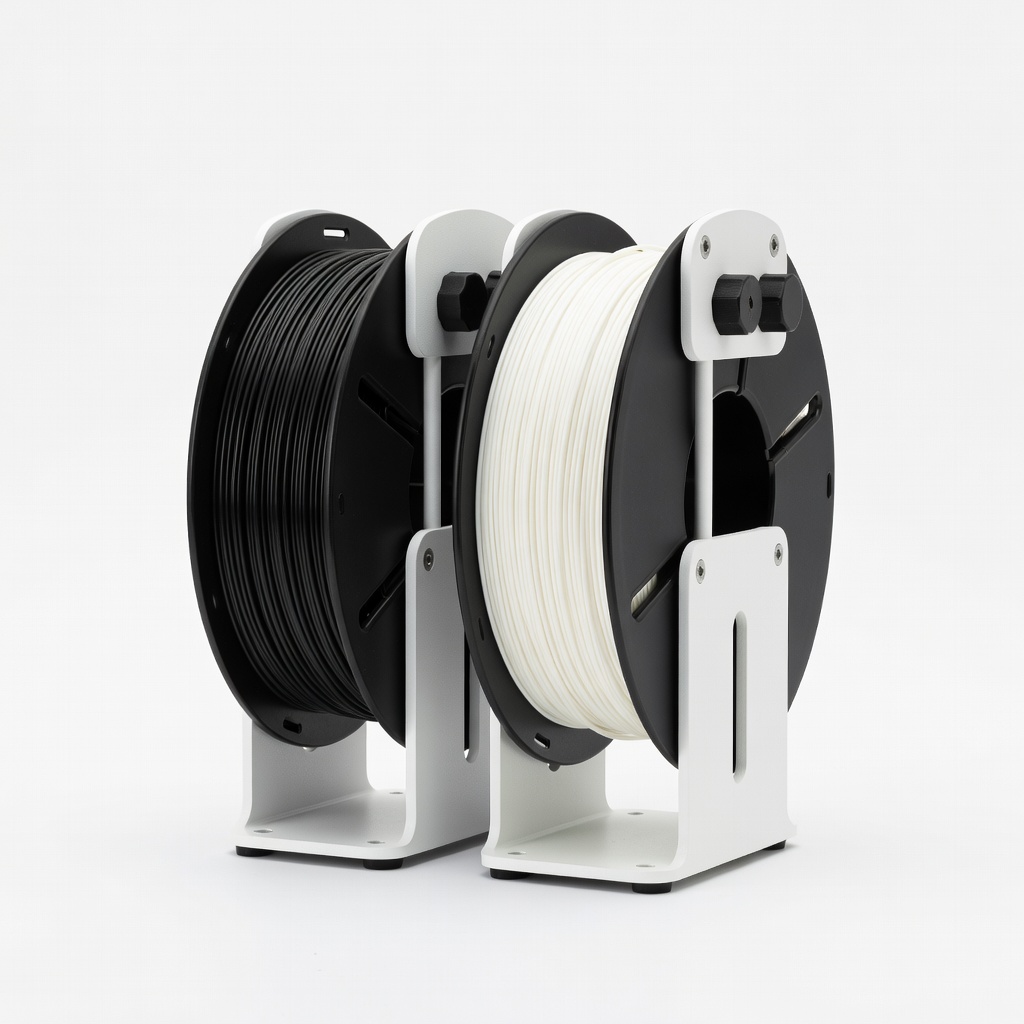
3D Printer Dual Spool Filament Holder
Mounts two spools neatly, prevents tangles during dual feeding.
Best for: Any dual setup to organize filament path.
Price Range: $19.99