Imagine reducing your household waste by up to 30% while creating free fertilizer for your garden—all from something as simple as your kitchen scraps. Composting is a natural process that's often overlooked, but it's a game-changer for eco-conscious beginners looking to live more sustainably. If you've ever wondered why your trash seems endless or how to give your plants a boost without buying expensive soil, this guide is for you.
In this explainer, you'll discover what composting really is, why it's beneficial, and a straightforward guide to setting up your first compost bin. We'll break it down into simple concepts using everyday analogies, like how a compost bin acts like a digestive system for food waste. Expect a beginner-friendly process that's low-effort and rewarding, taking about 30-60 minutes to set up, with ongoing maintenance that's just a few minutes a week.
▸What You'll Need
- •Compost bin (e.g., a basic tumbler or DIY wooden frame; required)
- •Brown materials (dry leaves, cardboard, newspaper; required)
- •Green materials (kitchen scraps like vegetable peels, coffee grounds; required)
- •Water source (garden hose or watering can; required)
- •Pitchfork or garden trowel for turning (optional but recommended)
- •Lid or cover for the bin (optional for pest control)
Estimated Time: 30-60 minutes for initial setup, plus 5-10 minutes weekly for maintenance
Difficulty: beginner
▸Step-by-Step Instructions
Step 1: Understand the Basics of Composting
Composting is the natural process of breaking down organic materials—like food scraps and yard waste—into a dark, crumbly substance called humus, which is rich in nutrients and great for soil. Think of it like nature's recycling center: microbes, worms, and bacteria act as workers that 'eat' the waste and turn it into fertilizer. This isn't just about waste reduction; it's a way to mimic how leaves decompose in a forest, creating fertile ground without any chemicals.
Why does this matter for beginners? It closes the loop on your household waste, cutting down on landfill contributions (where organic matter produces methane gas) and saving money on soil amendments. Expect to see results in 2-6 months, depending on conditions—faster if you maintain it well.
💡 Tips:
- •Start small to avoid overwhelm; even a countertop bin works indoors.
⚠️ Warnings:
- •Don't compost meat, dairy, or oily foods initially, as they attract pests.
Step 2: Choose Your Compost Bin Type
For beginners, select a bin that fits your space and style. Options include tumblers (easy to turn for aeration), stationary bins (simple wooden or plastic enclosures), or even DIY setups using pallets. A tumbler is like a barrel you rotate to mix contents, speeding up the process, while a basic bin is more like a fenced area for natural piling.
Consider your yard size: small spaces suit countertop or under-sink bins, while larger yards can handle outdoor tumblers. This step ensures your setup is practical and encourages consistent use. What to expect: A good bin will have ventilation holes to allow oxygen flow, crucial for aerobic decomposition (the good kind that doesn't smell).
💡 Tips:
- •Measure your space first; bins come in sizes from 1 cubic foot to 10+.
Step 3: Pick the Right Location
Place your bin in a shady, well-drained spot in your yard, away from direct sun to prevent drying out and from your house to minimize any potential odors. Ideal spots are near a water source but not in flood-prone areas—think under a tree or along a fence. This location matters because it supports the right moisture and temperature (ideally 50-70°F) for microbes to thrive, much like a cozy kitchen for baking bread.
For apartment dwellers, use a balcony or indoor worm bin (vermicomposting). Expect slight warmth from the bin as decomposition heats up naturally, but it shouldn't be hot to the touch.
⚠️ Warnings:
- •Avoid windy spots where materials might blow away; secure the bin if needed.
Step 4: Gather Your Materials
Collect 'greens' (nitrogen-rich: veggie scraps, grass clippings) and 'browns' (carbon-rich: dry leaves, shredded paper) in a 1:2 ratio—greens for moisture and nutrients, browns for structure and to absorb smells. You'll also need a bit of soil or finished compost to introduce microbes. This balance is key, like ingredients in a recipe; too many greens leads to a soggy mess, while too many browns slows everything down.
Start with what you have at home—no need to buy extras yet. What to expect: Your pile should feel like a wrung-out sponge—damp but not dripping.
💡 Tips:
- •Chop scraps small for faster breakdown.
Step 5: Assemble or Set Up the Bin
If using a pre-made bin, follow the instructions to secure it in place—stake it down if it's lightweight. For DIY, build a simple 3x3x3 foot enclosure with wire mesh or wood. Add a layer of browns at the bottom (4-6 inches) for drainage. This foundation prevents sogginess and pests, setting the stage for efficient composting.
Assembly is straightforward for beginners; most kits snap together. Expect the bin to hold 20-50 gallons initially, enough for a family's waste.
⚠️ Warnings:
- •Ensure good airflow; cover openings if rodents are an issue.
Step 6: Layer and Start Your Compost
Begin with a 4-inch layer of browns, add 2-3 inches of greens, then sprinkle soil or compost starter. Moisten lightly and repeat layers. This 'lasagna' method builds a balanced pile quickly. Why it matters: Layering introduces air pockets and prevents clumping, kickstarting the microbial party.
Turn the pile every 1-2 weeks with a pitchfork to aerate—more like stirring a pot than heavy labor. Expect a earthy smell, not rotten.
💡 Tips:
- •Add a handful of garden soil to jumpstart bacteria.
Step 7: Monitor and Maintain
Check moisture weekly—add water if dry, browns if too wet. Turn the pile to mix and speed decomposition. For tumblers, rotate daily. This ongoing care keeps things efficient, turning waste into gold in months rather than years. Beginners often see the pile shrink and darken as it matures.
⚠️ Warnings:
- •Overwatering causes anaerobic (smelly) conditions.
▸Pro Tips
- •Use a compost accelerator product for faster results in cold climates.
- •Freeze scraps in a bag to reduce odors before adding to the bin.
- •Incorporate worms (vermicomposting) for indoor setups—they're natural speed demons.
- •Track your ratios with a simple app or notebook to refine over time.
- •Harvest compost when it's dark and crumbly—sift out unfinished bits.
- •Position near your kitchen door for easy scrap dumping.
- •In winter, insulate the bin with straw to keep decomposition going.
▸Common Mistakes to Avoid
- •Imbalancing greens and browns: Leads to smelly, slow compost—avoid by always adding twice as many browns.
- •Forgetting to turn the pile: Causes compaction and odors—set a weekly reminder.
- •Placing in full sun: Dries out materials too fast—choose shade for consistent moisture.
- •Adding non-compostables like plastics: Contaminates the batch—double-check what goes in.
- •Starting too big: Overwhelms beginners—begin with a small bin to build confidence.
▸Troubleshooting
Problem: Foul ammonia smell
Solution: Add more browns and turn the pile; this indicates excess nitrogen from too many greens.
Problem: Pests like rodents
Solution: Bury food scraps under browns and secure the bin with a lid; use hardware cloth for reinforcement.
Problem: Pile not heating up
Solution: Chop materials smaller, add water, and turn more frequently to boost microbial activity; if persistent, add a compost starter.
Problem: Dry, slow decomposition
Solution: Moisten to sponge-like consistency and ensure a mix of greens for nitrogen; cover during dry spells.
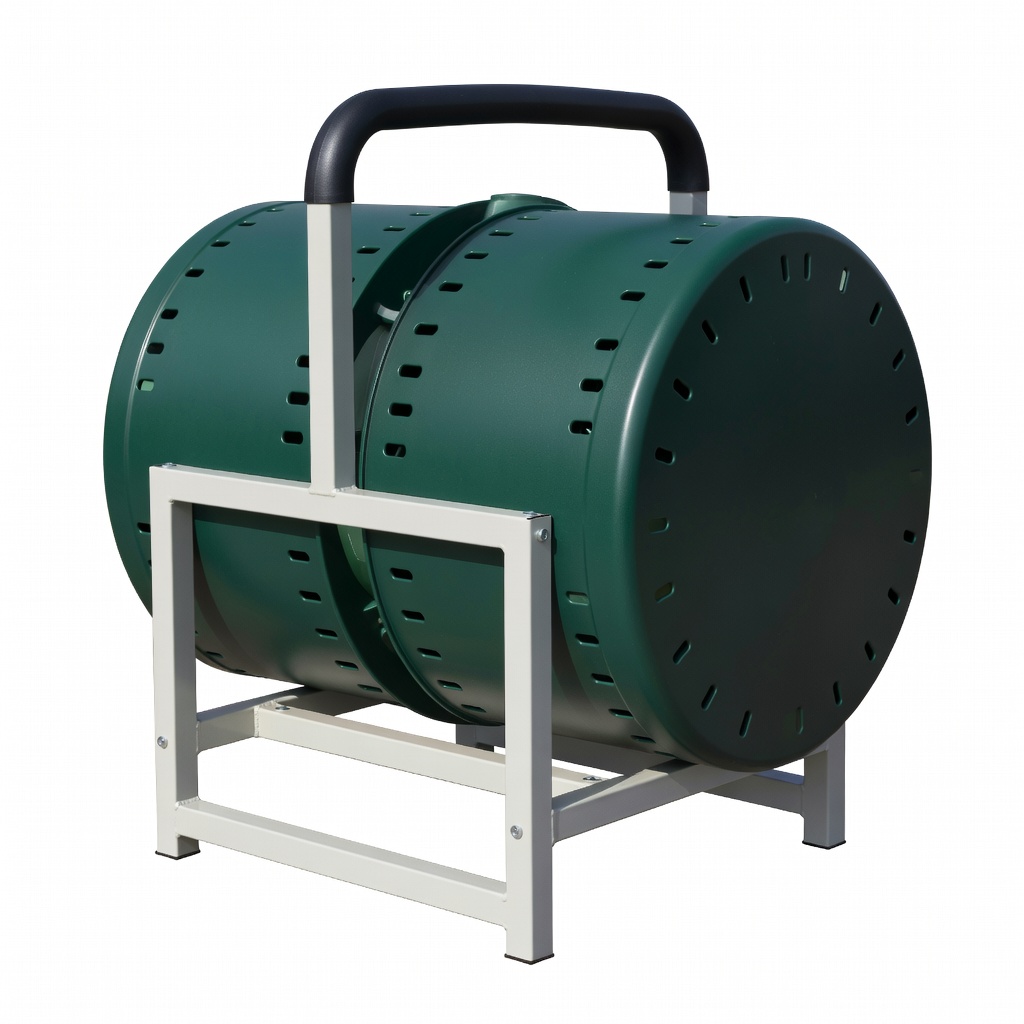
FCMP Outdoor IM4000 Dual Chamber Tumbling Composter
This tumbler makes turning effortless, ideal for beginners to aerate without back strain, speeding up composting by 30-50%.
Best for: Best for small yards needing quick results; holds two chambers for continuous batches.
Price Range: $100-$120
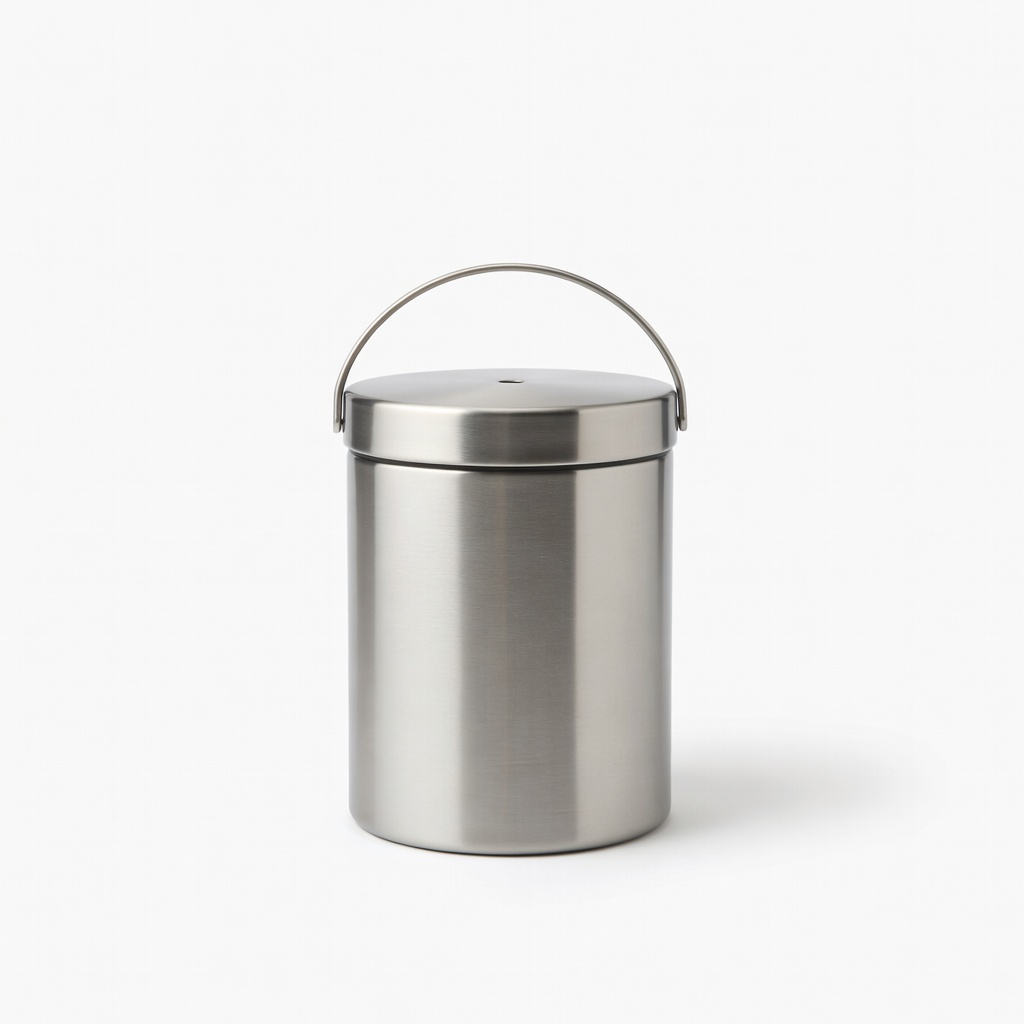
Utopia Kitchen Stainless Steel Compost Bin
Countertop-friendly with a charcoal filter to eliminate odors, perfect for collecting scraps before outdoor transfer.
Best for: Indoor use in apartments; 1.3-gallon capacity for daily kitchen waste.
Price Range: $20-$25
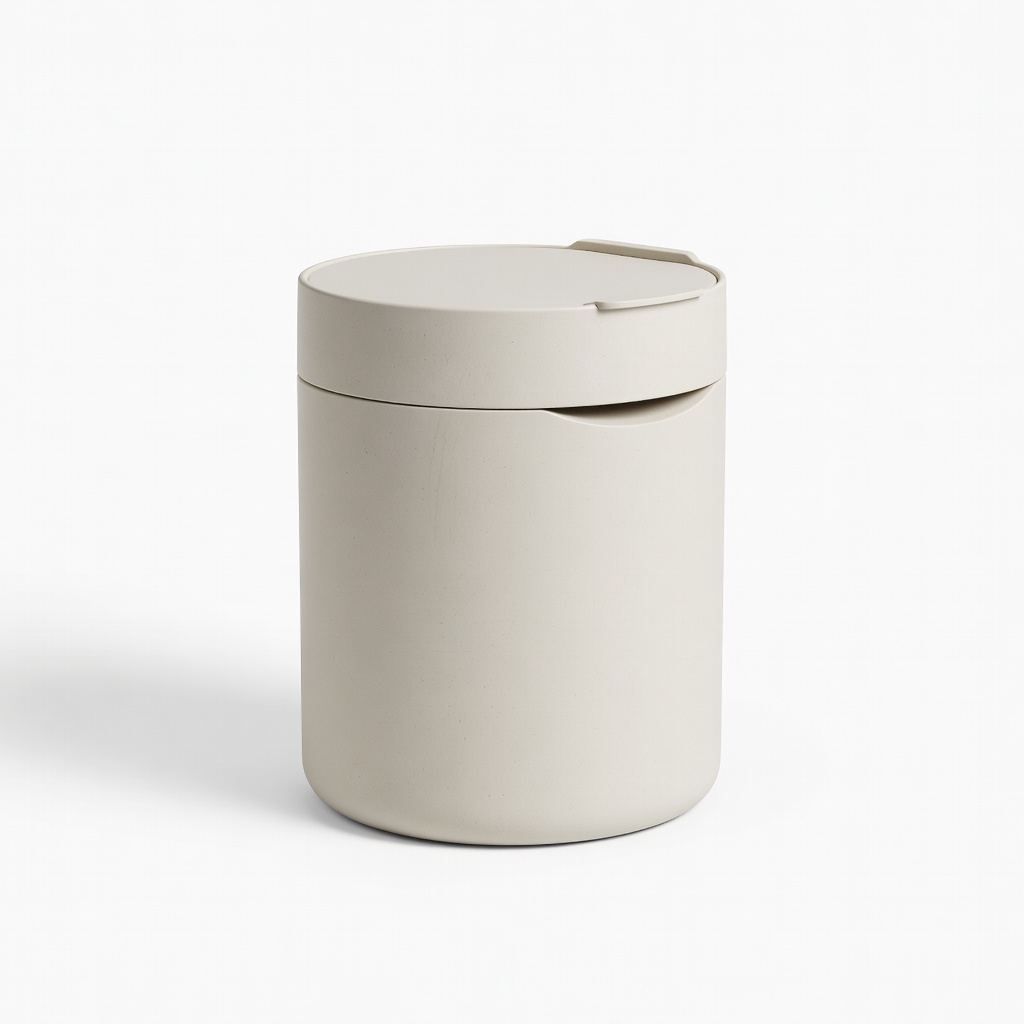
Bamboozle Everyday Compost Bin
Eco-friendly bamboo construction with a sleek design and handle, durable for beginners starting small.
Best for: Portable for kitchen-to-bin transport; 1-gallon size suits single users or couples.
Price Range: $25-$30
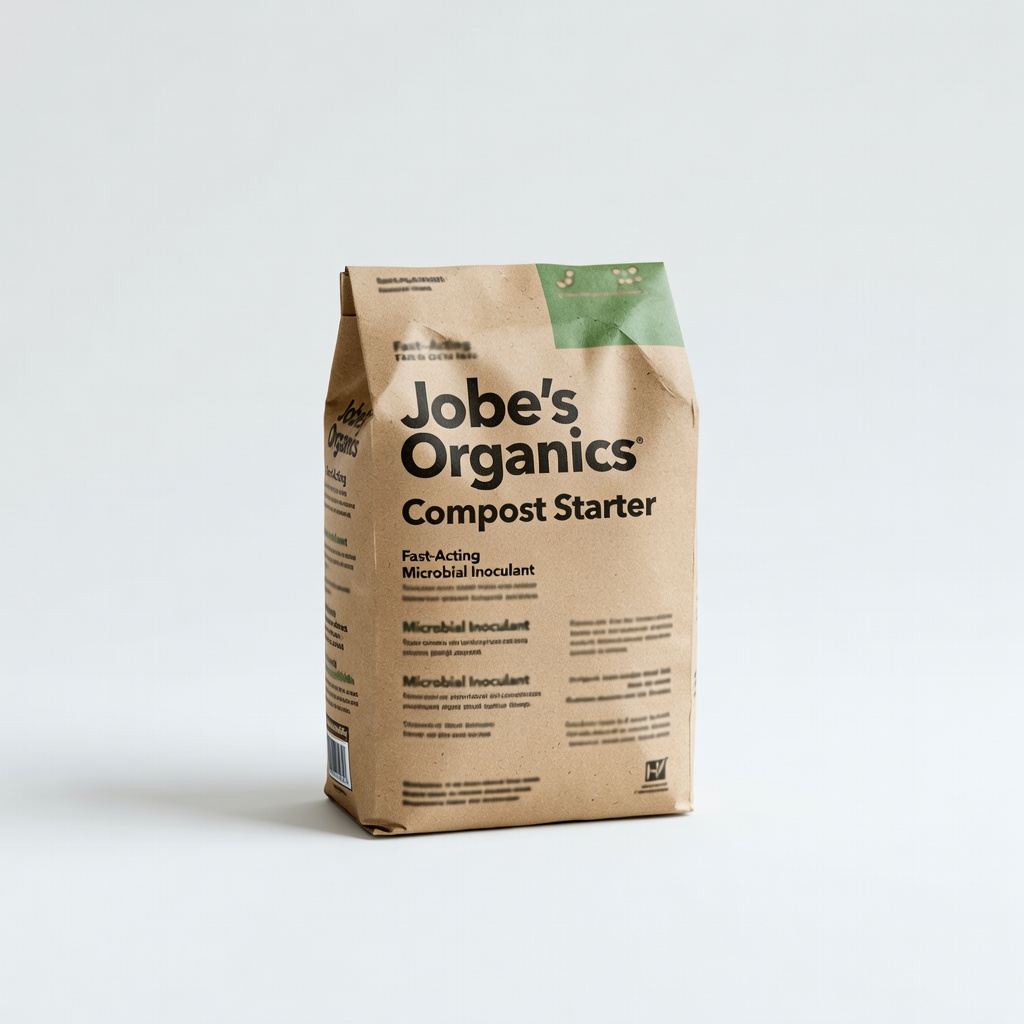
Jobe's Organics Compost Starter
Boosts microbial activity for faster breakdown, especially in new or cold piles, making it forgiving for novices.
Best for: Sprinkle on initial layers or struggling piles; natural and odor-free.
Price Range: $5-$10