Imagine stepping into your backyard or a local park and suddenly noticing the vibrant colors, unique calls, and graceful flights of birds you never knew existed. Birdwatching, or birding, is more than a hobby—it's a gateway to connecting with nature, reducing stress, and even boosting mental health. For beginners, it can feel overwhelming with all the species and gear, but it doesn't have to be.
In this guide, you'll discover what birdwatching truly entails, from its simple joys to practical steps for starting out. We'll break down the essentials, including how to choose and use starter binoculars, so you can confidently identify your first feathered friends. No prior experience needed—this is designed for absolute beginners, and you can get started in under an hour of reading and planning.
Expect a straightforward explainer: We'll cover the concept, gear basics, and tips to avoid common pitfalls, helping you build a foundation for lifelong enjoyment without spending a fortune.
▸What You'll Need
- •Comfortable outdoor clothing and sturdy shoes (required for field time)
- •A notebook or smartphone app for recording sightings (optional but helpful)
- •A beginner's field guide to local birds (optional; apps like Merlin Bird ID work too)
- •Binoculars (required for clear viewing; recommendations below)
- •No prerequisite knowledge—curiosity is enough!
Estimated Time: 30-45 minutes to read and plan your first outing; ongoing hobby with 1-2 hours per session
Difficulty: beginner
▸Step-by-Step Instructions
Step 1: Understand the Basics of Birdwatching
Birdwatching is the practice of observing and identifying birds in their natural habitats using your senses, often aided by tools like binoculars. It's not about hunting or collecting—it's a peaceful activity that encourages appreciation for wildlife. Originating from early naturalists like John James Audubon, modern birdwatching has grown into a global pastime with over 50 million enthusiasts in the U.S. alone.
Why does it matter? It sharpens observation skills, promotes environmental awareness, and can be done anywhere—from urban balconies to remote trails. As a beginner, start by simply noticing birds around you: Listen for songs, watch flight patterns, and note colors. Expect to feel a sense of wonder as you spot common species like robins or sparrows.
This step sets the foundation; without grasping the 'why,' gear choices might feel arbitrary.
💡 Tips:
- •Start in familiar areas to build confidence before venturing far.
- •Join online communities like the Cornell Lab of Ornithology for free resources.
⚠️ Warnings:
- •Avoid disturbing nests or birds—observe from a distance to protect wildlife.
Step 2: Explore the Benefits and Appeal
Birdwatching offers mental and physical perks, like exercise from walking and mindfulness from focusing on nature. It's accessible year-round, with seasonal migrations adding excitement—spring brings colorful warblers, while winter highlights hardy species.
Analogous to stargazing but with living subjects, it rewards patience: You might wait minutes for a bird to appear, but the payoff is a personal connection to biodiversity. Studies show it reduces anxiety by 20-30% through nature immersion.
What to expect: Initial outings may yield few sightings, but persistence uncovers patterns, like dawn choruses. This understanding motivates investing in tools like binoculars.
💡 Tips:
- •Track your sightings in a journal to see progress over time.
- •Combine with photography for added fun once comfortable.
⚠️ Warnings:
- •Don't compare yourself to experts; enjoyment comes from personal discoveries.
Step 3: Gather Essential Beginner Gear
Beyond clothing, the core tool is binoculars, which magnify distant birds without scaring them away. A field guide or app helps with identification. Optional: A backpack for carrying items and insect repellent for comfort.
Why binoculars first? Naked-eye viewing limits detail; magnification reveals plumage nuances crucial for ID. Start simple—no need for high-end tech yet.
Expect gear to cost $50-200 initially, enhancing enjoyment without overwhelming setup.
💡 Tips:
- •Use free apps like eBird to log and learn about local birds.
- •Opt for lightweight gear to avoid fatigue on walks.
⚠️ Warnings:
- •Skip tripods for starters—they add bulk; hand-holding builds stability.
Step 4: Learn How to Choose Starter Binoculars
Binocular specs include magnification (e.g., 8x for 8 times closer view) and objective lens size (e.g., 42mm for light gathering). For beginners, aim for 8x-10x magnification—higher can cause shakiness.
Key features: Waterproofing for all-weather use, wide field of view (300+ feet at 1,000 yards) for tracking fast birds, and lightweight design (under 1.5 lbs). Why these? They balance clarity, portability, and affordability.
Test in-store if possible: Focus on eye relief for glasses-wearers. Expect clear, bright images that make tiny details pop, transforming vague shapes into vivid birds.
💡 Tips:
- •Prioritize brands like Nikon or Celestron for reliable optics.
- •Check for diopter adjustments to customize for each eye.
⚠️ Warnings:
- •Avoid cheap no-name brands; they often have poor coatings leading to dim views.
Step 5: Practice Basic Birdwatching Techniques
Find a spot: Parks, feeders, or wetlands are ideal starters. Arrive early morning when birds are active. Scan slowly with binoculars, starting low to high.
Why technique matters: Birds move quickly; methodical scanning prevents missing sightings. Use the 'clock method'—imagine the sky as a clock to locate birds relative to you.
Expect trial and error: First sessions might frustrate, but soon you'll spot patterns like flocking behavior.
💡 Tips:
- •Mimic bird calls softly to attract curiosity (ethically).
- •Go with a buddy for shared excitement and tips.
⚠️ Warnings:
- •Stay on trails to minimize habitat disruption.
Step 6: Identify Your First Birds
Note size, shape, color, behavior (e.g., perching vs. hovering). Cross-reference with guides: Robins are larger, red-breasted; finches are small, colorful.
Analogous to detective work, ID builds with practice—start with 5-10 common species. Apps provide audio for calls.
What to expect: Joy from naming a bird, like identifying a cardinal's whistle, fostering deeper nature ties.
💡 Tips:
- •Focus on one feature at a time, like beak shape, to simplify.
- •Join guided walks for hands-on learning.
⚠️ Warnings:
- •Don't rely solely on color—lighting tricks the eye; consider habitat too.
Step 7: Build Your Birdwatching Routine
Set weekly goals: Visit spots, log 10 species. Track seasons for migrations.
Why routine? Consistency turns hobby into habit, revealing changes like breeding seasons.
Expect growth: From novice to spotting rarities, with binoculars aiding precision.
💡 Tips:
- •Use weather apps to plan calm, clear days.
- •Share photos on social media for community feedback.
⚠️ Warnings:
- •Over-scheduling leads to burnout; keep it relaxed.
▸Pro Tips
- •Dress in earth tones to blend in and avoid startling birds.
- •Clean binoculars lenses with a microfiber cloth weekly for optimal clarity.
- •Start with backyard feeders to practice from home.
- •Record audio of calls on your phone for later ID.
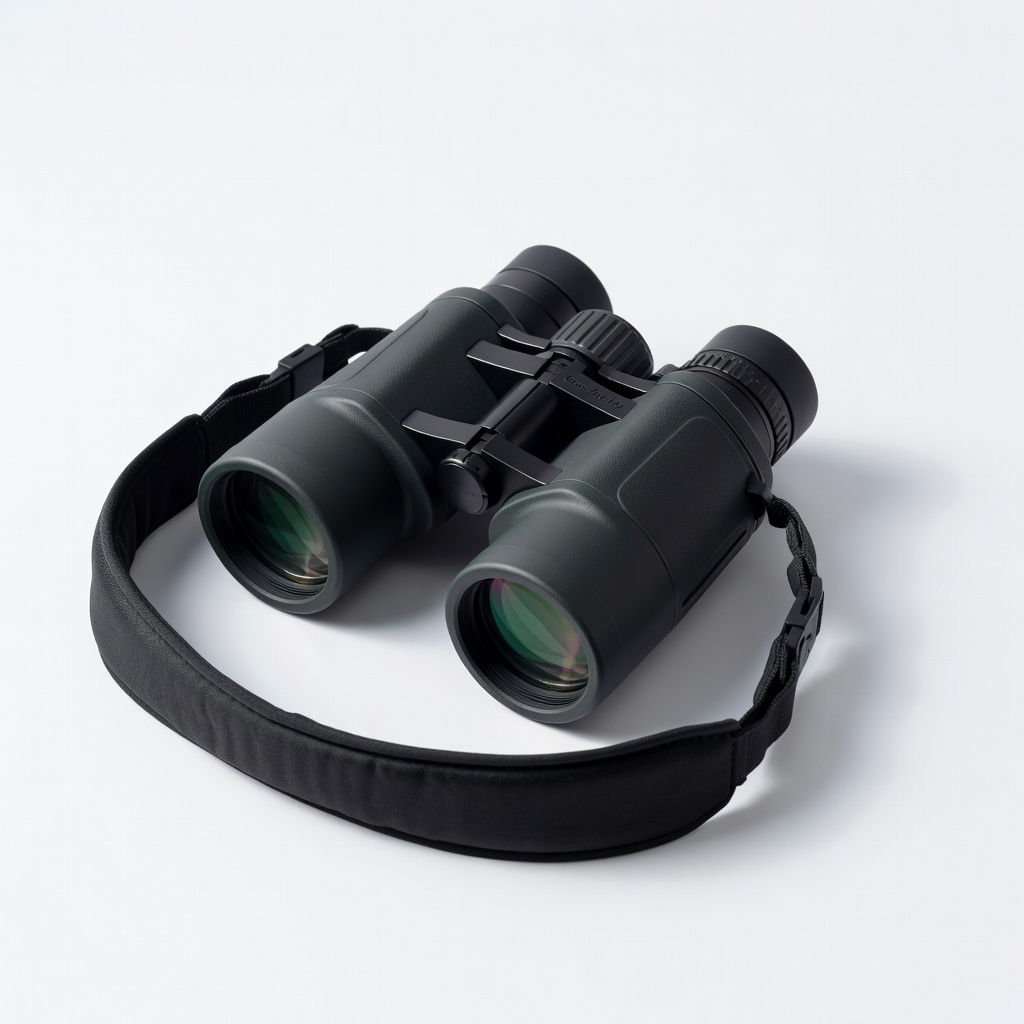
- •Invest in a comfortable strap to prevent neck strain during long sessions.
- •Visit during 'golden hours' (dawn/dusk) for best light and activity.
- •Pair birdwatching with mindfulness breathing to enhance relaxation.
▸Common Mistakes to Avoid
- •Choosing overly powerful binoculars (12x+), which cause hand-shake and narrow views—stick to 8x-10x for stability.
- •Ignoring weather protection, leading to fogged or damaged gear—always pick waterproof models.
- •Rushing identifications, resulting in errors—take time to observe multiple traits.
- •Overloading with gear early on, which discourages outings—start minimal and add as needed.
- •Birdwatching in noisy midday hours when activity is low—opt for quieter times instead.
▸Troubleshooting
Problem: Binoculars fog up in humid conditions
Solution: Use anti-fog coatings or silica gel packs inside the case; wipe gently with lens cloth. If persistent, consider models with nitrogen purging.
Problem: Can't focus quickly on moving birds
Solution: Practice panning smoothly; adjust diopters once and leave them. Upgrade to faster-focus models if needed.
Problem: Birds seem too distant even with binoculars
Solution: Check magnification and ensure proper eye placement (twist eyecups). Start closer to subjects to build skills.
Problem: Eye strain after use
Solution: Take breaks every 20 minutes; ensure good eye relief. Consult an optometrist if wearing glasses.
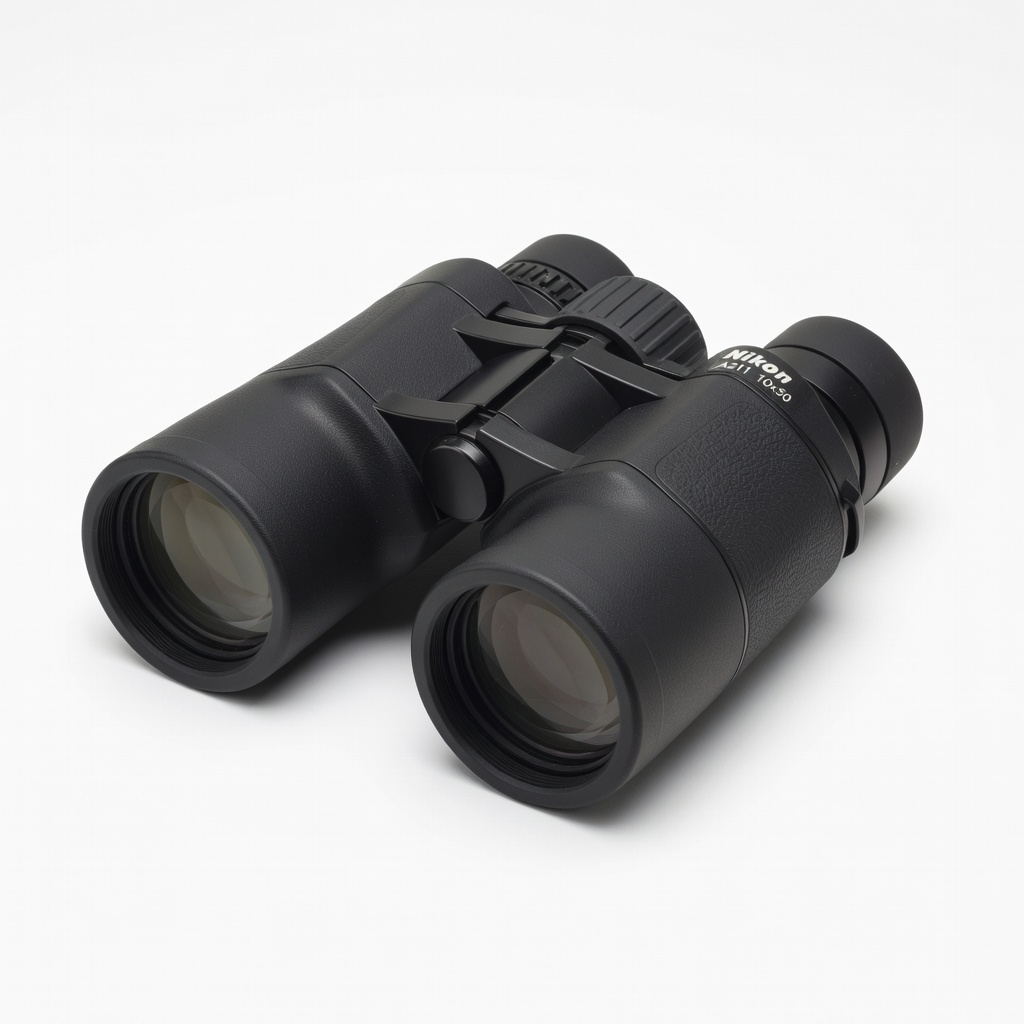
Nikon Aculon A211 10x50 Binoculars
Excellent for beginners with bright, sharp optics and a wide field of view, making it easy to spot and track birds without frustration.
Best for: Ideal for park or backyard birding where portability and value matter; great first pair for detailed views of larger birds.
Price Range: $70-$90
Celestron Nature DX 8x42 Binoculars
Waterproof and lightweight with multi-coated lenses for clear, color-accurate images; beginner-friendly ergonomics reduce fatigue.
Best for: Perfect for all-weather outings like wetland hikes, where moisture resistance and comfort are key for extended sessions.
Price Range: $130-$150
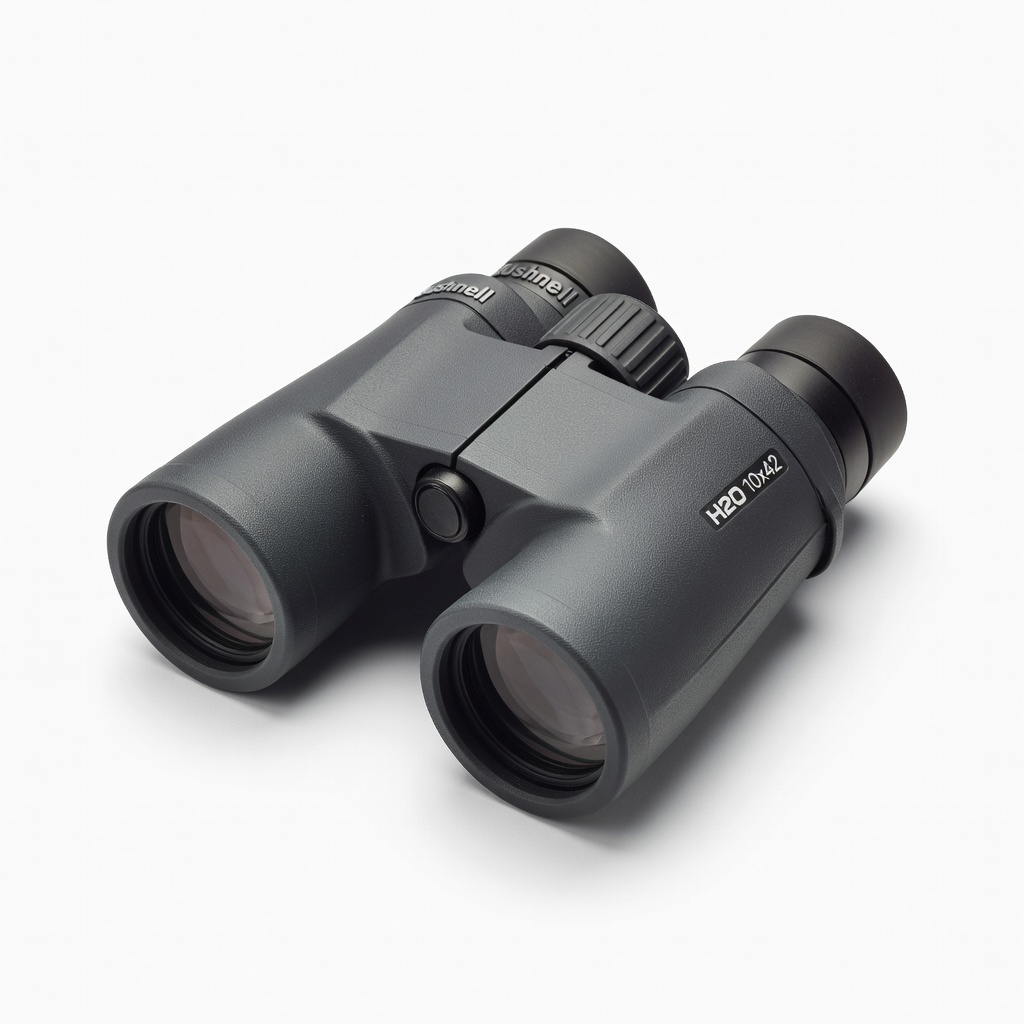
Bushnell H2O 10x42 Binoculars
Rugged, fog-proof design with BaK-4 prisms for superior light transmission, offering reliable performance at a budget price.
Best for: Suited for rainy or coastal birdwatching, providing durability for beginners exploring varied environments.
Price Range: $80-$100
Vortex Optics Crossfire HD 10x42 Binoculars
HD glass delivers crisp resolution and edge-to-edge clarity; includes a lifetime warranty, ensuring long-term value for new birders.
Best for: Best for travel or day trips, where quality optics help identify small, distant species like warblers.
Price Range: $140-$160