
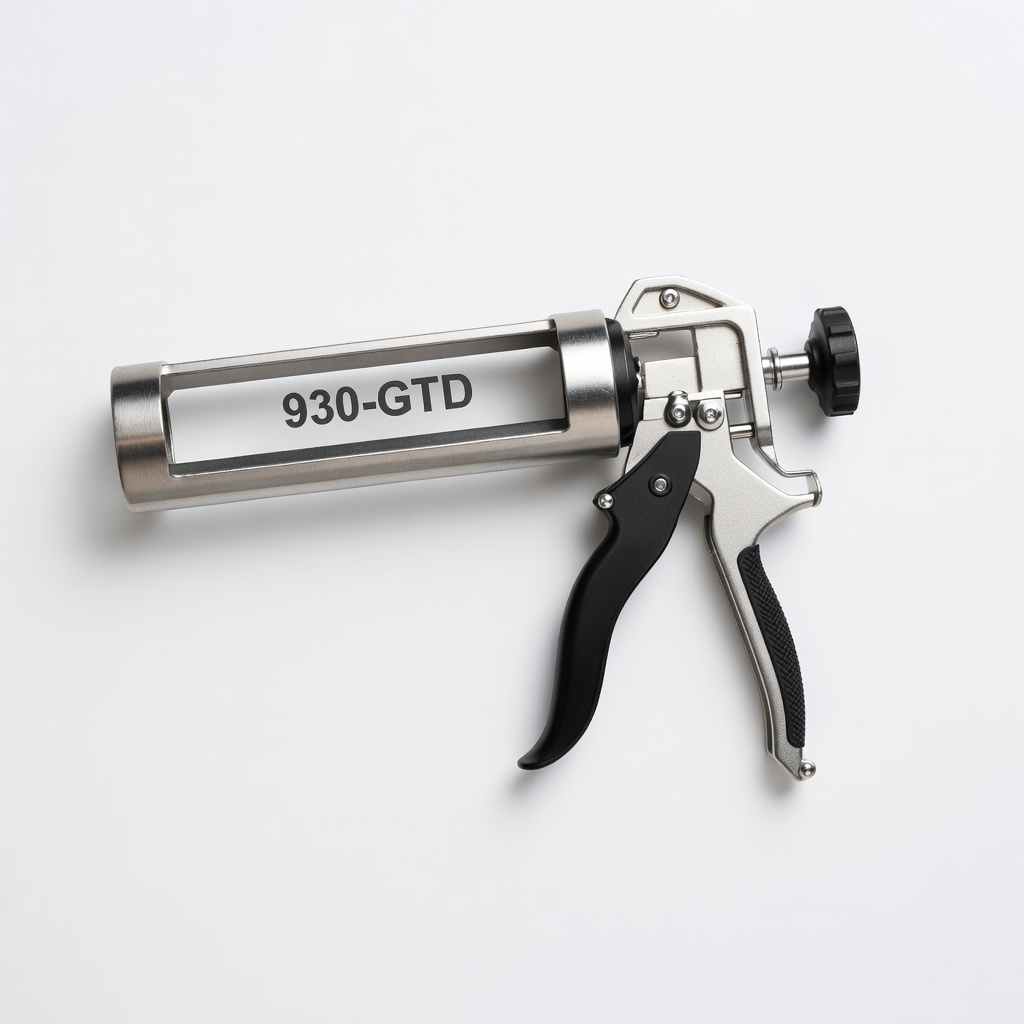
Newborn 930-GTD Dripless Caulking Gun
Home DIY like bathrooms/windows; handles all standard tubes.
$14.99
Newborn 930-GTD Dripless Caulking Gun Top-rated for beginners with 12:1 thrust and smooth hex rod prevents drips.
Get the App
Better experience on mobile
Learn what these tools do, types available, and top beginner picks for mess-free professional seals in DIY projects.
Ever squeezed a tube of sealant only to have it ooze everywhere, leaving a messy streak instead of a clean line? You're not alone—many beginners struggle with uneven application, wasting time and materials. Sealant applicator tools fix this by providing controlled, precise dispensing and finishing for caulk, silicone, or other sealants used in bathrooms, kitchens, windows, and more.
In this guide, you'll understand what sealant applicator tools are, explore their types from basic to advanced, learn how to choose and use them, and discover our top product picks. No prior experience needed—this beginner-friendly explainer breaks it down simply, so you can tackle your next sealing project with confidence. Expect to spend just 15 minutes reading to gain pro-level knowledge.
By the end, you'll know exactly which tool fits your needs and how to avoid common pitfalls for flawless results every time.
Estimated Time: 15-20 minutes to read and understand Difficulty: beginner
Sealants are flexible materials like silicone caulk or polyurethane that fill gaps, prevent leaks, and seal joints in homes—think bathroom tiles, window frames, or siding.
Why it matters: Without proper application, sealants crack, peel, or fail to waterproof. Applicator tools ensure even pressure and flow.
Expect a smooth, watertight bead (line) about 1/4-inch wide—visualize toothpaste from a controlled pump vs. squeezing a floppy tube.
💡 Tips:
Hand-squeezing tubes leads to runny messes and fatigue. Applicator tools like caulk guns provide leverage and drip-free control, reducing waste by 50% and speeding up jobs.
Analogy: Like a pastry bag for icing—precise vs. finger-smearing frosting.
They handle high-viscosity sealants that resist manual pressure, ensuring consistent beads for professional looks.
⚠️ Warnings:
Most common type: A pistol-grip frame holds 10-12 oz tubes, with a thrust rod pushing sealant via trigger pulls.
Key features: Drip-free rods, 12:1 thrust ratio for tough sealants.
Why matters: Affordable ($10-20), no batteries needed—perfect for occasional DIY.
💡 Tips:
Pneumatic guns use air compressors for constant pressure; battery-powered (cordless) offer portability.
Use case: Pros doing 10+ tubes/day—reduces hand strain.
Beginners: Stick to manual unless frequent use.
After applying, use plastic/metal tools to shape and press sealant into joints.
Types: Squeegees, corner tools for 90° angles.
Result: Smooth, concave finish that lasts longer without cracking.
💡 Tips:
⚠️ Warnings:
Replaceable cone tips control bead size (cut at 45° for wider lines).
Specialty: V-notch for backer rods, extension wands for deep gaps.
Why essential: Customizes flow for any job.
Factors: Job size (occasional=manual), sealant type (high-ratio gun for thick), budget.
Quick test: Squeeze tube manually—if hard, get 18:1 ratio gun.
Pro result: Match tool to project for efficiency.
💡 Tips:
Store dry to prevent clogs.
Expect: 1 tube covers 30-50 linear feet.
⚠️ Warnings:
Problem: Sealant dripping after stopping
Solution: Use drip-free rod gun; release pressure fully and wipe tip.
Problem: Gun won't push sealant
Solution: Check inner seal punctured; reload tube squarely.
Problem: Rough, bumpy bead
Solution: Smooth with tool dipped in soapy water; ensure steady speed.
Problem: Tool jammed
Solution: Disassemble, clean rod with mineral spirits; lubricate lightly.
Top-rated for beginners with 12:1 thrust and smooth hex rod prevents drips.
Best for: Home DIY like bathrooms/windows; handles all standard tubes.
Price Range: $14.99
Ergonomic grip, drip-free, and affordable upgrade for frequent use.
Best for: Kitchen/basement seals needing comfort during longer jobs.
Price Range: $19.99
Multi-head design for perfect smoothing in corners and straight lines.
Best for: Finishing any sealant job for pro concave beads.
Price Range: $12.99
18:1 high ratio crushes thick sealants effortlessly.
Best for: Pro-level or sticky urethanes; great for siding.
Price Range: $24.99
Universal nozzle holder for precise control and auto-cut.
Best for: Any gun needing better tips; reduces mess by 70%.
Price Range: $29.99
Home DIY like bathrooms/windows; handles all standard tubes.
Newborn 930-GTD Dripless Caulking Gun Top-rated for beginners with 12:1 thrust and smooth hex rod prevents drips.
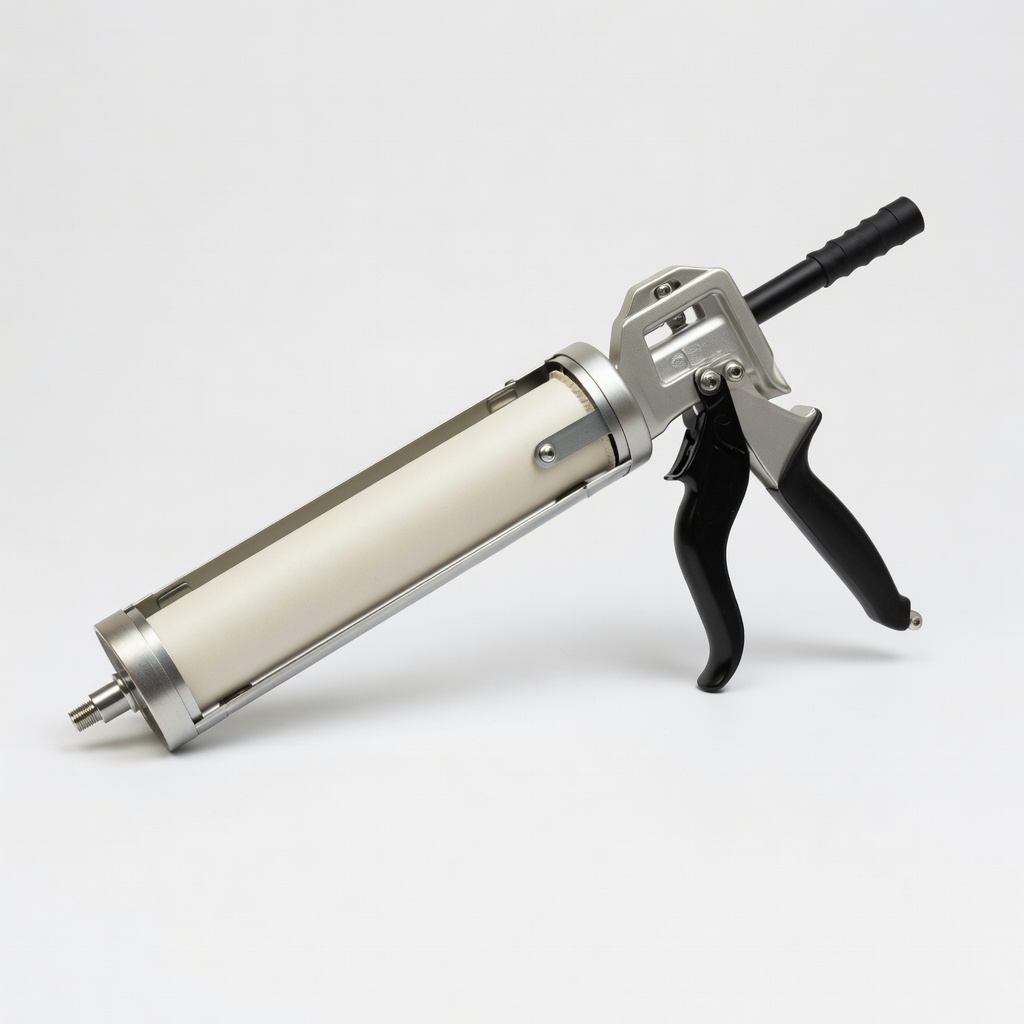
Kitchen/basement seals needing comfort during longer jobs.
Albion Dripless 10 oz Caulking Gun Ergonomic grip, drip-free, and affordable upgrade for frequent use.
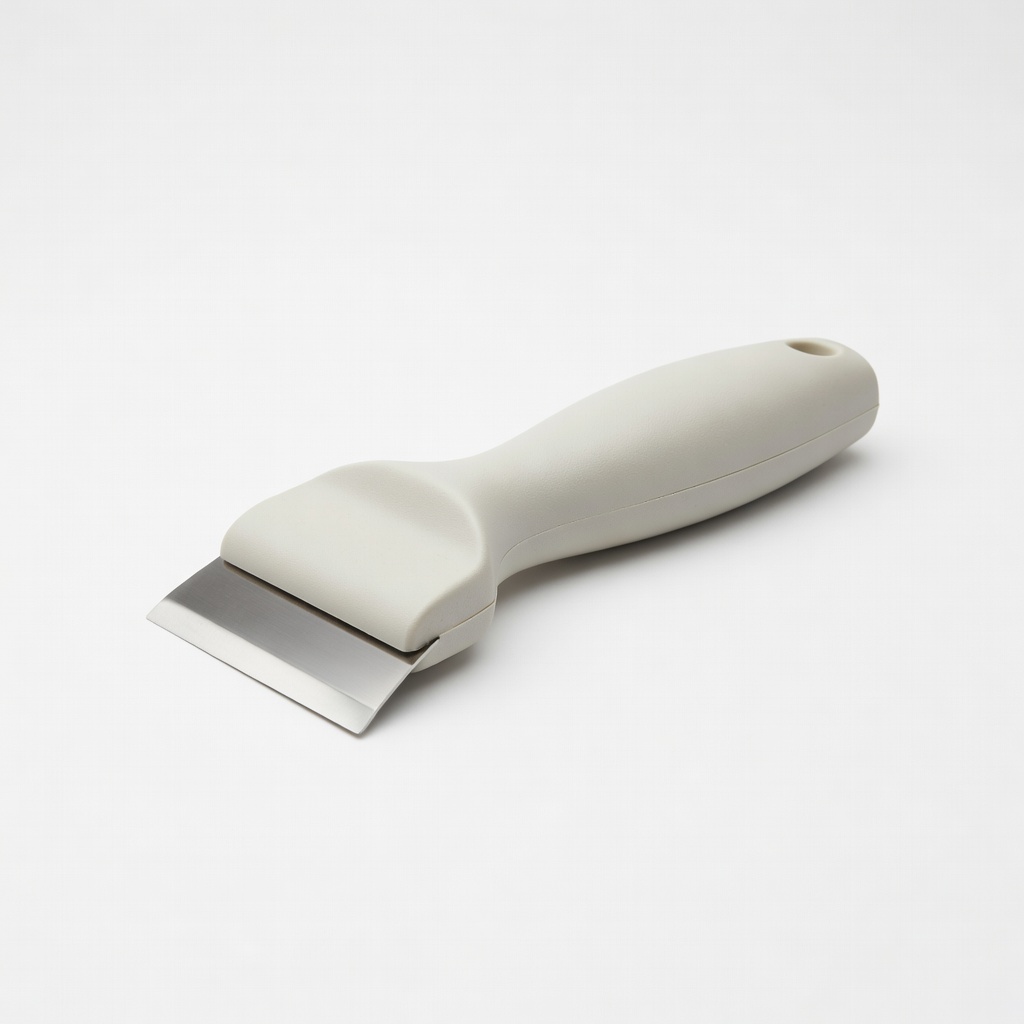
Finishing any sealant job for pro concave beads.
Madison 613 Pro Caulk Finishing Tool Multi-head design for perfect smoothing in corners and straight lines.
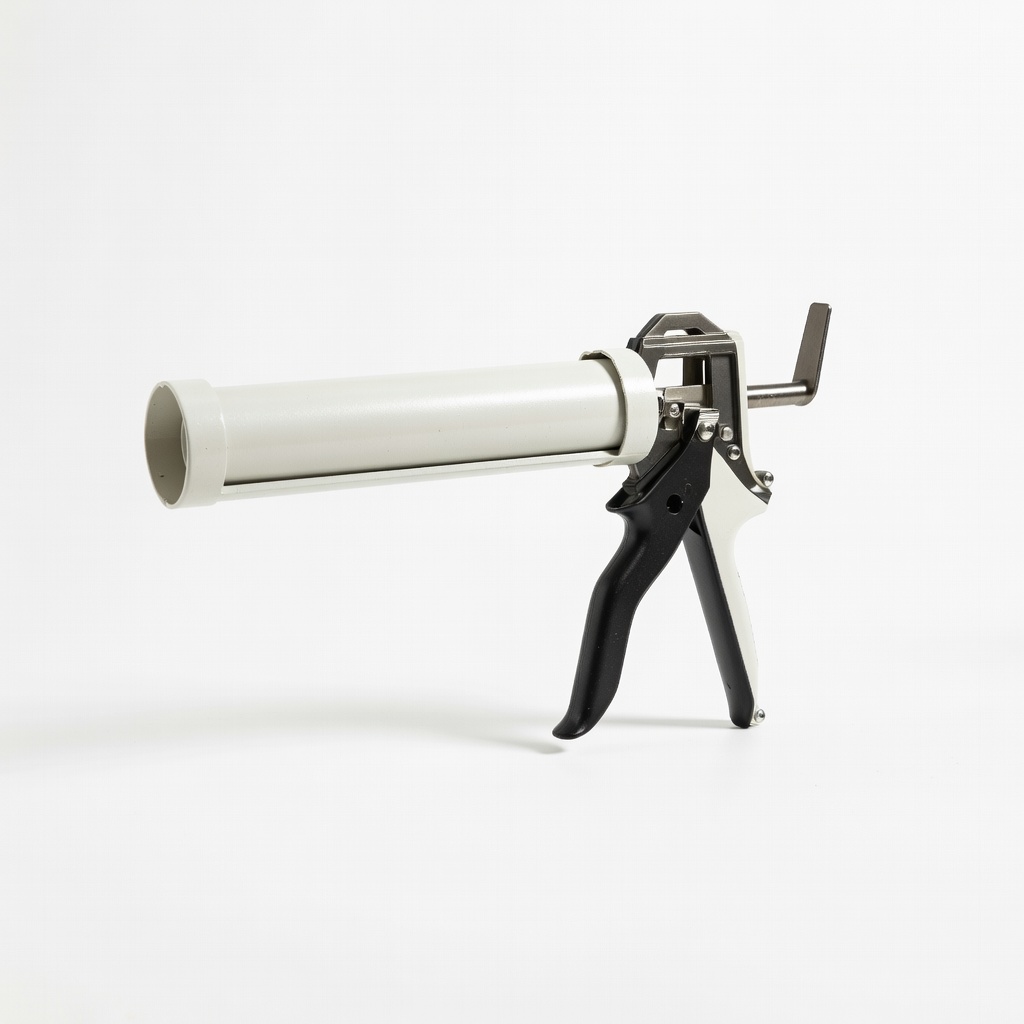
Pro-level or sticky urethanes; great for siding.
PC Products 50100 Drip-Free Caulking Gun 18:1 high ratio crushes thick sealants effortlessly.
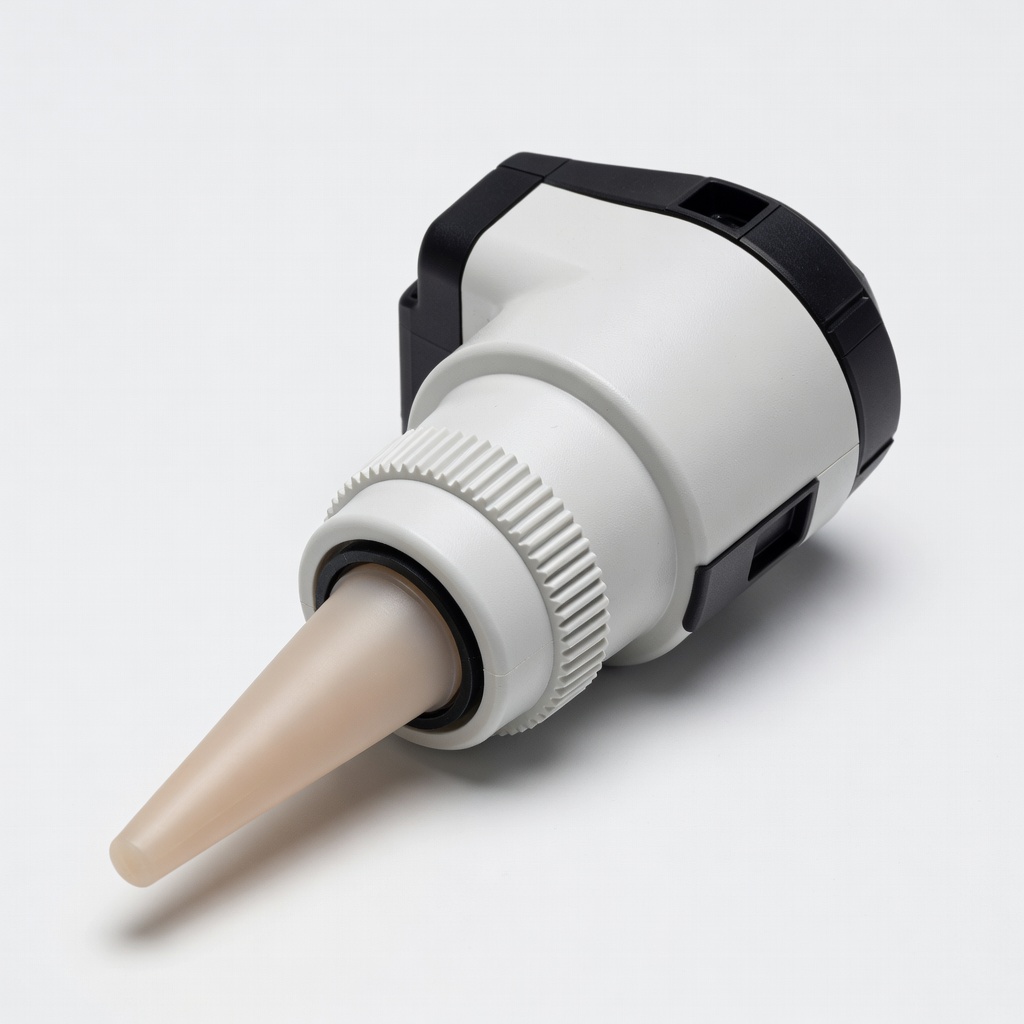
Any gun needing better tips; reduces mess by 70%.
Tajima CR-D2 Caulk-Rite Head Universal nozzle holder for precise control and auto-cut.