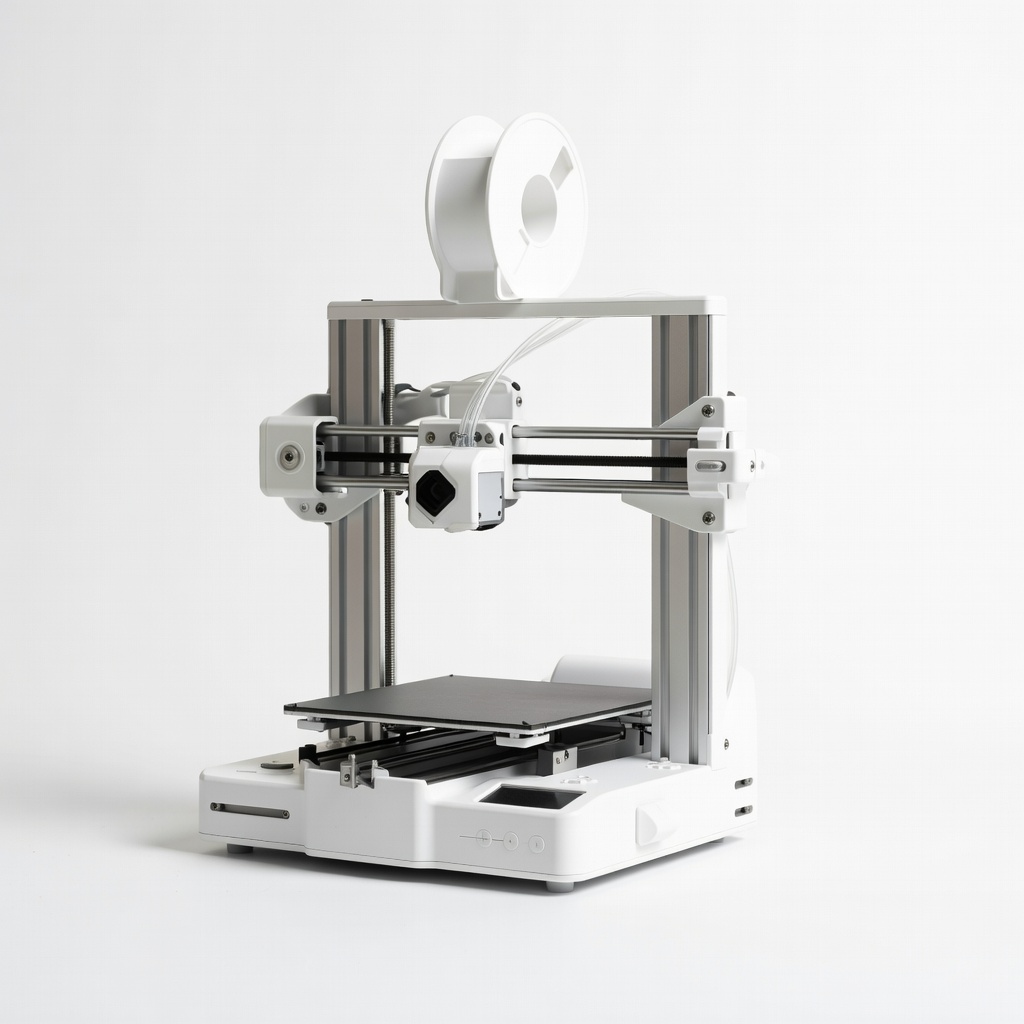
Creality Ender 3 V2 Neo
Everyday plastic prototypes like enclosures or mechanisms.
$250-$300
Creality Ender 3 V2 Neo Reliable FDM printer for intermediate prototyping with auto-leveling and fast setup.
Get the App
Better experience on mobile
Learn how additive manufacturing speeds up prototyping, cuts costs, and enables complex designs for engineers and designers.
Struggling with slow, expensive prototypes that limit your design iterations? Additive manufacturing (AM), commonly known as 3D printing, solves this by building parts layer-by-layer from digital files, revolutionizing product development.
In this guide, you'll understand AM fundamentals, its role in prototyping, key technologies, workflows, benefits, and limitations. Expect clear explanations with analogies, examples, and real-world applications—no prior expertise needed beyond basic manufacturing knowledge. Reading and grasping concepts takes 15-20 minutes.
Whether you're an engineer, hobbyist, or business owner, mastering AM for prototyping empowers faster innovation and market entry.
Estimated Time: 15-20 minutes Difficulty: intermediate
Traditional manufacturing, like CNC milling or injection molding, is subtractive—starting with a solid block and removing material to form the shape. This works for high-volume production but is slow and wasteful for prototypes.
Additive manufacturing flips this: it adds material layer-by-layer from a digital model, like stacking LEGO bricks based on a blueprint. For prototyping, this means quick, low-cost creation of one-offs or small batches.
Why it matters: Prototyping demands rapid iterations; AM reduces lead times from weeks to hours, enabling 'fail fast, learn fast' cycles.
💡 Tips:
AM follows a universal process: Design → Slice → Print → Post-Process. Start with a 3D CAD model (STL file), 'slice' it into thin layers using software, then the printer deposits material layer-by-layer.
Analogy: Like plotting a path on a map (CAD), dividing it into steps (slicing), and following GPS turn-by-turn (printing).
Key parameters: Layer height (thinner = smoother, slower), infill density (20-50% for prototypes), and support structures for overhangs.
⚠️ Warnings:
FDM (Fused Deposition Modeling): Extrudes melted plastic filament. Affordable, great for functional prototypes. Example: Testing a drone frame.
SLA (Stereolithography): Laser cures liquid resin layer-by-layer. High detail for visuals. Analogy: Like freezing jelly layers with light.
SLS (Selective Laser Sintering): Powder bed fused by laser. Strong parts, no supports needed. Ideal for complex geometries.
Choose based on needs: FDM for speed/cost, SLA for precision.
💡 Tips:
Why sequential: Ensures print success; poor design causes failures.
Speed: Days to hours. Cost: $0.50-$5 per part vs. $100s for molds.
Complexity: Internal channels, lattices impossible subtractively. Example: Custom medical implants.
Customization: Personalize per iteration. Sustainability: Less waste (90% reduction).
Real-world: Automotive firms prototype crash-test parts overnight.
💡 Tips:
Challenges: Anisotropy (weaker layer bonds), surface finish needs post-processing, material limits (not all engineering plastics).
Solutions: Use enclosures for stability, advanced filaments like PETG.
When not to use: High-volume (>1000 units)—switch to injection molding.
⚠️ Warnings:
NASA uses AM for rocket nozzles (SLS). Fashion: Custom shoes via SLA. Electronics: Enclosures for PCBs via FDM.
Your turn: Prototype a phone stand—design, print, test fit in 2 hours.
Scalability: From desktop printers to industrial farms.
Trends: Multi-material printing, metal AM for end-use, AI-optimized designs. By 2025, expect desktop metal printers under $10K.
Impact: Democratizes innovation—anyone can prototype like pros.
💡 Tips:
Problem: Print fails to adhere to bed
Solution: Clean bed with IPA, level properly, add glue stick or PEI sheet.
Problem: Layer lines or stringing
Solution: Increase travel speed, enable retraction (5-7mm), dry filament.
Problem: Weak interlayer strength
Solution: Slow print speed to 40mm/s, use enclosure for temp control.
Problem: Supports hard to remove
Solution: Use tree supports or dissolvable PVA, design self-supporting angles <45°.
Reliable FDM printer for intermediate prototyping with auto-leveling and fast setup.
Best for: Everyday plastic prototypes like enclosures or mechanisms.
Price Range: $250-$300
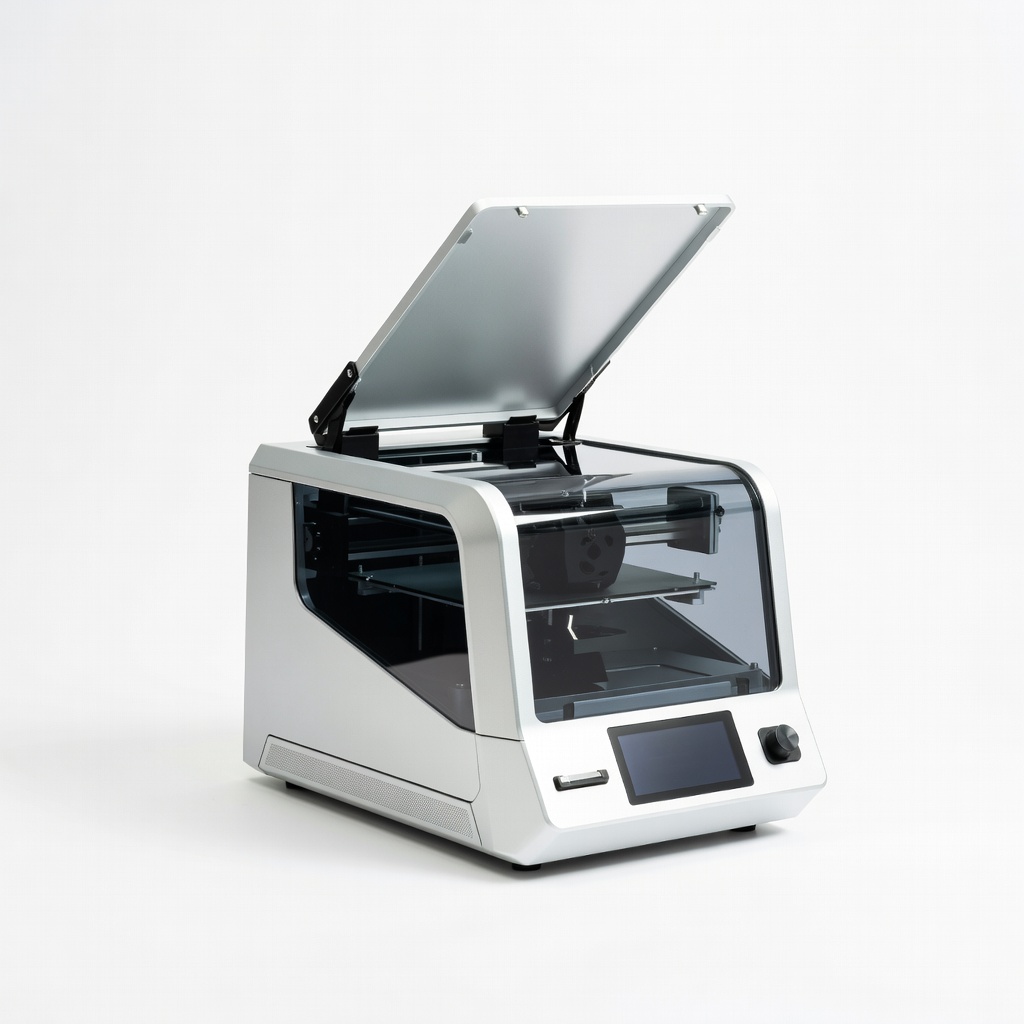
High-resolution resin printer for detailed prototypes with fast curing.
Best for: Visual or precision parts like jewelry models or miniatures.
Price Range: $300-$350
Compact, multi-color AMS-ready printer for quick iterations.
Best for: Small prototypes with color-coding for assemblies.
Price Range: $350-$450
Advanced slicer with prototyping optimizations like variable layers.
Best for: Preparing files for any FDM/SLA printer.
Price Range: Free
Tough, low-warp filament ideal for functional prototypes.
Best for: General printing with good layer adhesion.
Price Range: $20-$25
Everyday plastic prototypes like enclosures or mechanisms.
Creality Ender 3 V2 Neo Reliable FDM printer for intermediate prototyping with auto-leveling and fast setup.
Visual or precision parts like jewelry models or miniatures.
Elegoo Mars 4 Ultra High-resolution resin printer for detailed prototypes with fast curing.
Small prototypes with color-coding for assemblies.
Bambu Lab A1 Mini Compact, multi-color AMS-ready printer for quick iterations.
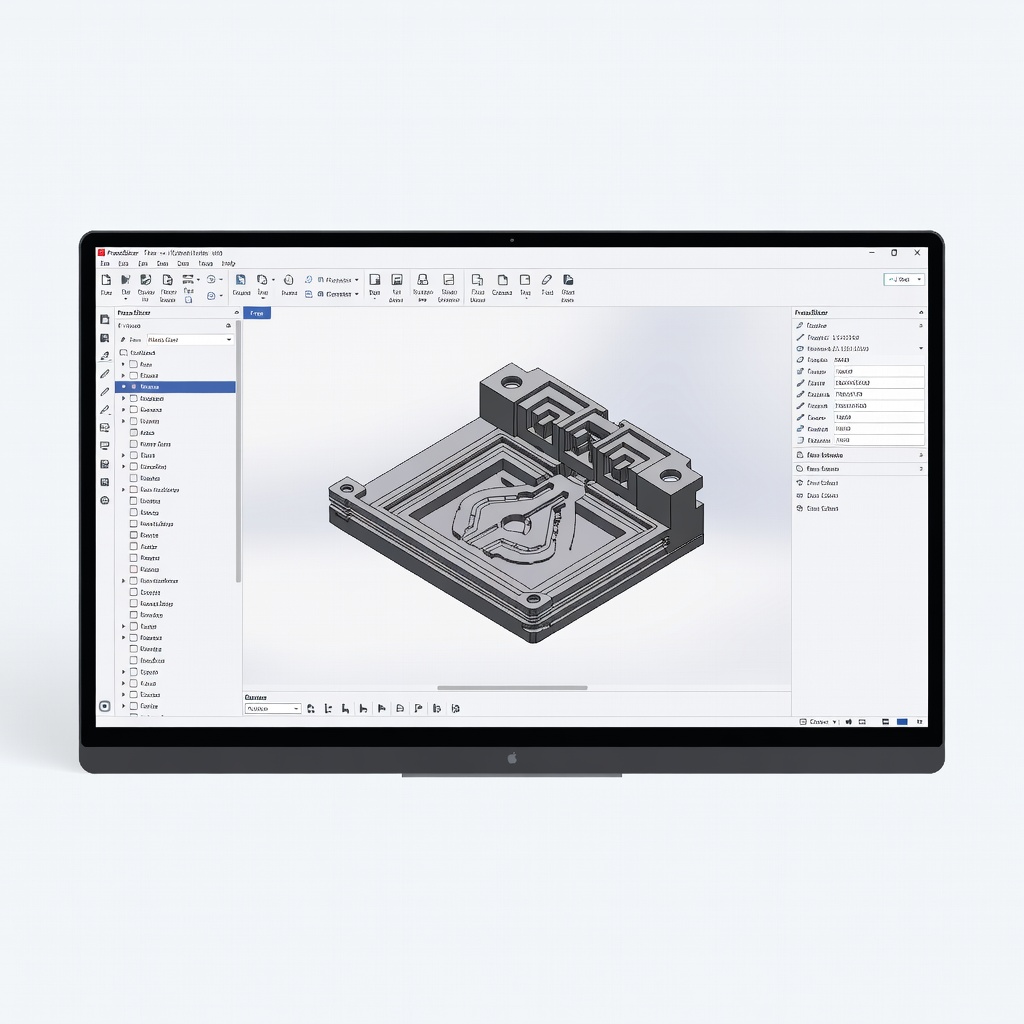
Preparing files for any FDM/SLA printer.
PrusaSlicer Software (Free) Advanced slicer with prototyping optimizations like variable layers.

General printing with good layer adhesion.
Inland PLA+ Filament 1.75mm Tough, low-warp filament ideal for functional prototypes.