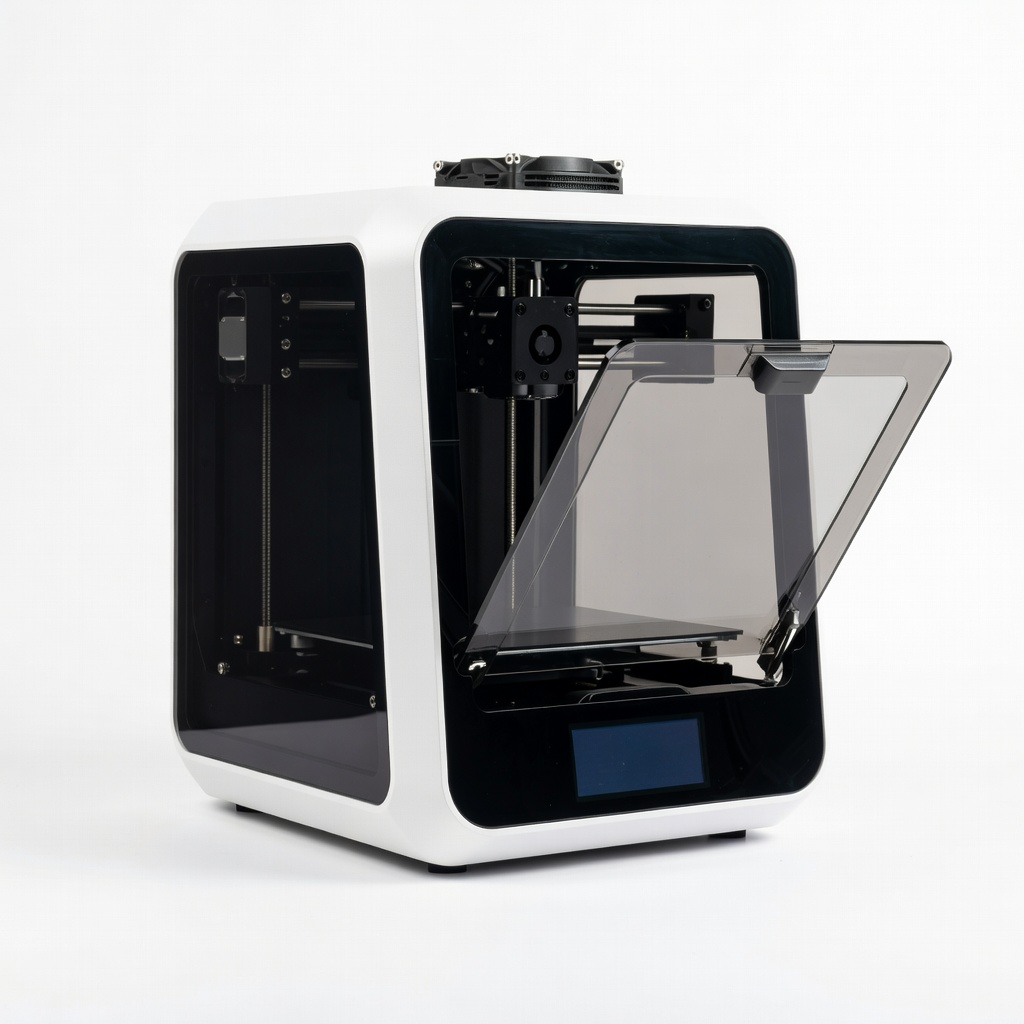
ELEGOO Mars 4 Ultra 9K Resin 3D Printer
Printing flexible sockets or intricate hand components.
$300-$350
ELEGOO Mars 4 Ultra 9K Resin 3D Printer High-resolution (18-micron) for precise prosthetic details and smooth surfaces.
Get the App
Better experience on mobile
Learn how 3D printing creates personalized, affordable prosthetics that fit perfectly and improve patient outcomes.
Imagine a world where prosthetic limbs are as unique as fingerprints—tailored precisely to each patient's body, affordable, and produced in days instead of months. Traditional prosthetics often fail to fit perfectly, leading to discomfort, reduced mobility, and high costs (up to $50,000 per limb). Additive Manufacturing (AM), or 3D printing, revolutionizes this by enabling rapid, customized production.
In this advanced guide, you'll dive deep into the science, process, materials, and real-world applications of AM for custom prosthetics. We'll break down complex concepts like bioprinting compatibility, design workflows, and post-processing, with examples from leading clinics. Expect to gain actionable insights for engineers, medical professionals, or researchers—perfect for those with prior 3D printing knowledge. Reading and fully grasping this takes 25-35 minutes.
By the end, you'll understand why AM is transforming prosthetics from mass-produced to patient-specific, and how to explore implementation.
Estimated Time: 25-35 minutes Difficulty: advanced
Additive Manufacturing builds objects layer-by-layer from digital models, unlike subtractive methods (e.g., milling) that remove material. For prosthetics, this means creating complex geometries like lattice structures for lightweight sockets.
Key technologies include Fused Deposition Modeling (FDM) for prototypes and Stereolithography (SLA) for high-precision medical-grade parts. Why it matters: AM allows infinite customization without molds, reducing waste by 90%.
Expect digital files (STL/OBJ) turning into physical parts via slicers like Cura.
💡 Tips:
⚠️ Warnings:
Prosthetics must match residual limb shape, skin sensitivity, and movement range. Traditional methods use plaster casts—imprecise and labor-intensive.
AM uses 3D scans (e.g., structure light scanners) for millimeter-accurate models. Analogy: Like tailoring a suit from body scans vs. off-the-rack sizing.
This step ensures biocompatibility (ISO 10993 standards) and load-bearing (up to 100kg for legs).
💡 Tips:
Use structured light or laser scanners (e.g., Artec Eva) on the residual limb, capturing 0.1mm resolution. Combine with CT/MRI for bone data.
Process DICOM files in software like Meshmixer to create watertight meshes. Why critical: Poor scans lead to 20-30% fit failures.
Output: Parametric CAD model adjustable for growth in pediatric cases.
⚠️ Warnings:
Import scans into Fusion 360 or SolidWorks. Add features: pressure-distributing lattices, adjustable straps, sensor integrations for myoelectric control.
Simulate stresses with FEA (Finite Element Analysis) to predict failures. Analogy: Engineering a bridge for specific loads.
Export optimized STL for slicing.
💡 Tips:
Choose nylons (TPU) for flexibility, PEEK for strength, or resins like Formlabs BioMed Clear. Must pass cytotoxicity tests.
FDM suits sockets; SLA for flexible gloves. Cost: $50-200/kg vs. $500+ for machined titanium.
Why matters: Materials dictate durability (1M+ cycles) and skin safety.
⚠️ Warnings:
Slice in Chitubox/PrusaSlicer: 0.1mm layers, 40-60°C bed. Print time: 4-24 hours.
Monitor for warping; use enclosures. Multi-material printers enable hybrid rigid/flex parts.
Expect high resolution for comfort interfaces.
💡 Tips:
Cure resins UV (30-60min), vapor-smooth with acetone (FDM), sand/polish. Sterilize via autoclave or gamma.
Apply liners/sockets. Test tolerances (±0.2mm).
Final: Functional prototype ready for fitting.
⚠️ Warnings:
Clinically fit with prosthetist; use pressure sensors for hotspots. Iterate 2-3 prints based on gait analysis.
Integrate electronics (EMG sensors). Track via wearables.
Success: 95% satisfaction vs. 70% traditional.
Benefits: 70% cost reduction, 10x faster, on-demand in remote areas. Challenges: Regulatory (FDA 510(k)), mechanical fatigue.
Future: 4D printing (shape-shifting), bioprinting tissues.
💡 Tips:
Problem: Warping during print
Solution: Increase bed adhesion with glue/rafts; enclose printer.
Problem: Poor fit from scan noise
Solution: Apply smoothing filters in Meshlab; rescan if >0.5mm errors.
Problem: Material brittleness
Solution: Switch to higher infill (30-50%); anneal post-print.
Problem: Regulatory hurdles
Solution: Consult ISO 13485-certified labs; start with Class I devices.
High-resolution (18-micron) for precise prosthetic details and smooth surfaces.
Best for: Printing flexible sockets or intricate hand components.
Price Range: $300-$350
FDA-compliant flexible material ideal for skin-contact prosthetics.
Best for: FDM printing of liners and grips that mimic human tissue.
Price Range: $40-$60 per 1kg spool
Reliable FDM printer for large-scale prototypes at high speed.
Best for: Rapid iteration of full-leg prosthetics under $300.
Price Range: $250-$300
Essential for post-processing resin prints to medical standards.
Best for: Cleaning and UV-curing prosthetic parts safely.
Price Range: $80-$100
High-strength, biocompatible nylon for durable load-bearing parts.
Best for: Structural components in above-knee prosthetics.
Price Range: $50-$70 per 1kg
Printing flexible sockets or intricate hand components.
ELEGOO Mars 4 Ultra 9K Resin 3D Printer High-resolution (18-micron) for precise prosthetic details and smooth surfaces.
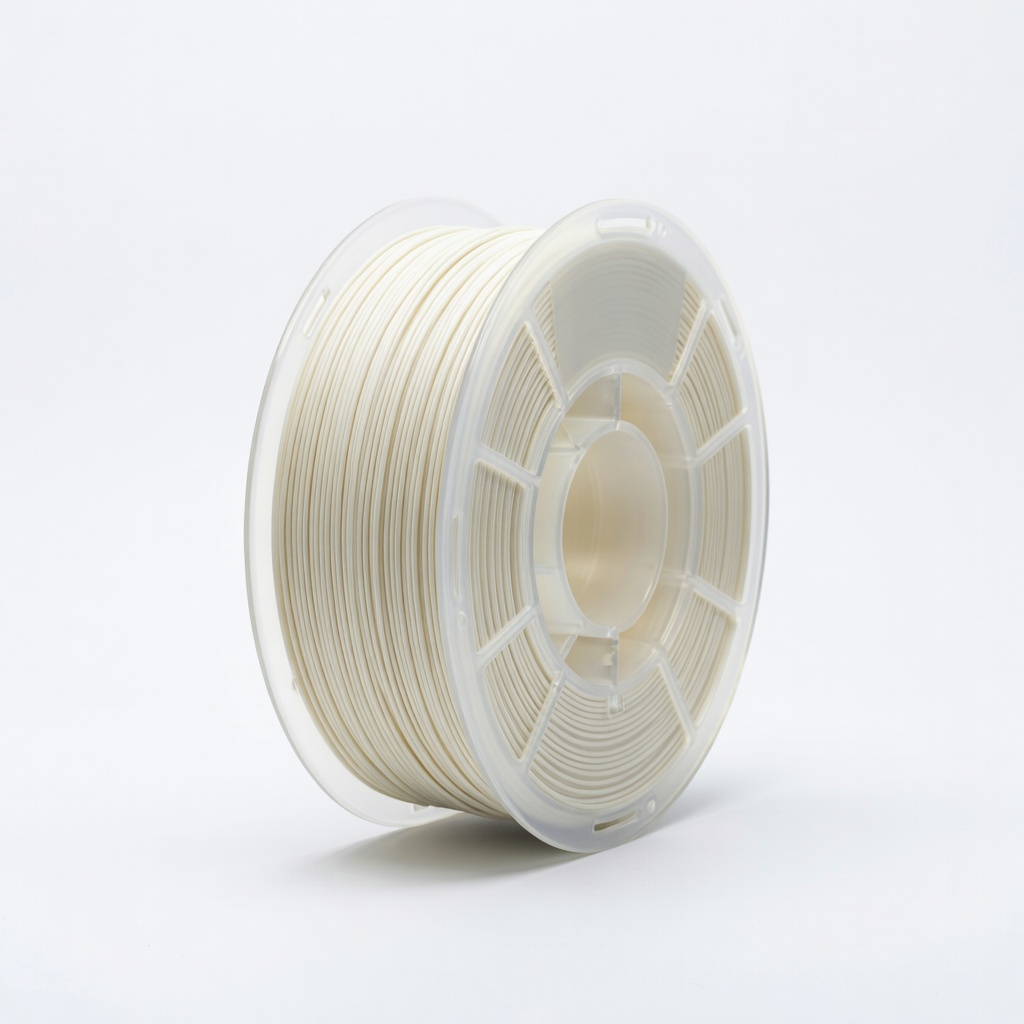
FDM printing of liners and grips that mimic human tissue.
Polymaker PolyFlex TPU95 Filament FDA-compliant flexible material ideal for skin-contact prosthetics.
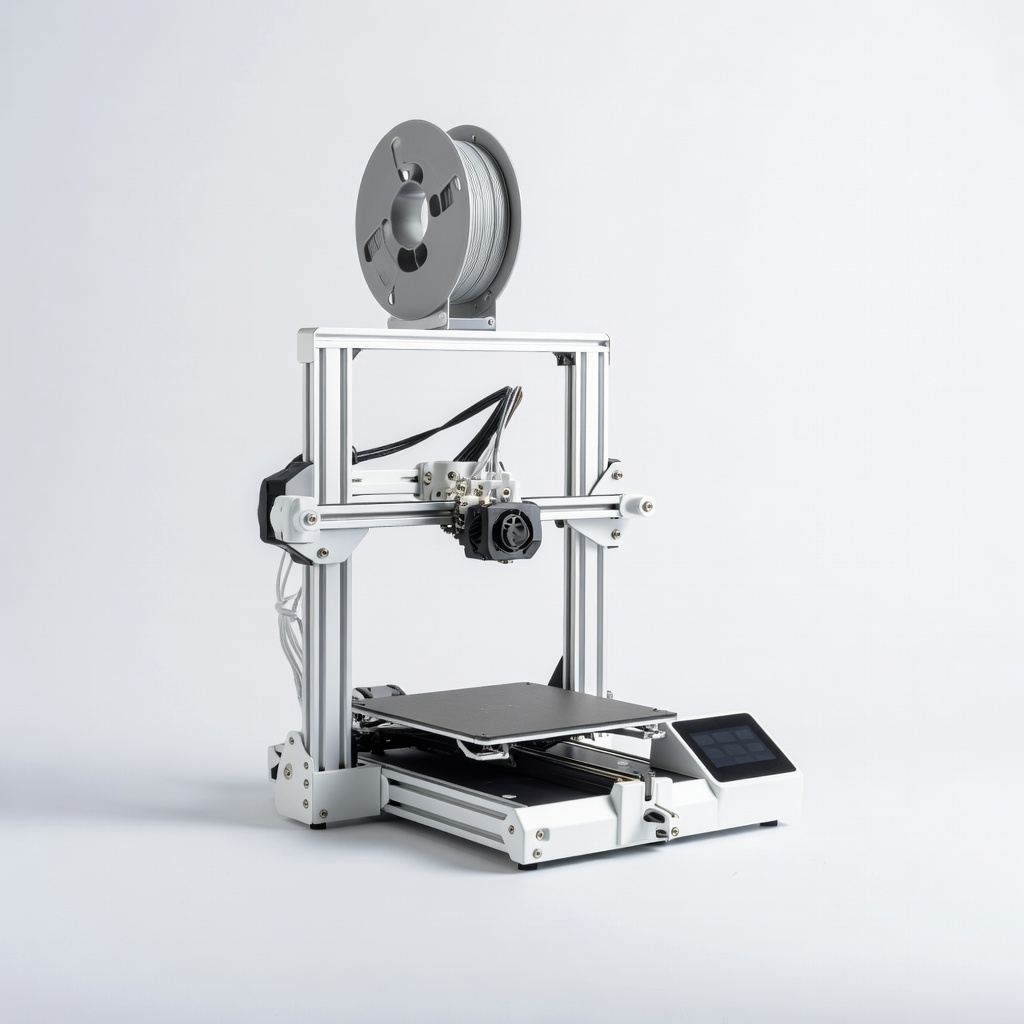
Rapid iteration of full-leg prosthetics under $300.
Creality Ender 3 V3 KE Reliable FDM printer for large-scale prototypes at high speed.

Cleaning and UV-curing prosthetic parts safely.
Anycubic Wash & Cure Station 3.0 Essential for post-processing resin prints to medical standards.
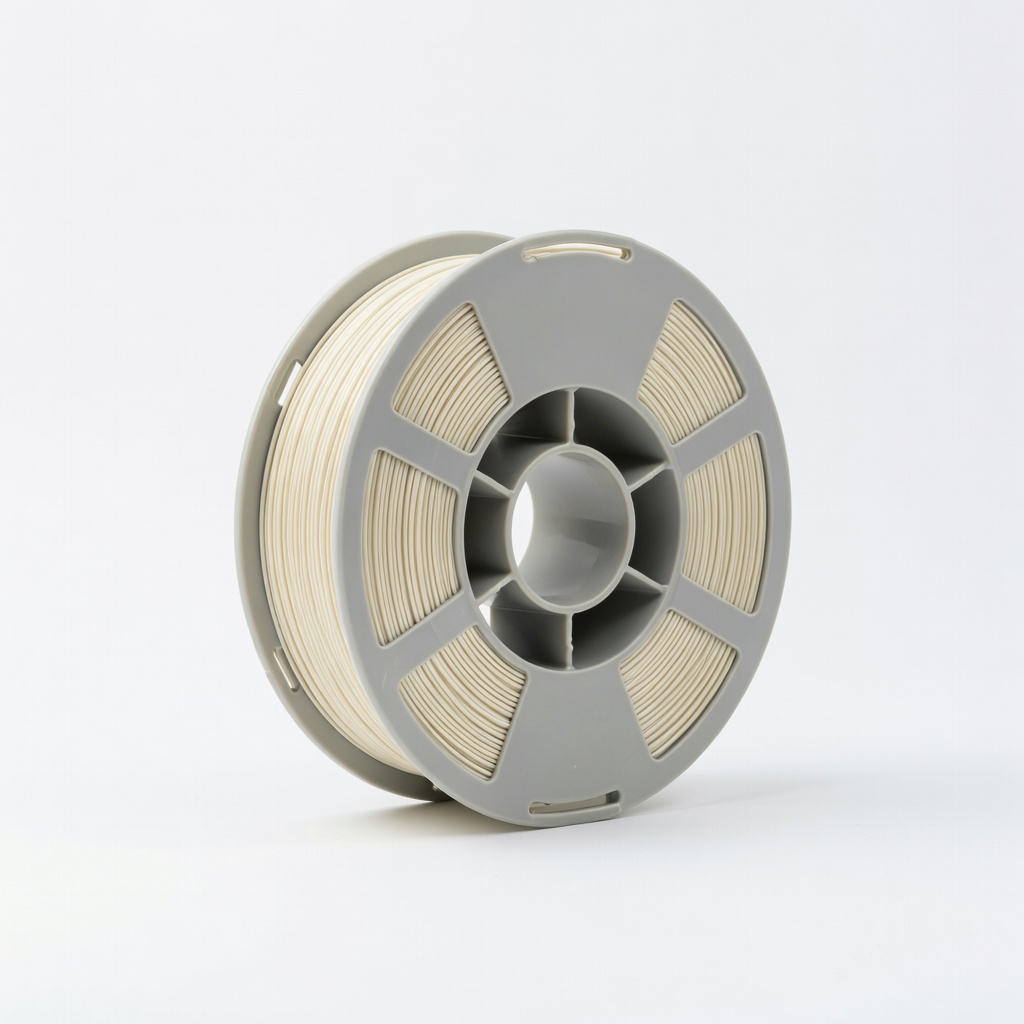
Structural components in above-knee prosthetics.
MatterHackers PRO Series Nylon High-strength, biocompatible nylon for durable load-bearing parts.