Does your 3D printer struggle with flexible filaments? Or do you see stringy prints and get frustrated with Bowden tube retraction? If so, you've likely heard about direct drive extruders. This upgrade is one of the most popular modifications for hobbyists who want better control of print quality, especially with TPU and other squishy materials.
In this explainer, you'll learn exactly what a direct drive extruder is, how it compares to the Bowden system found on many budget 3D printers, and how to decide if upgrading is the right move for your printing habits. We'll look at both the pros and cons, talk about common troubleshooting issues, and show you a few top-notch products to consider if you're ready to buy.
By the end, you'll be able to confidently say whether a direct drive extruder is worth the money for your needs. It's a short read—slightly more than a coffee break—and you don't need any tools. Let's get started.
▸What You'll Need
- •A basic understanding of how a 3D printer works (what a hotend, nozzle, and filament are).
- •Familiarity with your own printer model and whether it uses a Bowden or direct drive setup.
- •A slicer program (like Cura or PrusaSlicer) for reference, because you'll see retraction and speed settings.
- •No physical tools—this is a conceptual guide, not an installation tutorial.
Estimated Time: 15-20 minute read
Difficulty: intermediate
▸Step-by-Step Instructions
Step 1: Understand what an extruder does in your 3D printer
Every 3D printer has an extruder that acts like the engine for filament delivery. Also called a cold end, it grabs the filament with a toothed gear, pushes it into a hotend, and controls the exact amount of plastic that flows out. This gear-driven mechanism must be precise enough to lay down a 0.2 mm layer but strong enough to force molten plastic through a nozzle.
Most entry-level printers use a simple stepper motor, a spring-loaded arm, and a hobbed gear to grip filament. When the motor rotates, it advances or retracts the filament by a specific distance. The distance between this feeding gear and the nozzle's melted zone determines how responsive the system is, and that's where the Bowden vs direct drive distinction comes in.
For this guide, you just need to understand that the extruder's job is to push and pull filament on demand. Everything else—retraction, flow, filament loading—depends on this fundamental action.
💡 Tips:
- •Watch the gear during loading to understand how it grips the filament.
- •If you're unsure what kind of extruder your printer uses, search online for your model and 'extruder type'.
⚠️ Warnings:
- •Never disassemble your extruder while the hotend is hot; you can easily strip gears or burn yourself.
Step 2: See how Bowden-style extruders work
Bowden extruders are common on budget printers like the Creality Ender 3 and older Prusa i3 models. In this design, the stepper motor is fixed to the printer frame, usually on the left side of the X-axis. A long PTFE (Teflon) tube runs from the motor down to the hotend, guiding the filament through a narrow path.
Because the motor doesn't sit on the print head, the carriage is light and can accelerate quickly. This allows for higher print speeds without the ghosting or ringing that heavy print heads cause. The tradeoff is that the filament has a long, flexible journey. When the printer wants to retract, the motor has to pull a sliver of filament back through that tube, which can take time and cause more stringing.
The system is reliable for stiff materials like PLA and ABS, but it's much harder to print flexible plastics such as TPU. The filament can act like cooked spaghetti in the PTFE tube, bending and buckling instead of pushing forward.
💡 Tips:
- •Keep your PTFE tube trimmed and fully seated to avoid filament clogs.
- •If you use a Bowden, increase your retraction distance—typically 4-8 mm—in your slicer.
⚠️ Warnings:
- •The PTFE tube degrades over time; replace it if it starts to darken or smell.
Step 3: Define a direct drive extruder
A direct drive extruder moves the filament-feeding motor up top, right above the hotend. Instead of a long tube, there's just a short path—often less than 50 mm—from the gear to the melt zone. This makes the system much more rigid and precise.
The most famous direct drive printers in the hobby are Prusa's MK3/MK4 series. Many new mid-range printers, like the Bambu Lab X1 series, also use a compact direct drive system. The motor is mounted on the X-gantry and moves with the nozzle, so the whole carriage is heavier. But because the filament path is short, retractions are extremely quick, and even flexible filaments can be pushed through without buckling.
One design consideration is motor torque. Direct drive setups sometimes use geared steppers (like the BMG mechanism) to deliver more force while keeping weight low. This allows the motor to be smaller yet still drive filament reliably.
💡 Tips:
- •Look for a direct drive with a gear ratio (like 1:10) if you want smoother low-speed control.
- •Use a lightweight cooling fan setup to keep the hotend cool.
⚠️ Warnings:
- •Direct drive parts run hot; make sure your motor doesn't exceed its rated temperature.
- •Adding extra weight to the gantry can lower the maximum printable acceleration.
Step 4: Compare the two systems side-by-side
Now that you know the mechanics, let's put the two systems side by side. The easiest way to understand the difference is to think of a delivery truck with a long trailer (Bowden) versus a small hatchback (direct drive). The truck can carry more and go fast on a straight road, but it has a hard time with tight turns and sudden maneuvers. The car is more agile and easier to maneuver in city traffic.
In 3D printing terms, the 'tight turns' are retractions and filament direction changes. Direct drive responds instantly because the motor is right above the nozzle. It can retract as little as 0.5–1.5 mm and still avoid stringing. Bowden requires retraction distances of 4–10 mm and still may ooze.
On the other hand, the light Bowden carriage can reach high speeds and accelerations without causing quality-compromising vibrations. Direct drive can feel sluggish if you dial the acceleration too high. A heavy print head also increases the chance of layer shift if belts are loose or a hard crash occurs.
💡 Tips:
- •Use a comparison matrix in your head: Direct = flexible + precision; Bowden = speed + light weight.
- •When printing with direct drive, reduce retraction length to around 0.8–1.5mm and test.
⚠️ Warnings:
- •Don't assume your printer's firmware will automatically use the best settings; you'll need to adjust them after changing extruders.
Step 5: Highlight the key advantages of a direct drive extruder
The biggest selling point for a direct drive extruder is simple: it unlocks flexible filaments. TPU, TPE, and other rubbery materials are nearly impossible to print reliably on a long Bowden path. The stiff push from a direct drive is exactly what these squishy materials need.
But flexibles aren't the only benefit. Because the nozzle-to-gear distance is so small, you get more accurate control of ooze and stringing. Printers with direct drive usually handle plant-based PLA, PETG, and ABS with fewer blobs. You'll also find it easier to load filament manually—no more feeding a strand through a tube for minutes.
Finally, direct drive extruders are generally considered more reliable on a small scale. They simplify loading, enable faster filament changes, and can sense jams more easily because the motor is near the hotend.
💡 Tips:
- •If you print TPU, use a direct drive with a bind-screw or compression-style filament path.
- •Try printing a retraction test tower to dial in the ideal distance for your new extruder.
⚠️ Warnings:
- •Direct drive doesn't magically fix wet filament. Always dry hygroscopic materials like PETG and TPU.
Step 6: Acknowledge the tradeoffs and performance hits
No upgrade comes without downsides. Direct drive adds a substantial amount of mass to your printer's moving X-axis, sometimes 300–500 grams. That extra inertia can cause two problems: ringing (also called ghosting) and reduced maximum acceleration. If you try to print too fast, you'll see reflections of your details on the walls of your print.
Another tradeoff is cost. A direct drive extruder kit can cost between $50 and $200, and if you choose a fancy hotend, the price climbs. You may also need a different stepper motor or a lighter design to keep your printer from losing steps. On large-format printers, the weight penalty can be severe, which is why many delta printers and large CoreXY machines stay Bowden.
There's also the physical bulk. A motor mounted on the carriage can block the view of the nozzle, making it harder to level the bed or clean a clog. And the hotend needs adequate cooling; restricted airflow can cause heat creep and filament jams.
💡 Tips:
- •If speed is important, buy a lightweight direct drive like a BMG-based system.
- •Use a smaller stepper motor (like a NEMA14 pancake) with gearing to reduce weight.
⚠️ Warnings:
- •Check if your printer has enough clearance for a taller direct drive assembly; it may hit the bed or enclosure top.
Step 7: Decide if a direct drive upgrade is right for you
So, do you really need a direct drive extruder? Let's run through a few questions. First, do you print—or plan to print—TPU or other flexible materials? If yes, a direct drive upgrade will make your life dramatically easier. Many users report going from failed blobs to flawless TPU parts overnight.
Second, are you bothered by stringing, oozing, or poor overhang details in prints? If you're always tweaking retraction settings on a Bowden and still getting hair-like wisps, direct drive can eliminate most of that struggle. The short filament path means you can retract a very short distance, which keeps the nozzle plugged cleanly while traveling.
Third, what kind of printer do you have? If it's a small or medium-sized printer with a solid gantry, a direct drive upgrade is practical. If it's a large build-volume machine that you use for prototype parts where speed matters, you might be better off sticking with Bowden. And if you're using a delta printer, direct drive is generally not recommended because of weight distribution.
Finally, consider whether you prefer an interactive tinkering process. Upgrading to direct drive is a project; you'll be taking apart your hotend, possibly flashing firmware, and tuning slicer profiles. That's part of the fun for many makers, but it's not for everyone.
💡 Tips:
- •List the materials you plan to print over the next month. If TPU is on that list, direct drive is a high priority.
- •If you only print PLA and PETG, you might spend that upgrade money on a better hotend instead.
⚠️ Warnings:
- •Remember that adding direct drive to a printer with a flimsy Y-axis can cause more layer shifts than it cures.
Step 8: Explore your upgrade options and plan the change
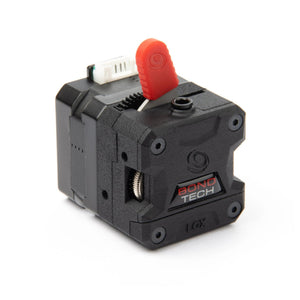
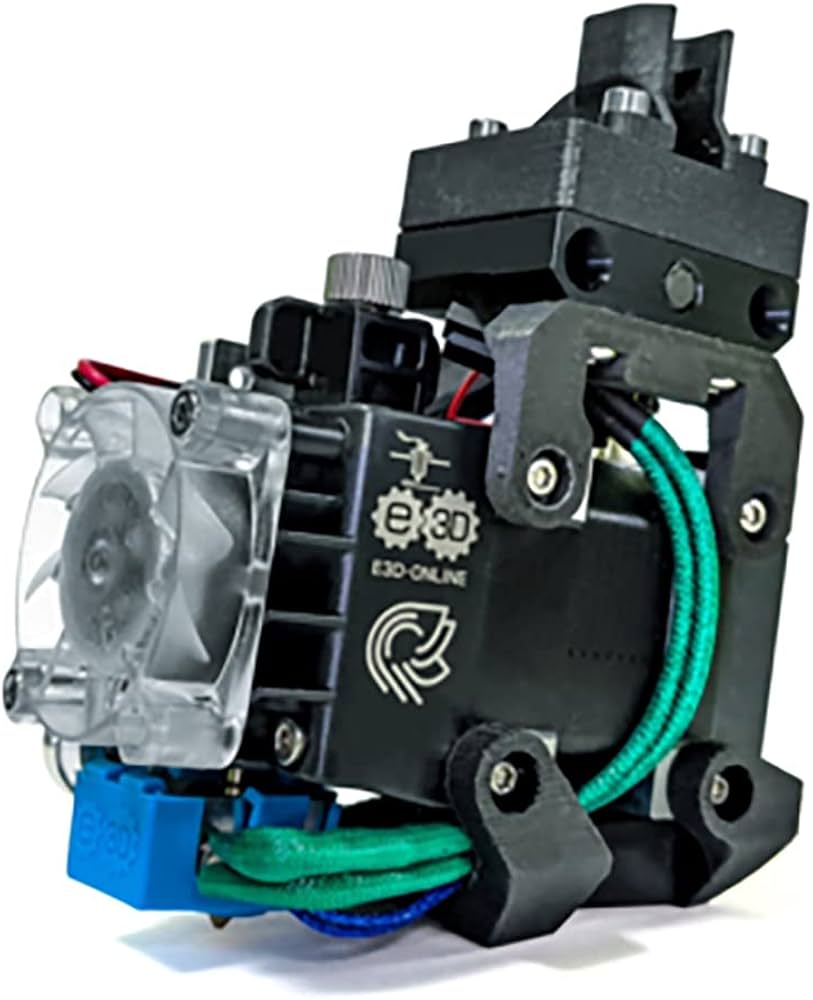
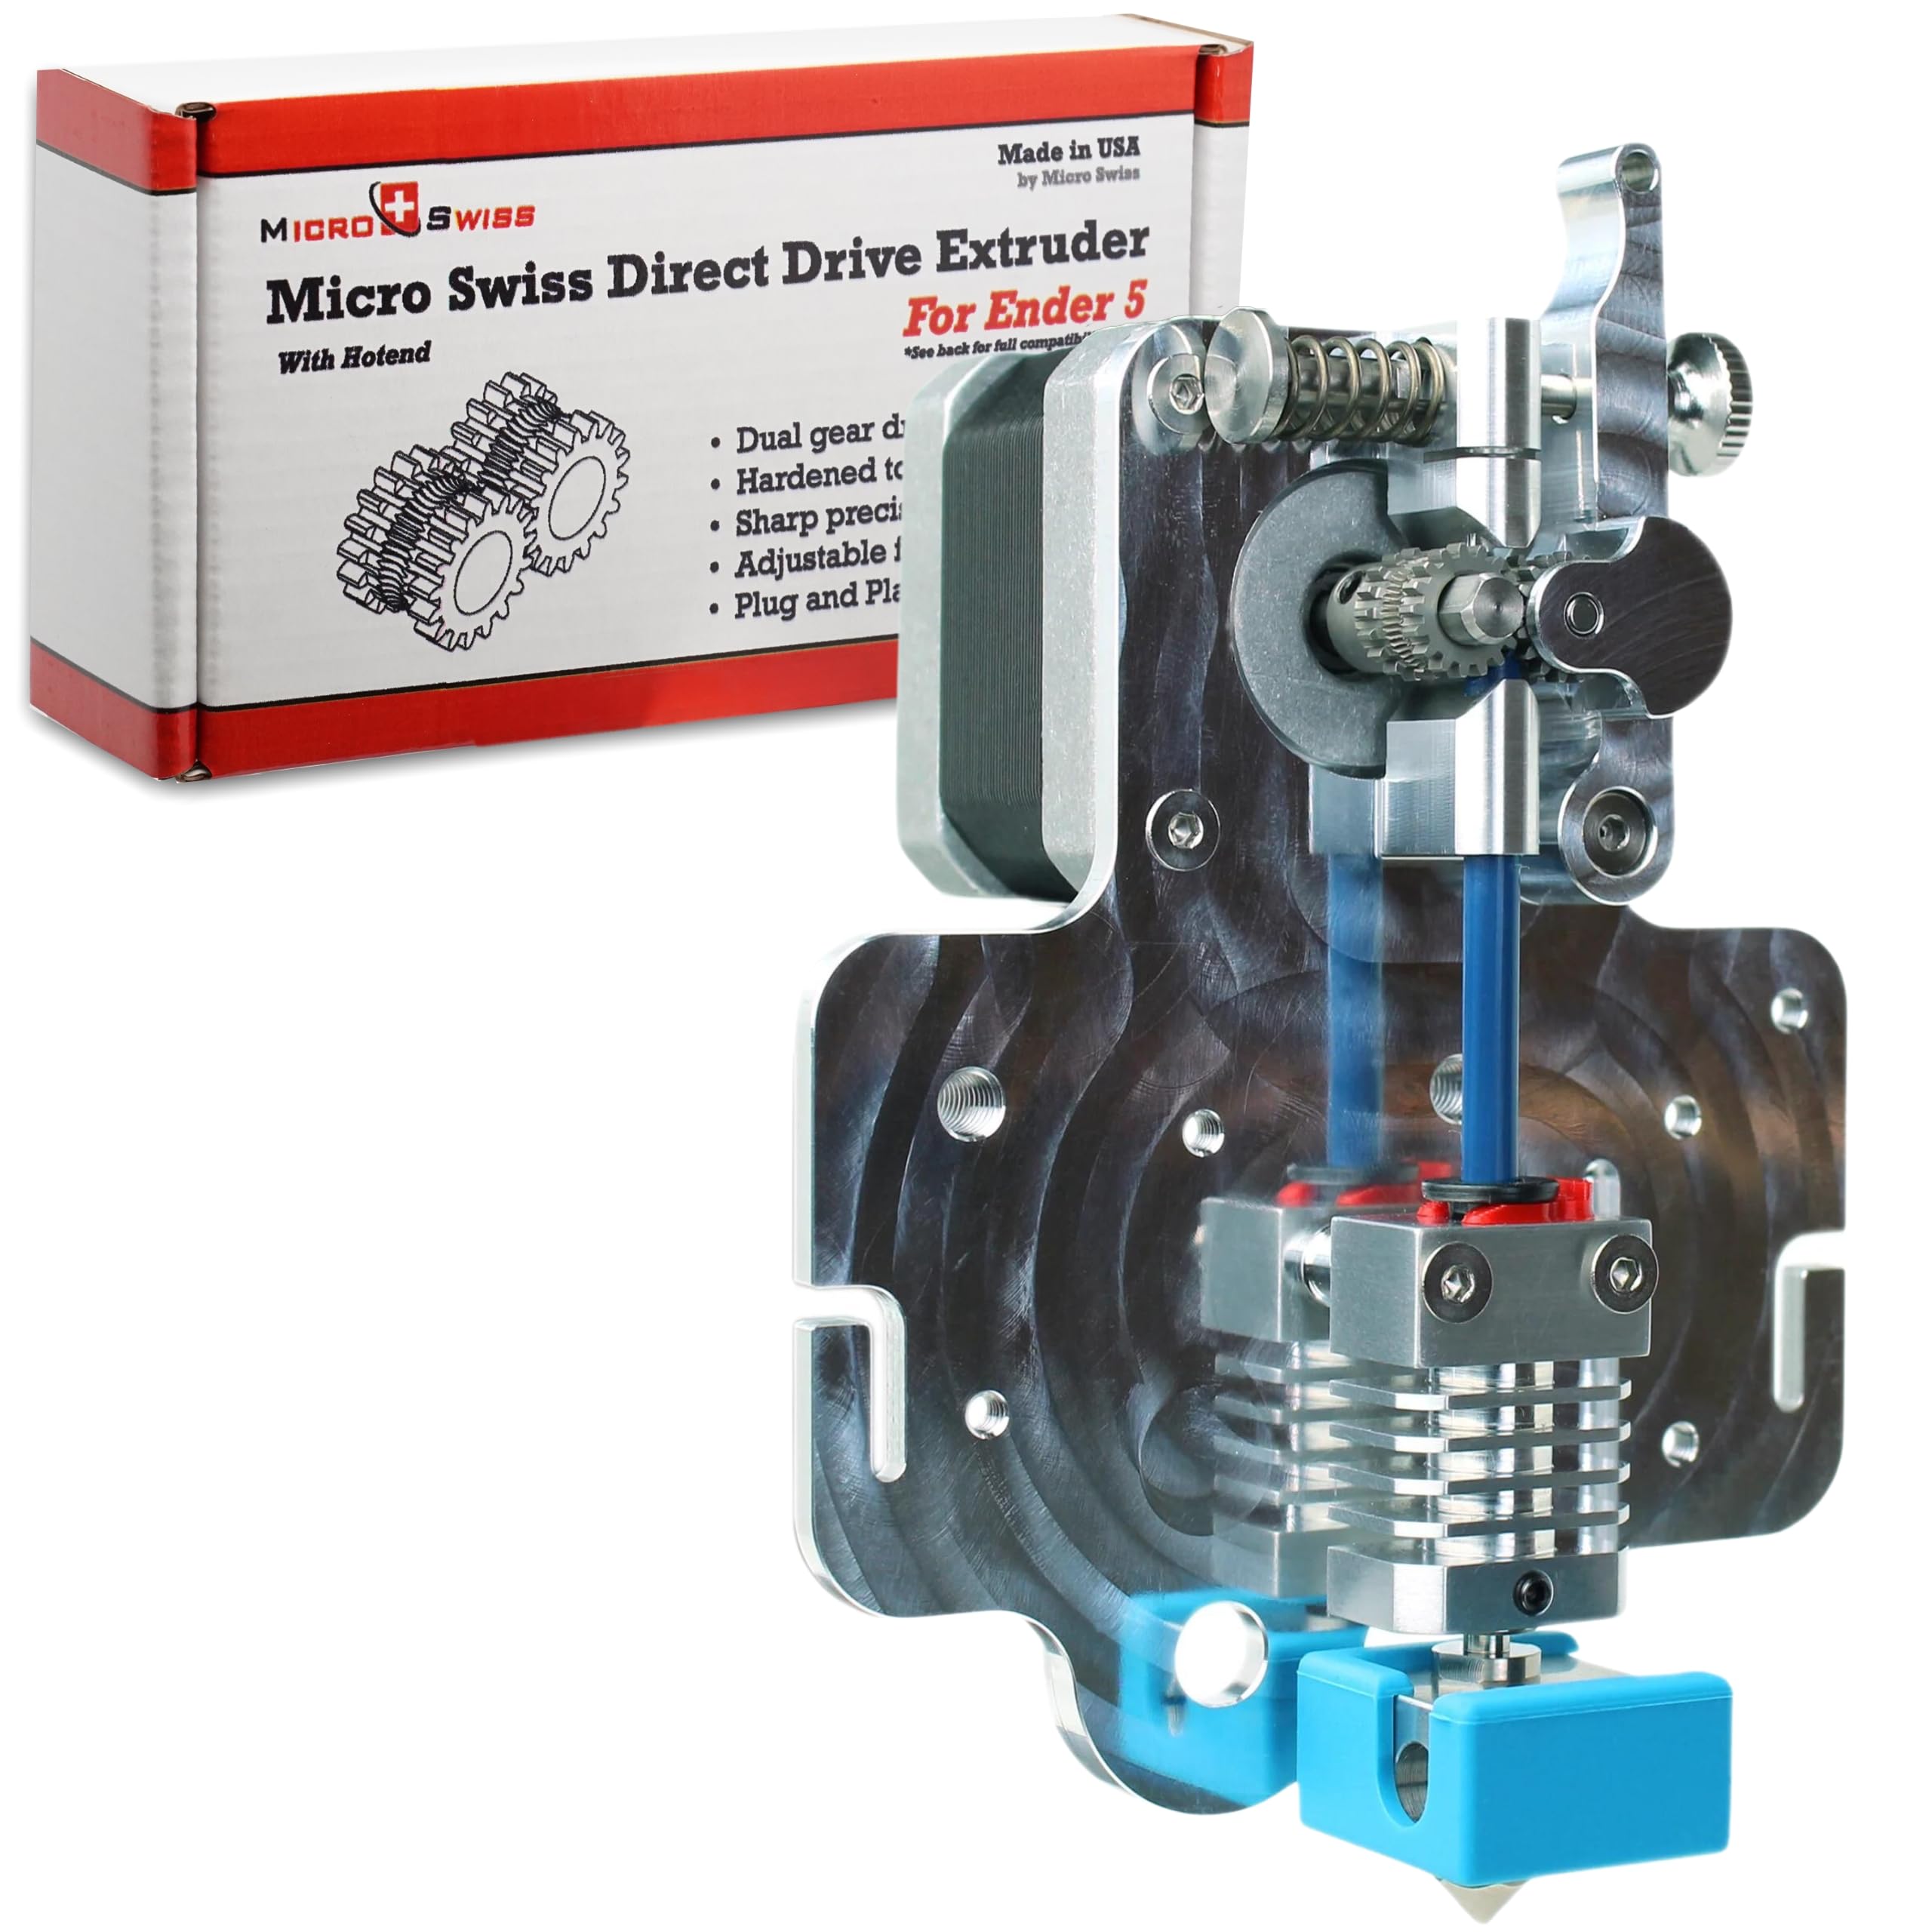
If you've decided to take the plunge, there are several upgrade paths. You can buy a full replacement extruder like the E3D Hemera or Bondtech LGX, which are ready to mount and include a hotend and cold-end in one package. You can also buy a conversion kit for your existing printer, such as the Micro Swiss direct drive kit for Creality printers. These kits typically replace the old motor mount and PTFE tube with a compact adapter plate and a shorter tube.
Before you buy, verify compatibility with your printer model. Check the brand's website, forums, and YouTube reviews to see the exact mounting pattern. Many kits are designed specifically for Ender 3, Prusa i3, and CR-10 families. If your printer has a custom carriage, you may need to design or print a mounting bracket yourself.
Once installed, you're only halfway there. You'll need to update the firmware's extruder steps (e-steps) and adjust the retraction distance in your slicer. You may also want to increase print temperatures slightly to improve layer adhesion on heavier direct drive systems? That's a myth: you should keep the correct temperature for your filament. Finally, do a benchmark print to check for ringing and lower your acceleration if needed.
💡 Tips:
- •Search for the official or most popular direct drive mod for your printer model; community files are often high quality.
- •Save a backup of your current firmware before making changes.
⚠️ Warnings:
- •Be careful with different thermistor values if you replace the hotend; a wrong reading can cause thermal runaway.
- •Don't tighten the extruder gear too hard; you can crush the filament.
▸Pro Tips
- •Use retraction settings that are 2-3 times lower than what you used with Bowden—start around 1mm at 25-40 mm/s for PLA.
- •Set the print head acceleration lower (e.g., 500-700 mm/s2) to reduce ringing from the added weight.
- •For flexible filaments, keep print speed between 20-30 mm/s and slow down on complex geometry.
- •Keep your direct drive motor cool. Use a 16mm duct or a blower fan to cool the hotend fins and the motor casing.
- •Buy a small digital scale to weigh the added mass of your upgrade; compare to your printer's carriage mass.
- •Keep a PTFE spacer in the hotend path to prevent heat creep in short-path designs.
- •Check belt tension often; the extra mass can loosen axes over time.
▸Common Mistakes to Avoid
- •Not recalibrating the E-steps after installing a direct drive. Your printer is pushing more or less filament than expected, causing under-or over-extrusion.
- •Running retraction settings from a Bowden profile, leading to clogs and heat creep. Always change to a direct drive profile.
- •Using a heavy direct drive on a flimsy printer frame, causing layer shift and poor surface quality.
- •Ignoring motor overheating inside an enclosure. Direct drive motors are closer to the hotend and can fail if enclosed without ventilation.
- •Skipping the firmware upgrade—the new hotend might have a different thermistor type or heater cartridge resistance.
▸Troubleshooting
Problem: Extruder clicking or skipping steps during direct drive printing
Solution: You may have too much friction in the filament path. Reduce the gear tension, check the PTFE tube alignment, or increase hotend temperature slightly.
Problem: Layer shifting or ringing appears after an upgrade
Solution: Lower the acceleration and print speed in your slicer. Also check belt tension and tighten the mounting screws.
Problem: Flexible filament jams in the extruder
Solution: Make sure your filament is dry, and use a filament path that's fully constrained. Add a PTFE guide and reduce print speed.
Problem: Thermal runaway error after installing a new hotend
Solution: Confirm the correct thermistor type in firmware and check the heater cartridge wiring. Re-apply thermal compound if needed.
Bondtech LGX Direct Drive Extruder
Known for reliable dual-drive gears and easy loading; a great premium upgrade that handles flexible filaments beautifully.
Best for: For owners who want a high-quality, light and powerful direct drive to print TPU and other flexibles with consistent results.
Price Range: $100-$150
E3D Hemera Direct Drive Extruder
Combines a direct drive extruder and a powerful hotend in one compact unit, making installation easier.
Best for: Best for users who want an all-in-one upgrade that can reach high temperatures for engineering materials.
Price Range: $80-$130
Micro Swiss Direct Drive Extruder Kit (for Creality)
A popular bolt-on upgrade for Creality Ender 3 and CR-10 series that replaces the original Bowden setup with minimal fuss.
Best for: For Creality owners looking for a proven direct drive conversion without designing their own adapter.
Price Range: $55-$80
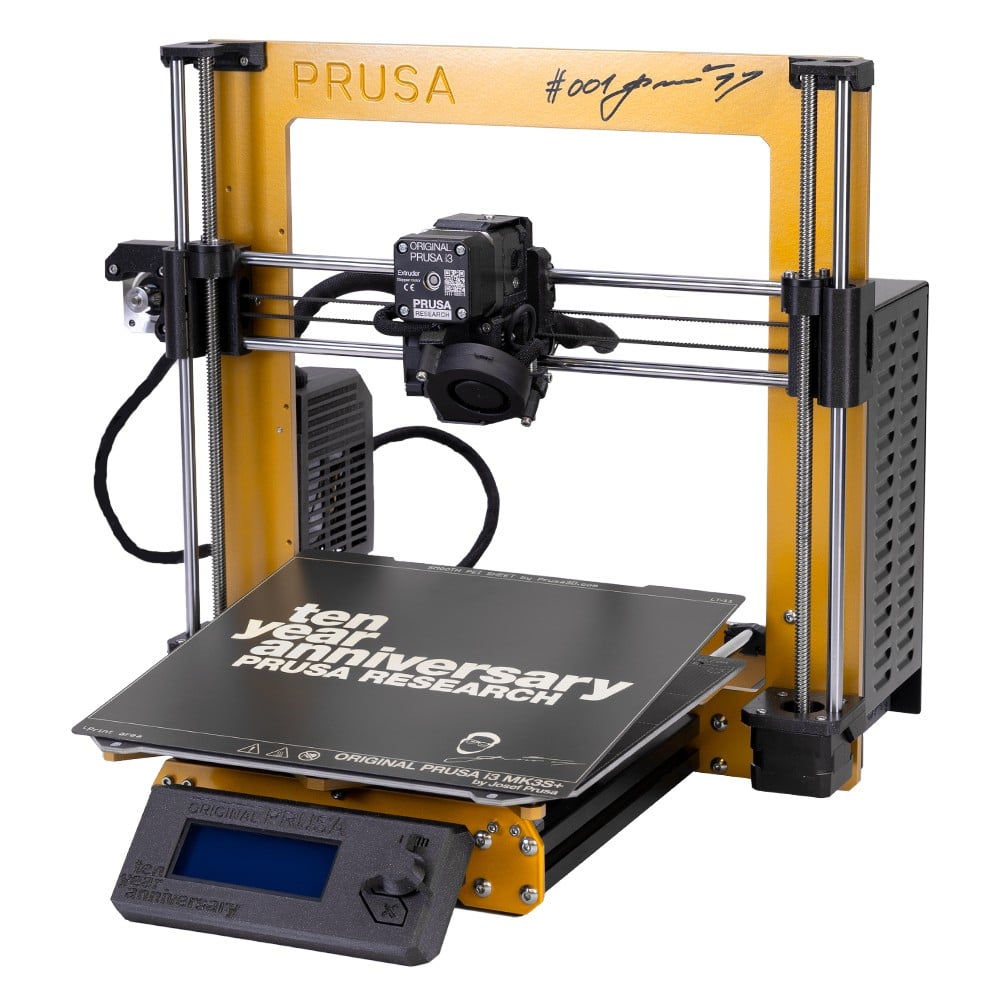
Prusa Original MK3S+ 3D Printer
Ships from the factory with a highly refined direct drive extruder and serves as a reference design for the entire concept.
Best for: For those who want to buy a new printer rather than upgrade an existing one, and still enjoy direct drive reliability.
Price Range: $700-$1000