Epoxy countertops look stunning when fresh, but bubbles, high spots, or imperfections can leave them dull and uneven. Without proper finishing, your DIY project falls short of professional results. This guide breaks down the ideal abrasive grit sequence, explaining why each grit matters and how to use it for a high-gloss finish.
You'll learn the full sanding progression from coarse leveling to ultra-fine polishing, with real-world tips for intermediate DIYers. Expect to invest 3-5 hours on a standard 10 sq ft countertop—patience pays off for that showroom shine. No advanced tools required, just the right abrasives and technique.
▸What You'll Need
- •Random orbital sander (6-inch preferred)
- •Wet/dry sandpaper sheets or discs: 80, 120, 220, 400, 600, 1000, 1500, 2000, 3000 grit (required)
- •Diamond polishing pads (optional for pros, 50-3000 grit)
- •Spray bottle with water (for wet sanding)
- •Tack cloth or microfiber cloths
- •Polishing compound (e.g., 3M Perfect-It)
- •Variable speed polisher/buffer (optional but recommended)
- •Safety gear: dust mask, gloves, eye protection
- •PPE: respirator for dust
Estimated Time: 3-5 hours for a standard 10 sq ft countertop
Difficulty: intermediate
▸Step-by-Step Instructions
Step 1: Fully Cure Your Epoxy
Epoxy must cure completely (7-14 days at 75°F) before sanding. Test by pressing a fingernail into the surface—if it dents, wait longer. This prevents gummy residue and ensures even sanding.
Why it matters: Uncured epoxy clogs abrasives, ruining your grits and finish. Expect a hard, glossy surface ready for aggressive sanding.
💡 Tips:
- •Use a heat lamp if temps are low to speed curing.
⚠️ Warnings:
- •Never sand tacky epoxy—creates heat buildup and cracking.
Step 2: Start with Coarse Grit (80-120 Grit)
Use 80 or 120 grit wet/dry paper on a random orbital sander at low speed (1500 RPM). Sand in overlapping passes until level, focusing on high spots, bubbles, or drips. Keep surface wet to reduce dust and heat.
This removes major imperfections fast. Expect orange-peel texture to flatten; it takes 20-40 minutes. Progress to finer grits only when no deep scratches remain.
💡 Tips:
- •Sand in sections; check flatness with a straight edge.
⚠️ Warnings:
- •Avoid pressure—let abrasive cut; too much digs gouges.
Step 3: Remove Coarse Scratches (220-400 Grit)
Switch to 220 grit, then 400 grit. Wet sand circularly or straight lines (alternate directions per grit). This erases 80-grit marks, creating a satin smooth base.
Why: Each grit is 1.5-2x finer than previous, removing scratches progressively. You'll see scratches from prior grit vanish; surface feels smoother to touch.
💡 Tips:
- •Wipe clean between grits with tack cloth to inspect.
Step 4: Smooth with Fine Grit (600-1000 Grit)
Advance to 600 then 1000 grit wet. Increase sander speed slightly. Sand until prior scratches are gone—surface now hazy but uniform.
This builds clarity; expect 30-60 minutes total. Feels like fine glass paper.
💡 Tips:
- •Use hand sanding on edges for control.
⚠️ Warnings:
- •Dry sanding here creates swirl marks.
Step 5: Ultra-Fine Prep (1500-2000 Grit)
Wet sand with 1500 and 2000 grit. Very light pressure; focus on even haze. This preps for polish—surface starts gleaming under light.
Critical for mirror finish; holograms appear if skipped.
💡 Tips:
- •Inspect under bright LED light for uniformity.
Step 6: Final Polish Grit (3000 Grit or Diamond Pads)
Use 3000 grit or diamond pads (50-3000 progression). Buff lightly wet. Surface now super glossy.
Why: Mimics glass; removes all haze.
💡 Tips:
- •Diamond pads faster on large areas.
Step 7: Apply Polishing Compound
Apply rubbing compound with a foam pad on low-speed buffer (1200-1500 RPM). Work in 2x2 ft sections; buff off residue.
Creates depth and shine; expect heat but no burning.
⚠️ Warnings:
- •Too much compound clogs pads.
Step 8: Final Buff and Inspect
Finish with swirl remover or high-gloss polish. Buff dry. Inspect for defects; re-sand if needed.
Voila—pro countertop shine lasts years.
▸Pro Tips
- •Always wet sand after 220 grit to minimize dust and heat.
- •Change sanding direction 90° each grit to verify scratch removal.
- •Use isopropyl alcohol wipe between polish stages for clarity.
- •Invest in a shop vac with HEPA filter for cleanup.
- •Practice on scrap epoxy first.
- •Keep sander moving to avoid burns.
- •For oceanside finishes, stop at 2000 grit + compound.
▸Common Mistakes to Avoid
- •Skipping grits: Leaves visible scratches; always progress sequentially.
- •Sanding dry on fine grits: Causes swirls; use water always.
- •Over-sanding: Thins epoxy; light pressure only.
- •Rushing cure time: Gums paper; wait 10+ days.
- •Ignoring edges: Hand-sand curves to match flats.
▸Troubleshooting
Problem: Holographic swirls after polishing
Solution: Re-sand with 1500-3000 grit wet, then re-polish lightly.
Problem: Deep gouges from coarse grit
Solution: Fill with epoxy slurry, re-cure 24h, restart at 80 grit.
Problem: Dull haze persists
Solution: Go finer to 5000 grit diamond pad or multiple polish passes.
Problem: Burn marks
Solution: Sand out with 400 grit, progress up; use slower speeds.
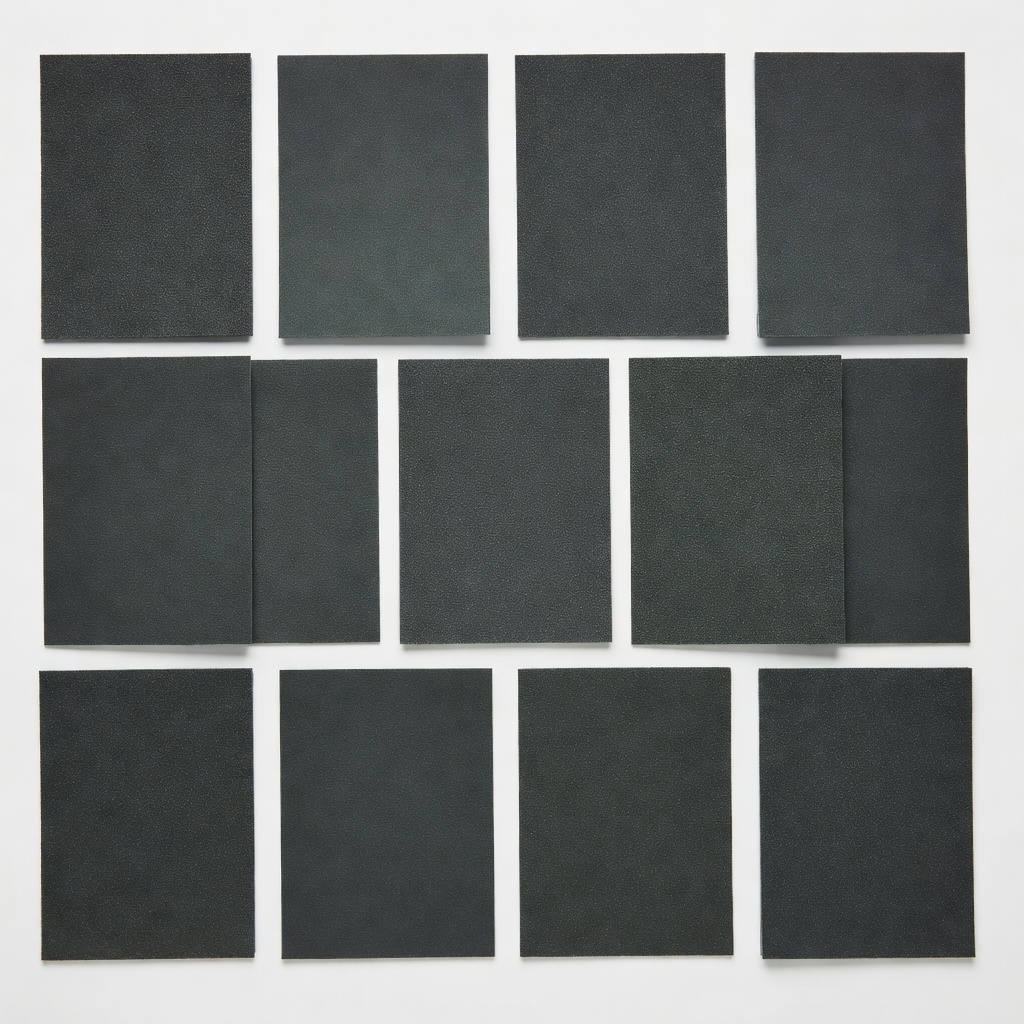
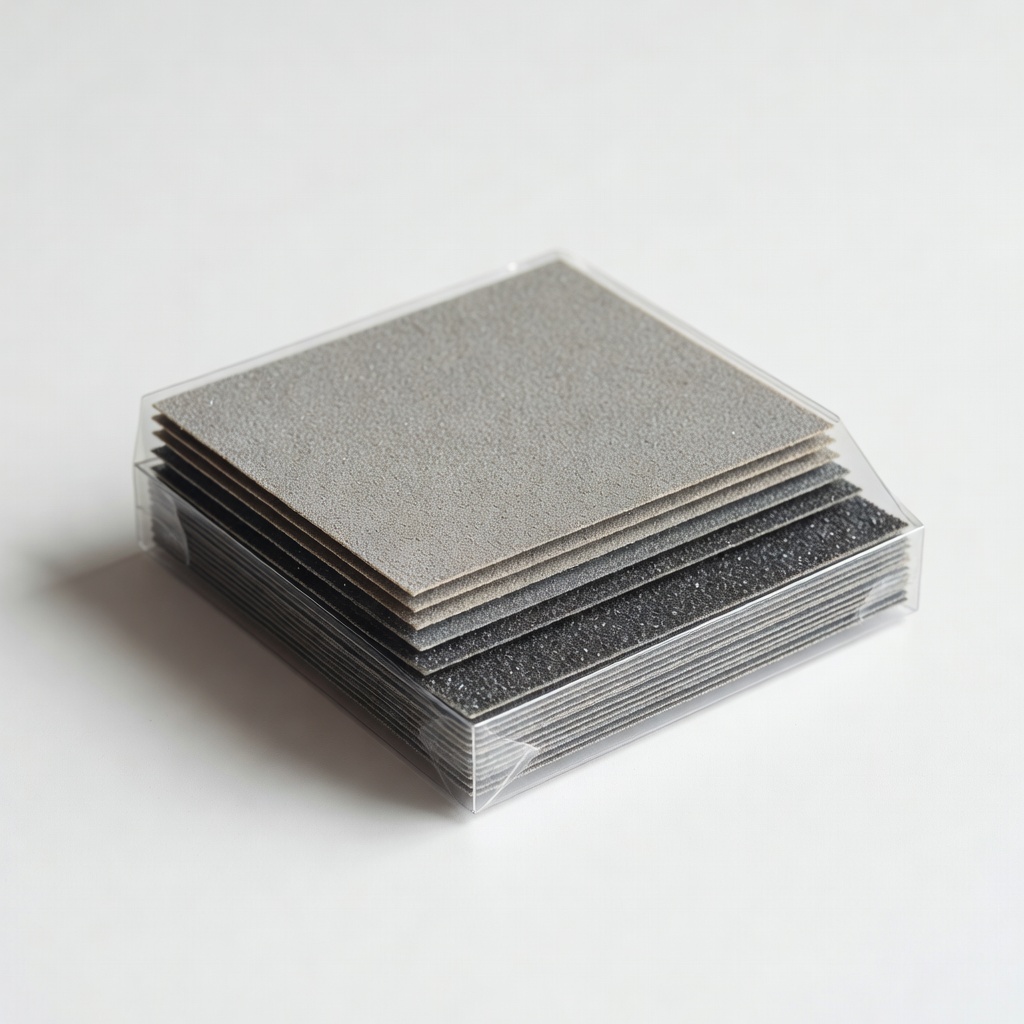
3M Wetordry Sandpaper Sheets (Assortment 400-2000 Grit)
Premium silicon carbide cuts fast, lasts longer without clogging on epoxy.
Best for: Full progression sanding; 5 sheets per grit ideal for countertops.
Price Range: $15-$25
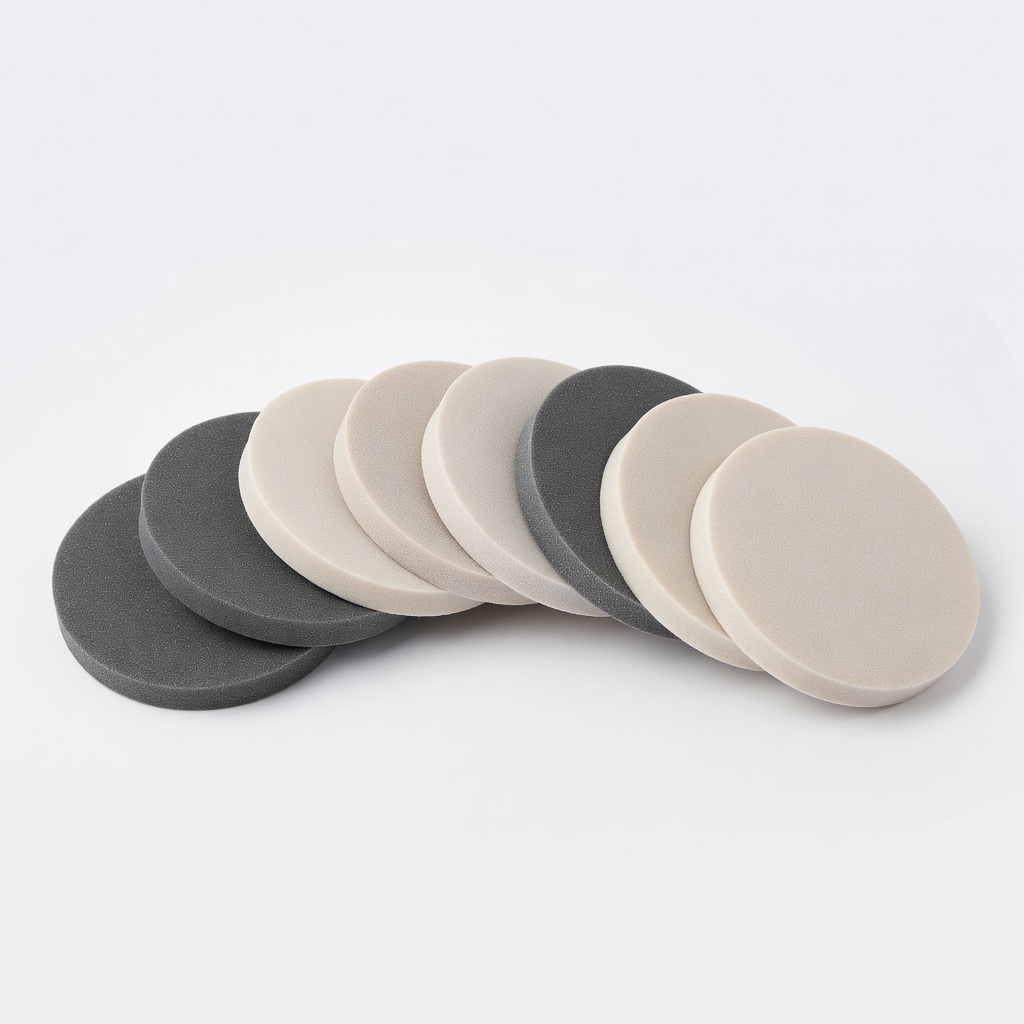
YEQIN Diamond Polishing Pads (7pcs 50-3000 Grit)
Superior durability for wet polishing; faster than paper on hard epoxy.
Best for: Final 600+ grits on large surfaces; hook & loop for easy sander swap.
Price Range: $15-$20
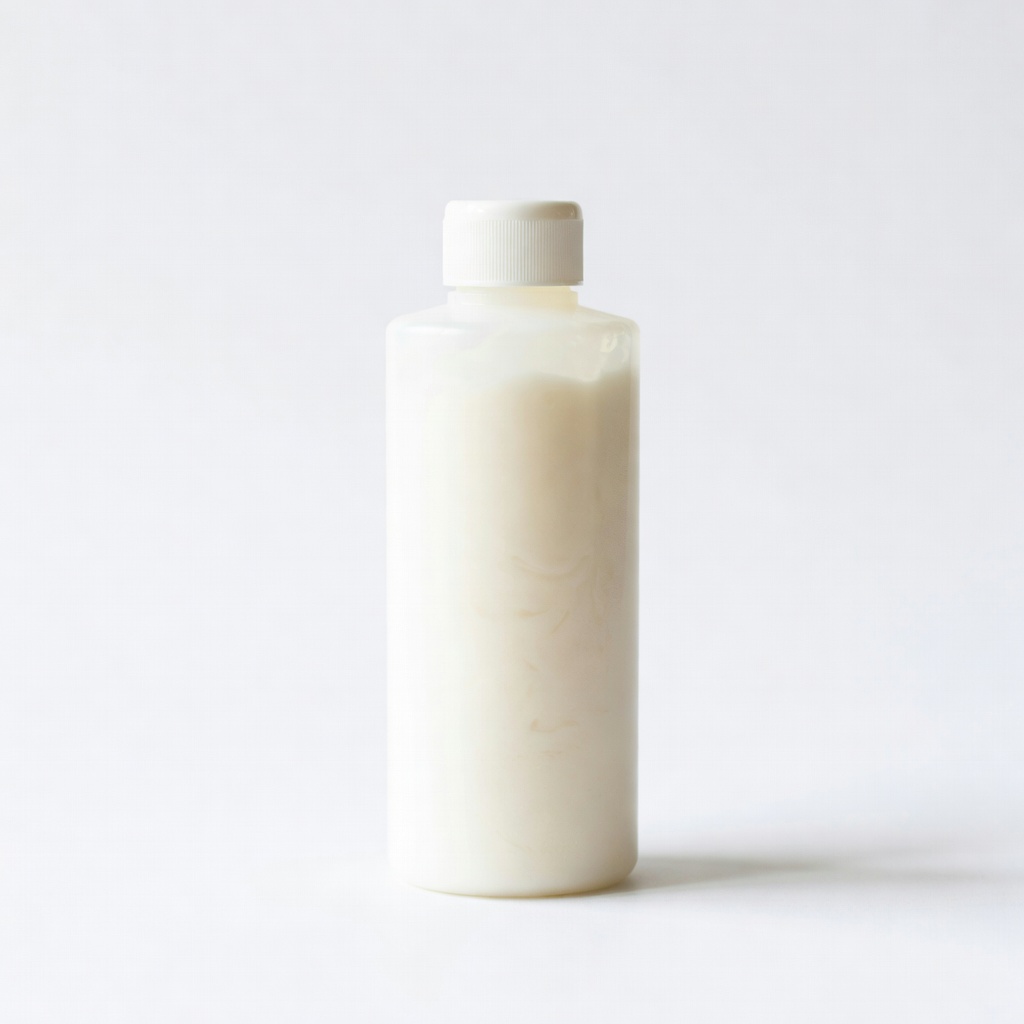
3M Perfect-It III Machine Polish
Removes fine haze, adds depth without scratching; pro-grade for epoxy.
Best for: Buffing after 2000 grit for mirror shine.
Price Range: $25-$35
Klingspor Waterpro Sheets (80-3000 Grit Pack)
Flexible, tear-resistant for contours; economical for intermediates.
Best for: Coarse to ultra-fine; hand or machine sanding.
Price Range: $20-$30
Rupes Coarse Polishing Compound
Heavy cut for leveling polish stage; safe on epoxy.
Best for: After 1000 grit if minor imperfections remain.
Price Range: $30-$40