Rough, splintery wood edges can ruin a woodworking project, turning a beautiful piece into a frustrating hazard. Whether you're building shelves, crafting furniture, or just trimming plywood, smooth edges are essential for safety, aesthetics, and a professional finish. This guide breaks down the products and techniques to achieve that perfection without fancy tools.
You'll discover the key categories of smoothing products—from abrasives like sandpaper to protective finishes—and get step-by-step instructions to apply them. By the end, you'll know exactly what to buy and how to use it for flawless results. Expect to spend 20-30 minutes reading and practicing on scrap wood; it's beginner-friendly with no prior experience needed.
We'll cover everything from preparation to final sheen, using simple analogies like comparing sanding to buffing a car for that glassy finish.
▸What You'll Need
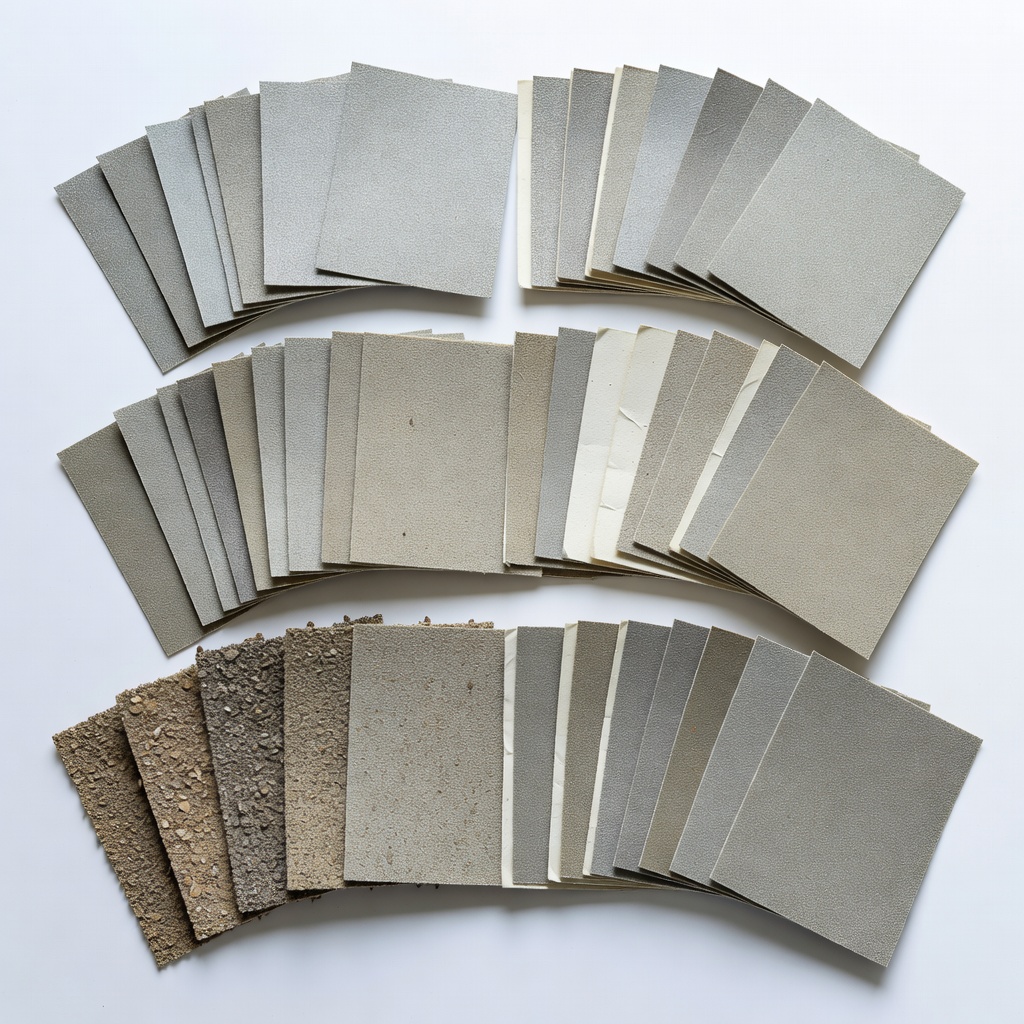
- •Sandpaper assortment (80-220 grit sheets or discs)
- •Sanding block or sponge (required for even pressure)
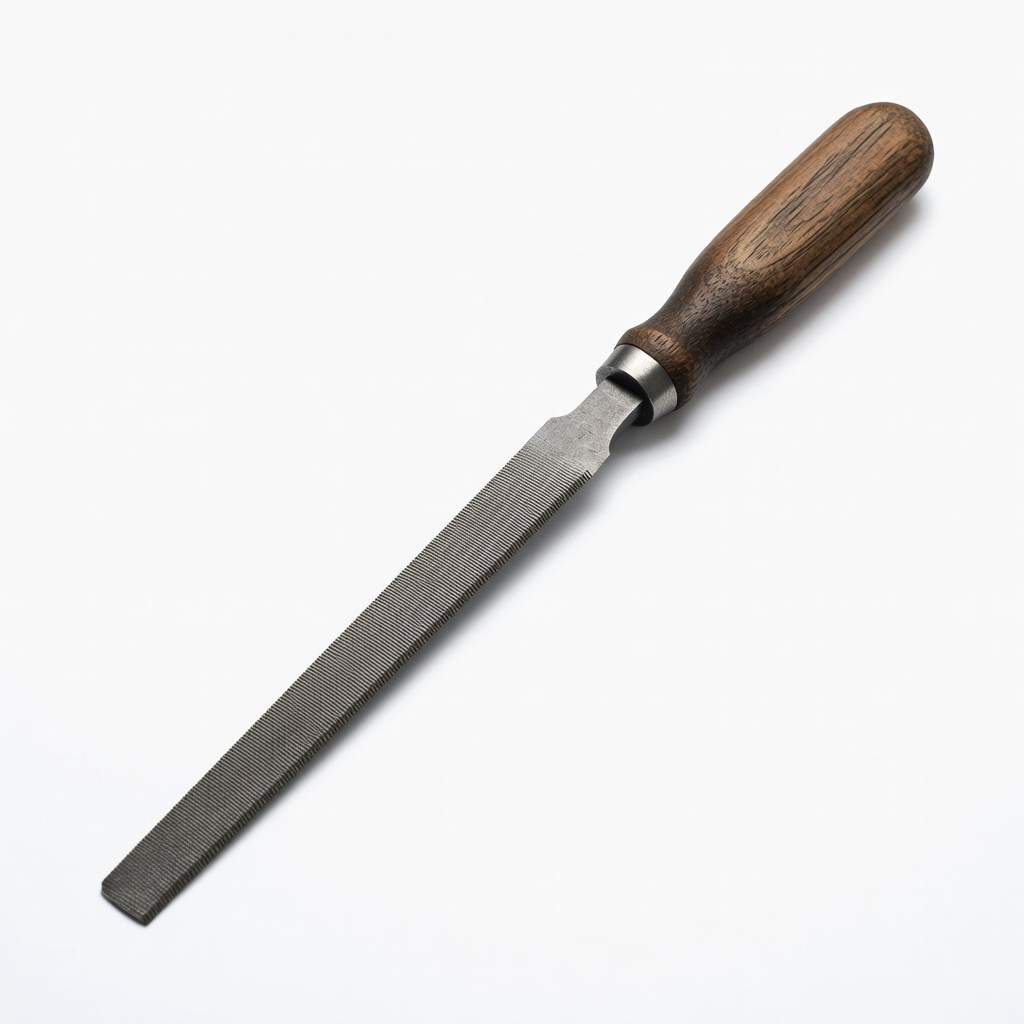
- •Wood rasp or file (optional for very rough edges)
- •Clean cloths or tack cloths
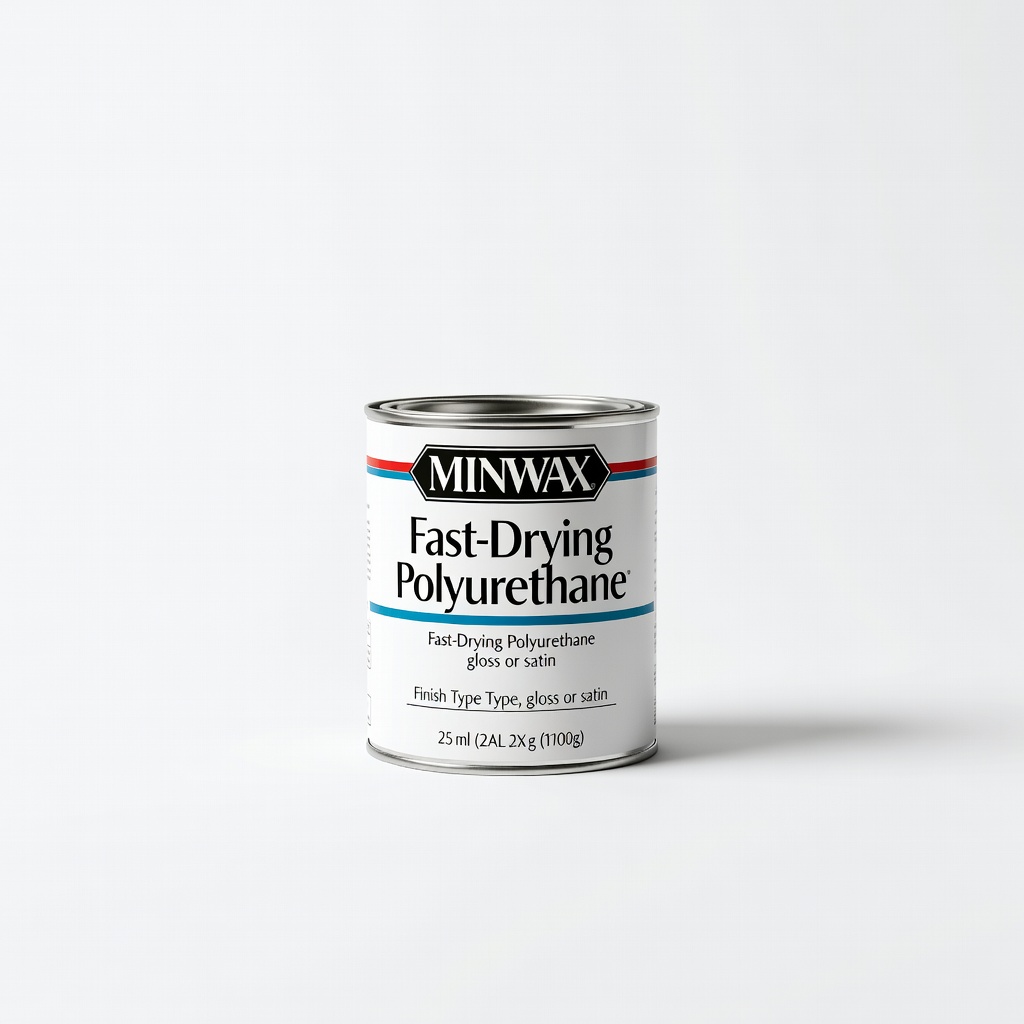
- •Wood finish (oil, polyurethane, or wax)
- •Safety gear: dust mask, gloves, eye protection
- •Scrap wood for practice
Estimated Time: 20-30 minutes to learn and practice
Difficulty: beginner
▸Step-by-Step Instructions
Step 1: Understand Rough Edges and Why Smoothing Matters
Wood edges from sawing or planing are jagged like teeth on a rip saw—full of tear-out fibers and burrs that snag skin or look amateurish. Smoothing removes these, creating a tactile, safe surface ready for finishing.
Finishing products here include abrasives (for physical smoothing) and sealers (to lock in smoothness). Analogy: Abrasives shave the 'whiskers,' finishes add the 'moisturizer' shine.
Expect sawdust everywhere; work in a ventilated area.
💡 Tips:
- •Always smooth edges before assembly to avoid trapped dust.
Step 2: Start with Coarse Abrasives for Bulk Removal
Begin with 80-120 grit sandpaper or a wood file/rasp. These aggressive abrasives cut fast, like a cheese grater on wood, removing saw marks and splinters.
Wrap sandpaper around a block or use a sanding sponge for edges—flexible ones hug curves better. Sand along the grain (wood fiber direction) in light strokes.
Why? Skipping this leaves hills and valleys; you'll spend hours on fine sanding later.
⚠️ Warnings:
- •Don't sand across the grain—creates scratches visible later.
Step 3: Progress to Medium Grits for Even Surface
Switch to 150-180 grit. This refines the surface, like moving from a coarse sponge to a soft cloth when washing dishes.
Sand until the edge feels uniform—no ridges. Check by running your fingertip perpendicular to the grain; it should glide smoothly.
Pro expect: Surface dulls but feels less grabby.
💡 Tips:
- •Fold sandpaper into thirds for tight edges.
Step 4: Finish Smoothing with Fine Grits
Use 220 grit or higher (up to 400 for ultra-smooth). These polishes like jewelry buffing, erasing medium grit marks.
Sanding sponges excel here for contoured edges. Sand lightly until velvety.
Result: Edge baby-bottom smooth, ready for finish—no paper feel.
Step 5: Remove Dust and Deburr
Wipe with tack cloth or damp rag—dust hides imperfections like dirt on a mirror.
Lightly chamfer (bevel) sharp 90-degree edges with 220 grit to prevent splintering. Analogy: Like filing your nails to avoid snags.
💡 Tips:
- •Vacuum first, then tack cloth for zero residue.
⚠️ Warnings:
- •Skip this, and finish bubbles or clouds.
Step 6: Apply a Finishing Product to Seal Smoothness
Choose oil (penetrates), wax (easy sheen), or polyurethane (durable coat). Apply thinly with cloth; oils soak in fast, poly needs 2-3 coats.
Why? Abrasives smooth mechanically; finishes protect and enhance grain, preventing re-roughening.
Let cure per instructions—patience yields gloss.
▸Pro Tips
- •Sand in stages: halve grit numbers each time (80→150→220) for efficiency.
- •Use a shop vac with sanding for dust-free workspace.
- •Test finish on scrap—oils darken wood, poly adds amber tint.
- •Sanding sponges > sheets for edges; they last longer.
- •Always sand edges more than faces—they wear faster.
- •For speed, finger-sand tiny edges with folded paper.
- •Burnish with scrap wood after sanding for extra polish.
▸Common Mistakes to Avoid
- •Sanding across grain: Leaves visible scratches; always follow grain direction.
- •Uneven pressure: Causes dips; use firm, even strokes with a block.
- •Skipping grits: Jumps from coarse to fine leave gouges; progress gradually.
- •Applying finish over dust: Traps particles, ruins smoothness; clean thoroughly.
- •Over-sanding edges: Rounds them unintentionally; check frequently by touch.
▸Troubleshooting
Problem: Sandpaper clogs quickly
Solution: Tap off dust often or use anti-clog stearated paper; switch grits sooner.
Problem: Finish raises grain (feels rough after drying)
Solution: Light 220 grit sanding between coats; use dewaxed shellac first.
Problem: Swirl marks from power sander
Solution: Hand-sand edges only; keep orbital sander flat and moving.
Problem: Edges splinter during sanding
Solution: Start coarser or use a sharp file/rasp first.
AUSTOR 108 Pieces Sandpaper Assortment (80-2000 Grit)
Affordable kit with all grits needed for progressive smoothing; wet/dry compatible for edges.
Best for: Beginners sanding multiple projects; cut sheets for hand use.
Price Range: $9.99
3M Sanding Sponge (Medium/Fine)
Flexible, conforms to edges without shredding; rinsable for reuse.
Best for: Curved or profiled edges where sheets slip.
Price Range: $5-7 for 2-pack
Nicholson 8" Bastard File
Fast initial smoothing on rough edges; durable for beginners.
Best for: Heavy tear-out from saws; before sanding.
Price Range: $10-15
Watco 1/2 Pint Danish Oil
Easy wipe-on finish that enhances smoothness and grain without brush marks.
Best for: Indoor furniture edges needing natural look.
Price Range: $12-15
Minwax Fast-Drying Polyurethane
Clear, durable topcoat; protects smoothed edges from wear.
Best for: High-traffic surfaces like shelves.
Price Range: $10-14