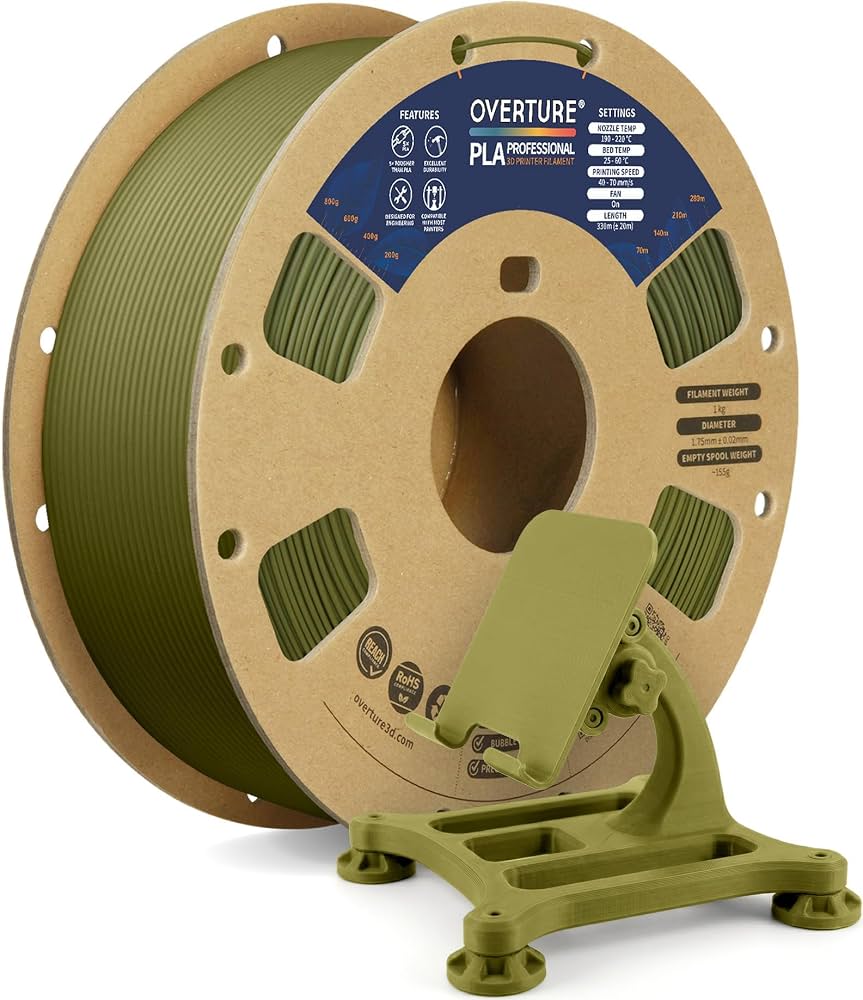
Overture PLA+ Filament 1.75mm 1KG
Everyday prints needing strength; black/white spools for testing.
$20.99
Overture PLA+ Filament 1.75mm 1KG Consistent diameter, high toughness, low stringing—ideal for Prusa tuning.
Get the App
Better experience on mobile
Achieve strong, high-quality prints with PLA+ on your Prusa using these optimized settings, tweaks, and pro tips.
Struggling with brittle prints, stringing, or poor bed adhesion when using PLA+ on your Prusa printer? PLA+ offers superior strength and flexibility over standard PLA, but it demands precise slicer settings to unlock its potential. Wrong temperatures or speeds can lead to failed prints, wasting time and filament.
In this guide, you'll learn proven filament settings tailored for Prusa printers like the MK3S+, MK4, or Mini. We'll cover everything from slicer setup to fine-tuning, so you can print reliable parts effortlessly. Expect 30-45 minutes for initial setup, plus 1-2 hours for a test print—perfect for intermediate users familiar with basic slicing.
By the end, you'll have a custom PLA+ profile ready to slice flawless models, reducing waste and boosting print success rates.
Estimated Time: 30-45 minutes setup + 1-2 hours test print Difficulty: intermediate
PLA+ is an enhanced PLA variant with additives for better toughness, impact resistance, and heat tolerance (up to 60°C vs. PLA's 50°C). It prints similarly but requires slightly higher nozzle temps (210-230°C) and can be more prone to stringing if not tuned.
Why it matters: Default PLA profiles often underextrude PLA+, leading to weak layers. Expect smoother surfaces and stronger parts once dialed in.
Download a calibration model from Printables.com to test later.
💡 Tips:
⚠️ Warnings:
Download the latest PrusaSlicer from prusa3d.com (free). Install and launch it.
Select your exact printer model under Printer Settings > Machine (e.g., Prusa MK4 or MK3S+). This loads firmware-matched defaults.
Why it matters: Outdated slicers miss Prusa-specific optimizations like input shaping for faster speeds.
💡 Tips:
Filament Settings > Create new filament named 'PLA+ Custom'. Start from 'Generic PLA' as base.
Key starting values:
Why it matters: Prusa's generic profiles are close but PLA+ needs tweaks for density differences.
💡 Tips:
Extruder > Temperature: 220°C first layer, 215-225°C others (start at 220°C).
Bed > Temperature: 60°C all layers (Prusa stock beds handle up to 100°C but 60°C suffices).
Why it matters: PLA+ melts at higher temps for better flow; too low = underextrusion, too high = oozing. Expect glossy finishes at 220°C.
⚠️ Warnings:
Print Settings > Speed:
Enable input shaper if on MK4.
Why it matters: PLA+ handles speeds like PLA but faster reduces stringing; test at 60mm/s average.
💡 Tips:
For Bowden (MK3S+): Retraction length: 6.5 mm, speed: 60 mm/s.
Direct drive (MK4/Mini): 0.8 mm at 40 mm/s.
Enable Z-hop: 0.4 mm.
Why it matters: PLA+ is stringy; proper retraction prevents blobs. Expect clean travels.
⚠️ Warnings:
Cooling > Fan speed: 100% after layer 2, 50-70% layer 1-2.
Layer height: 0.2 mm standard (0.15-0.3 mm range).
Why it matters: Strong cooling solidifies PLA+ quickly for bridges/overhangs; poor cooling warps tall prints.
💡 Tips:
Load test model (e.g., 20mm cube). Slice and preview layers.
Print and inspect: Measure walls (should be 0.4mm single wall), check adhesion.
Tweak: +5% flow if gaps, +5°C nozzle if dull.
💡 Tips:
Problem: Stringing or blobs
Solution: Increase retraction length by 0.5mm or speed by 10mm/s; lower nozzle temp 5°C.
Problem: Poor layer adhesion
Solution: Raise nozzle temp to 225°C, slow first layers to 25mm/s, ensure bed level.
Problem: Warping or corners lifting
Solution: Bump bed to 65°C, add brim/skirt, use enclosure if drafts are present.
Problem: Underextrusion
Solution: Check diameter, increase flow 5%, clean nozzle, dry filament.
Consistent diameter, high toughness, low stringing—ideal for Prusa tuning.
Best for: Everyday prints needing strength; black/white spools for testing.
Price Range: $20.99
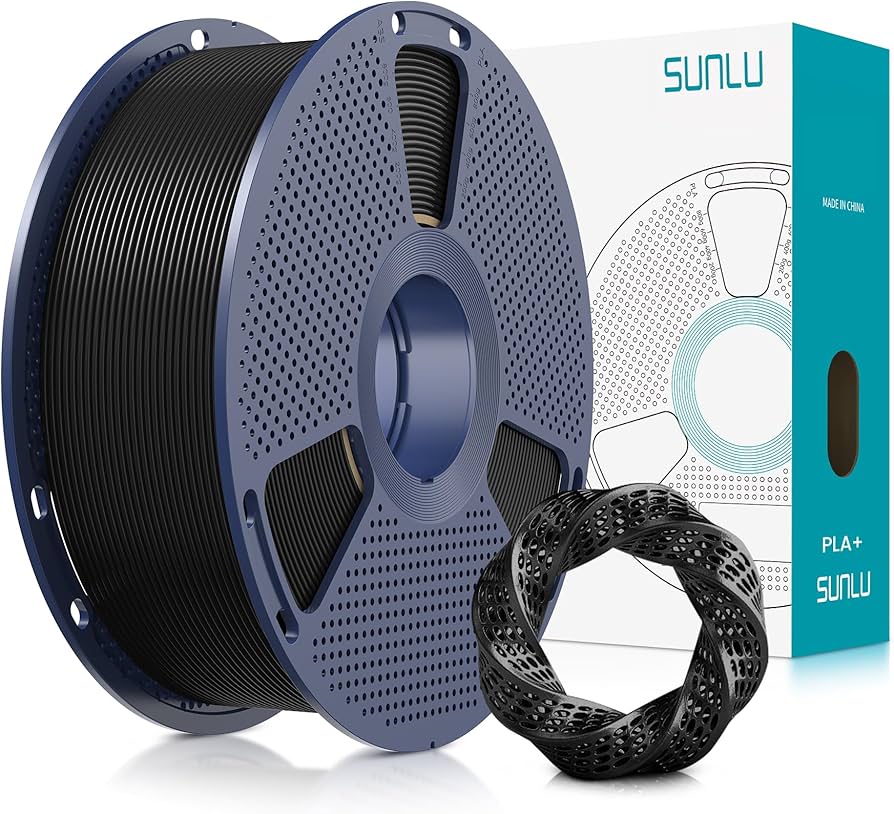
Smooth flow, vibrant colors, Prusa-compatible—community favorite for profiles.
Best for: Colorful functional parts; great for calibration cubes.
Price Range: $21.99
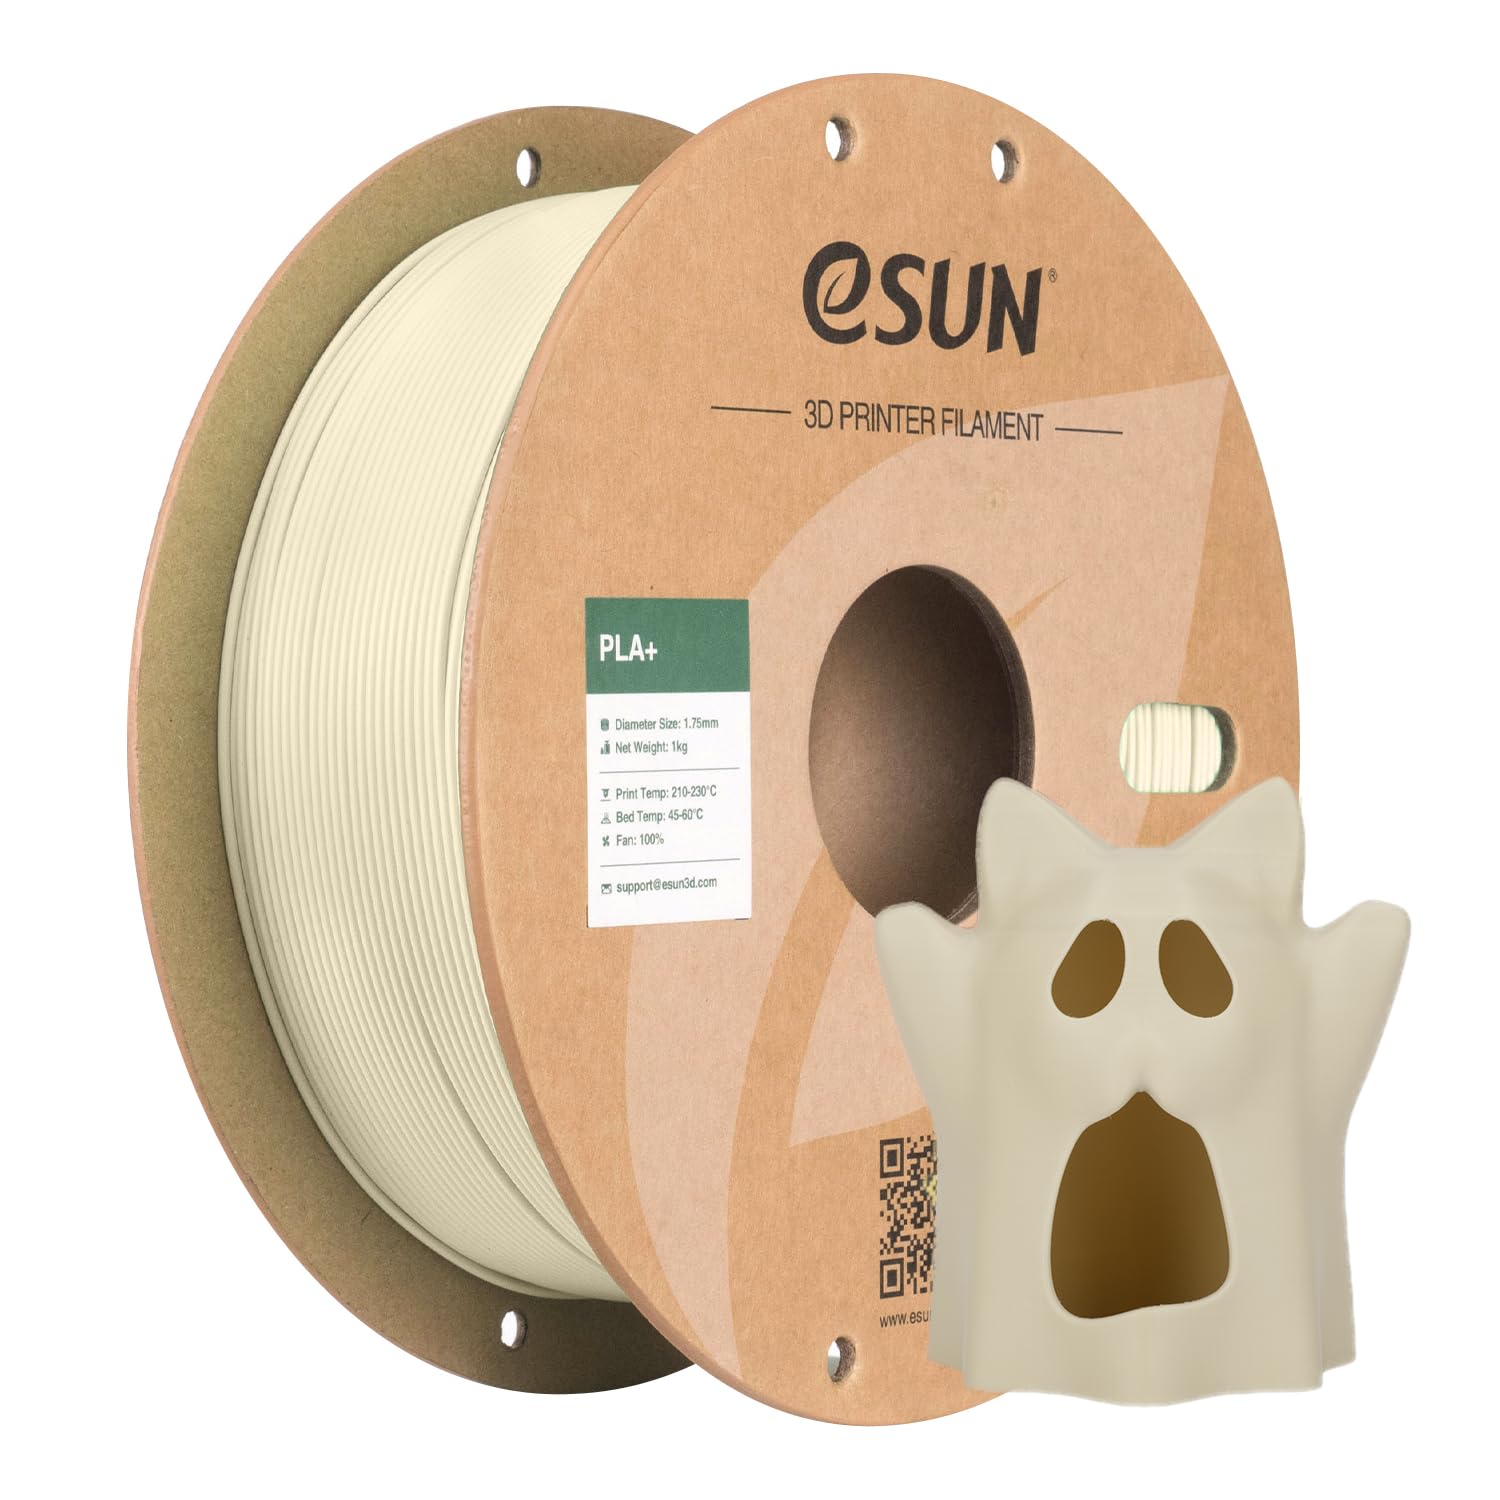
Budget-friendly with excellent layer bonding and heat resistance.
Best for: High-volume printing on MK3S+; matte finish spools.
Price Range: $22.99
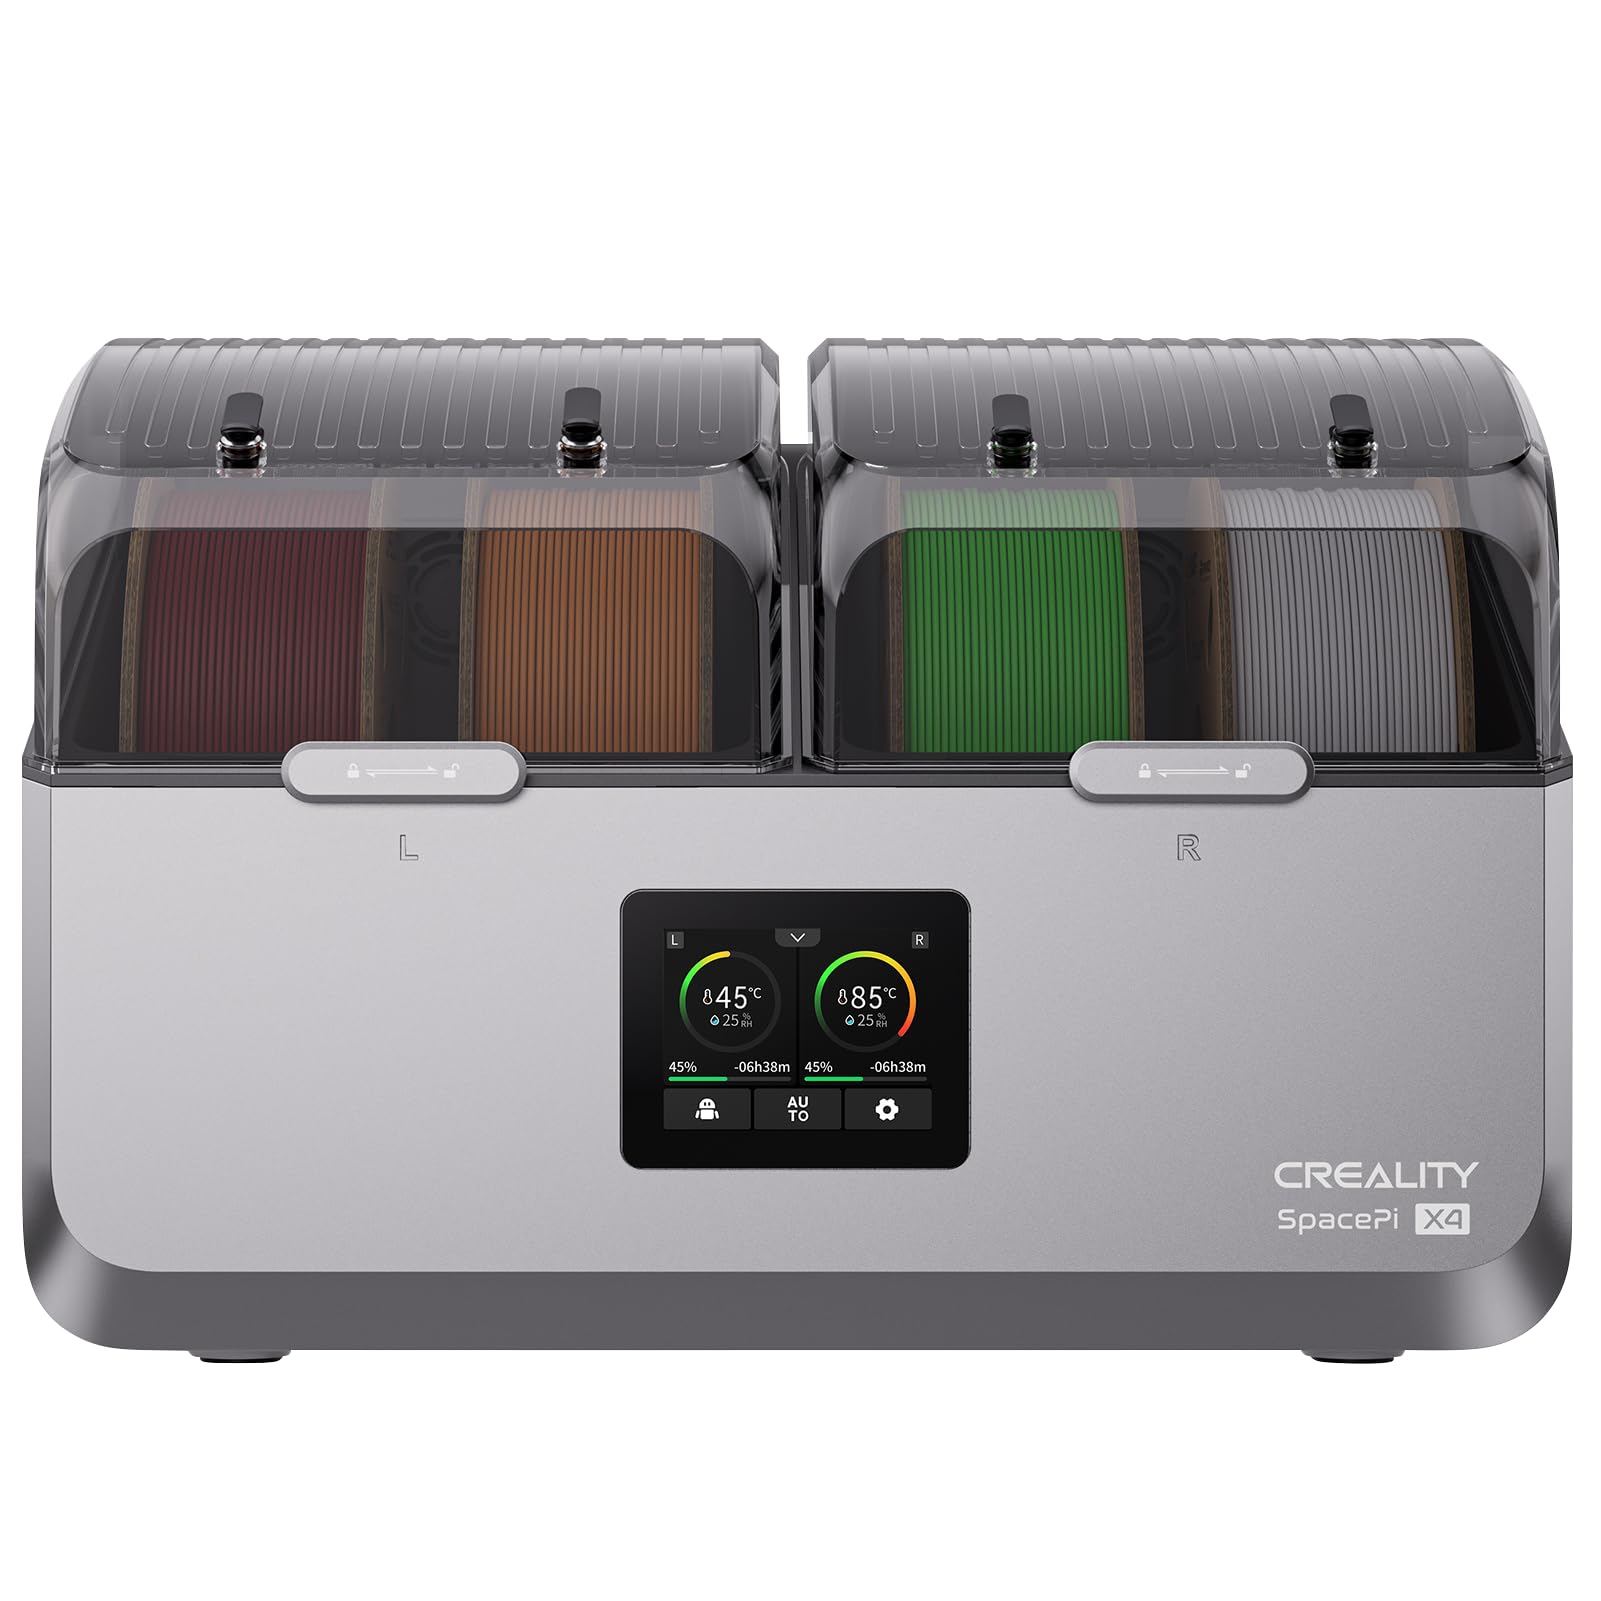
Keeps PLA+ dry during long prints—essential for consistent results.
Best for: Humid environments; holds 1KG spool with desiccant.
Price Range: $59.99
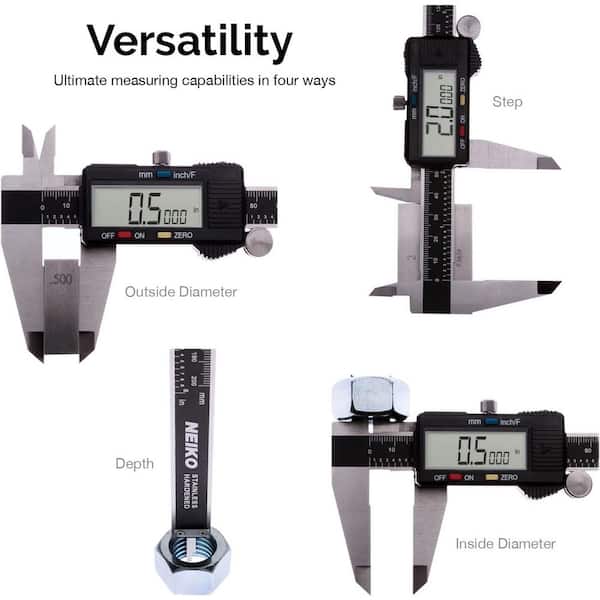
Precise 0.01mm accuracy for filament and nozzle measurements.
Best for: Diameter checks before every spool.
Price Range: $15.99
Everyday prints needing strength; black/white spools for testing.
Overture PLA+ Filament 1.75mm 1KG Consistent diameter, high toughness, low stringing—ideal for Prusa tuning.
Colorful functional parts; great for calibration cubes.
SUNLU PLA+ Filament 1.75mm 1KG Spool Smooth flow, vibrant colors, Prusa-compatible—community favorite for profiles.
High-volume printing on MK3S+; matte finish spools.
eSun PLA+ Filament 1.75mm Budget-friendly with excellent layer bonding and heat resistance.
Humid environments; holds 1KG spool with desiccant.
Creality Filament Dry Box Keeps PLA+ dry during long prints—essential for consistent results.
Diameter checks before every spool.
Neiko Digital Caliper Precise 0.01mm accuracy for filament and nozzle measurements.