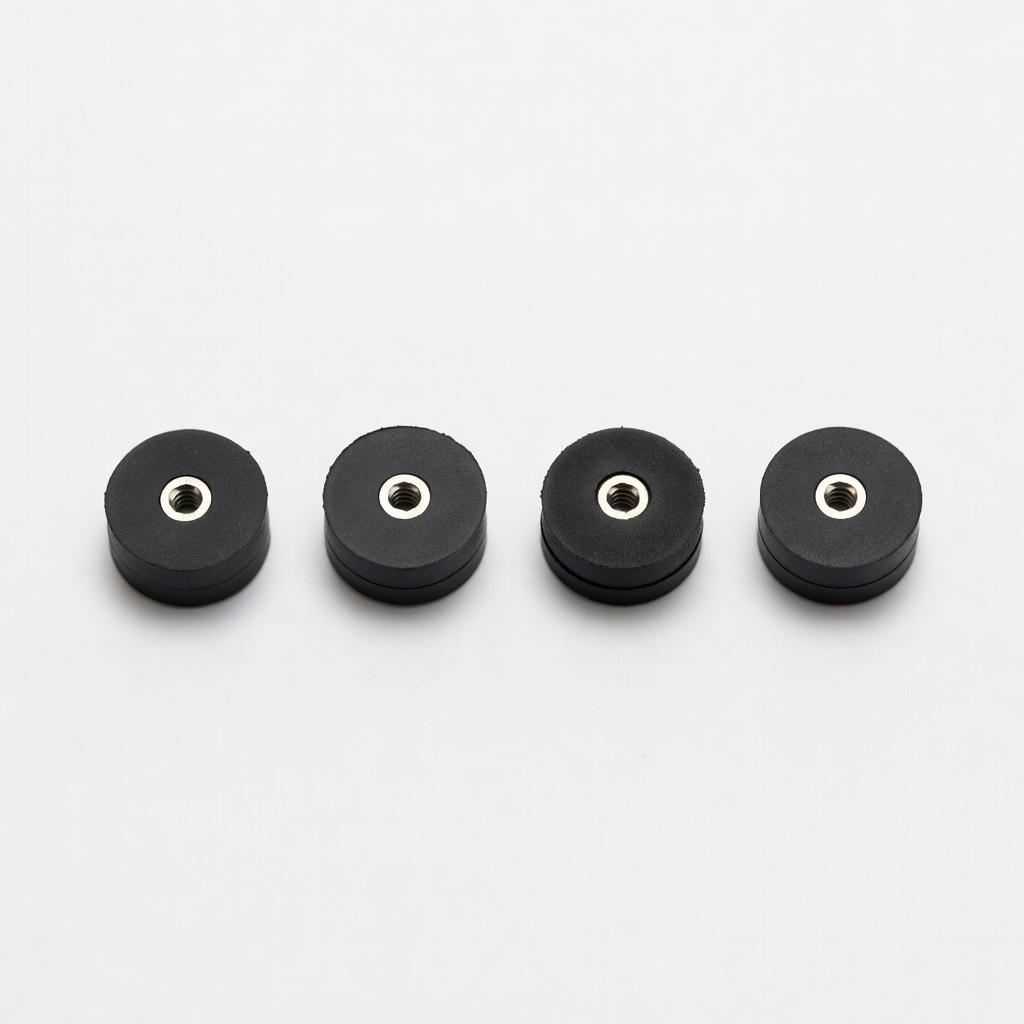
Geeetech 3D Printer Motor Rubber Dampers (4pcs)
Quick fix for Ender 3, CR-10, or any NEMA17 printer.
$9.99
Geeetech 3D Printer Motor Rubber Dampers (4pcs) Absorbs stepper motor vibrations at the source, reducing high-frequency ghosting by up to 50%.
Get the App
Better experience on mobile
Discover ghosting causes and apply proven fixes for smooth, vibration-free 3D prints in under 2 hours.
Ghosting in 3D prints—those pesky ripples or echoes on your model's surfaces—can ruin even the best designs, making prints look amateurish. If you're an intermediate printer battling wavy walls or duplicated features, you're not alone; it's a top frustration for hobbyists and pros alike.
In this guide, you'll learn what ghosting really is, pinpoint its mechanical and software causes, and follow step-by-step fixes to eliminate it. We'll cover diagnosis, quick tweaks, and upgrades, expecting noticeable improvements after a test print. No advanced engineering needed—just basic tools and 1-2 hours of focused work.
By the end, your prints will have crisp details and professional finish, saving filament and frustration.
Estimated Time: 1-2 hours plus 30-60 minutes for test prints Difficulty: intermediate
Ghosting, also called ringing or echoing, appears as repeating wave-like artifacts on vertical surfaces, usually mirroring sharp corners or edges from earlier layers.
Why it matters: Recognizing it prevents misdiagnosis (e.g., confusing with over-extrusion). Print a test model like the 3DBenchy or a dedicated ghosting tower to inspect under good light.
Expect shadows or 'ghosts' trailing high-frequency features. Take photos for before/after comparison.
💡 Tips:
Vibrations from loose GT2 belts or slipping pulleys cause the print head to 'ring' like a struck bell.
Test it: Pluck belts like guitar strings—they should twang at ~110Hz (use a phone tuner app). Measure deflection: belts shouldn't move >2mm sideways with firm pressure.
Loose components amplify resonance, etching echoes into plastic as it cools.
⚠️ Warnings:
Excessive print speeds (>60mm/s), acceleration (>3000mm/s²), or jerk (>8mm/s) make the head overshoot corners, vibrating the frame.
Why common: Default slicer profiles prioritize speed over quality. Open your slicer, check 'Travel' and 'Print' speed settings.
Reducing these damps momentum, smoothing paths.
💡 Tips:
Print a calibration model (search Thingiverse for 'ghosting test' or 'resonance tower'). Slice at current settings.
Inspect: Note ripple height/spacing. High-frequency waves = motor vibes; low-frequency = frame/belt issues.
Log results: e.g., 'Visible at 50mm/s, worsens at corners.' This guides targeted fixes.
Power off printer. Loosen idler tensioners on X/Y axes, reseat pulleys, then tighten until belts ping at correct pitch.
Pro method: Use belt tension meter app or measure frequency. Retest with print.
This eliminates slop, reducing vibration transfer by 50-70%.
💡 Tips:
⚠️ Warnings:
In Cura/PrusaSlicer: Set print speed to 40-50mm/s, accel to 2000-3000mm/s², jerk to 5-8mm/s. Enable 'Z-hop' for travels.
Why it works: Slower moves give time to settle vibrations.
Save as 'Anti-Ghosting' profile. Reprint test—ripples should fade.
Install rubber dampers on stepper motors (unscrew, slip on, retighten).
They absorb high-frequency vibes at source. Common for NEMA17 motors on Ender/Prusa.
Expect 30% ripple reduction immediately.
💡 Tips:
Upgrade to Klipper firmware with accelerometer (e.g., ADXL345). Run resonance test, auto-tune shaper.
Predicts/pre-compensates vibes. Game-changer for speeds >100mm/s.
Verify with final test print—no ghosts!
⚠️ Warnings:
Problem: Ghosting persists after belt tensioning
Solution: Check eccentric spacers on wheels; lower accel further or add dampers.
Problem: Worse on one axis (e.g., Y)
Solution: Inspect that motor wiring/coupling; swap motors to isolate.
Problem: Artifacts look like layer shifts
Solution: Distinguish: Ghosts repeat every few mm; shifts are full offsets. Fix slips with better extrusion.
Problem: Firmware crashes during input shaping
Solution: Use compatible board (e.g., SKR); follow Klipper docs exactly.
Absorbs stepper motor vibrations at the source, reducing high-frequency ghosting by up to 50%.
Best for: Quick fix for Ender 3, CR-10, or any NEMA17 printer.
Price Range: $9.99
High-quality replacement belts resist stretching, ensuring precise tension for vibration-free motion.
Best for: When original belts are worn or loose.
Price Range: $10-15
Enables input shaping in Klipper—measures resonances for automatic compensation.
Best for: Advanced users tuning for high-speed printing.
Price Range: $5.99
Stabilizes temperature and dampens external vibes/frame flex.
Best for: Open-frame printers in drafty spaces.
Price Range: $99-120
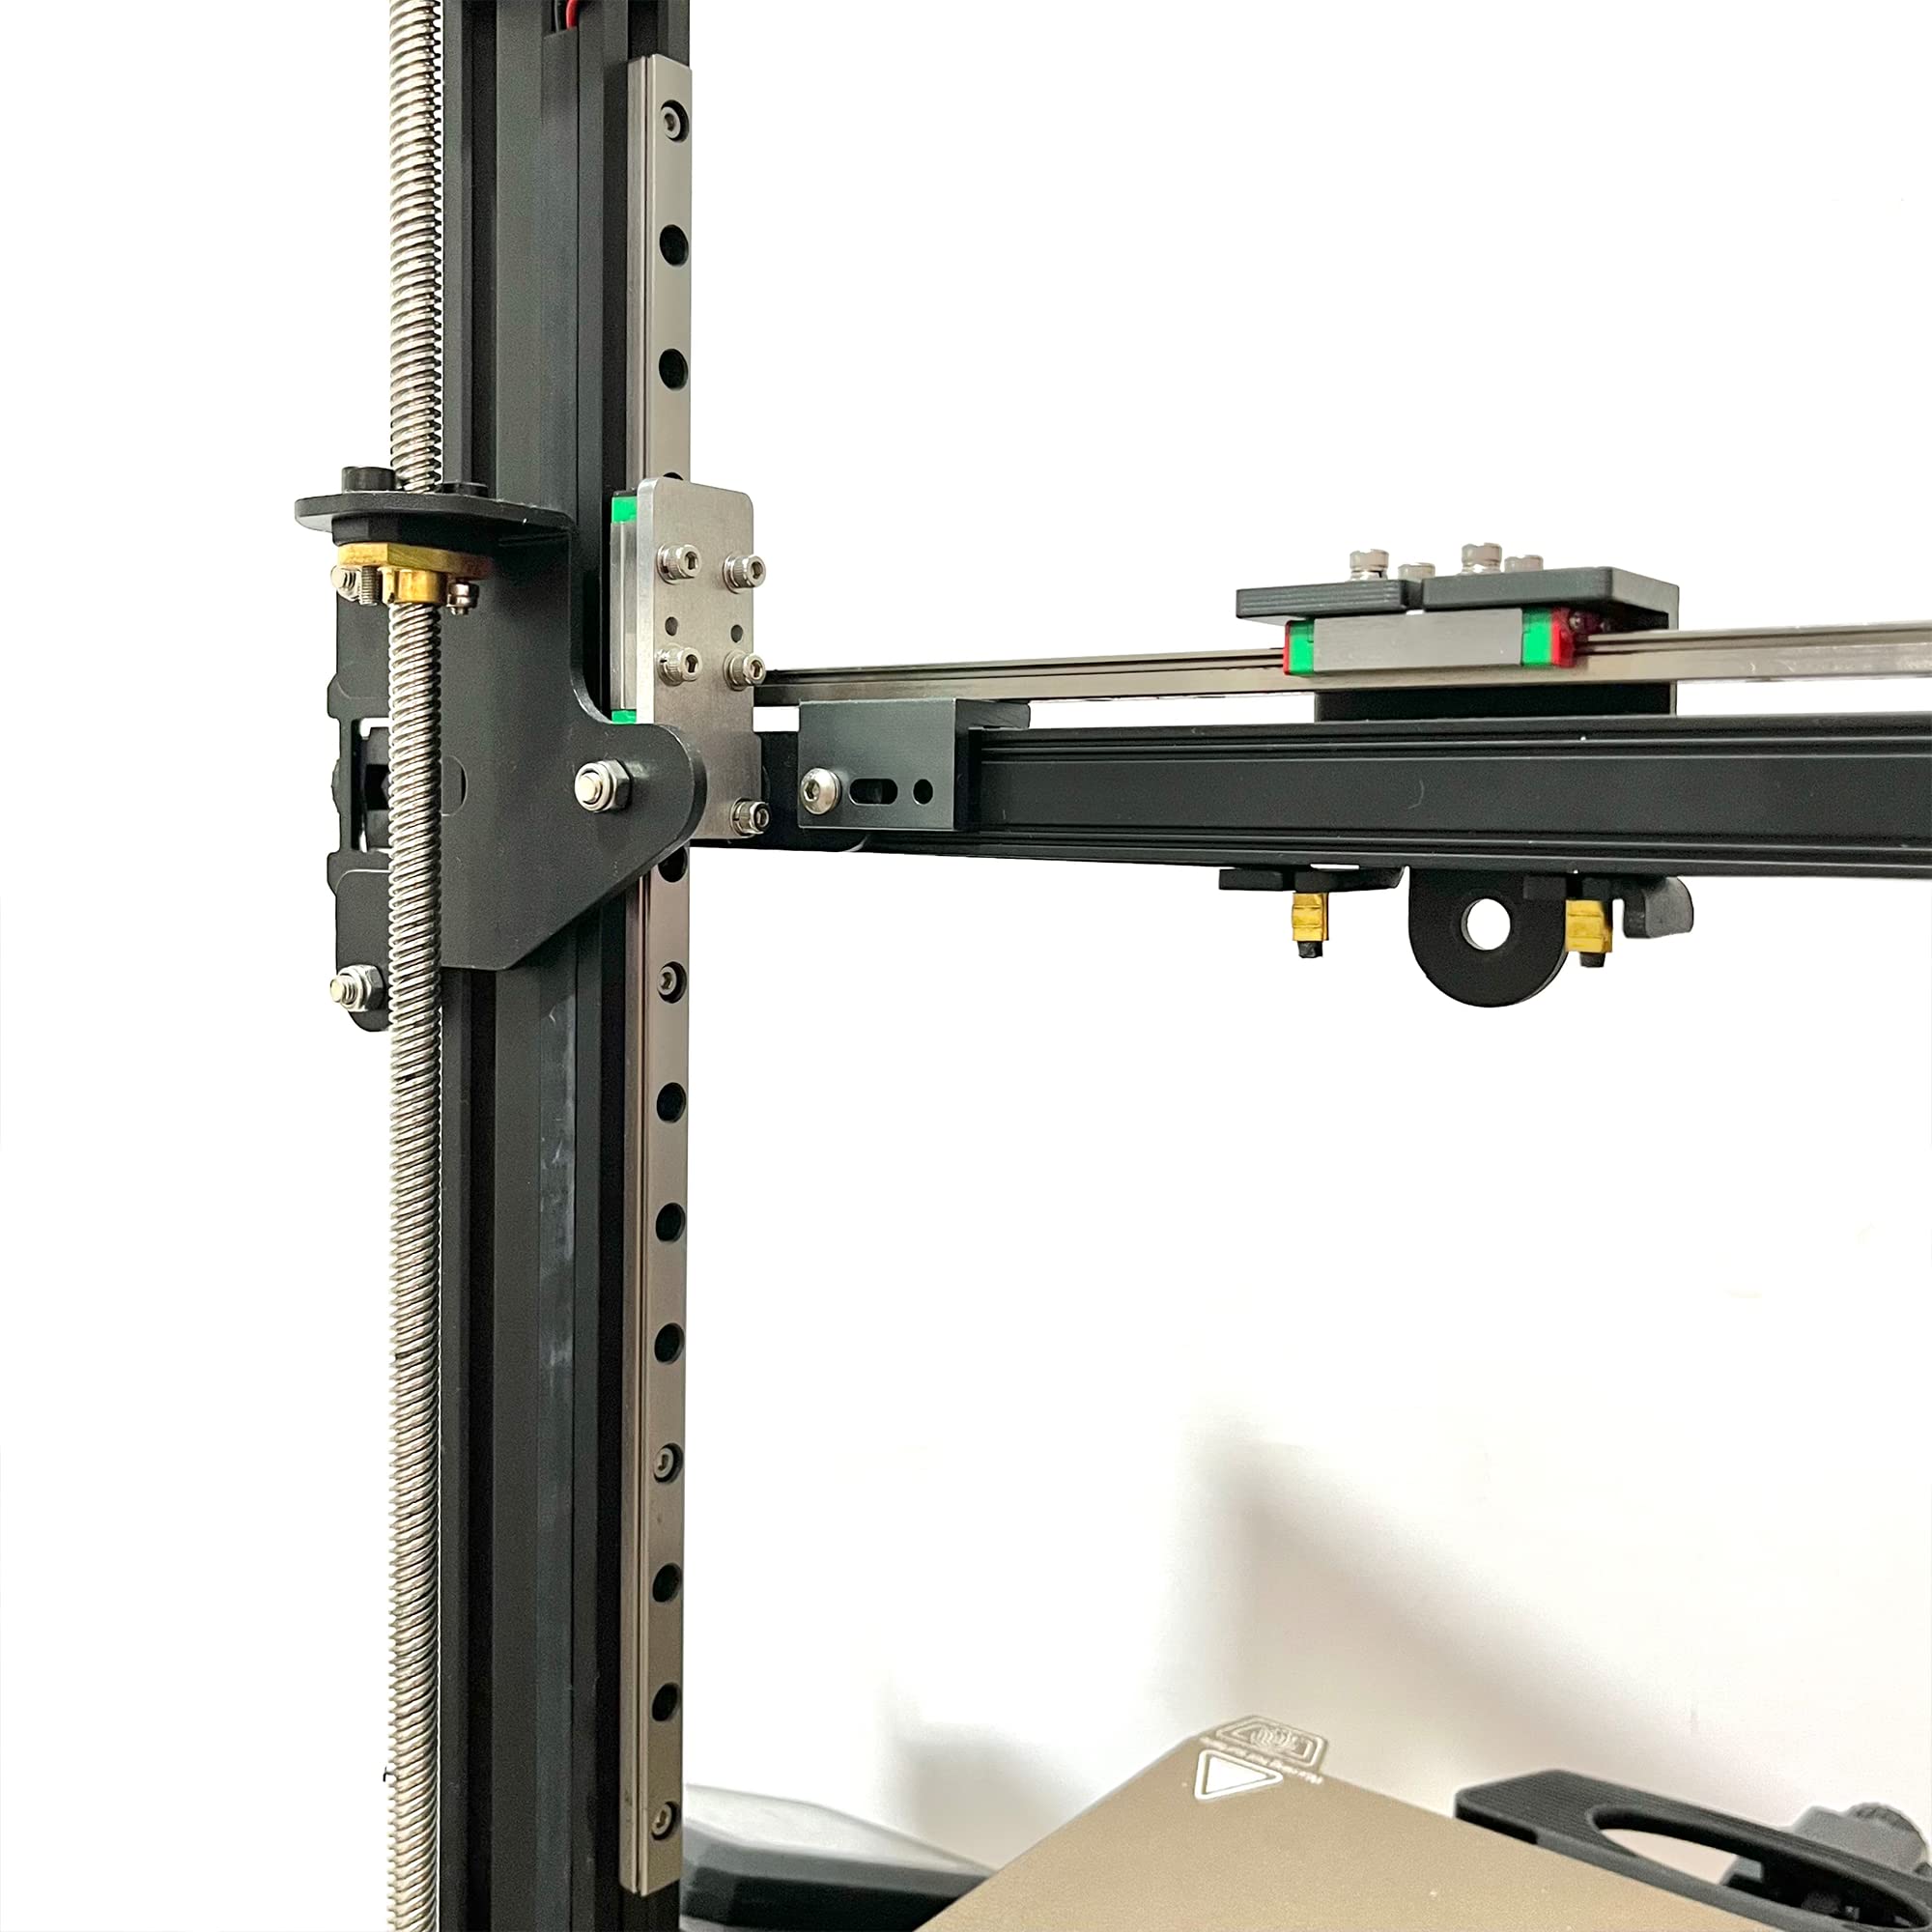
Replaces wobbly V-wheels with smooth, rigid rails to eliminate slop.
Best for: Heavy upgrades for frequent ghosting.
Price Range: $50-80
Quick fix for Ender 3, CR-10, or any NEMA17 printer.
Geeetech 3D Printer Motor Rubber Dampers (4pcs) Absorbs stepper motor vibrations at the source, reducing high-frequency ghosting by up to 50%.
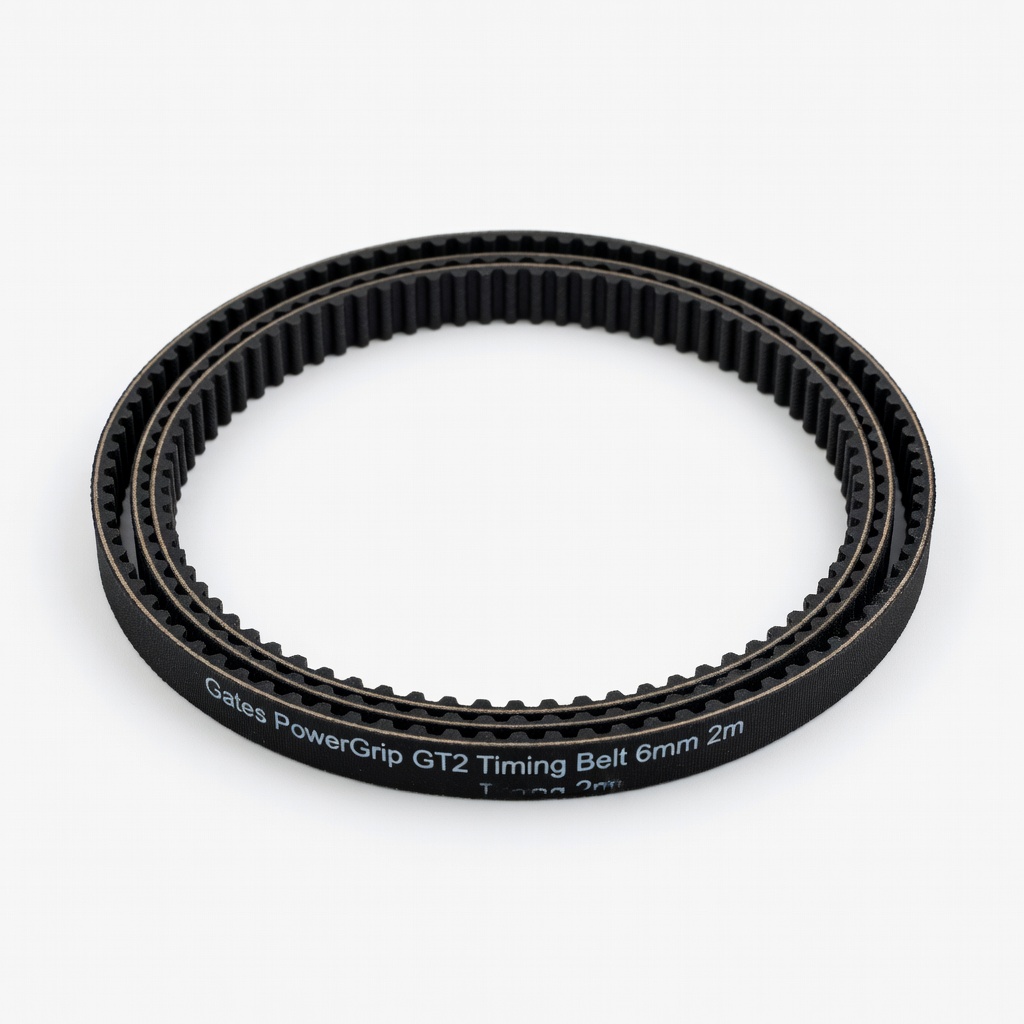
When original belts are worn or loose.
Gates PowerGrip GT2 Timing Belt 6mm 2m High-quality replacement belts resist stretching, ensuring precise tension for vibration-free motion.
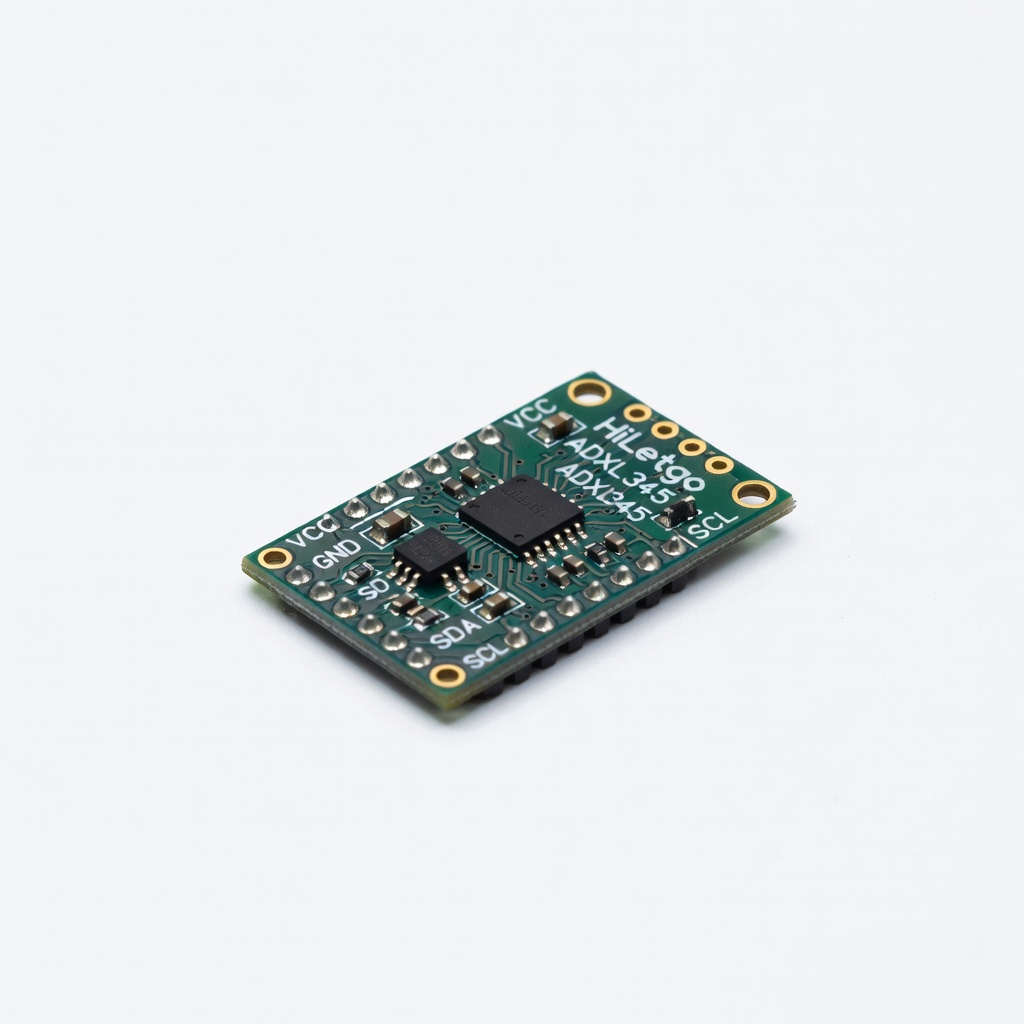
Advanced users tuning for high-speed printing.
HiLetgo ADXL345 Accelerometer Module Enables input shaping in Klipper—measures resonances for automatic compensation.

Open-frame printers in drafty spaces.
Creality Ender 3 Enclosure Stabilizes temperature and dampens external vibes/frame flex.
Heavy upgrades for frequent ghosting.
BIGTREETECH Linear Rail Kit for Ender 3 Replaces wobbly V-wheels with smooth, rigid rails to eliminate slop.