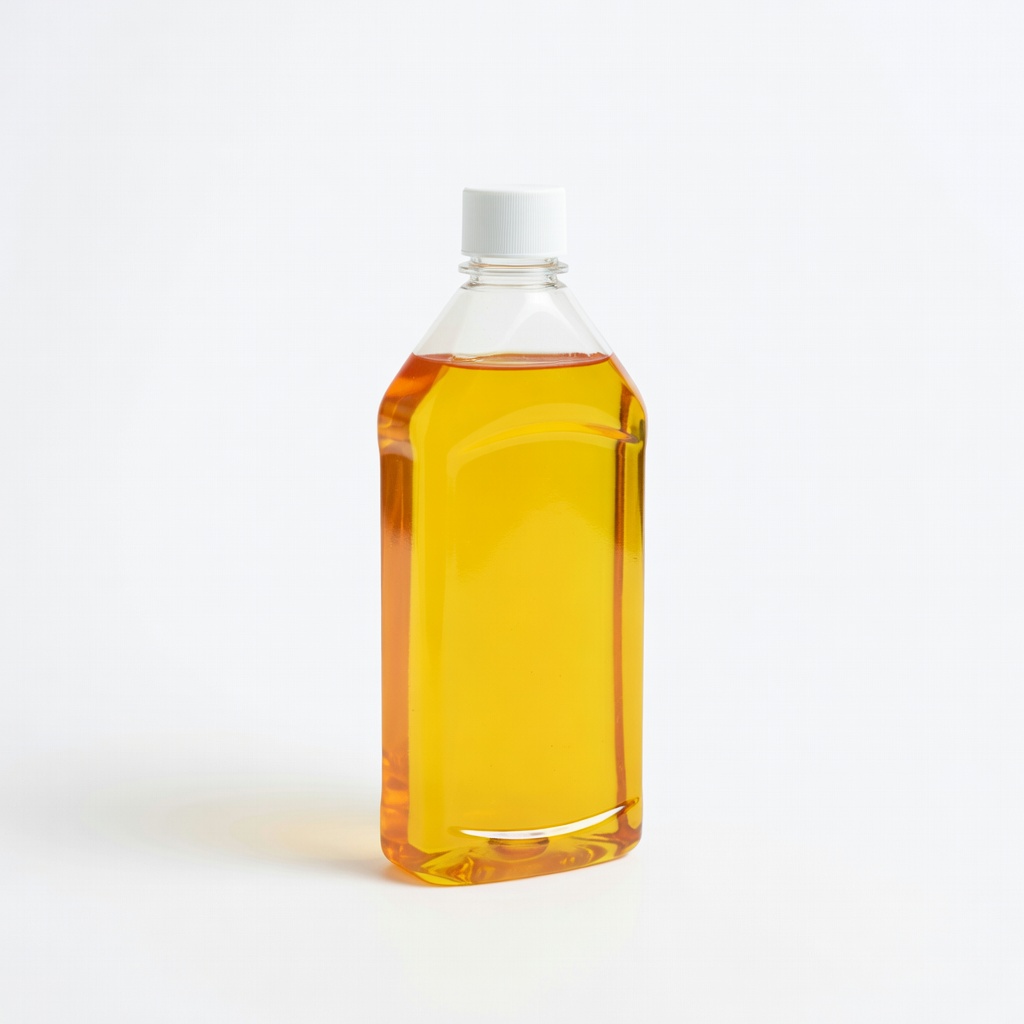
Goo Gone Original Liquid
General stickers/labels on plastic, glass, wood.
$6.88
Goo Gone Original Liquid Gentle citrus formula safe on most surfaces with low damage risk when used correctly.
Get the App
Better experience on mobile
Discover why adhesive removers harm surfaces and master prevention strategies to remove sticky residues safely every time.
You've finally peeled off that stubborn bumper sticker or packaging label, only to find the adhesive remover has dulled your car's paint, melted plastic, or left unsightly streaks on your glass table. This common frustration affects DIYers, crafters, and homeowners alike, costing time and money in repairs.
In this guide, you'll learn the root causes of adhesive remover damage—from chemical incompatibility to user errors—and practical prevention tips. We'll break it down with simple analogies, real-world examples, and step-by-step explanations. No advanced chemistry knowledge needed; it's designed for intermediate users who want reliable results.
Expect to spend 15 minutes reading, with concepts you can apply immediately to your next project.
Estimated Time: 10-15 minutes to read and understand Difficulty: intermediate
Adhesives are like tiny hooks that bond to surfaces via polymers and resins. Removers use solvents (e.g., citrus oils or hydrocarbons) to break these bonds, much like how soap dissolves grease on dishes.
Why it matters: Knowing this prevents mismatched use. Expect a fizzy or oily reaction as bonds dissolve.
For example, rubber-based adhesives (common on tapes) dissolve faster in petroleum solvents than acrylic ones on labels.
💡 Tips:
Most damage happens when aggressive solvents attack the surface itself. Petroleum distillates in strong removers dissolve plastics (e.g., turning car dashboards gummy) or strip paint.
Analogy: It's like using paint thinner on lipstick—great for removal, disastrous for the canvas.
Common culprits: Acetone on polystyrene (Styrofoam dissolves instantly). Expect discoloration, cracking, or melting within seconds.
⚠️ Warnings:
Leaving remover on too long lets solvents penetrate deeper. What starts as safe dissolution becomes surface etching.
Why it matters: Instructions say 'wipe immediately,' but rushing leads to residue; waiting leads to damage. On wood, it dries varnish; on metal, it corrodes.
Real-world example: Goo Gone left 5+ minutes on vinyl flooring causes yellowing.
💡 Tips:
Scrubbing too hard with rough tools scratches surfaces. Combined with solvents, it amplifies micro-abrasions.
Expect: Hazy finishes on glass or swirl marks on paint. Analogy: Sanding wet paint—messy and permanent.
Pressure washing amplifies this on delicate auto paint.
⚠️ Warnings:
Apply remover to a hidden 1-inch spot, wait 1 minute, wipe, and check after 24 hours.
Why: Reveals incompatibility early. Buff with soap if ok; stop if damage shows.
This 2-minute step saves hours of fixes.
💡 Tips:
Match solvent strength: Citrus/oil-based for plastics/paint; alcohol for glass/metal.
Pro tip: Read labels for 'safe on X surface.' Avoid universals—they compromise.
Expect safer, slower removal but no damage.
⚠️ Warnings:
Dab sparingly, let sit 15-30 seconds, wipe gently with microfiber.
Rinse residue immediately with soapy water to neutralize.
This minimizes exposure time.
💡 Tips:
Polish with appropriate wax/sealant after drying.
Why: Restores protection stripped by solvents. On cars, use clay bar first.
Problem: Surface dulled or hazy after removal
Solution: Polish with automotive compound (e.g., Meguiar's) or glass polish; if severe, professional buffing.
Problem: Remover not working, residue remains
Solution: Switch to stronger type after testing; repeat in layers with heat.
Problem: Plastic warped or sticky
Solution: Wipe excess, apply talc powder to absorb; replace if structural.
Problem: Skin irritation from contact
Solution: Wash with soap; use gloves next time. Seek medical if rash persists.
Gentle citrus formula safe on most surfaces with low damage risk when used correctly.
Best for: General stickers/labels on plastic, glass, wood.
Price Range: $6.88
Fast-evaporating, non-corrosive for metals/paint; prevents prolonged exposure issues.
Best for: Automotive tape residue, industrial adhesives.
Price Range: $24.99
Penetrating formula with quick dry time, minimizing etching on sensitive surfaces.
Best for: Gaskets, weatherstripping, heavy-duty bonds.
Price Range: $9.98
Odorless, non-toxic for crafts/delicate fabrics; ideal for beginners avoiding harsh chemicals.
Best for: Paper, photos, clothing labels.
Price Range: $8.99
Residue-free on painted surfaces; versatile for multi-material prevention.
Best for: Construction adhesives, tar on vehicles.
Price Range: $12.99
General stickers/labels on plastic, glass, wood.
Goo Gone Original Liquid Gentle citrus formula safe on most surfaces with low damage risk when used correctly.

Automotive tape residue, industrial adhesives.
3M Adhesive Remover Fast-evaporating, non-corrosive for metals/paint; prevents prolonged exposure issues.
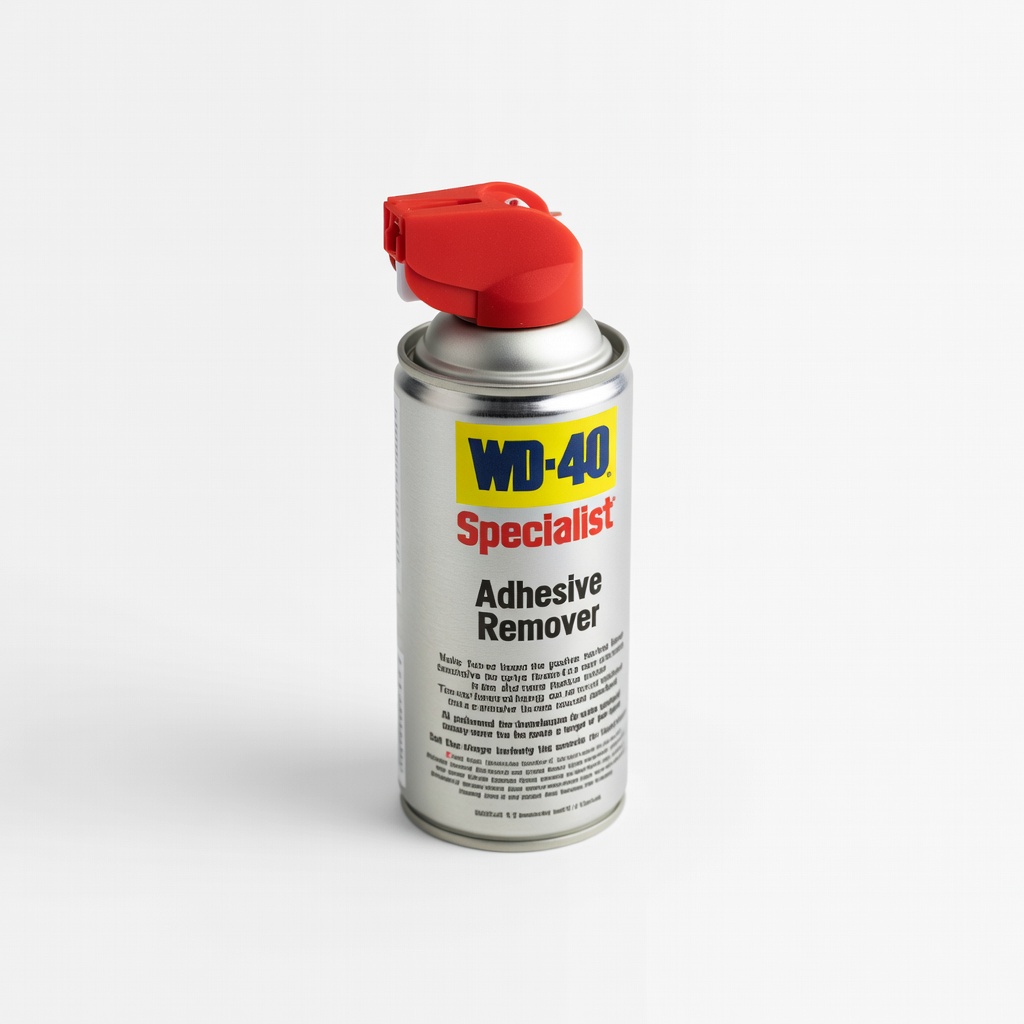
Gaskets, weatherstripping, heavy-duty bonds.
WD-40 Specialist Adhesive Remover Penetrating formula with quick dry time, minimizing etching on sensitive surfaces.
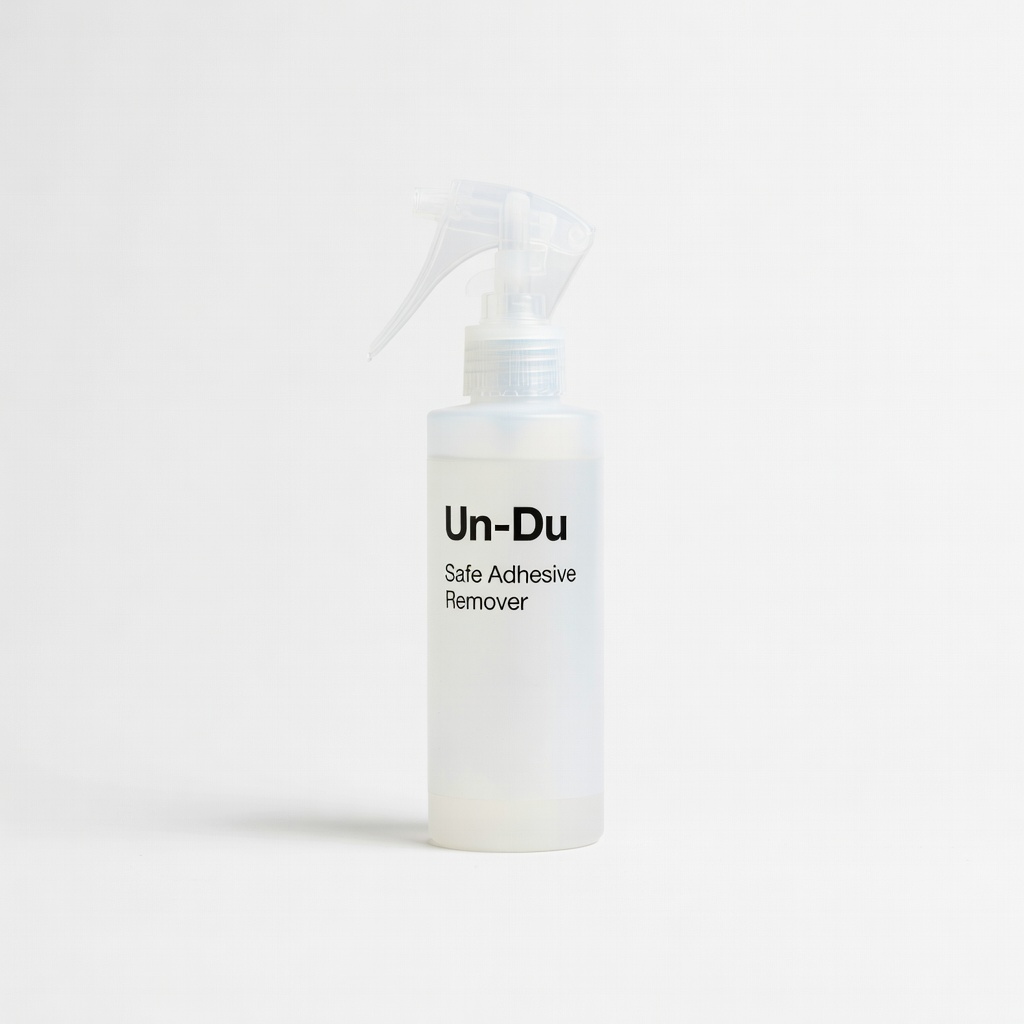
Paper, photos, clothing labels.
Un-Du Safe Adhesive Remover Odorless, non-toxic for crafts/delicate fabrics; ideal for beginners avoiding harsh chemicals.
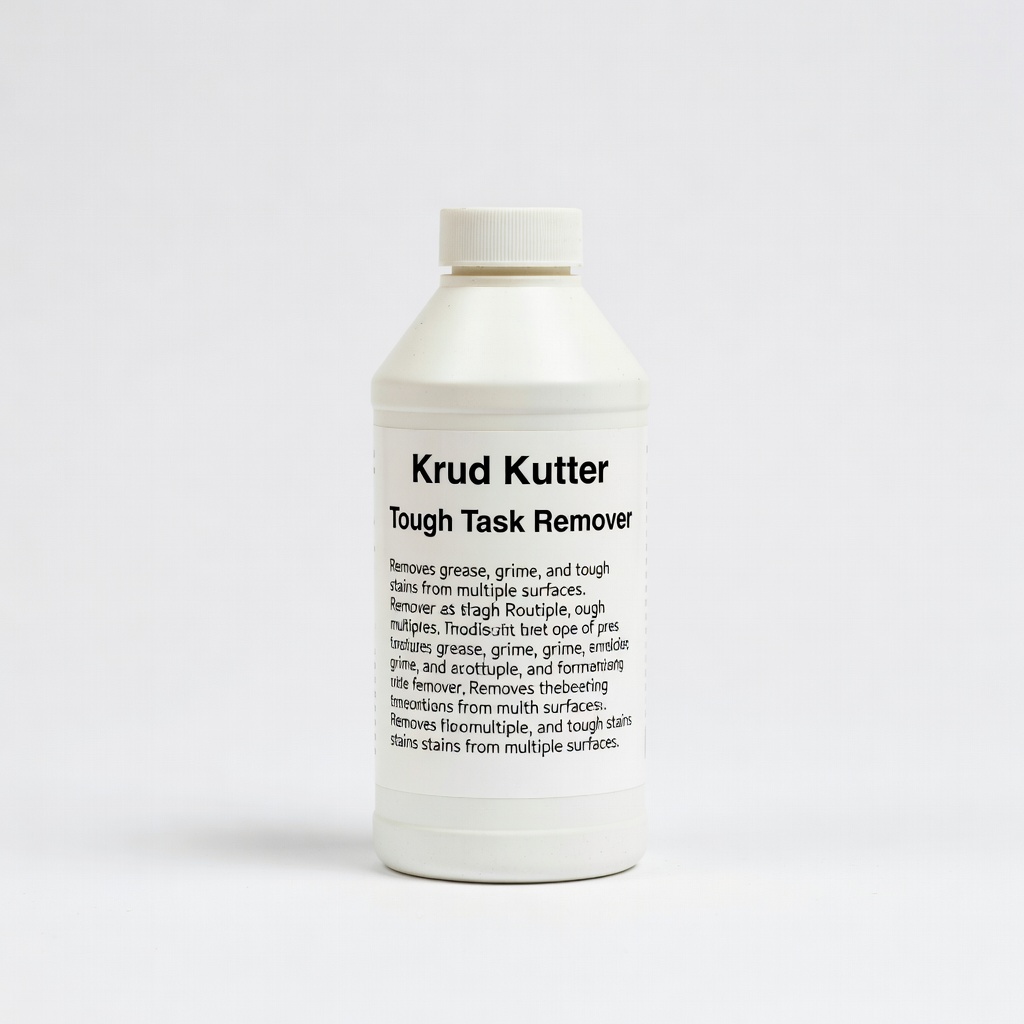
Construction adhesives, tar on vehicles.
Krud Kutter Tough Task Remover Residue-free on painted surfaces; versatile for multi-material prevention.