In an era dominated by digital photography, vintage cameras offer a tactile, nostalgic experience that captures the soul of analog imaging. Whether you're a collector or a hobbyist rediscovering film photography, understanding these timeless devices can reignite your passion for photography. But many vintage cameras sit dusty and dysfunctional, leaving owners wondering how to restore them without breaking the bank or the gear.
This guide will explain what defines a vintage camera, from historical context to key features, and provide step-by-step restoration tips tailored for intermediate users. You'll learn to identify, assess, and revive your camera safely, potentially saving hundreds on professional repairs. Expect a blend of education and hands-on advice, with restoration taking 1-3 hours depending on the camera's condition—no advanced technical skills required, just patience and the right tools.
By the end, you'll have the knowledge to evaluate your collection and perform basic restorations, turning forgotten relics into functional art pieces.
▸What You'll Need
- •Soft microfiber cloths or PEC pads (required for cleaning lenses and bodies)
- •Compressed air blower (required for dust removal)
- •Isopropyl alcohol (90% or higher, required for cleaning contacts)
- •Small precision screwdrivers set (required for disassembly)
- •Camera lubricant like grease or oil (optional but recommended for mechanical parts)
- •Magnifying glass or loupe (optional for detailed inspection)
- •Prerequisite knowledge: Basic understanding of film camera mechanics, such as shutter speeds and aperture
Estimated Time: 1-3 hours for assessment and basic restoration
Difficulty: intermediate
▸Step-by-Step Instructions
Step 1: Understand the Definition of Vintage Cameras
Vintage cameras refer to photographic devices produced before the widespread adoption of digital technology, typically from the early 20th century to the 1990s. These are mainly film-based cameras, including SLRs (single-lens reflex), rangefinders, and point-and-shoots, made by brands like Leica, Canon, Nikon, and Kodak. What sets them apart is their mechanical construction—no electronics, just gears, springs, and optics that deliver a unique, organic image quality with film grain and imperfections that digital can't replicate.
Think of them as analog time machines: a 1950s Leica M3, for example, uses a rangefinder system where two images align in the viewfinder for precise focusing, unlike modern autofocus. This matters because vintage cameras aren't just tools; they're collectibles whose value can appreciate, but only if maintained. Expect to feel a sense of history as you handle one—many have patina from decades of use.
Why it matters: Knowing this foundation helps you appreciate why restoration is worthwhile, preserving not just function but heritage.
💡 Tips:
- •Start with iconic models like the Nikon F series to build familiarity.
⚠️ Warnings:
- •Avoid confusing 'vintage' with 'antique'—antiques are pre-1920s and rarer.
Step 2: Identify Key Features and Types
Vintage cameras come in types like rangefinders (compact, precise for street photography), SLRs (versatile with interchangeable lenses), and TLRs (twin-lens reflex for medium format). Key features include manual focus rings, mechanical shutters (speeds from 1 second to 1/1000th), and aperture rings on lenses. For instance, a Yashica Electro 35 uses a leaf shutter for quiet operation, ideal for portraits.
Analogies help: Imagine the shutter as a heartbeat—precise and rhythmic—while the lens is like a window, gathering light creatively without auto-corrections. This breakdown simplifies complex mechanics; SLRs mirror the scene through the lens, reducing parallax errors common in point-and-shoots.
Expect variations: Some have built-in light meters (needle or LED), others require external ones. This step builds your eye for condition assessment in restoration.
💡 Tips:
- •Use online databases like Camera-Wiki.org for model-specific features.
Step 3: Assess Your Camera's Condition
Before restoration, inspect for damage: Check the body for dents, lens for fungus (cloudy spots), and mechanics for sticky shutters. Open the back (remove film first!) and look for light seals—crumbled rubber means leaks. Test the advance lever; it should click smoothly without grinding.
Why it matters: Skipping this leads to wasted effort on irreparable issues like seized gears. Expect to find common wear like brassed metal from use, which adds character but signals high mileage. For intermediates, use a light meter app on your phone to test exposure accuracy.
This step sets realistic goals—minor cleaning for light use vs. full teardown for heavy restoration.
⚠️ Warnings:
- •Never force mechanisms; it can cause permanent damage.
Step 4: Clean the Exterior and Lens
Start with the body: Use compressed air to blow dust from crevices, then wipe with a microfiber cloth dampened in isopropyl alcohol. For the lens, apply cleaning solution sparingly to a PEC pad and gently circle the glass, avoiding pressure on elements.
This matters because dirt causes hazy images or scratches optics permanently. Expect a clearer viewfinder post-clean; it's like polishing a window for better sight. For intermediates, disassemble the lens barrel if fungus is present, but only if you're comfortable.
Why sequential: Exterior first prevents grit transfer to sensitive parts.
💡 Tips:
- •Work in a dust-free area; use a soft brush for stubborn spots.
Step 5: Restore Mechanical Parts
Disassemble accessible areas like the film door with precision screwdrivers. Clean gears with alcohol, then apply a drop of lubricant to moving parts like the shutter curtains. Reassemble and test fire the shutter (unloaded).
Analogy: It's like oiling a bicycle chain—prevents rust and ensures smooth operation. Matters for functionality; sticky mechanics lead to exposure errors. Expect trial-and-error; shutters may need multiple cycles to free up.
For intermediates, focus on non-electronic models to avoid circuit damage.
⚠️ Warnings:
- •Use camera-specific lubricants; household oil attracts dust.
Step 6: Replace Light Seals and Test
Cut new foam seals to fit the channels around the film door and pressure plate—use adhesive-backed material. Reinstall, then load dummy film or test roll to check for light leaks (dark room test: cover lens, advance film).
Why crucial: Leaks fog film, ruining shots. Expect crisp negatives if successful. This final step verifies your work, building confidence for real use.
Overview complete: Your camera should now function like new, ready for film.
💡 Tips:
- •Black electrical tape works as a temporary seal for testing.
▸Pro Tips
- •Store cameras in a cool, dry place with silica packets to prevent mold.
- •Document disassembly with photos for easy reassembly.
- •Test with expired film first to avoid wasting good rolls on issues.
- •Join forums like Rangefinderforum for model-specific advice.
- •Wear cotton gloves to avoid fingerprints on glass.
- •For brass bodies, use Flitz polish sparingly for shine without wear.
- •Invest in a parts donor camera for rare replacements.
▸Common Mistakes to Avoid
- •Over-lubricating mechanisms, which attracts dirt and gums up gears—use sparingly, one drop at a time.
- •Forcing stuck parts, leading to broken springs—apply heat from a hairdryer gently to loosen instead.
- •Ignoring fungus in lenses, allowing it to spread—clean immediately with proper solutions.
- •Skipping light seal replacement, causing foggy photos—always check during assessment.
- •Using household cleaners on optics, scratching surfaces—stick to photo-grade alcohol.
▸Troubleshooting
Problem: Shutter sticks or fires inconsistently
Solution: Clean and lightly lubricate the mechanism; if persists, check for bent parts and consider professional service.
Problem: Viewfinder is foggy or hazy
Solution: Clean internal prisms with compressed air and solution; avoid disassembly unless experienced.
Problem: Film advance is jammed
Solution: Unload film, clean sprockets, and ensure no debris; seek CLA (clean, lube, adjust) from a tech if mechanical failure.
Problem: Light meter doesn't work (if applicable)
Solution: Replace batteries if electronic; for selenium meters, they're often dead—use external meter as workaround.
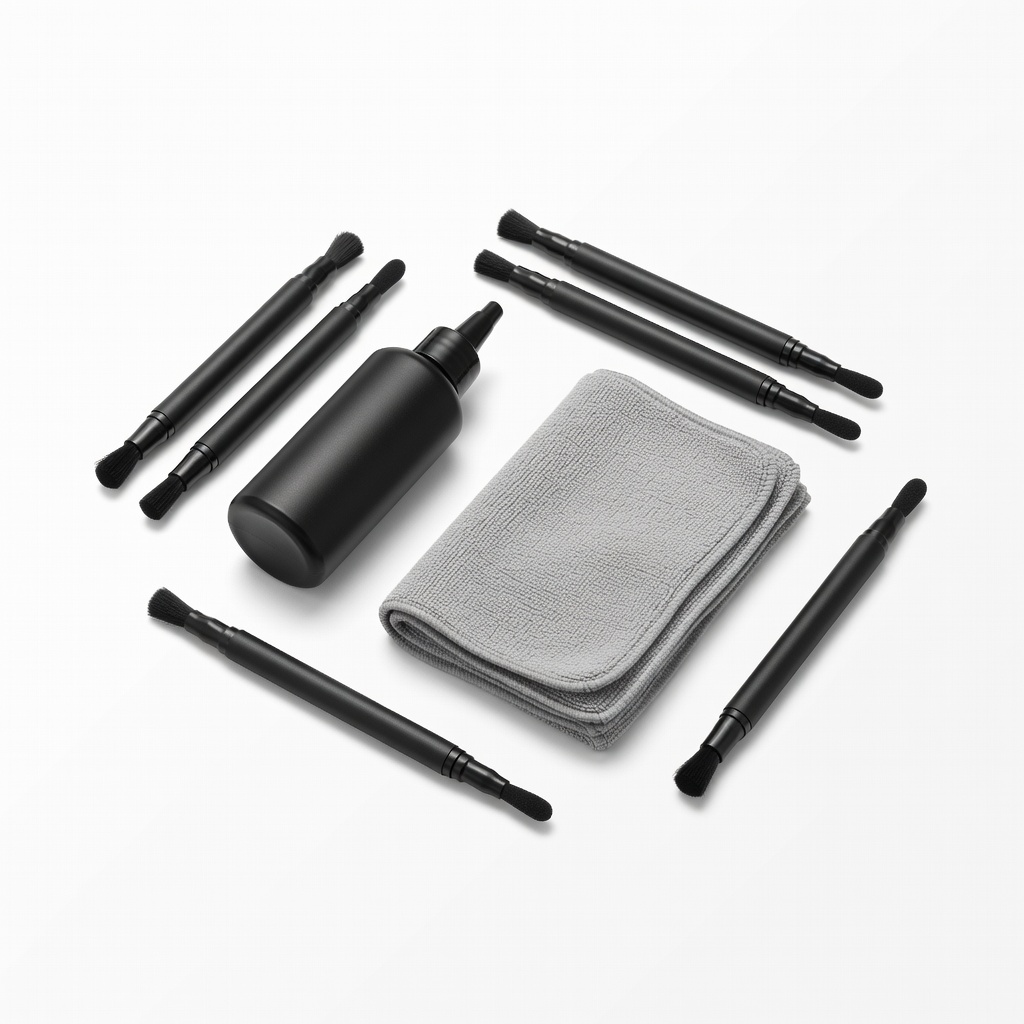
K&F Concept Professional Lens Cleaning Kit
Includes microfiber cloths, blower, and solution tailored for delicate camera optics, preventing scratches during restoration.
Best for: Essential for cleaning lenses and viewfinders on vintage SLRs and rangefinders.
Price Range: $15-$20
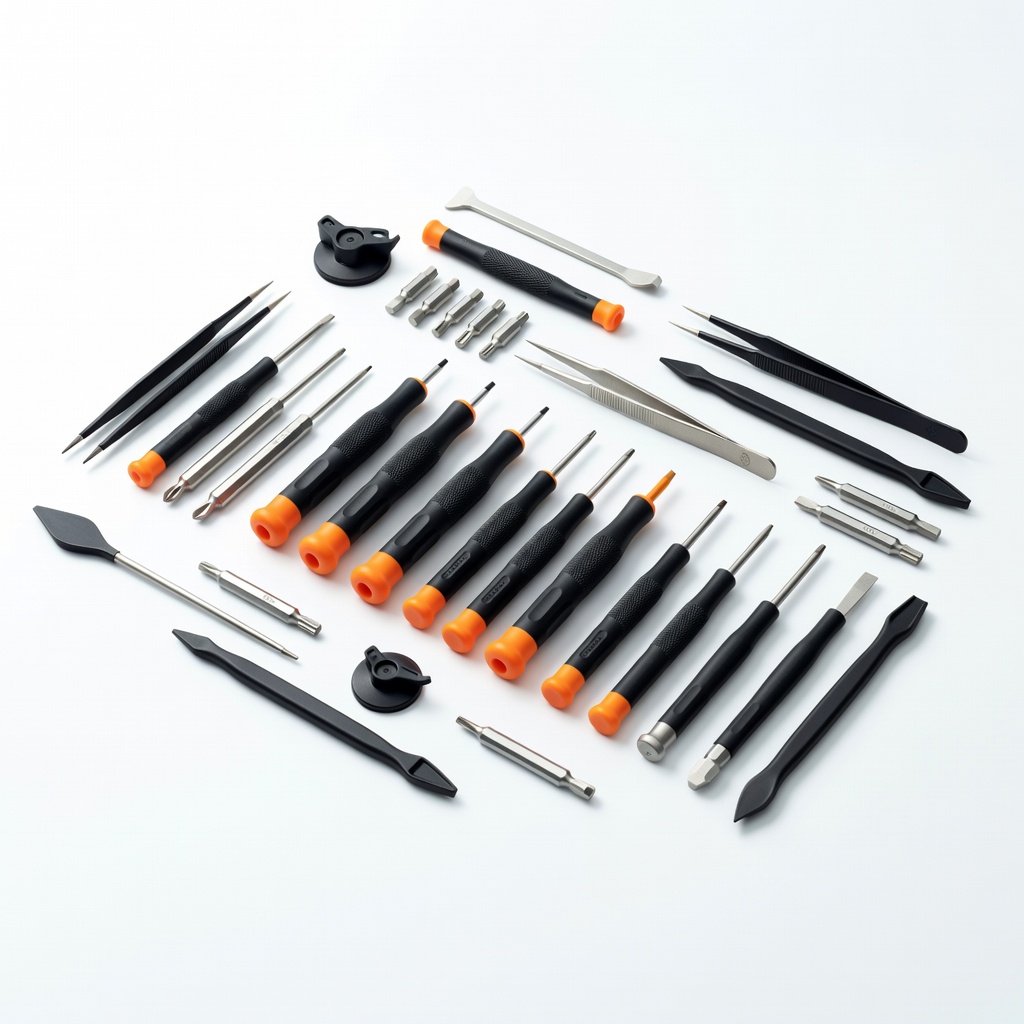
iFixit Pro Tech Toolkit
Precision screwdrivers and anti-static tools designed for electronics and mechanics, ideal for safe disassembly of camera bodies.
Best for: Use when opening up vintage cameras for internal cleaning or seal replacement.
Price Range: $50-$70
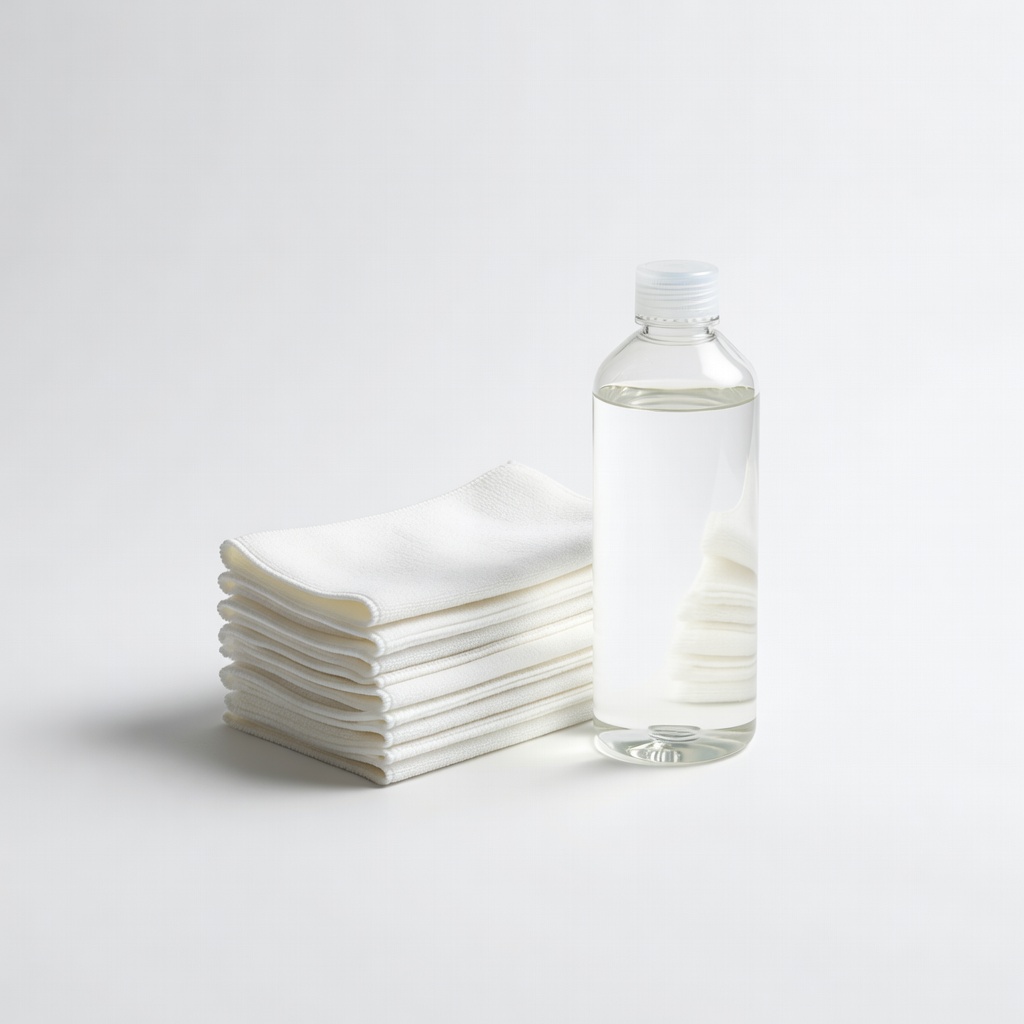
PEC* Pads and Eclipse Cleaning Solution
Lint-free pads and solvent specifically for sensor and lens cleaning, effective against fungus without residue.
Best for: Targeted cleaning of glass elements in older lenses during restoration.
Price Range: $20-$30
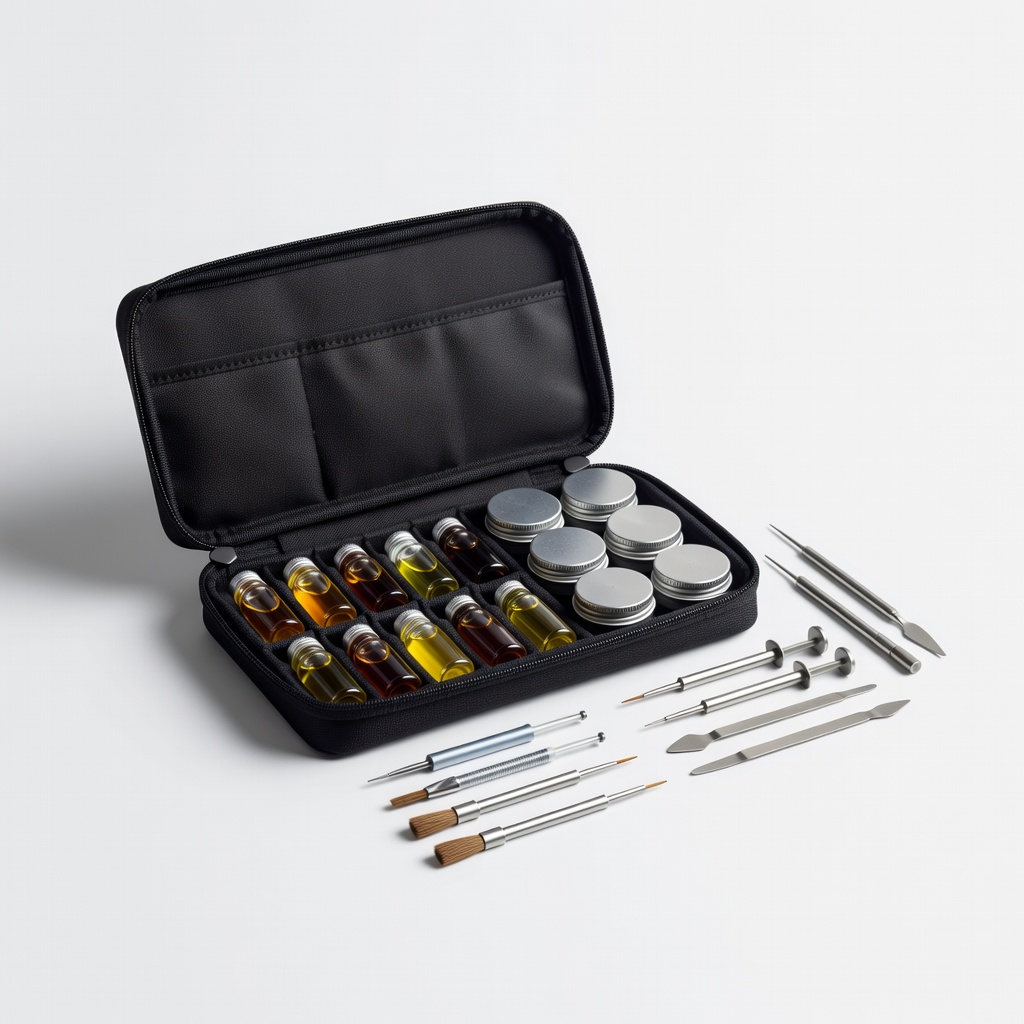
Nylon Watch Oil and Grease Kit for Cameras
Low-viscosity lubricants formulated for precision instruments, ensuring smooth mechanics without gumming.
Best for: Applying to shutters and gears in mechanical vintage cameras.
Price Range: $10-$15
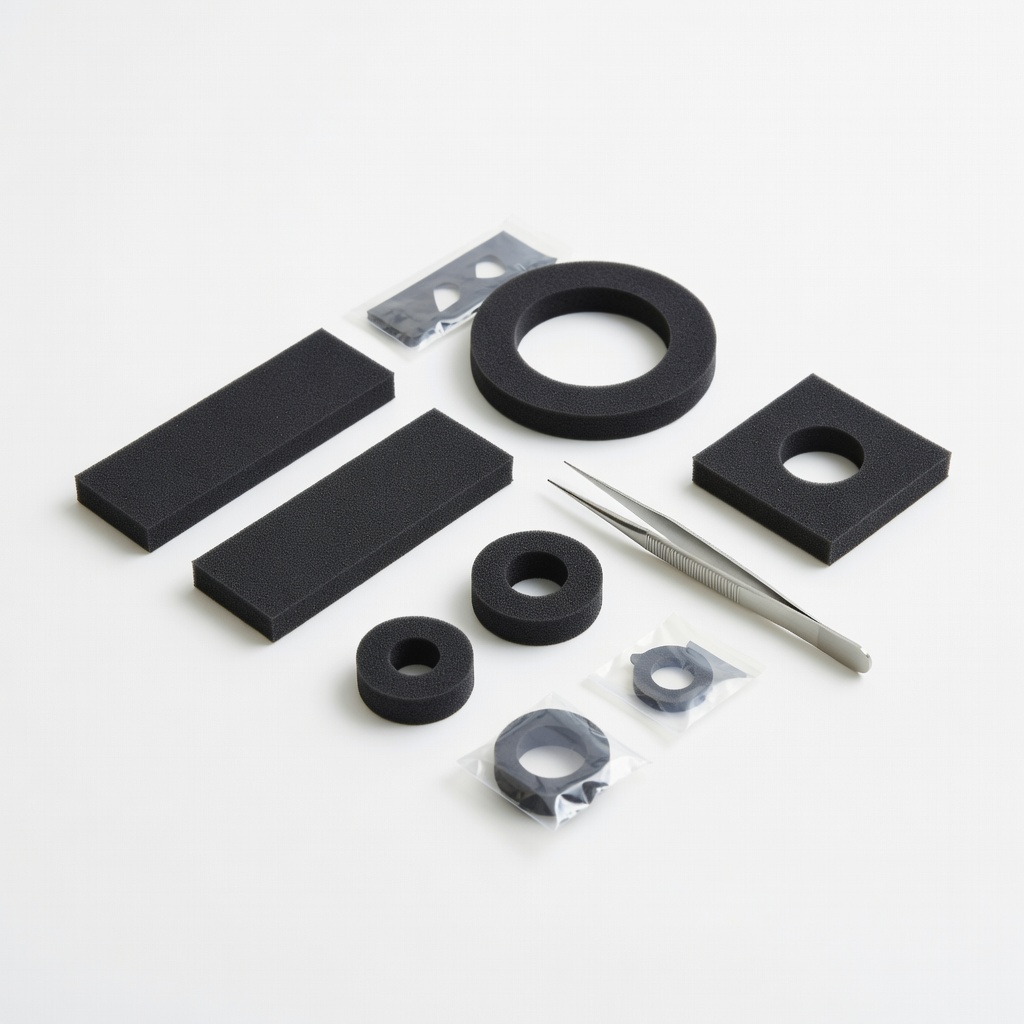
Foam Light Seal Replacement Kit
Pre-cut adhesive foam sheets in various sizes, making seal replacement easy and leak-proof.
Best for: Restoring light-tight compartments in film cameras to prevent exposure fog.
Price Range: $8-$12