Struggling to keep track of your business or personal finances? Many beginners make mistakes with single-entry methods, leading to unbalanced books and tax headaches. Double-entry bookkeeping, the gold standard since the 15th century, ensures every transaction is recorded twice for perfect balance.
In this guide, you'll learn the core principles, key terms, real-world examples, and how to apply them step-by-step. No prior knowledge needed—just 20-30 minutes to read and practice simple exercises. By the end, you'll confidently record transactions like a pro.
We'll break it down simply, using analogies like a seesaw for debits and credits, so you can start implementing today.
▸What You'll Need
- •Basic math skills (addition/subtraction)
- •Paper and pen or a spreadsheet (optional: Excel or Google Sheets)
- •Optional: A simple ledger notebook for practice
Estimated Time: 20-30 minutes
Difficulty: beginner
▸Step-by-Step Instructions
Step 1: Understand the Core Principle
Double-entry bookkeeping is based on one simple idea: every financial transaction affects two accounts. Unlike single-entry (like a checkbook), it records both sides to keep your books balanced.
Think of it as a seesaw—debits on one side, credits on the other. They must always equal out. This prevents errors and gives a true picture of your finances.
Why it matters: It catches mistakes early and is required for most businesses, audits, and loans.
💡 Tips:
- •Start with personal finances to practice before business.
Step 2: Learn Debits vs. Credits
Debits (DR) increase assets or expenses and decrease liabilities/equity/revenue. Credits (CR) do the opposite.
Mnemonic: DEAD CLIC - Debits: Expenses, Assets; Credits: Draws, Capital, Liabilities, Income, Contra-assets.
Don't worry about 'left/right' initially—focus on what increases/decreases. In a journal entry, total debits = total credits.
💡 Tips:
- •Use T-accounts: Draw a T, left=debit, right=credit for visualization.
⚠️ Warnings:
- •Avoid confusing debit as 'bad'—it's neutral, just a direction.
Step 3: Know the Five Main Account Types
Accounts fall into five categories:
- •Assets (what you own: cash, inventory)
- •Liabilities (what you owe: loans, bills)
- •Equity (owner's stake: capital, drawings)
- •Revenue (income: sales)
- •Expenses (costs: rent, supplies)
Each has normal balances: Assets/Expenses debit; others credit.
💡 Tips:
- •List your own: Bank = asset, Rent due = liability.
Step 4: Master the Accounting Equation
Assets = Liabilities + Equity (A = L + E). This is the foundation—always balances.
Every transaction keeps it true. Example: Borrow $10k (asset +$10k cash, liability +$10k loan).
Why it matters: Your trial balance checks this equation.
💡 Tips:
- •Rearrange to Expanded: A = L + OE - D + R - E (Owner's Equity, Draws, Revenue).
Step 5: Record a Simple Transaction
Steps to journalize:
- •Identify accounts affected.
- •Decide debit/credit.
- •Ensure totals equal.
Example: Pay $100 cash for supplies.
- •Debit Supplies (asset) $100
- •Credit Cash (asset) $100
Post to ledger (T-accounts), then trial balance.
💡 Tips:
- •Date every entry for chronology.
⚠️ Warnings:
- •Never post single-sided entries.
Step 6: Practice Real-World Examples
Sale for cash $500:
- •Debit Cash $500
- •Credit Sales Revenue $500
Buy supplies on credit $200:
- •Debit Supplies $200
- •Credit Accounts Payable $200
Do these on paper—your books stay balanced!
💡 Tips:
- •Use a spreadsheet for T-accounts.
Step 7: Create a Trial Balance
List all account balances: Debits one column, Credits other. Totals must match.
If not, check math/posting errors. This verifies your double-entry work.
Next steps: From trial balance to income statement/balance sheet.
⚠️ Warnings:
- •Unequal trial balance? Recheck every entry.
▸Pro Tips
- •Practice daily transactions from your wallet to build intuition.
- •Color-code: Blue for debits, red for credits.
- •Use free apps like Wave for hands-on without risk.
- •Start small—track one week's expenses first.
- •Review monthly: Reconcile bank statements.
- •Memorize via flashcards: Account type → normal balance.
- •Automate with software once comfortable.
▸Common Mistakes to Avoid
- •Confusing debits/credits: Fix by always asking 'what increases?'
- •Forgetting to balance entries: Always tally debits=credits before posting.
- •Mixing personal/business transactions: Use separate ledgers.
- •Ignoring dates: Leads to timeline errors in reports.
- •Overlooking contra-accounts (like depreciation).
▸Troubleshooting
Problem: Trial balance doesn't equal
Solution: Double-check math, omissions, or wrong account types. Divide difference by 2 for transposition errors.
Problem: Confused on which side to debit
Solution: Refer to DEAD CLIC rule or test against accounting equation.
Problem: Too many transactions to manual track
Solution: Switch to software like QuickBooks; import bank feeds.
The Accounting Game: Basic Accounting Fresh From the Lemonade Stand
Fun, analogy-based intro to double-entry using a lemonade stand—perfect for visual beginners.
Best for: Read alongside this guide for interactive learning.
Price Range: $15-$20
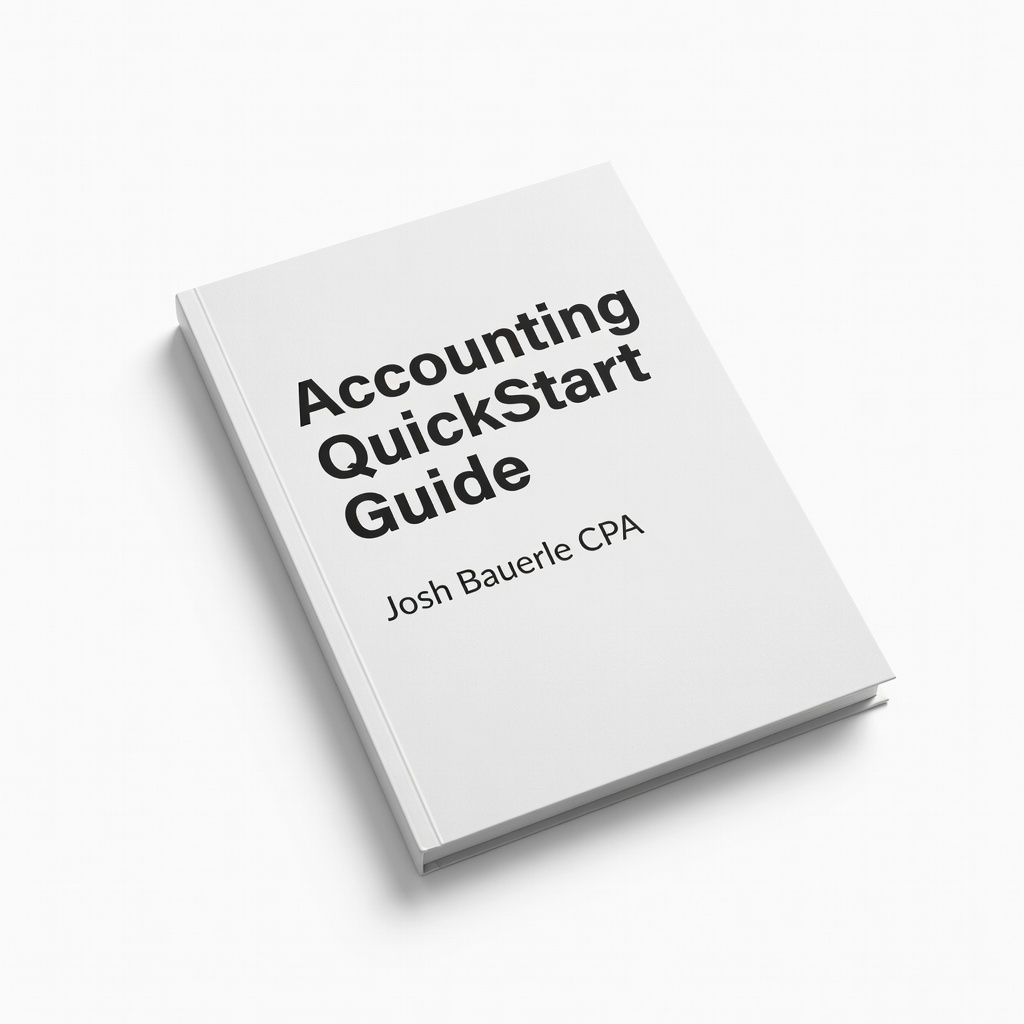
Accounting QuickStart Guide by Josh Bauerle CPA
Clear beginner explanations with examples, worksheets, and double-entry focus.
Best for: Reference for practice problems and deeper dives.
Price Range: $20-$25
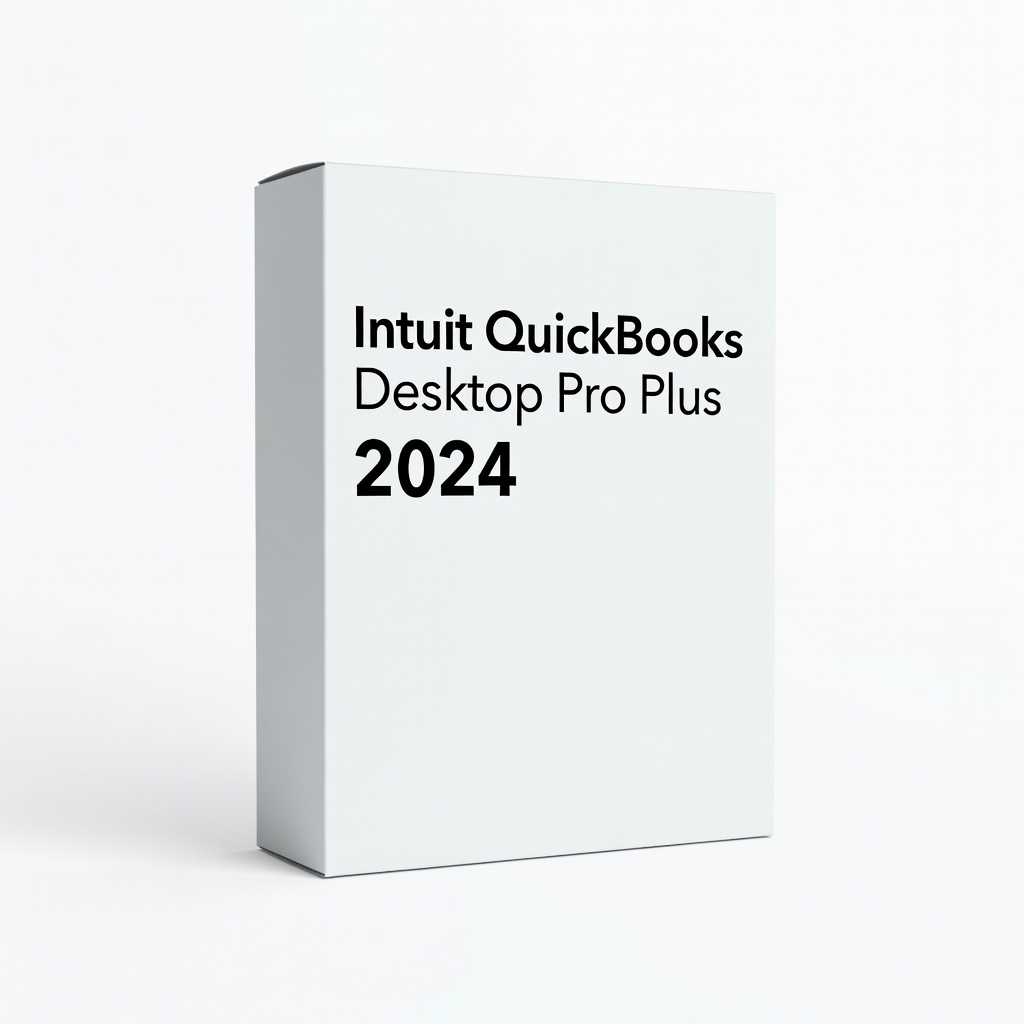
Intuit QuickBooks Desktop Pro Plus 2024
Automates double-entry, prevents errors, generates trial balances automatically.
Best for: Transition from manual to pro bookkeeping after basics.
Price Range: $300-$350
Premium Accounting Ledger Notebook by Comfy Stunden
Durable, columnar format ideal for manual double-entry practice.
Best for: Hands-on journaling transactions without software.
Price Range: $10-$15
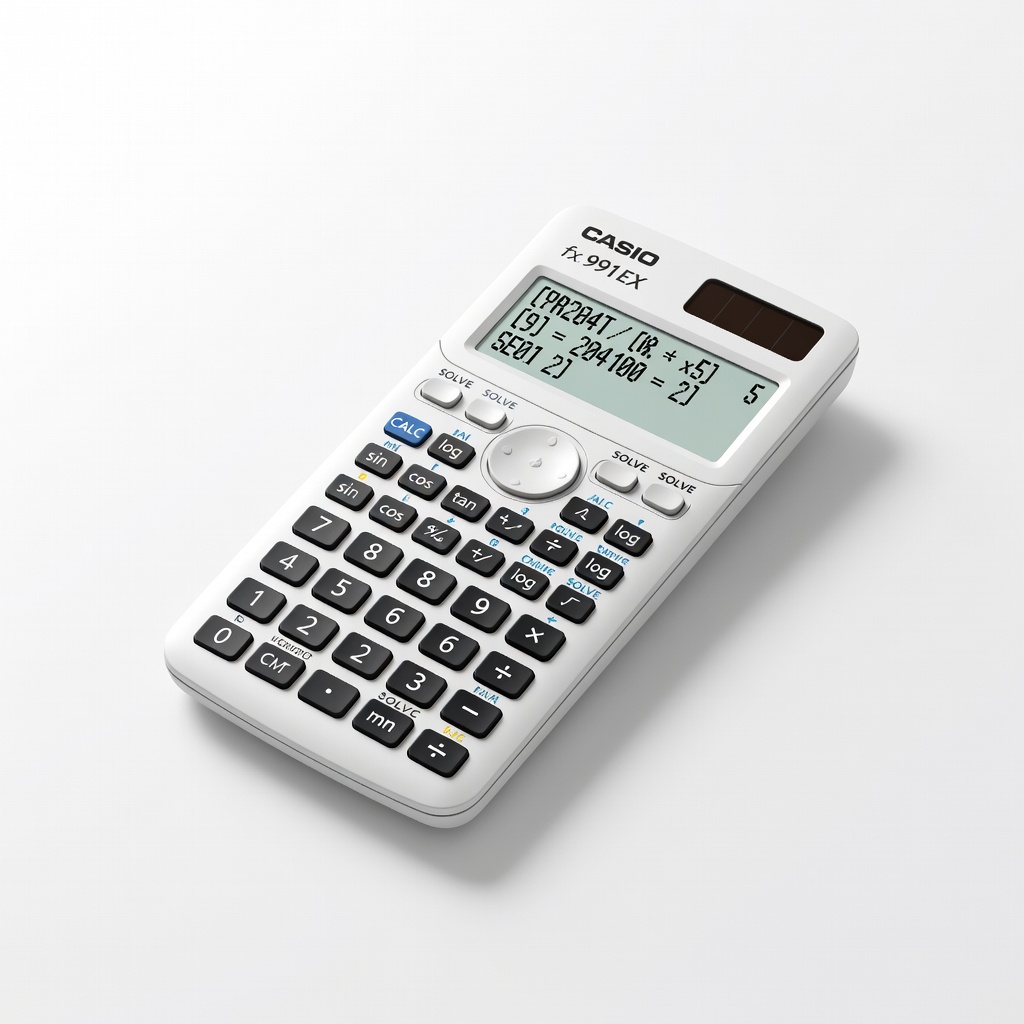
Casio fx-991EX ClassWiz Scientific Calculator
Handles complex calcs for balancing large ledgers accurately.
Best for: Quick additions during trial balance prep.
Price Range: $15-$20