
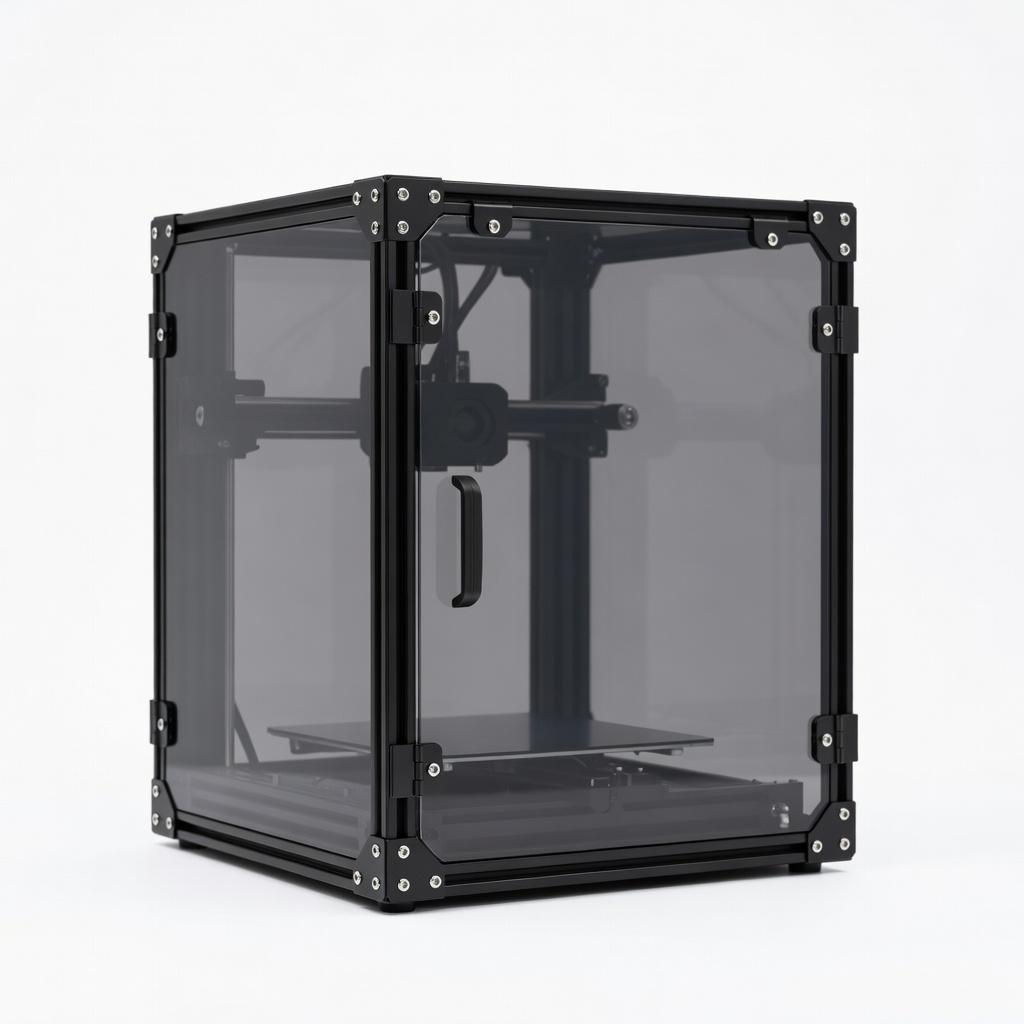
Creality Ender 3 Series Enclosure
Upgrade open-frame printers for ABS printing without DIY hassle.
$89-$129
Creality Ender 3 Series Enclosure Official acrylic enclosure with door and cable ports, perfect for Ender 3 users seeking easy temp control.
Get the App
Better experience on mobile
Unlock improved print quality, safety, and efficiency by understanding why 3D printer enclosures are a game-changer for intermediate users.
If you're printing with ABS or PETG on an open-frame 3D printer like the Ender 3, you've likely battled warping, inconsistent layer adhesion, and drafts ruining your prints. Noise from fans and moving parts can also disrupt your workspace, especially in a home office or shared space. Enclosures address these pain points head-on, creating a controlled environment that elevates your printing from hobby to pro-level.
In this guide, you'll learn the core benefits of 3D printer enclosures, from temperature stability to safety enhancements, with real-world examples and analogies. We'll break it down step-by-step, so you can decide if an enclosure is right for your setup. Expect a quick 15-minute read with actionable insights—no prior enclosure experience needed, just intermediate printing knowledge.
By the end, you'll know exactly how enclosures boost print success rates by up to 90% for tricky materials and why they're essential for scaling your 3D printing projects.
Estimated Time: 10-15 minutes Difficulty: intermediate
A 3D printer enclosure is a sealed or semi-sealed box that houses your printer, maintaining a stable internal environment. Think of it like a greenhouse for your prints: it traps heat, blocks drafts, and shields from external factors.
Why it matters: Open-frame printers expose prints to room air fluctuations, leading to failures. Enclosures create a micro-climate, ideal for temperature-sensitive filaments. Expect prints to complete without babysitting.
Common types include acrylic panels on frames, DIY tents, or integrated printer designs like Bambu Lab's.
💡 Tips:
Enclosures retain heat from the bed and hotend, keeping the chamber at a consistent 35-50°C. This is crucial for ABS, which warps below 40°C due to uneven cooling.
Analogy: Like baking a cake in an oven vs. open air—the enclosure prevents 'sinking' from cold spots. Tests show chamber temps stabilize 20-30% faster, reducing print times by 10-20%.
What to expect: Smoother bridges, no elephant's foot, and corner lifting eliminated.
💡 Tips:
⚠️ Warnings:
Stable temps mean better layer adhesion and reduced defects. Warping drops by 80-90% for engineering filaments like Nylon or PC.
Real-world example: Printing a 200mm drone arm—without enclosure, it fails 70% of the time; enclosed, 95% success.
Enclosures also minimize stringing by controlling airflow, leading to cleaner surfaces without post-processing.
Printer fans and steppers generate 50-70dB—loud as a conversation. Enclosures dampen this by 20-30dB, muffling to whisper levels.
Why it matters: Print overnight without disturbing family or pets. Acrylic and foam-lined enclosures absorb vibrations best.
Pro tip: Add acoustic foam inside for extra quiet.
💡 Tips:
3D printers pose fire risks (hotends up to 300°C) and emit ultrafine particles/styrene fumes. Enclosures contain fires, filter air, and prevent accidental touches.
Stats: NFPA reports rare but real printer fires—enclosures with smoke detectors add protection. HEPA filters capture 99.97% of particles.
Expectation: Peace of mind for unattended prints.
⚠️ Warnings:
Dust ruins nozzles and beds; enclosures keep internals pristine, extending maintenance intervals by 2-3x.
Efficiency boost: Consistent conditions allow faster speeds (50-100mm/s vs. 40mm/s open). ROI in 3-6 months via fewer failures.
Also protects from pets/kids knocking prints.
DIY: IKEA Lack table hacks ($20-50, customizable).
Pre-built: Official kits ($80-200, plug-and-play).
Integrated: Enclosed printers like Prusa XL ($1000+).
Choose DIY for budget, pre-built for convenience.
💡 Tips:
Problem: Overheating inside enclosure
Solution: Add active cooling fan and ventilation duct; monitor with IR thermometer.
Problem: Condensation on prints
Solution: Dry filament in advance and run dehumidifier in enclosure.
Problem: Noisy enclosure fans
Solution: Replace with Noctua low-noise fans; add foam padding.
Problem: Prints sticking to enclosure
Solution: Apply anti-static spray to panels; ensure proper spacing.
Official acrylic enclosure with door and cable ports, perfect for Ender 3 users seeking easy temp control.
Best for: Upgrade open-frame printers for ABS printing without DIY hassle.
Price Range: $89-$129
High-efficiency filter captures fumes and particles, enhancing safety in any enclosure.
Best for: Pair with DIY or basic enclosures for clean air in home setups.
Price Range: $50-$70
Budget-friendly DIY kit with connectors for stable, insulated build using common tables.
Best for: Intermediate users wanting customizable, large enclosures under $50.
Price Range: $20-$50
Sturdy frame with windows, designed for fast printers, reduces noise by 50%.
Best for: For Anycubic owners needing quick enclosure benefits.
Price Range: $70-$100
Ultra-quiet replacement for enclosure ventilation, maintains airflow without noise.
Best for: Silence fan-heavy setups in noise-sensitive environments.
Price Range: $25-$30
Upgrade open-frame printers for ABS printing without DIY hassle.
Creality Ender 3 Series Enclosure Official acrylic enclosure with door and cable ports, perfect for Ender 3 users seeking easy temp control.
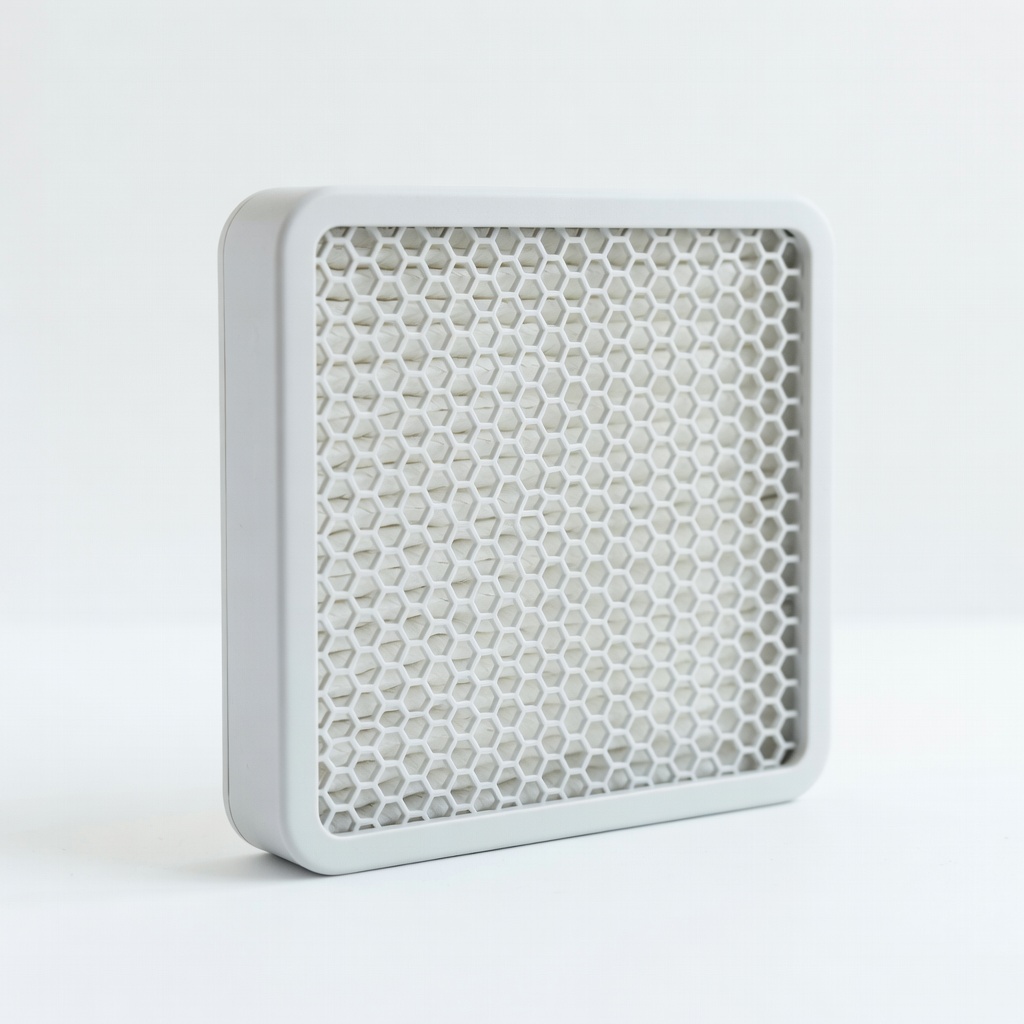
Pair with DIY or basic enclosures for clean air in home setups.
PrintedSolid HEPA Enclosure Filter High-efficiency filter captures fumes and particles, enhancing safety in any enclosure.
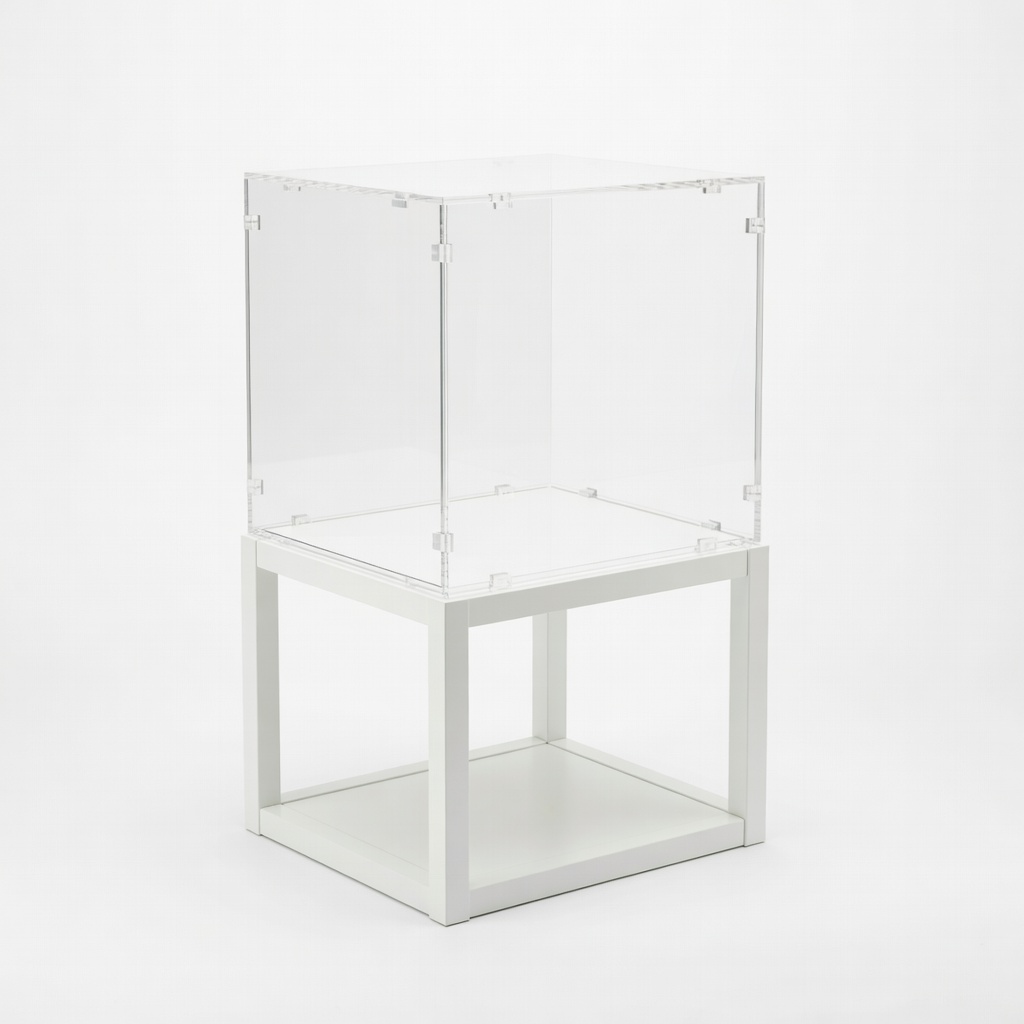
Intermediate users wanting customizable, large enclosures under $50.
IKEA LACK 3D Printer Enclosure Kit Budget-friendly DIY kit with connectors for stable, insulated build using common tables.
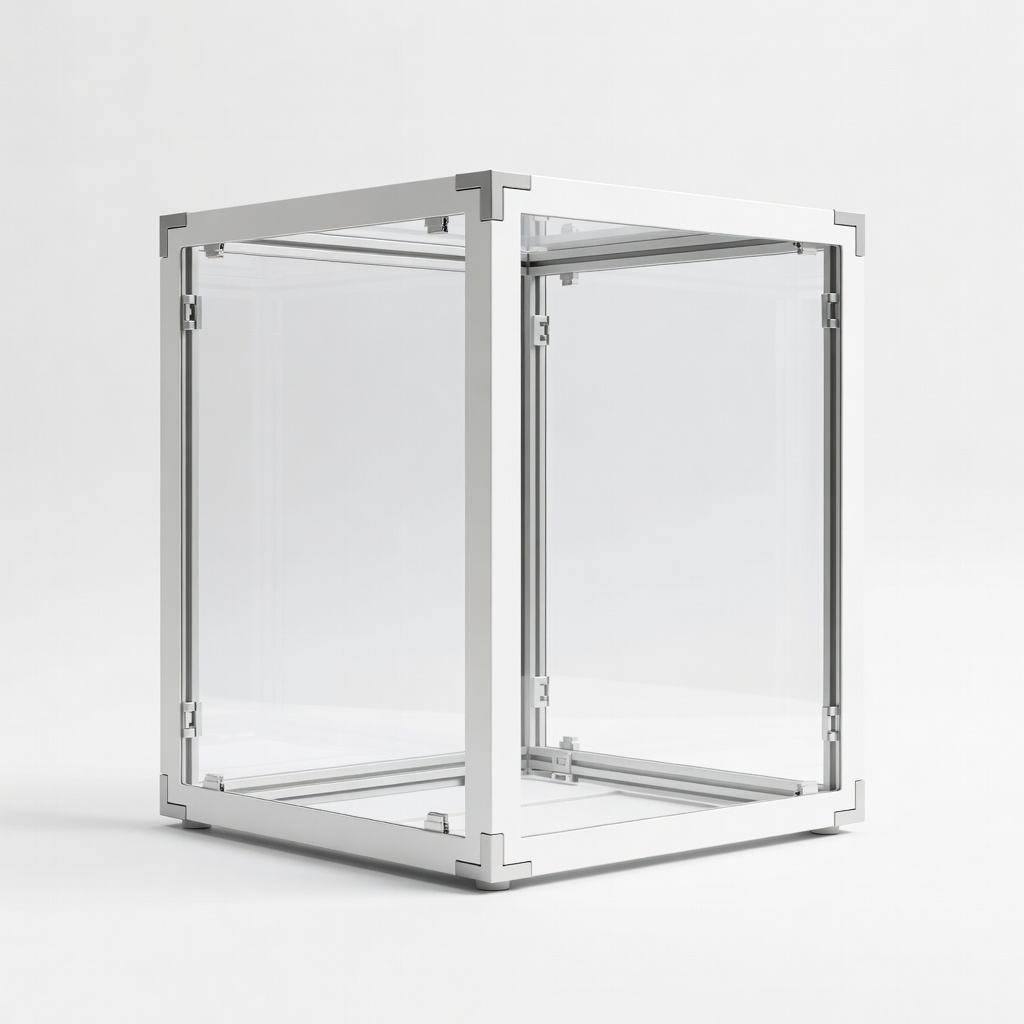
For Anycubic owners needing quick enclosure benefits.
Anycubic Kobra 2 Enclosure Sturdy frame with windows, designed for fast printers, reduces noise by 50%.
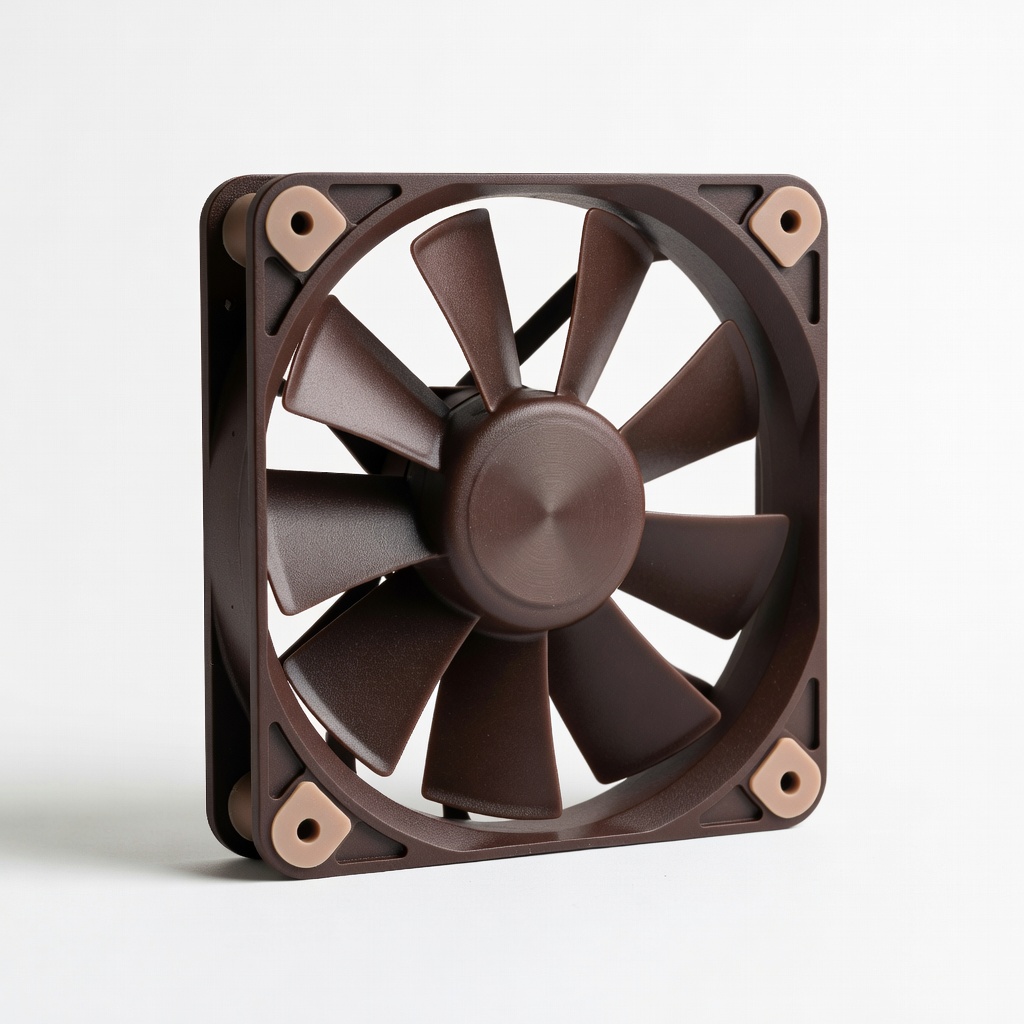
Silence fan-heavy setups in noise-sensitive environments.
Noctua NF-A12x25 Fan Ultra-quiet replacement for enclosure ventilation, maintains airflow without noise.