Do you wake up with sore jaw muscles, headaches, or worn-down teeth? You're not alone—millions suffer from bruxism, the involuntary grinding or clenching of teeth, often during sleep. This common issue can lead to dental damage, TMJ disorders, and disrupted rest if left unchecked. Anti-grinding mouthguards offer a simple, non-invasive solution to cushion your teeth and reduce grinding's impact.
In this guide, you'll learn what anti-grinding mouthguards are, how they work, and why they're essential for beginners dealing with teeth grinding. We'll break down the types available, then walk you through fitting a popular boil-and-bite model at home. No dental visits required—just 20-30 minutes of your time for a custom-like fit. By the end, you'll be equipped to protect your smile and improve your sleep quality.
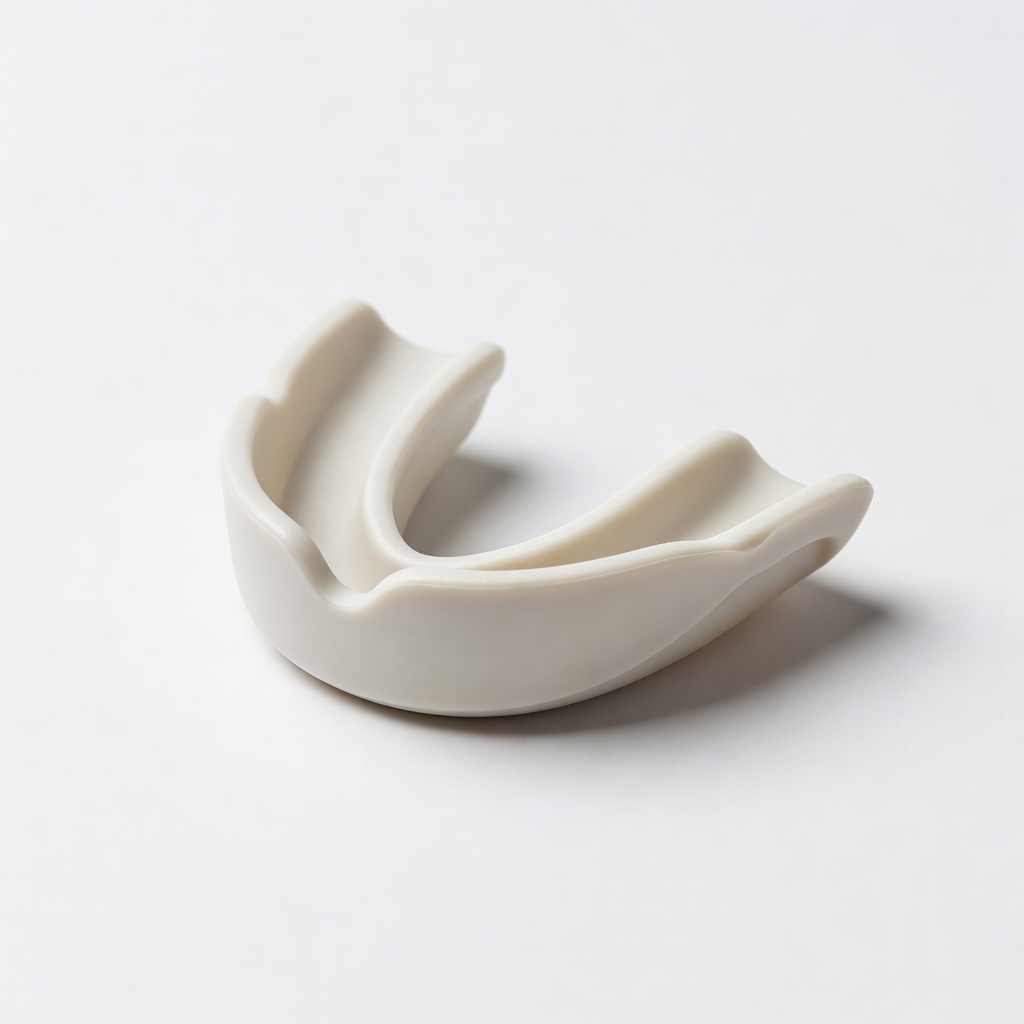
▸What You'll Need
- •Anti-grinding mouthguard kit (boil-and-bite type, required)
- •Pot or microwave-safe bowl for boiling water (required)
- •Cold water for cooling (required)
- •Timer or clock (required)
- •Mirror for checking fit (optional but recommended)
- •Towel to handle hot items (optional)
Estimated Time: 20-30 minutes
Difficulty: beginner
▸Step-by-Step Instructions
Step 1: Understand Bruxism and Why Mouthguards Matter
Bruxism is the medical term for teeth grinding or clenching, often happening unconsciously at night. It affects up to 30% of adults and can wear down enamel, crack teeth, or cause jaw pain. Anti-grinding mouthguards, also called night guards, act as a barrier between your upper and lower teeth, absorbing the pressure and preventing direct contact.
Think of it like shock absorbers in a car—they cushion the impact without stopping the motion entirely. For beginners, starting with this knowledge helps you appreciate the guard's role in protecting your dental health and reducing morning discomfort. Expect to feel relief from symptoms within the first few nights of use.
💡 Tips:
- •Track your symptoms in a journal before and after using a guard to see improvements.
⚠️ Warnings:
- •Ignore bruxism at your own risk—it can lead to costly dental repairs over time.
Step 2: Learn the Types of Anti-Grinding Mouthguards
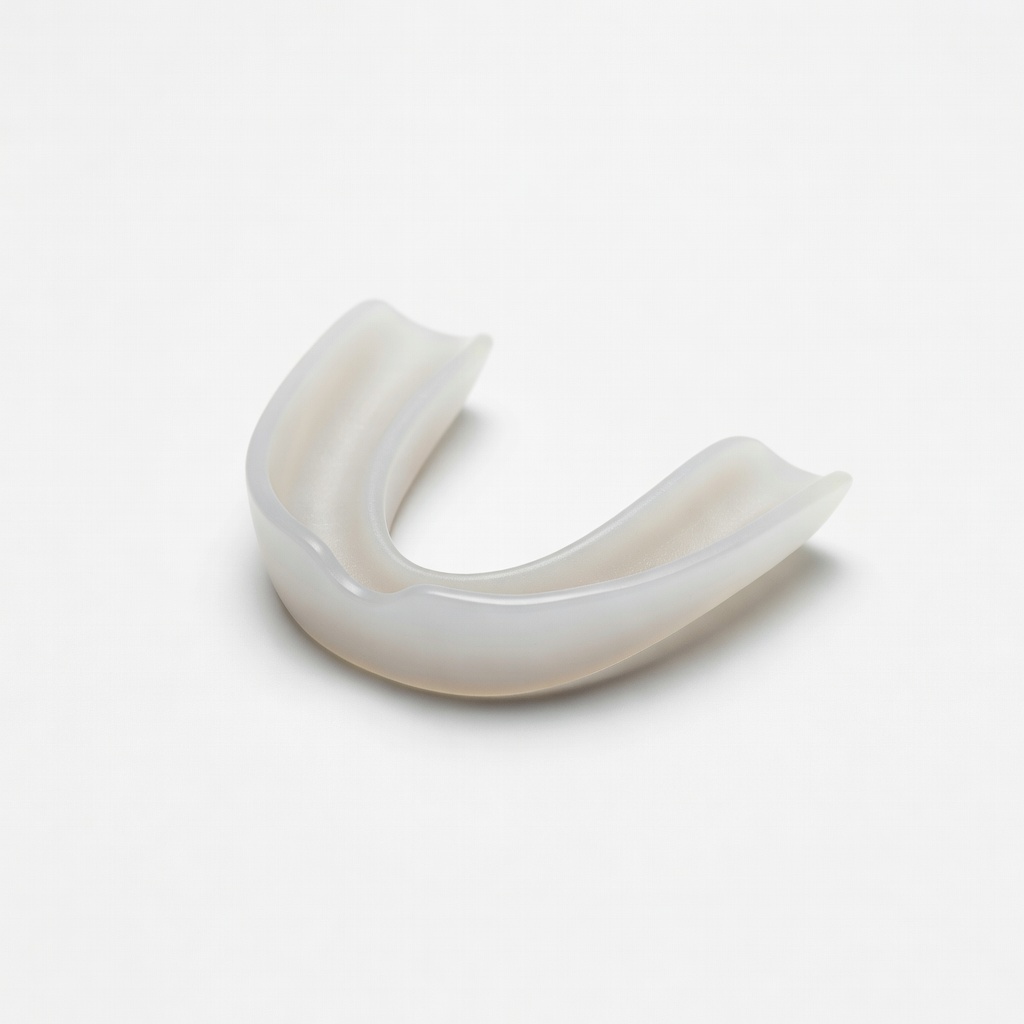
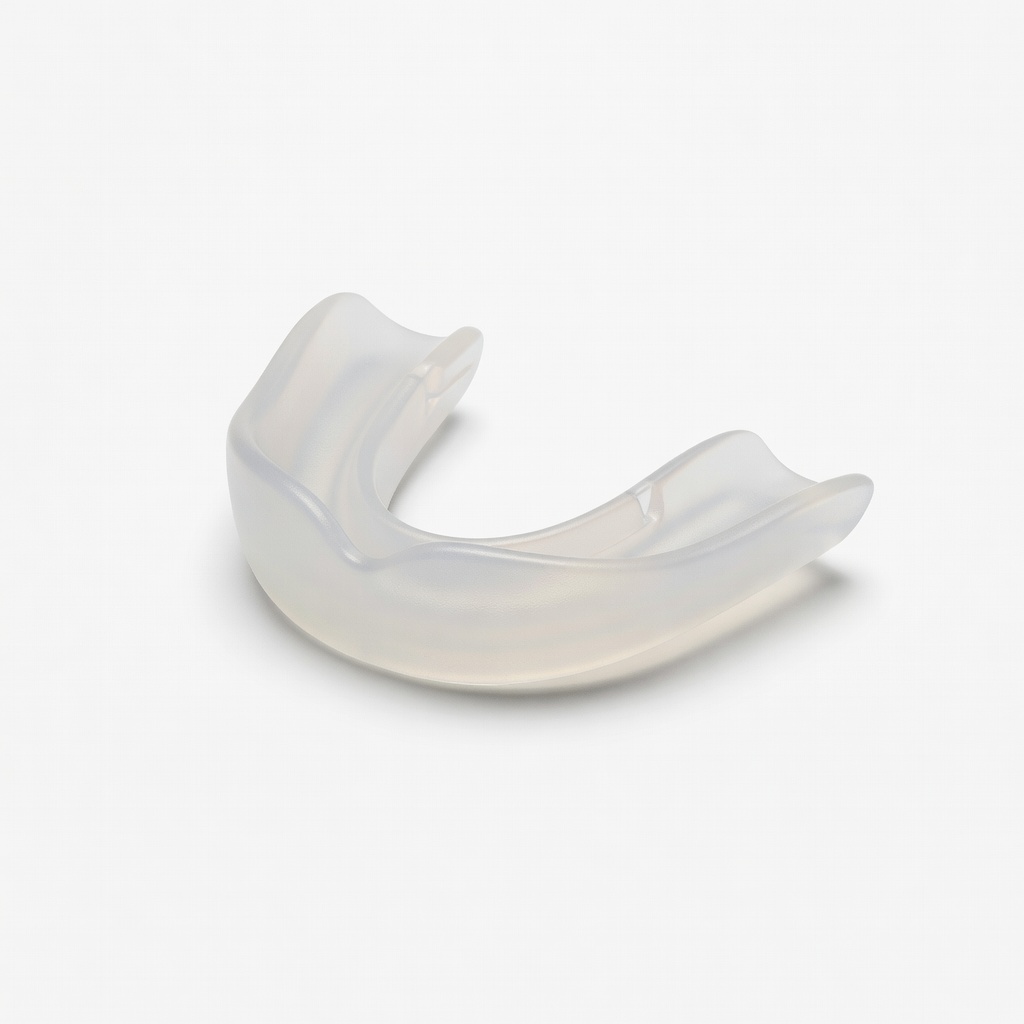
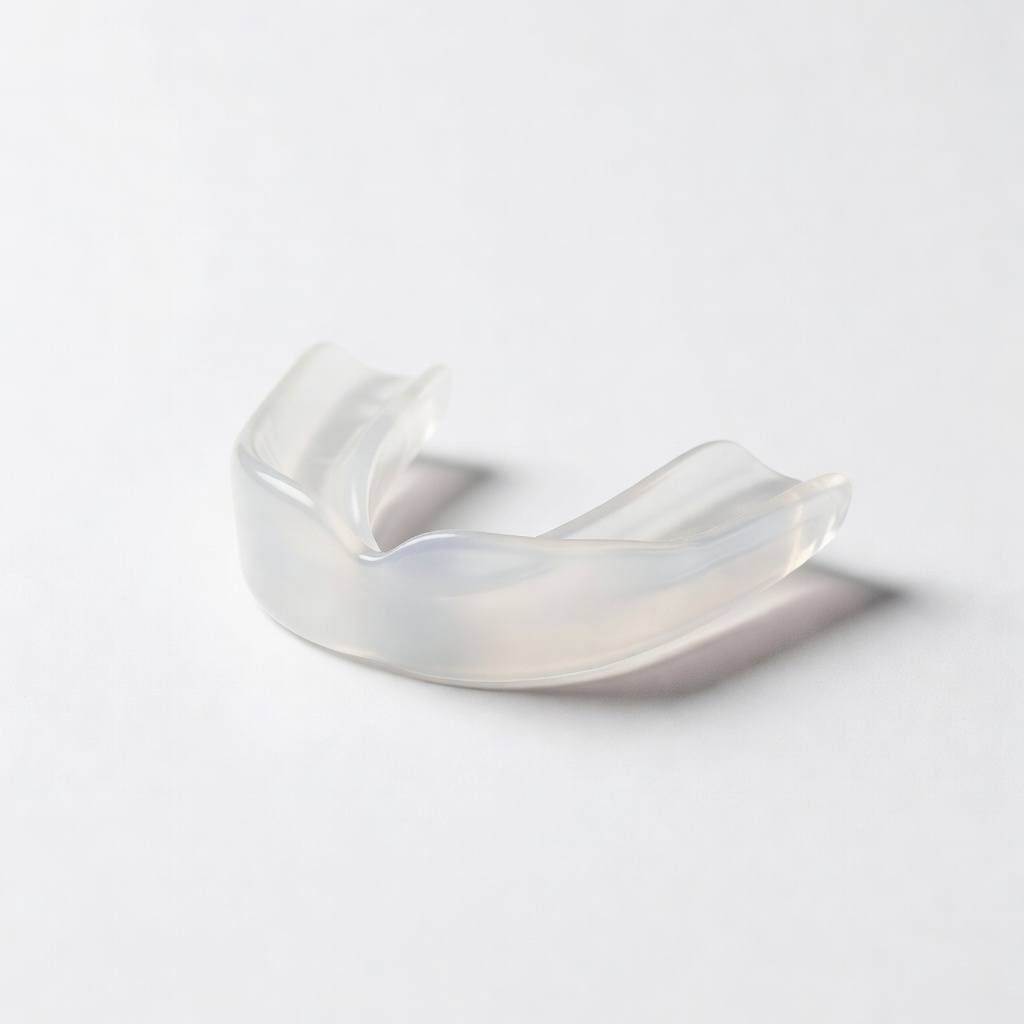
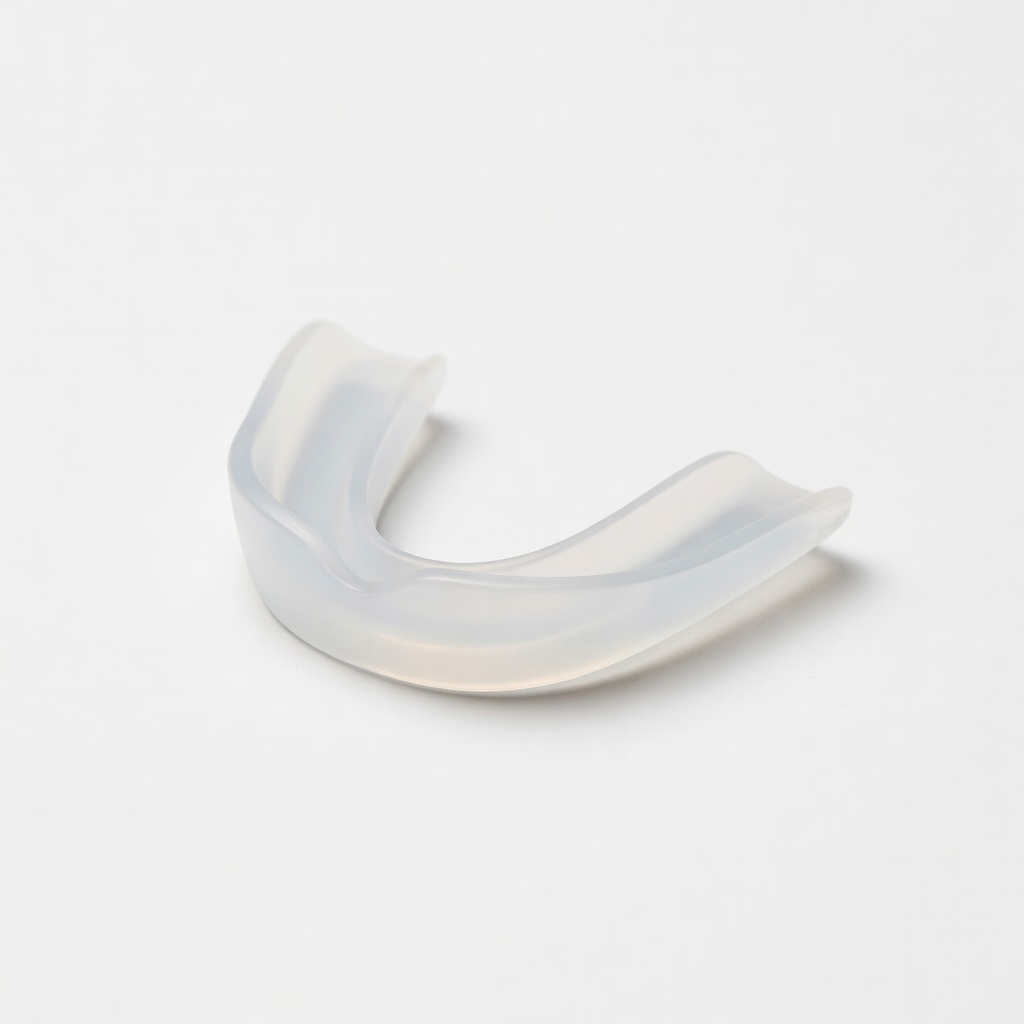
There are three main types: stock (pre-made, one-size-fits-all), boil-and-bite (customizable at home), and custom-fitted (made by a dentist). Stock guards are cheapest but least comfortable, like wearing oversized shoes. Boil-and-bite options, popular for beginners, soften in hot water and mold to your teeth for a semi-custom fit.
Custom guards offer the best protection but cost more and require a dental visit. For home fitting, we'll focus on boil-and-bite, which balances affordability and effectiveness. This type is ideal if you're new to mouthguards, as it provides a snug fit without professional help.
💡 Tips:
- •Choose a guard labeled for 'moderate to heavy grinding' if you suspect intense bruxism.
Step 3: Select the Right Mouthguard for Your Needs
Assess your grinding severity: light clenching might need a thin guard (1-2mm), while heavy grinding requires thicker (3-5mm) protection. Measure your mouth size if possible, or opt for adjustable models. Beginners should start with a dual-layer boil-and-bite for comfort and durability.
Why it matters: A poor fit can worsen discomfort or fall out at night. Expect to try a few sizes if buying online—most come with a money-back guarantee. This step ensures your guard aligns with your lifestyle, like if you breathe through your mouth.
⚠️ Warnings:
- •Avoid cheap, unbranded guards; they may contain harmful materials like BPA.
Step 4: Prepare Your Workspace for Fitting
Gather your materials in a clean, well-lit area. Boil water in a pot or use a microwave-safe bowl—aim for 170-180°F (77-82°C), not boiling to avoid melting the guard. Have cold water ready in a separate bowl for shocking the material.
This setup prevents burns and ensures hygiene. Why it matters: Proper preparation leads to a precise mold, mimicking a dental lab process at home. Expect the plastic to soften quickly, so work efficiently.
💡 Tips:
- •Test water temperature with a thermometer for accuracy.
Step 5: Soften the Mouthguard in Hot Water
Submerge the mouthguard in the hot water for 30-60 seconds, or as per instructions—watch for it to become pliable but not sticky. Use tongs to avoid burns. This activates the thermoplastic material, allowing it to conform to your teeth.
Analogy: It's like heating wax to shape a candle. Why it matters: Under-softening leads to a rigid fit; over-softening makes it too thin. Expect a slight chemical smell, which is normal and fades.
⚠️ Warnings:
- •Don't microwave the guard directly unless specified— it can warp unevenly.
Step 6: Mold the Guard to Your Upper Teeth
Quickly place the softened guard over your upper teeth, bite down gently, and use your fingers to press it against all surfaces—front, back, and chewing areas—for 20-30 seconds. Remove any excess material with scissors if needed.
This creates a personalized impression. Why it matters: A full contact fit distributes grinding force evenly, preventing slippage. Expect it to feel warm and slightly uncomfortable at first; it cools in 1-2 minutes.
💡 Tips:
- •Breathe through your nose and suck air to create suction for a tighter fit.
Step 7: Cool and Test the Fit
Dip the molded guard in cold water for 1 minute to set the shape. Then, try it on: it should fit snugly without pain, covering all teeth evenly. If loose, reheat and remold (most allow 2-3 tries).
Why it matters: A secure fit ensures it stays in place overnight. Expect minor adjustments; perfect fits improve with practice. If it feels off, don't force it—remold for comfort.
⚠️ Warnings:
- •Never wear a poorly fitted guard; it could cause more harm than good.
Step 8: Clean and Store Your Mouthguard
Rinse with cool water and brush gently with non-abrasive toothpaste. Store in a ventilated case to prevent bacteria buildup. Nightly cleaning keeps it hygienic.
This extends the guard's life (6-12 months). Why it matters: Poor hygiene can lead to infections. Expect it to last longer with proper care, saving you money.
💡 Tips:
- •Soak weekly in a denture cleaner solution for deep clean.
▸Pro Tips
- •Start wearing the guard for short periods during the day to get used to it.
- •If you have sensitive teeth, choose a guard with a soft inner layer for comfort.
- •Track wear and replace every 6 months or if it shows cracks.
- •Combine with stress-relief techniques like meditation to reduce grinding triggers.
- •For side sleepers, select a low-profile guard to avoid cheek irritation.
- •Use a mouthguard timer app to remind you of cleaning routines.
- •If fitting multiple times, note what worked to refine future attempts.
▸Common Mistakes to Avoid
- •Overheating the guard, leading to a thin or uneven fit—use a timer to avoid this.
- •Not biting down fully, resulting in loose coverage—press firmly for 30 seconds.
- •Skipping cleaning, which causes odor and bacterial growth—rinse every use.
- •Choosing the wrong thickness for your grinding level, offering inadequate protection—assess severity first.
- •Forcing a bad fit instead of remolding, potentially worsening jaw pain—always test thoroughly.
▸Troubleshooting
Problem: Guard feels too tight or causes pain
Solution: Reheat and remold with less pressure; if persists, try a softer model or consult a dentist.
Problem: Guard slips out during sleep
Solution: Ensure full molding coverage; trim excess edges and use suction technique when fitting.
Problem: Unpleasant taste or smell
Solution: Clean thoroughly with baking soda soak; replace if material is degraded.
Problem: No relief from grinding symptoms
Solution: Monitor for a week; if no improvement, see a dentist for custom options or underlying issues.
DenTek Comfort-Fit Dental Guard
Affordable boil-and-bite option with dual layers for comfort and durability, ideal for beginners fitting at home.
Best for: Moderate nighttime grinding; easy to mold and provides all-night protection.
Price Range: $15-$20
SleepRight No-Boil Dental Guard
No heating required—uses a self-fit tray system, making it foolproof for those afraid of hot water mishaps.
Best for: Light to moderate bruxism; great for travel or quick setup without tools.
Price Range: $20-$25
Pro Teeth Guard Custom Night Guard
Lab-made from impressions you take at home, offering professional-level fit without a dentist visit.
Best for: Heavy grinders needing precise protection; upgrade from boil-and-bite after trying basics.
Price Range: $50-$100
Oral-B Nighttime Dental Guard
Trusted brand with soft gel lining to reduce pressure on sensitive jaws, easy boil-and-bite process.
Best for: Beginners with jaw pain; provides cushioning for comfortable all-night wear.
Price Range: $25-$30
Sentry Maximum Protection Mouth Guard
Extra-thick design for severe grinding, with adjustable fit to prevent wear and tear.
Best for: Intense bruxism cases; durable for long-term use without frequent replacements.
Price Range: $10-$15