Struggling with glue messes or bulky tape in your scrapbooking projects? Adhesive dots are a game-changer for beginners, offering precise, clean application without the hassle.
In this guide, you'll discover what adhesive dots are best suited for in scrapbooking, including real-world examples and step-by-step breakdowns of their ideal applications. By the end, you'll know exactly when to reach for them over other adhesives, helping you achieve professional-looking layouts effortlessly.
Expect a quick read (under 20 minutes) with simple explanations—no prior experience needed. We'll cover benefits, uses, tips, and product picks to get you started right away.
▸What You'll Need
- •Scrapbook album or cardstock pages (required)
- •Photos, paper cutouts, or small embellishments (required)
- •Adhesive dots dispenser or roll (required)
- •Tweezers for precision placement (optional but recommended)
- •Basic scrapbooking tools like scissors and ruler (optional)
Estimated Time: 15-20 minutes to read and plan your first project
Difficulty: beginner
▸Step-by-Step Instructions
Step 1: Understand What Adhesive Dots Are
Adhesive dots are tiny, pre-cut circles of double-sided adhesive, about the size of a pinhead to a pencil eraser (1/16" to 1/2" diameter). Think of them like mini stickers for paper—they're sticky on both sides and dispense easily from a roll or gun.
Unlike liquid glue, which can wrinkle paper or ooze, or tape runners that leave lines, dots provide pinpoint control. They're acid-free and lignin-free, safe for preserving photos long-term. In scrapbooking, this means no cleanup and archival quality.
Expect crystal-clear or foam varieties: clear for flat bonds, foam for dimension.
💡 Tips:
- •Start with a dispenser for easy peeling.
- •Test on scrap paper to see dot size effects.
Step 2: Securing Small Embellishments
Ideal for: Tiny jewels, sequins, buttons, or die-cuts. Dots excel here because one or two can hold lightweight items without overwhelming the design.
Place a dot on the back of the embellishment, press onto your page—done. This prevents glue from seeping out edges, keeping layouts crisp. Analogy: Like using staples instead of nails for delicate fabrics.
Why it matters: Scrapbook pages get handled often; dots provide reliable hold without residue.
💡 Tips:
- •Use mini dots (1/16") for ultra-small items.
- •Layer 2-3 for heavier beads.
⚠️ Warnings:
- •Avoid on slick surfaces like laminates—opt for stronger dots.
Step 3: Mounting Photos Without Bulk
Adhesive dots are perfect for lifting photos slightly off the page for a shadow effect. Place 4 dots at photo corners—voilà, dimension without foam tape's thickness.
This technique adds depth to flat layouts, making albums pop. Better than glue sticks (no bubbles) or photo corners (visible hardware).
Expect easy repositioning with removable dots if you adjust layouts mid-project.
💡 Tips:
- •Use 1/8" dots for standard 4x6 photos.
- •Press firmly for 10 seconds for best adhesion.
Step 4: Creating 3D Layered Effects
Prime use: Stacking elements like flowers, tags, or vellum. Foam adhesive dots (thicker, 1/16" high) build height effortlessly.
Stack 2-4 layers for dramatic pops. Analogy: Lego bricks for paper crafting—precise and stackable.
Ideal for interactive pages; holds through flipping without flattening.
💡 Tips:
- •Mix clear and foam dots for varied heights.
- •Store extras in a baggie to prevent dust.
⚠️ Warnings:
- •Don't overload—one stack per focal point to avoid top-heaviness.
Step 5: Attaching Ribbons and Trims
Dots grip fabric ribbons or lace without soaking through like liquid glue. Dot every 1/2" along the back for secure, invisible hold.
Great for borders or journaling strips. Why ideal: No fraying, no mess, and flexible for curved paths.
Pro result: Pages that withstand mailing or gifting.
💡 Tips:
- •Micro dots for thin trims.
- •Heat gently with dryer if repositioning fabric.
Step 6: Repositioning During Layout
Removable adhesive dots let you experiment freely—stick, peel, restick up to 10 times without residue.
Perfect for beginners tweaking designs. Transition to permanent dots once layout is final.
This flexibility mimics digital design software in physical form.
💡 Tips:
- •Pair with washi tape for temporary holds.
- •Use on vellum or transparencies easily.
Step 7: Combining with Other Adhesives
Use dots for details, glue sticks for large areas—hybrid approach for efficiency.
Example: Dots for brads/eyes, runner for backgrounds. Maximizes strengths, minimizes waste.
Advanced tip: Dots under pop-up elements for mechanisms.
💡 Tips:
- •Keep a variety pack handy.
- •Dots + Zots for mixed media.
▸Pro Tips
- •Always work on a non-stick mat to catch stray dots.
- •Finger pressure > tools for best adhesion—warmth activates stickiness.
- •Buy multi-packs: 50% mini dots, 30% medium, 20% foam.
- •Store in cool, dry place; humidity weakens bond.
- •Use tweezers for dots under 1/8"—precision like microsurgery.
- •Test dot strength on your paper type first.
- •Refill dispensers save time over picking singles.
▸Common Mistakes to Avoid
- •Using too many dots—leads to puckering; one per sq inch max.
- •Skipping acid-free check—fades photos over time; always verify packaging.
- •Pressing too lightly—bond fails; hold 5-10 seconds.
- •Ignoring dot size—oversized dots bulge edges; match to item.
- •Exposing to heat/sun—melts or yellows; store properly.
▸Troubleshooting
Problem: Dots not sticking
Solution: Clean surfaces with alcohol wipe; ensure paper isn't oily. Use fresh dots.
Problem: Dots too sticky/hard to remove
Solution: Switch to removable formula. Peel slowly at angle.
Problem: Dots leaving residue
Solution: Expired or low-quality—replace with archival brand. Rub gently with eraser.
Problem: Foam dots compressing
Solution: Use fewer layers or sturdier foam type. Avoid heavy top elements.
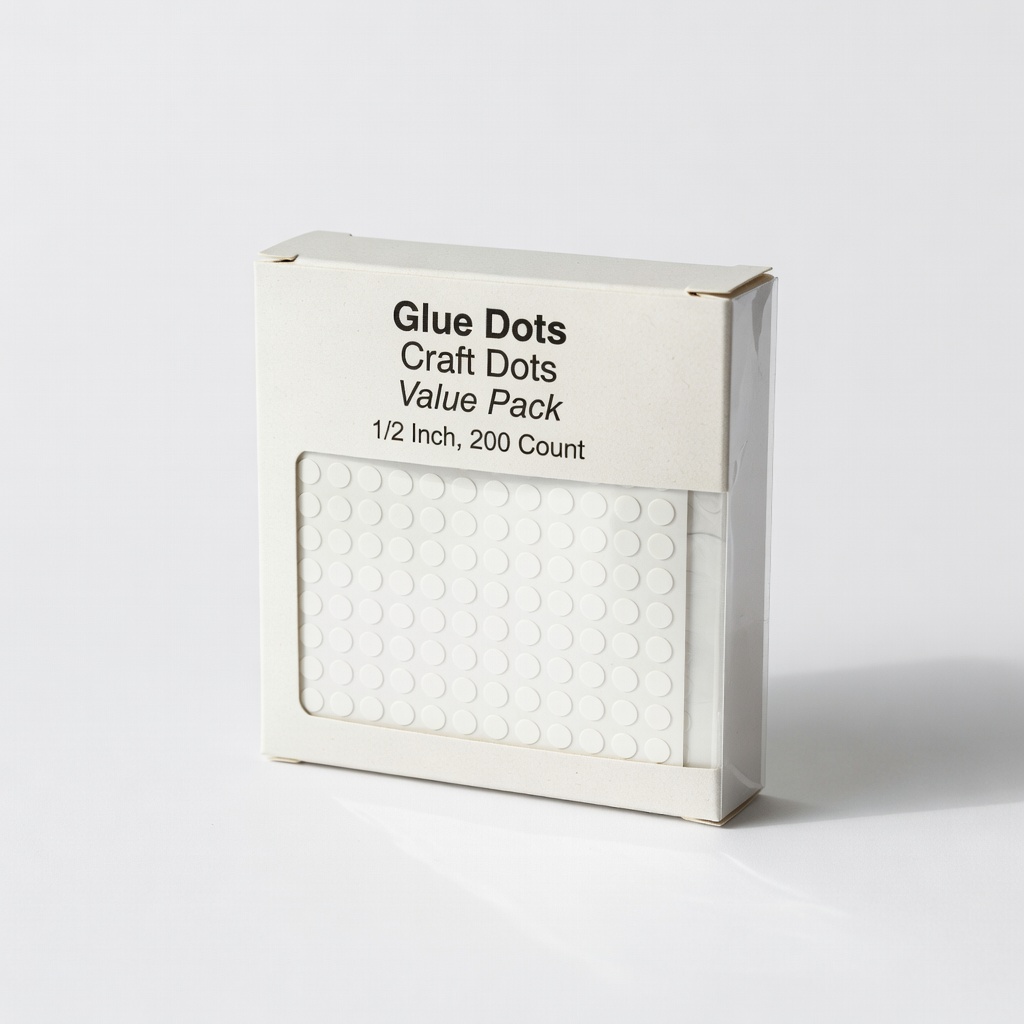
Glue Dots Craft Dots Value Pack, 1/2 Inch, 200 Count
Versatile size for most scrapbooking needs, acid-free, and easy to dispense for beginners.
Best for: Everyday embellishments and photo mounting on standard pages.
Price Range: $6.99-$8.99
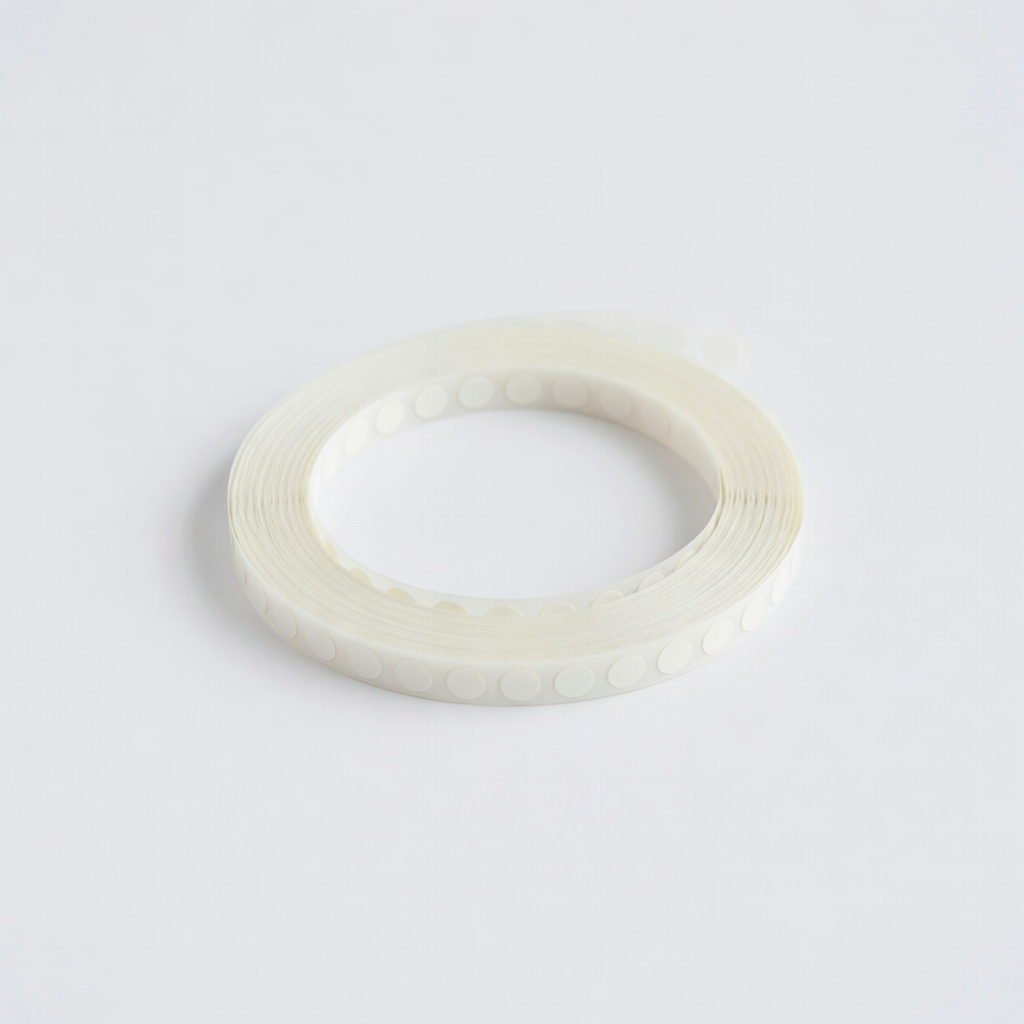
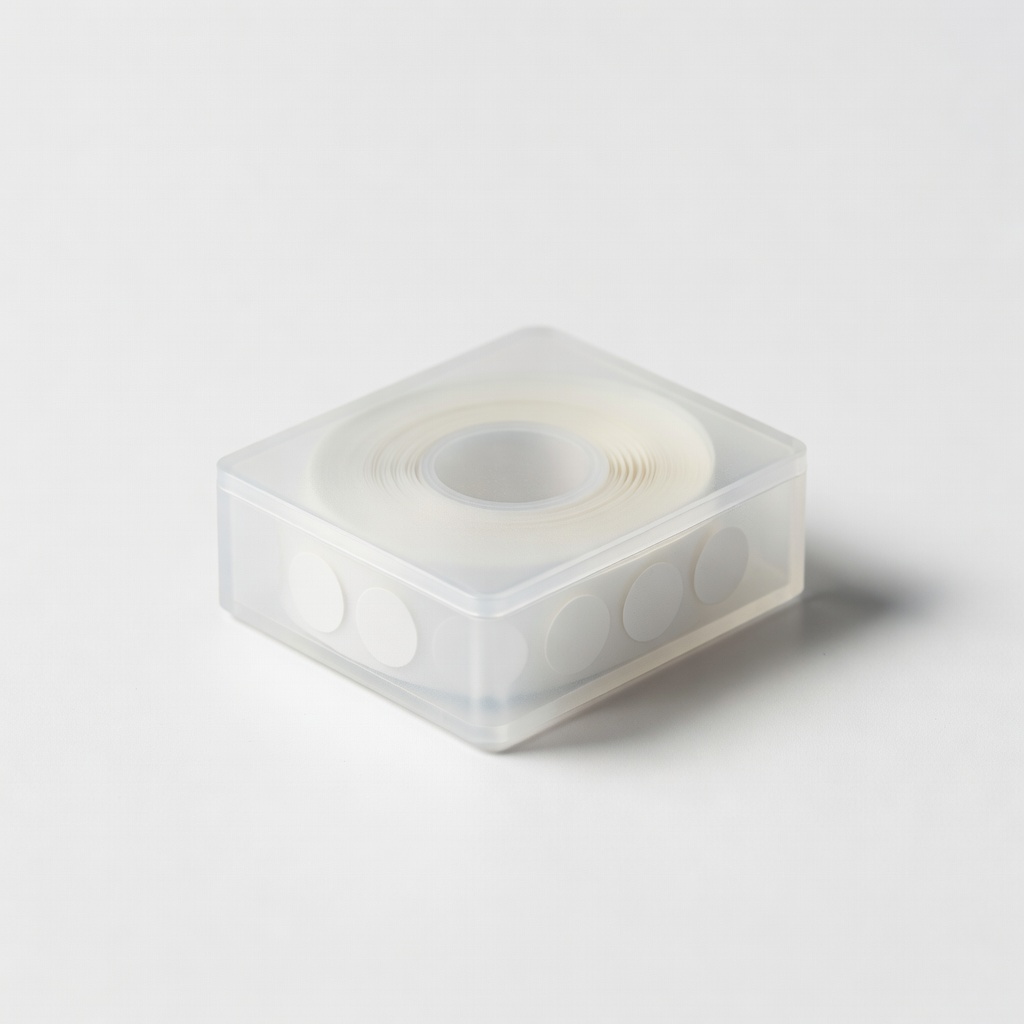
Scrapbook Adhesives by 3L E-Z Dots Permanent Refill, 8mm
Precision dispenser prevents waste, strong permanent hold without mess.
Best for: Small die-cuts, ribbons, and final layouts that won't be repositioned.
Price Range: $4.99-$6.99
Zots by Glue Dots Medium Dots, 1/2 Inch, 125 Count
Medium strength for 3D effects, removable option available, budget-friendly bulk.
Best for: Layering flowers or tags where some flexibility is needed.
Price Range: $5.49-$7.49
iCraft Fabric Fuse Adhesive Dots, 1/4 Inch
Fabric-specific for ribbons/lace, flexible dry, machine-washable bond.
Best for: Textile embellishments that need durability.
Price Range: $4.99