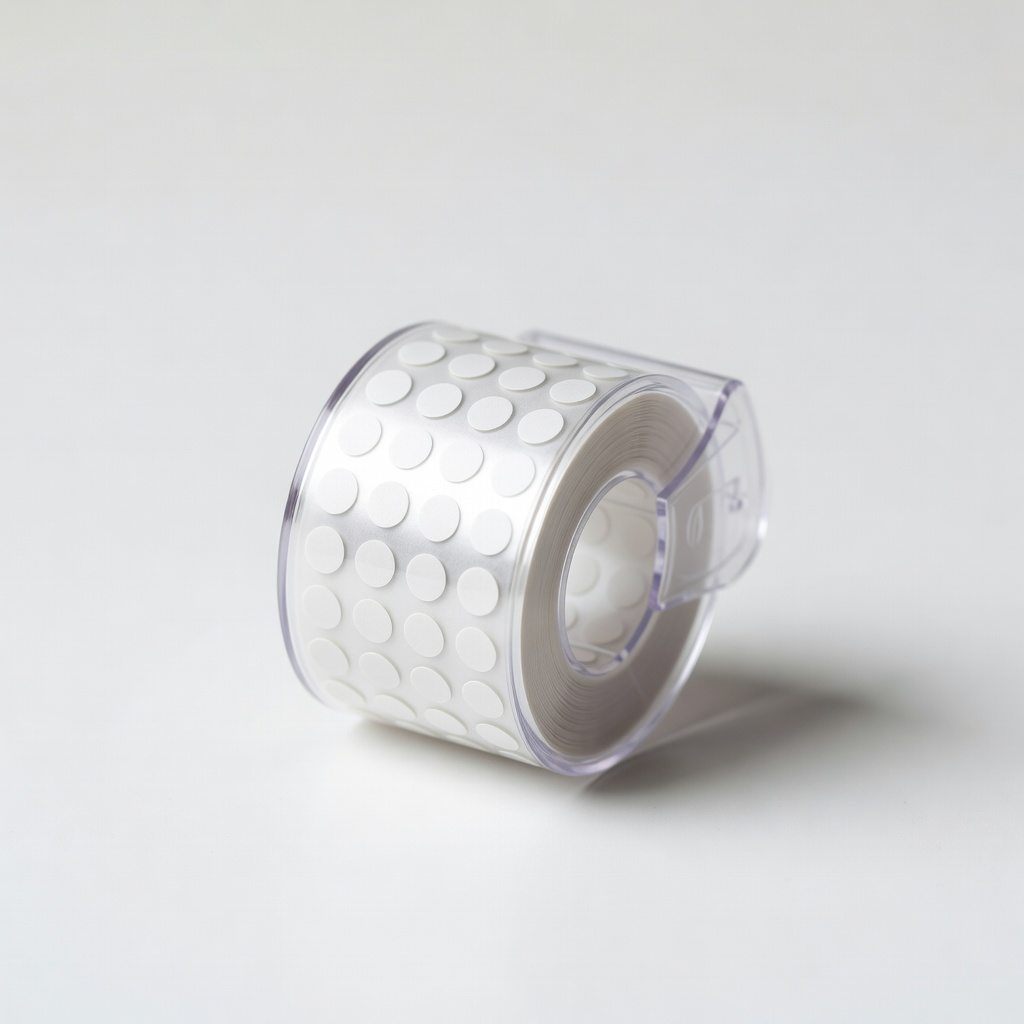
Glue Dots Craft Dots .30" Diameter, 200 Count
Everyday scrapbooking; strong hold on paper without showing.
$4.99-$6.99
Glue Dots Craft Dots .30" Diameter, 200 Count Affordable, clear, permanent dots perfect for beginner photo mounting.
Get the App
Better experience on mobile
Learn what adhesive dots are, their types, uses, and why they're perfect for mess-free scrapbooking as a beginner.
Struggling with glue messes ruining your scrapbook pages? Adhesive dots are a game-changer for beginners, offering precise, clean application without the sticky hassle of liquid glue or tape runners.
In this guide, you'll discover what adhesive dots are made of, the different types available, how to use them effectively, and their benefits for scrapbooking projects. Whether you're preserving family photos or creating themed layouts, you'll understand why these tiny dots are essential. Expect a quick read (10-15 minutes) with simple explanations and no prior experience needed.
By the end, you'll confidently choose and apply adhesive dots to elevate your crafts.
Estimated Time: 10-15 minutes to read and understand Difficulty: beginner
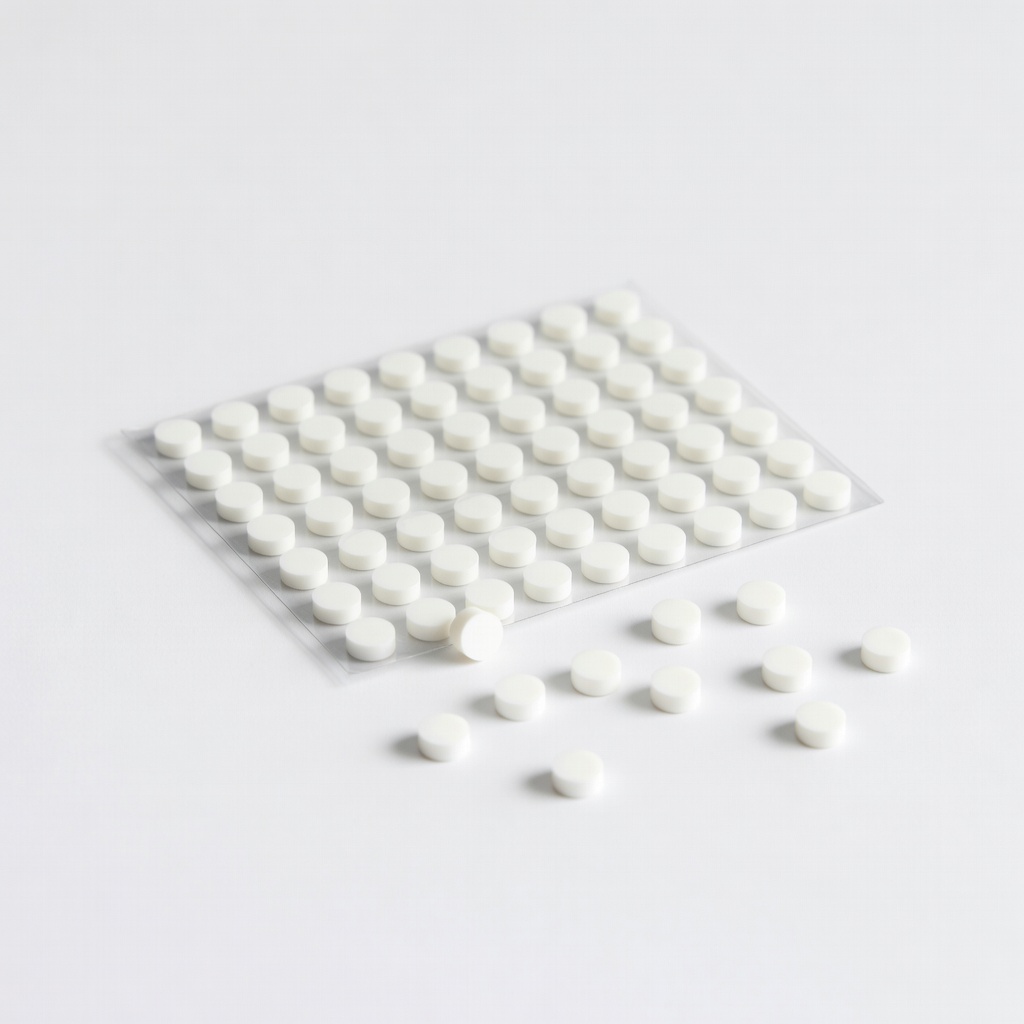
Adhesive dots are small, pre-cut circles or squares of double-sided adhesive, about the size of a pinhead to a pencil eraser (typically 1/16" to 1/2" diameter). They're designed specifically for crafting, providing instant stick without drying time.
Think of them like tiny stickers with glue on both sides—one side sticks to your scrapbook page, the other to your photo or embellishment. Unlike messy glue sticks, they won't wrinkle paper or leave residue. Expect a clean, repositionable hold (depending on type) that's perfect for delicate materials.
Why it matters: They solve the beginner pain of uneven glue application, ensuring professional-looking pages.
💡 Tips:
Compare adhesive dots to glue sticks (messy, can soak through), tape runners (linear, not dotted for dimension), or liquid glue (dries slow, warps paper). Dots offer precision—place one where needed without excess.
Analogy: If glue is like butter spread everywhere, dots are pats of butter exactly where you want flavor. They're acid-free and lignin-free, safe for photos (archival quality).
Expect: Strong hold on paper, vellum, foam; weaker on slick surfaces like plastic.
⚠️ Warnings:
Permanent dots: For forever bonds, like securing photos.
Removable dots: Repositionable, great for layouts you're tweaking.
Foam dots (3D): Add dimension for pop-up effects on flowers or titles.
Micro/mini dots: Tiny (1/16") for fine details like rhinestones.
Choose based on project: flat pages use standard, layered use foam.
💡 Tips:
Made from synthetic rubber or acrylic polymers, coated on a plastic release liner. Acid-free formula prevents yellowing over time.
Why safe: Photo-safe (pH neutral), non-toxic, solvent-free—no fumes for kids' crafts.
Expect 100-500 dots per pack, lasting months for hobbyists.
Why: Ensures air bubbles don't form. Test on scrap paper first.
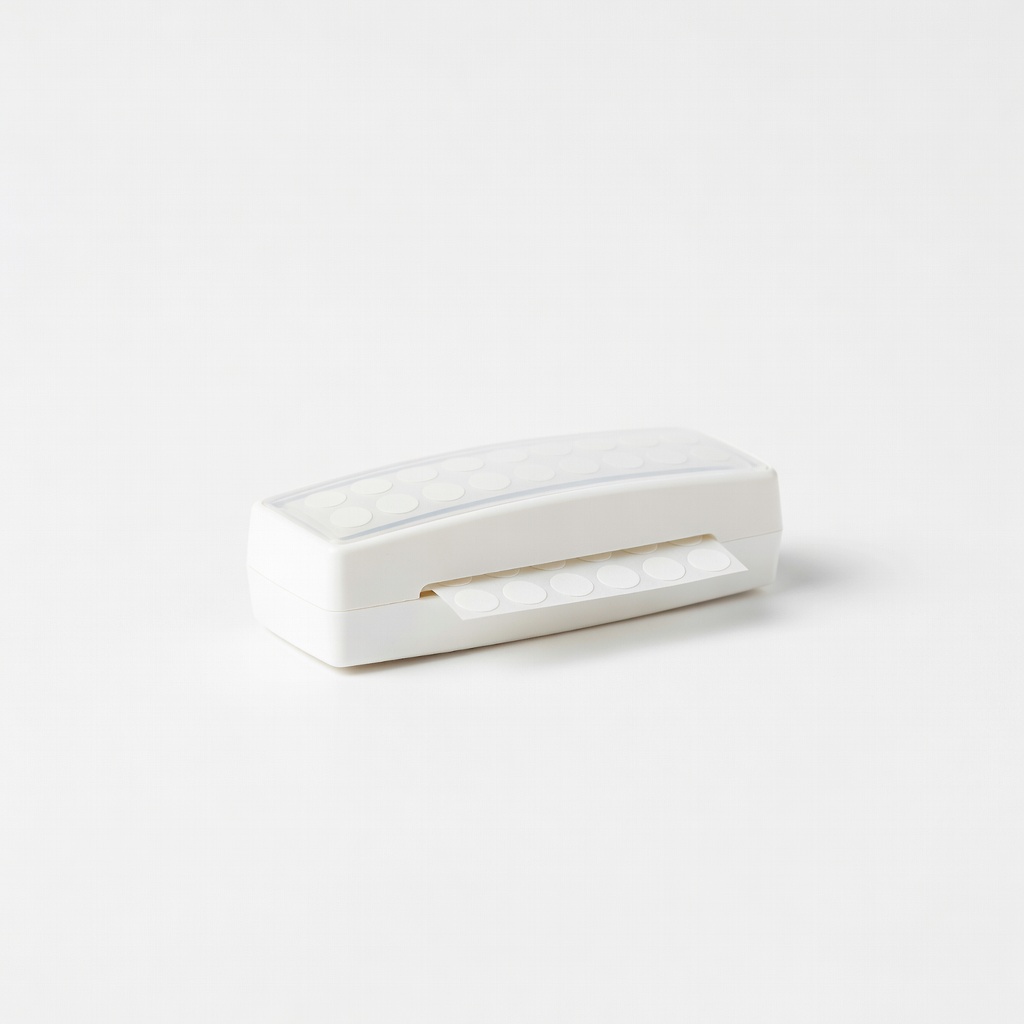
For bulk: Use dispenser rolls for speed.
💡 Tips:
⚠️ Warnings:
Precision: Ideal for small areas. No mess: Dry application. Versatile: Works on paper, fabric, wood. Quick: Instant hold, no clamping.
Real-world: Perfect for journaling spots or clustering embellishments.
Store in cool, dry place; reseal pack. Last 1-2 years if protected from dust/humidity.
Tip: Use divided storage for types.
⚠️ Warnings:
Problem: Dots not sticking
Solution: Clean surfaces with alcohol wipe; ensure room >60°F. Replace old dots.
Problem: Dots too sticky/pull up paper
Solution: Use removable type or less pressure. For paper tears, switch to foam.
Problem: Dust/lint on dots
Solution: Store sealed; use in clean workspace. Discard contaminated ones.
Affordable, clear, permanent dots perfect for beginner photo mounting.
Best for: Everyday scrapbooking; strong hold on paper without showing.
Price Range: $4.99-$6.99
Adds dimension reliably; archival safe for layered designs.
Best for: Embellishments, titles needing pop-up effect.
Price Range: $3.99-$5.99
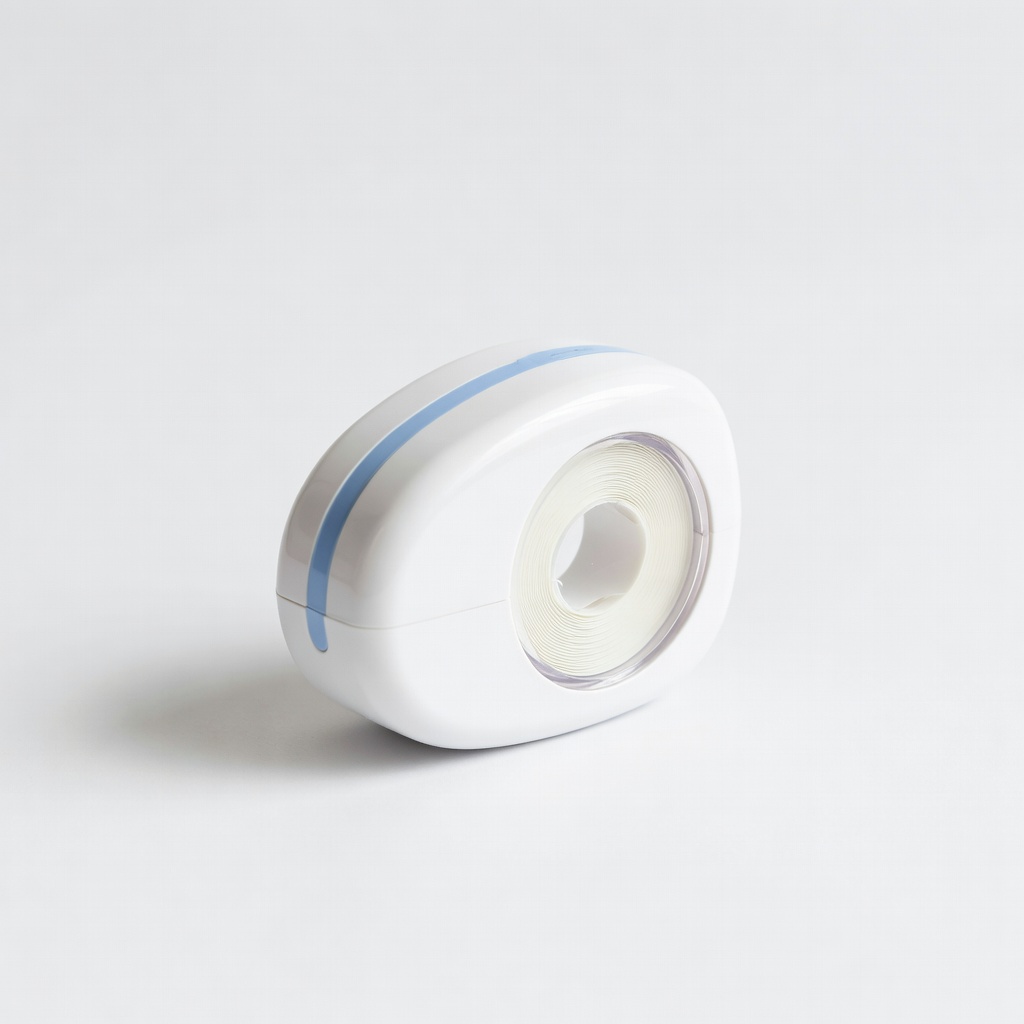
Easy dispenser for precise lines; repositionable for layouts.
Best for: Tweaking designs without damage; journaling.
Price Range: $8.99-$12.99
Tiny size for intricate work; high tack without residue.
Best for: Fine details like sequins or vellum.
Price Range: $5.99-$7.99
Everyday scrapbooking; strong hold on paper without showing.
Glue Dots Craft Dots .30" Diameter, 200 Count Affordable, clear, permanent dots perfect for beginner photo mounting.
Embellishments, titles needing pop-up effect.
Therm-O-Web Zots 3D Adhesive Dots Medium 1/2", 162 Pack Adds dimension reliably; archival safe for layered designs.
Tweaking designs without damage; journaling.
Scrapbook Adhesives by 3L E-Z Dots Removable Refill Easy dispenser for precise lines; repositionable for layouts.
Fine details like sequins or vellum.
X-Press It Adhesive Dots Mini Refill Tiny size for intricate work; high tack without residue.