Struggling with glue that oozes, tape that bunches, or photos that won't stay put? Adhesive dots are a scrapbooker's secret weapon for clean, professional results without the hassle. These tiny, pre-cut adhesive circles provide instant, strong hold for small elements, making them ideal for beginners who want polished layouts fast.
In this guide, you'll discover what adhesive dots excel at in scrapbooking, from attaching delicate embellishments to creating dimension. We'll break down their benefits with simple examples, analogies, and real-world tips. No advanced skills needed—just 10-15 minutes to read and start using them better.
Expect clear explanations, step-by-step insights into their best applications, and product picks to get you started right away.
▸What You'll Need
- •Basic scrapbooking supplies (paper, photos, scissors)
- •Adhesive dots (refill pack or dispenser)
- •Scrapbook page or album for testing (optional but recommended)
- •Pencil or tweezers for precise placement (optional)
Estimated Time: 10-15 minutes
Difficulty: beginner
▸Step-by-Step Instructions
Step 1: Understand What Adhesive Dots Are
Adhesive dots are small, round discs of double-sided adhesive, typically 1/8 to 1/2 inch in diameter, packaged in rolls, sheets, or dispensers. Think of them like mini stickers for glue—peel and stick without mess. Unlike liquid glue that requires drying time or tape runners that can tear paper, dots offer permanent or removable hold instantly.
They're acid-free and lignin-free, safe for preserving photos long-term. Available in low-tack (removable) or high-tack (permanent) varieties, they're perfect for scrapbooking's mix of paper, vellum, and photos.
What to expect: A clean release from backing, no stringy residue.
💡 Tips:
- •Start with permanent dots for photos; removable for layouts you're tweaking.
Step 2: Key Advantages Over Other Adhesives
Adhesive dots shine where precision matters. Liquid glue spreads unevenly (like butter on hot toast slipping everywhere), and tape can wrinkle delicate papers. Dots give pinpoint control, ideal for beginners avoiding frustration.
They add subtle dimension without bulk, unlike foam squares, and won't yellow over time like some glues. Analogy: Dots are like surgical tape for crafts—exact and reliable.
Why it matters: Saves time on fixes, keeps pages flat yet secure.
⚠️ Warnings:
- •Avoid cheap dots; they may lose stickiness quickly.
Step 3: Best For Small Embellishments and Die-Cuts
Adhesive dots excel at attaching tiny elements like buttons, sequins, or intricate die-cuts that tape overshoots and glue drowns. Place one dot per corner or center for secure hold without visible bulk.
Example: On a birthday page, dot a small 'Happy Birthday' sticker or glitter star—holds firm even if handled often. Expect flawless alignment, no shifting.
💡 Tips:
- •Use tweezers for micro-dots under 1/8 inch.
Step 4: Ideal for Layering and Adding Dimension
Stack 2-3 dots for raised layers, like popping a photo mat or title over background paper. Unlike thick foam tape, dots are discreet, preventing page warp in albums.
Real-world: Layer a journal card over patterned paper for depth. It's like building with LEGO—stable layers without toppling.
Step 5: Perfect for Delicate and Translucent Materials
Vellum, tissue paper, or acetate overlays stick cleanly without tearing or bubbling. Dots' small size minimizes show-through, unlike wide tape.
Example: Secure a vellum quote over a photo—transparency preserved, adhesion strong.
⚠️ Warnings:
- •Test on scrap first; some dots yellow on sheer materials.
Step 6: Great for Quick Repairs and Repositioning
Low-tack dots allow peeling off and resticking, forgiving for beginners. Fix a crooked element without damage.
Why it matters: Reduces waste, builds confidence in layouts.
💡 Tips:
- •Pair with wax paper for storage of repositioned items.
Step 7: When to Choose Dots Over Alternatives
Use dots for <1-inch items; switch to tape runners for edges, foam for heavy 3D. Dots best for 80% of embellishments in typical pages.
Summary table:
| Use Case | Dots | Glue | Tape |
|---|
| Tiny items | Best | Messy | Too wide |
| Dimension | Good | Bulky | Flat |
This decision tree simplifies choices.
▸Pro Tips
- •Store dots in a cool, dry place to maintain stickiness.
- •Cut rolls into smaller pieces for portability.
- •Combine with pencil lines for perfect alignment.
- •Use a brayer roller to press dots flat after placing.
- •Buy dispensers for one-handed peeling—speeds up projects 2x.
- •Mix sizes: micro for paper, medium for chipboard.
- •Test adhesion on your paper type before full layout.
▸Common Mistakes to Avoid
- •Overloading dots on heavy items—use fewer or switch to foam; leads to buckling.
- •Using permanent dots for layouts—hard to fix; opt for low-tack first.
- •Storing exposed dots—they collect dust and lose tack; always recap.
- •Ignoring size—too big hides details; measure elements first.
- •Pressing too hard initially—can squeeze out adhesive; gentle first touch.
▸Troubleshooting
Problem: Dots not sticking
Solution: Clean surfaces with microfiber cloth; ensure room temp >60°F. Replace old dots.
Problem: Dots too sticky, damaging paper
Solution: Switch to low-tack version; let sit 10 sec before pressing.
Problem: Dots showing through thin paper
Solution: Use smaller/micro dots or translucent varieties.
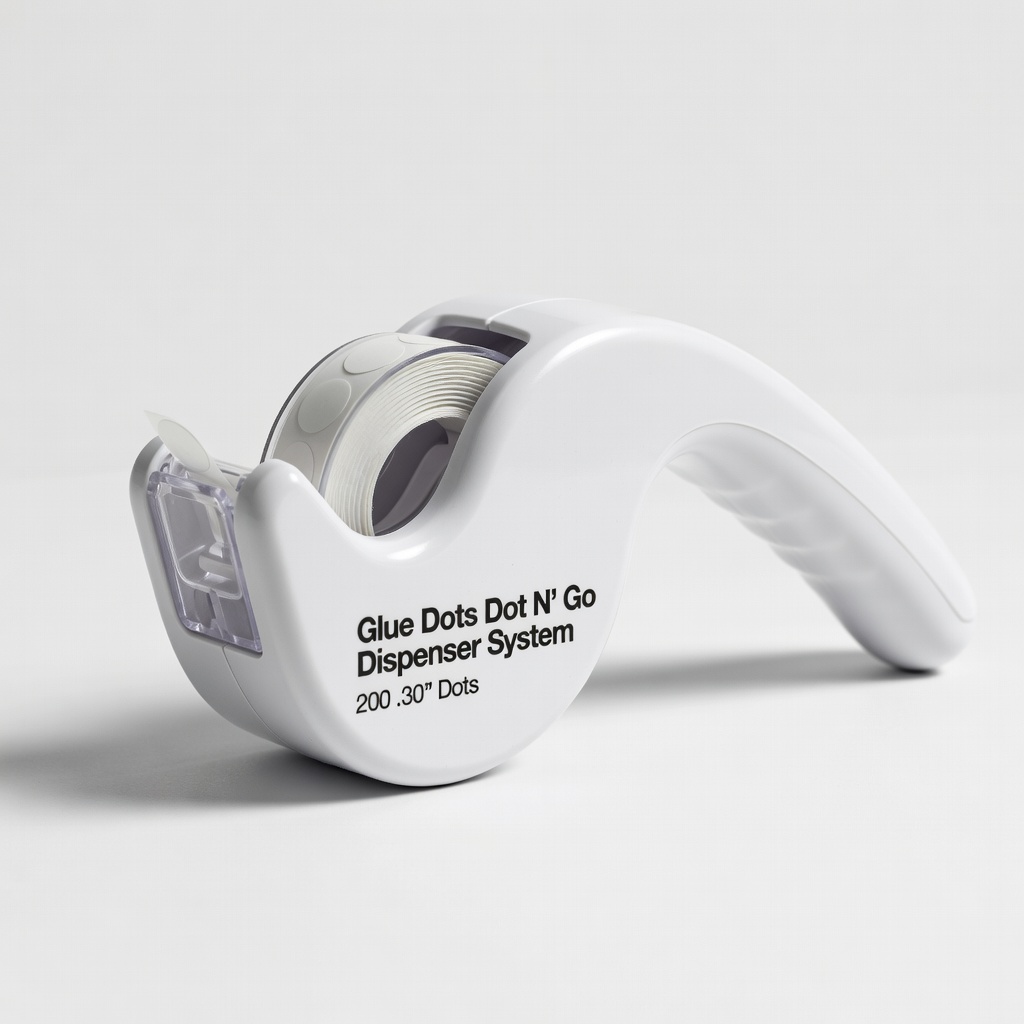
Glue Dots Dot N' Go Dispenser System with 200 .30" Dots
Portable dispenser for easy, one-handed dispensing—perfect for beginners avoiding mess.
Best for: Everyday scrapbooking: quick application on embellishments and photos.
Price Range: $12.99
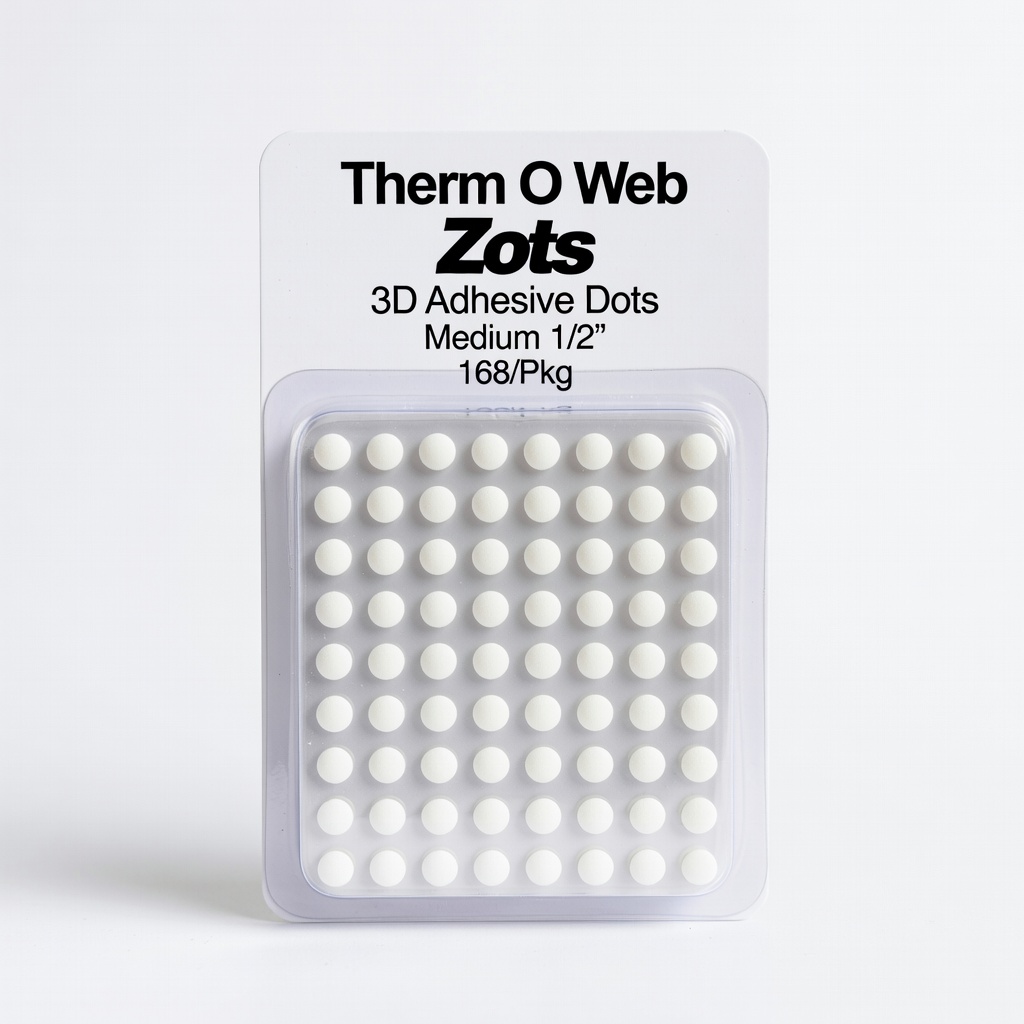
Therm O Web Zots 3D Adhesive Dots, Medium 1/2", 168/Pkg
Adds perfect dimension with strong hold; acid-free for photo-safe projects.
Best for: Layering titles, mats, or 3D embellishments on pages.
Price Range: $4.99-$6.99
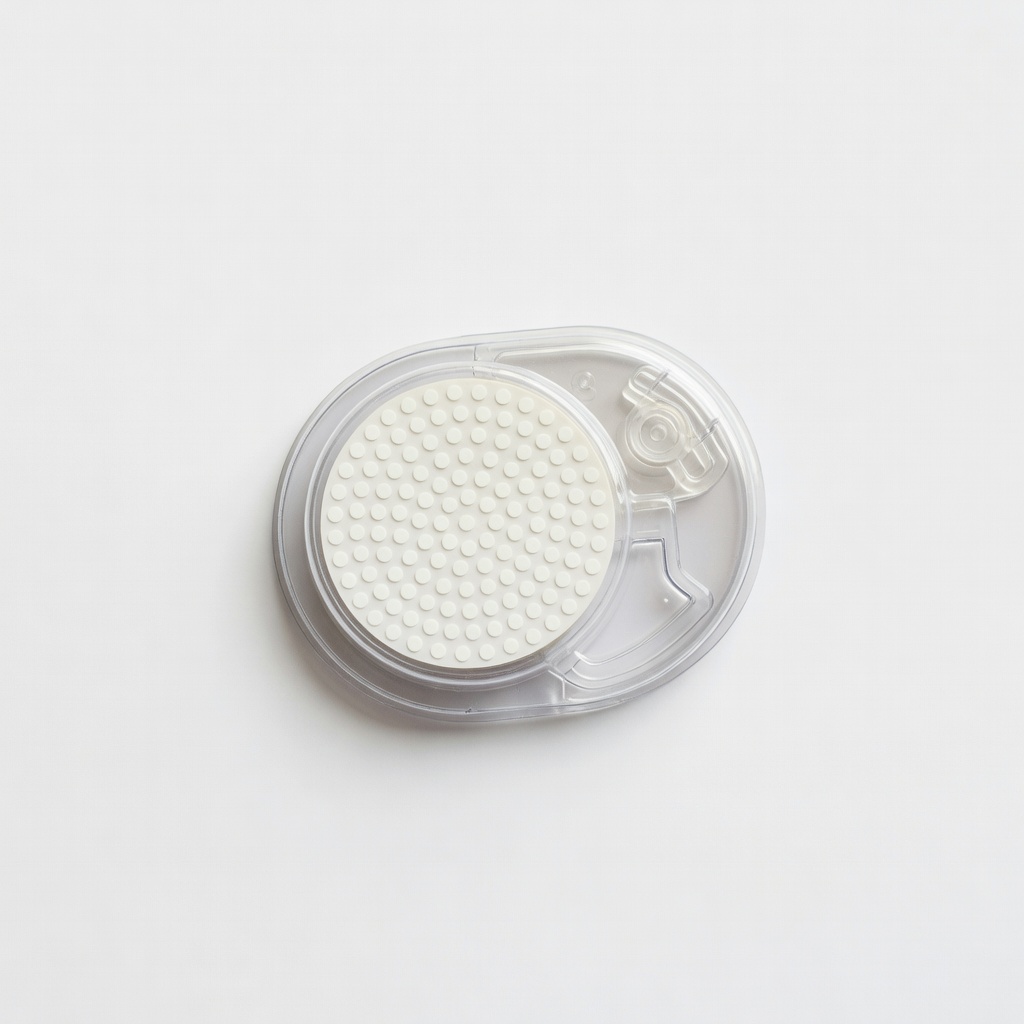
Scrapbook Adhesives by 3L E-Z Dots Precision Permanent Refill
Dual-dot design for ultra-precise placement; refillable for long-term use.
Best for: Detailed work like die-cuts or vellum on intricate layouts.
Price Range: $7.99
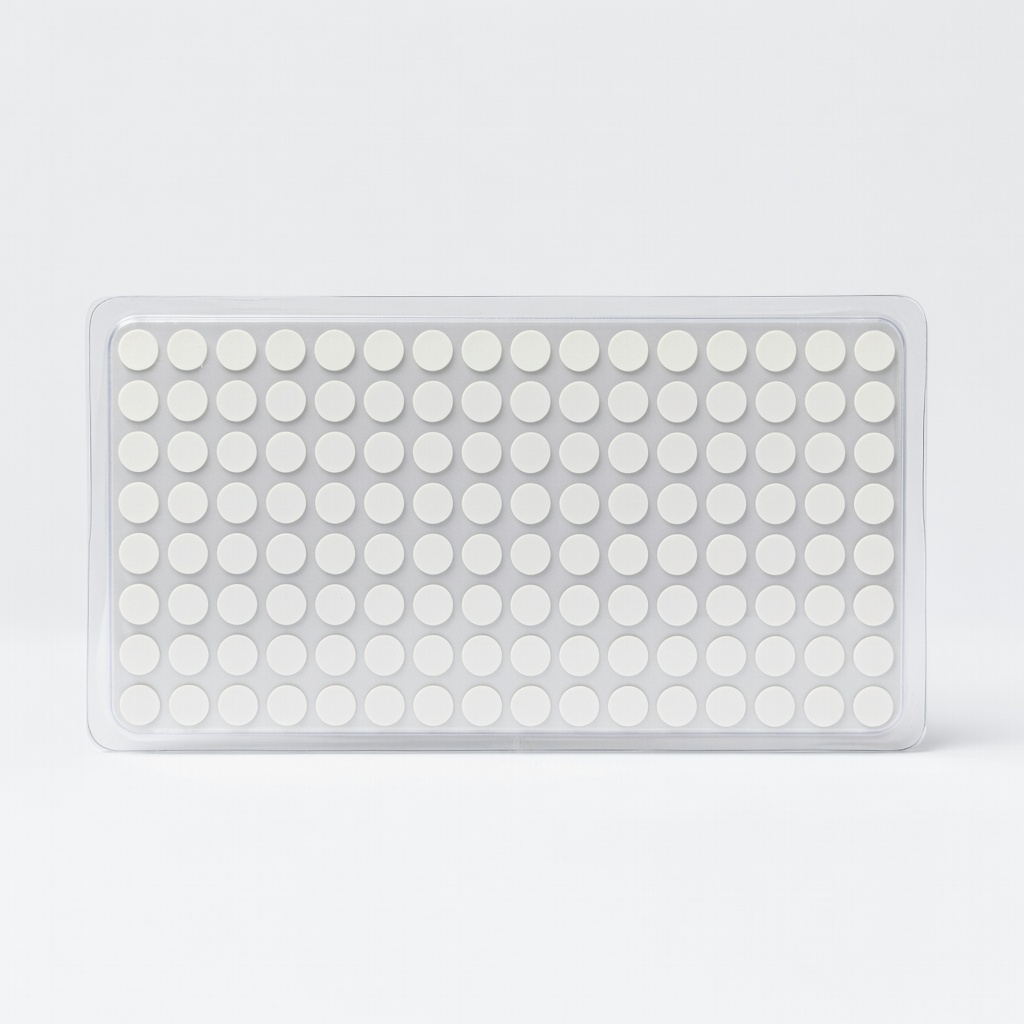
Scotch Restickable Dots, 1/2-Inch, 120 Dots
Repositionable without residue—forgiving for beginners experimenting.
Best for: Temporary holds during layout planning or kids' projects.
Price Range: $5.49