
VEVOR R134A AC Manifold Gauge Set
DIY home AC checks; supports R134A/R410A/R22.
$35-45
VEVOR R134A AC Manifold Gauge Set Affordable, accurate analog gauges with durable aluminum block for reliable leak diagnosis.
Get the App
Better experience on mobile
Master reading AC manifold gauges to spot refrigerant leaks fast, saving time and repair costs on your HVAC system.
Air conditioning leaks are a nightmare for homeowners and technicians alike— they cause poor cooling, skyrocketing energy bills, and potential compressor failure if ignored. Without proper diagnosis, you might waste money on recharges that don't last. This guide explains exactly how AC gauges reveal leaks through pressure readings.
You'll learn the fundamentals of manifold gauges, step-by-step interpretation methods, and real-world signs of leaks. No hands-on work required beyond basic reading; perfect for intermediate DIYers or aspiring techs. Expect to grasp the concept in 15 minutes, empowering you to decide if it's a simple fix or pro job.
By the end, you'll confidently use gauge readings to pinpoint low refrigerant from leaks versus other issues like blockages.
Estimated Time: 15-20 minutes Difficulty: intermediate
AC manifold gauges are dual or triple-gauge tools with hoses connecting to your system's high-side (red) and low-side (blue) service ports. The center gauge often shows vacuum/micron levels. They measure refrigerant pressure, not leaks directly—but abnormal pressures signal low refrigerant from leaks.
Think of it like a car's oil pressure gauge: normal range means healthy; low means trouble. Gauges use color-coded scales (e.g., green for normal). For R134A systems, expect 25-35 psi low-side at 75°F ambient.
💡 Tips:
⚠️ Warnings:
On most home AC units, the low-side port (larger, blue cap) is near the compressor suction line; high-side (smaller, red cap) on the discharge. Cars have them under hoods labeled L/H.
Why it matters: Correct connection ensures accurate readings. Wrong hookup risks injury from 300+ psi high-side pressure.
💡 Tips:
With AC off for 30+ minutes, connect gauges. Both sides should equalize to ambient temp matching pressure (e.g., 70°F = ~70 psi R134A).
Leak indicator: If low (e.g., 40 psi), refrigerant escaped. Equal low pressure confirms leak over restriction. Analogy: Like checking tire pressure cold—low means puncture.
⚠️ Warnings:
Start AC, set to max cool. Low-side: 25-45 psi; high-side: 150-250 psi (varies by temp). Use PT chart for exacts.
Why key for leaks: Consistently low pressures (e.g., low-side <20 psi) with normal high-side suggest slow leak. Bubbles in sight glass also hint.
💡 Tips:
Sudden drops post-off = major leak. Gradual low with icing = small leak.
Examples: Low/low sides running = 80% leak chance. Normal low, high high = overcharge (not leak). Analogy: Blood pressure—low everywhere signals loss.
⚠️ Warnings:
After recovery, pull vacuum to 500 microns. Hold 30 mins; rise >1000 microns = leak.
Gauges show if vacuum holds. Pro insight: Best leak proof vs pressure alone.
💡 Tips:
Low gauge readings + UV dye or electronic sniffer confirm location.
Full diagnosis: Gauges narrow to leak; detectors find it. Success rate jumps 90%.
Problem: Gauges show fluctuating pressures
Solution: Loose connections or bad valves; tighten or replace hoses. Purge air.
Problem: No pressure change on startup
Solution: Check fuses, thermostat, or compressor clutch. Not a leak.
Problem: Vacuum won't hold below 1000 microns
Solution: Leak confirmed; use detector. If holds, issue elsewhere.
Problem: High side too low with normal low
Solution: Possible restriction; clean condenser. Seek pro if persists.
Affordable, accurate analog gauges with durable aluminum block for reliable leak diagnosis.
Best for: DIY home AC checks; supports R134A/R410A/R22.
Price Range: $35-45
Professional-grade with large, easy-read dials and proven accuracy for precise pressure interpretation.
Best for: Intermediate techs diagnosing auto/home leaks repeatedly.
Price Range: $80-100
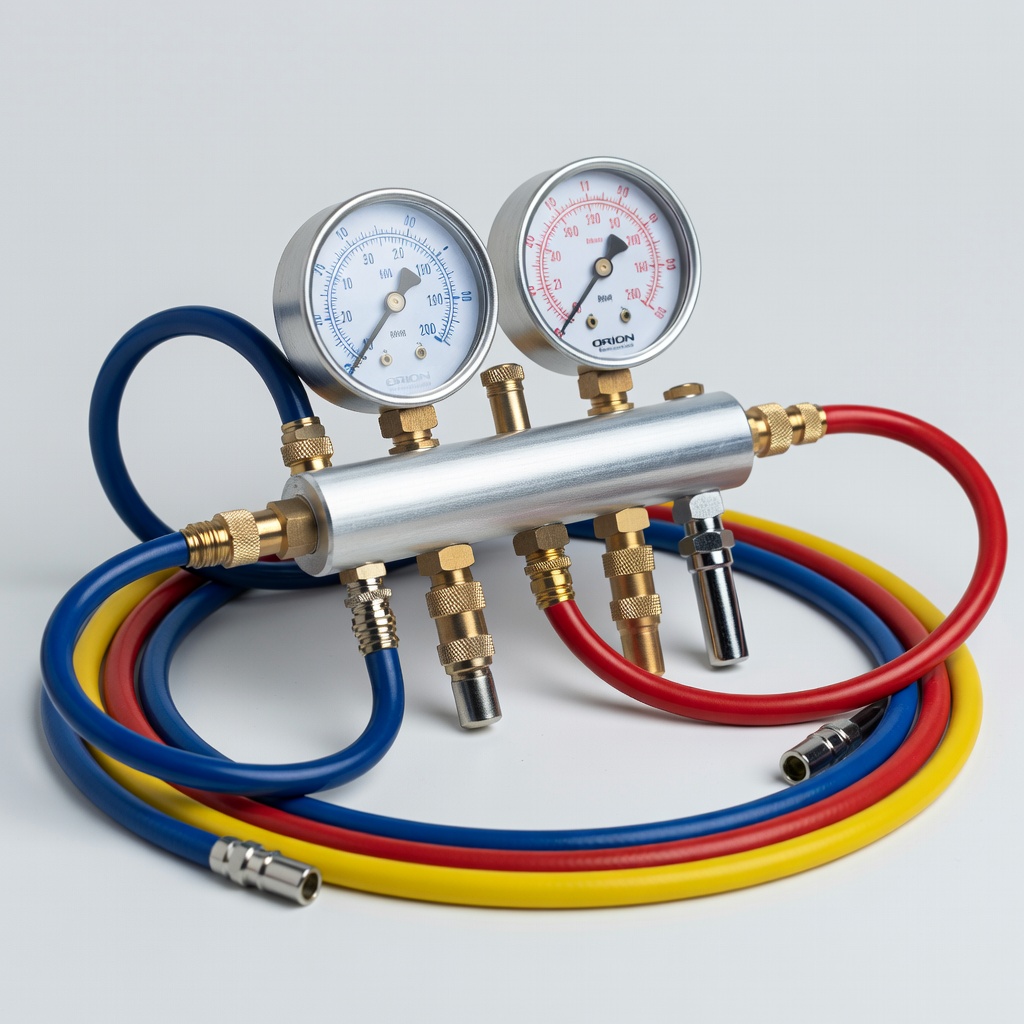
Complete kit with adapters; color-coded for beginners spotting leak patterns quickly.
Best for: Automotive AC leak checks on R134A cars.
Price Range: $40-50
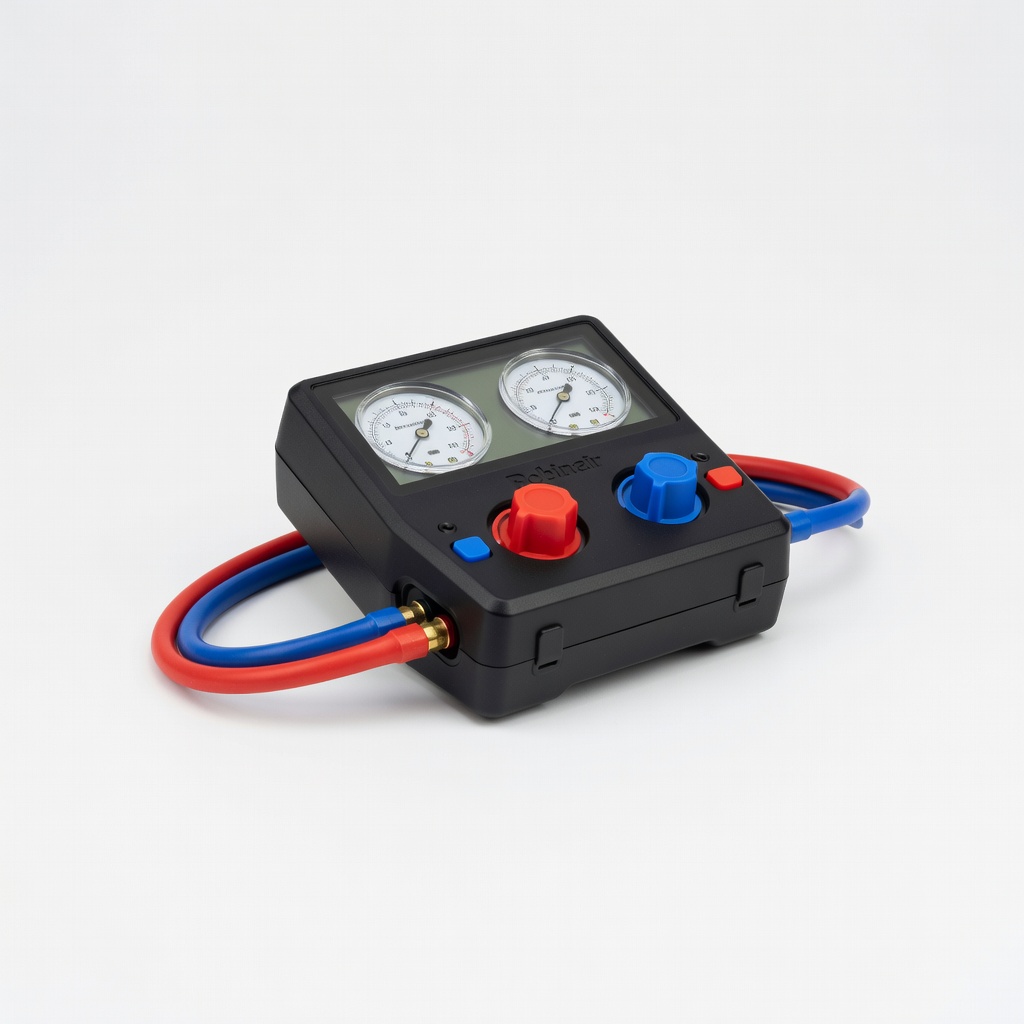
Digital precision (±1 psi) for vacuum leak tests; app connectivity for logging.
Best for: Advanced leak confirmation in commercial HVAC.
Price Range: $200-250
DIY home AC checks; supports R134A/R410A/R22.
VEVOR R134A AC Manifold Gauge Set Affordable, accurate analog gauges with durable aluminum block for reliable leak diagnosis.

Intermediate techs diagnosing auto/home leaks repeatedly.
Yellow Jacket 41031 Series 41 Manifold Gauge Professional-grade with large, easy-read dials and proven accuracy for precise pressure interpretation.
Automotive AC leak checks on R134A cars.
Orion Motor Tech A/C Diagnostic Manifold Gauge Set Complete kit with adapters; color-coded for beginners spotting leak patterns quickly.
Advanced leak confirmation in commercial HVAC.
Robinair 34788NI Digital Manifold Gauge Set Digital precision (±1 psi) for vacuum leak tests; app connectivity for logging.