Struggling with low germination rates and weak seedlings that lead to disappointing harvests? Poor tray choice is a common culprit for beginners in agriculture and home gardening, causing uneven growth, root rot, or damping off. This guide breaks down what makes germination trays effective for maximizing yields.
You'll discover the science behind germination, essential tray features, and comparisons of types, plus recommendations to get started. No prior experience needed—this explainer equips you to choose trays that promote healthy roots and vigorous plants. Expect to spend 10-15 minutes reading, with concepts you can apply immediately to your next planting.
▸What You'll Need
- •Basic seeds for testing
- •Potting mix or seed-starting soil
- •Spray bottle for misting
- •Grow light or sunny windowsill (optional)
- •pH meter or test strips (optional for soil)
Estimated Time: 10-15 minutes to read and understand
Difficulty: beginner
▸Step-by-Step Instructions
Step 1: Understand Germination Basics
Germination is when a seed sprouts roots and shoots, turning into a seedling. Success rates depend on moisture, temperature (70-85°F ideal), light, and oxygen. Trays provide a controlled environment to achieve 80-95% rates vs. 50% in open soil.
Why it matters: Strong starts mean robust plants and higher yields—think 20-50% more produce. Expect tiny roots in 3-14 days depending on crop (e.g., lettuce in 3 days, tomatoes in 7).
💡 Tips:
- •Keep temps consistent with a heat mat.
Step 2: Why Trays Impact Yields
Trays organize seeds in cells, preventing overcrowding and competition. They retain moisture evenly while allowing air pruning (roots stop circling, grow denser). Analogy: Like apartments for seeds—each gets space, water, and light.
Poor trays cause leggy plants or rot, slashing yields. Good ones boost transplant survival to 90%, leading to fuller fields or gardens.
⚠️ Warnings:
- •Avoid trays without drainage—leads to drowning seeds.
Step 3: Pick the Right Material
Materials affect durability and hygiene. Plastic (BPA-free) is reusable, lightweight; biodegradable (peat/wood fiber) composts but costs more long-term. Polyurethane trays last 5+ years, resisting warping.
For max yields: Sturdy plastic prevents cell collapse during transplant, keeping roots intact.
💡 Tips:
- •Sterilize reusables with 10% bleach solution annually.
Step 4: Choose Optimal Cell Size
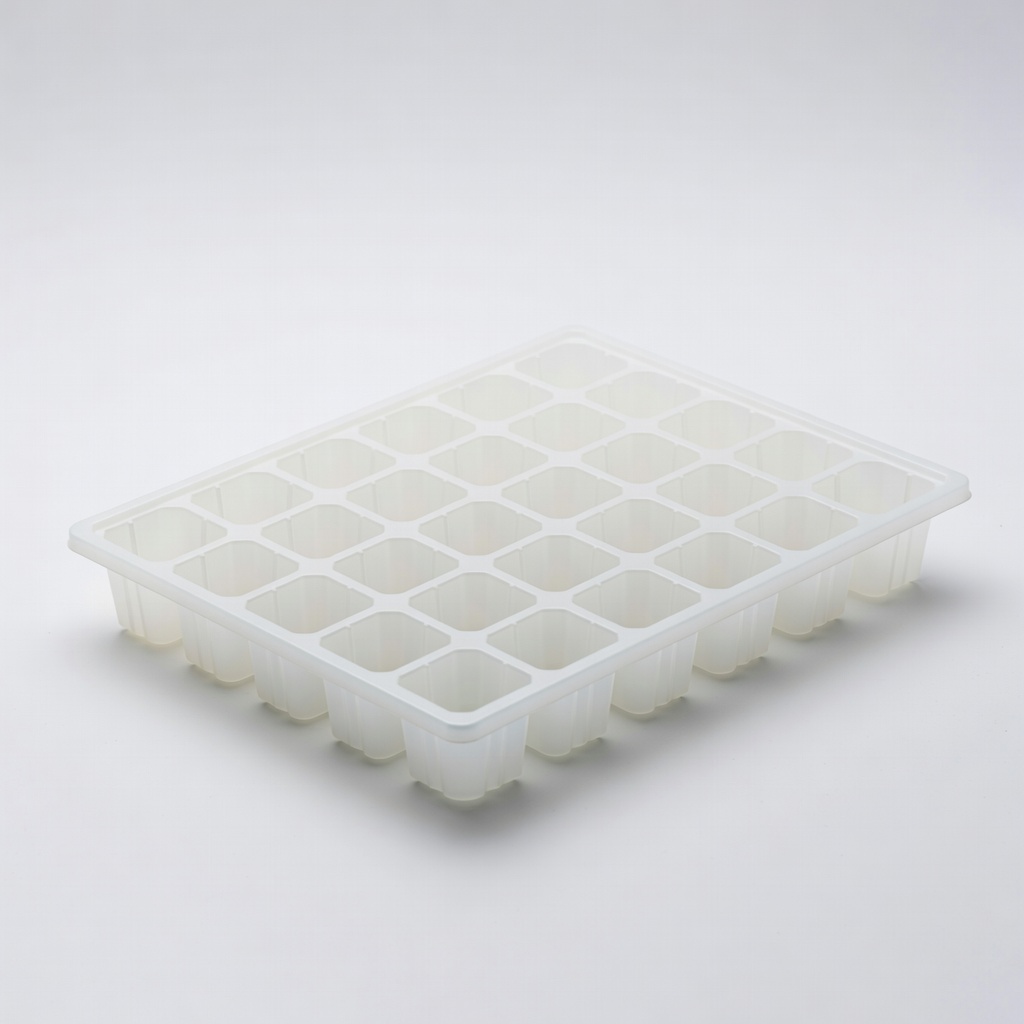
Cells (72, 128, 200, or 288 per tray) match seed size: Large (72-cell) for peppers/tomatoes (deeper roots); small (288) for greens (quick harvest). 1020 trays (standard 10x20 inch) hold inserts for flexibility.
Why: Right size prevents root-bound issues, maximizing growth uniformity and yield.
Step 5: Ensure Drainage and Ventilation
Bottom holes + raised grids prevent waterlogging; humidity domes trap moisture. Ventilation slits reduce mold.
Expect: Trays with 1/4-inch holes drain 2x faster, cutting damping-off by 70%. Analogy: Like breathable shoes for roots.
💡 Tips:
- •Bottom-water trays to encourage deep roots.
⚠️ Warnings:
- •No dome? Mist daily to mimic greenhouse.
Step 6: Consider Depth and Stackability
Deep trays (2.5+ inches) for taproots (carrots); shallow (1 inch) for shallow-root crops. Stackable designs save space pre-sprout.
Impact: Deeper = stronger transplants, 25% higher yields.
Step 7: Reusable vs. Disposable Trade-offs
Reusable plastic: Cost-effective ($0.50/use after 10 cycles); disposable: Hygienic, no cleaning. For yields, reusables win if sterilized—consistent conditions.
💡 Tips:
- •Buy kits with domes and trays for beginners.
▸Pro Tips
- •Label cells with crop and date for tracking success rates.
- •Use rockwool cubes in trays for sterile starts.
- •Pre-moisten soil to avoid dry spots.
- •Rotate trays daily for even light exposure.
- •Group by germination speed (fast greens together).
- •Invest in bottom heat mats for 20% faster sprouting.
- •Transplant when true leaves appear, not just cotyledons.
▸Common Mistakes to Avoid
- •Overwatering: Causes rot; water from bottom only.
- •Wrong cell size: Too small stunts roots, too big wastes space.
- •Skipping sterilization: Spreads fungi, drops yields 40%.
- •Poor light: Leads to leggy seedlings; use full-spectrum LEDs.
- •Ignoring airflow: Mold thrives in stagnant domes.
▸Troubleshooting
Problem: Seeds rot before sprouting
Solution: Improve drainage, reduce watering, add fungicide like chamomile tea spray.
Problem: Uneven germination
Solution: Check seed viability (test batch), ensure uniform moisture.
Problem: Seedlings stretch tall
Solution: Increase light intensity or lower tray position.
Problem: Weak transplants
Solution: Harden off outdoors gradually over 7 days.
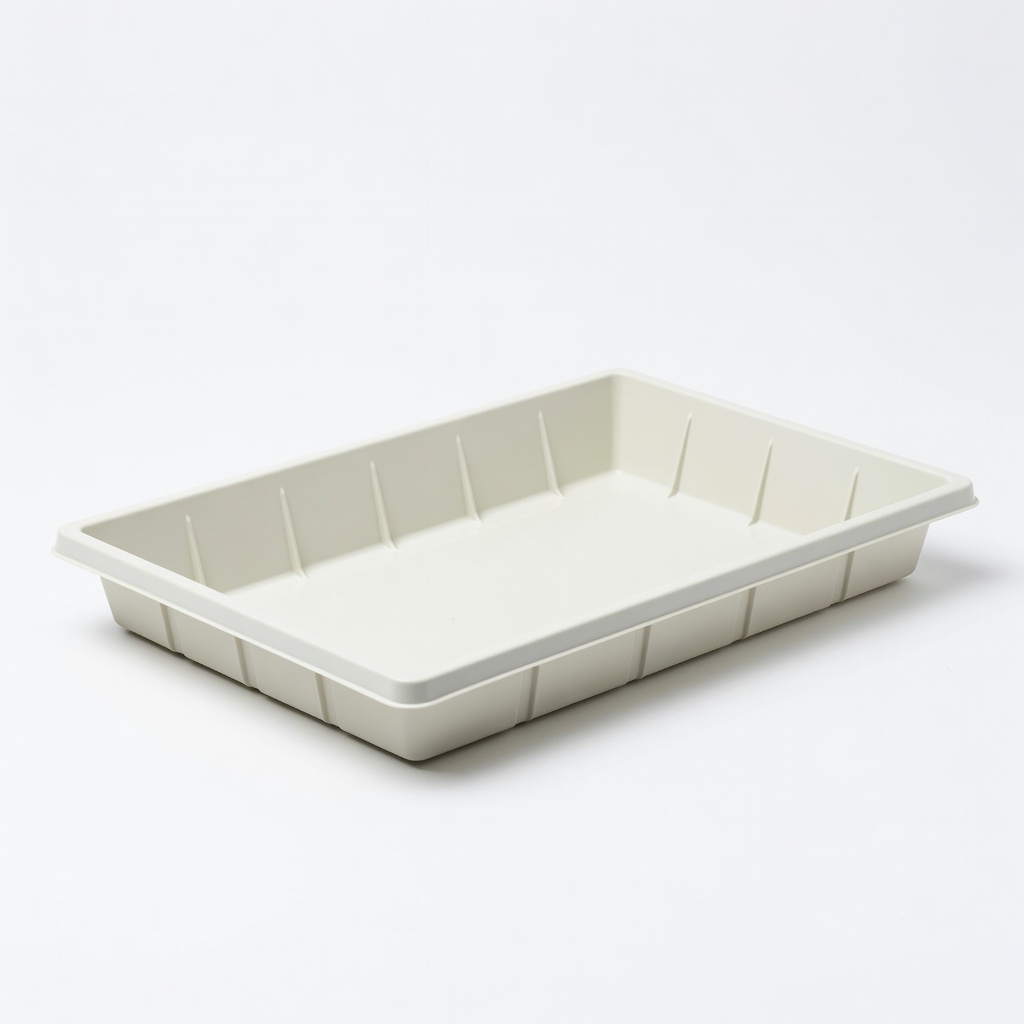
Bootstrap Farmer 1020 Standard Tray
Heavy-duty plastic with excellent drainage and durability for 100+ uses, proven to boost uniformity.
Best for: Large-scale or repeated home growing; ideal for beginners needing reliability.
Price Range: $1.99 - $2.50 each (buy in packs)
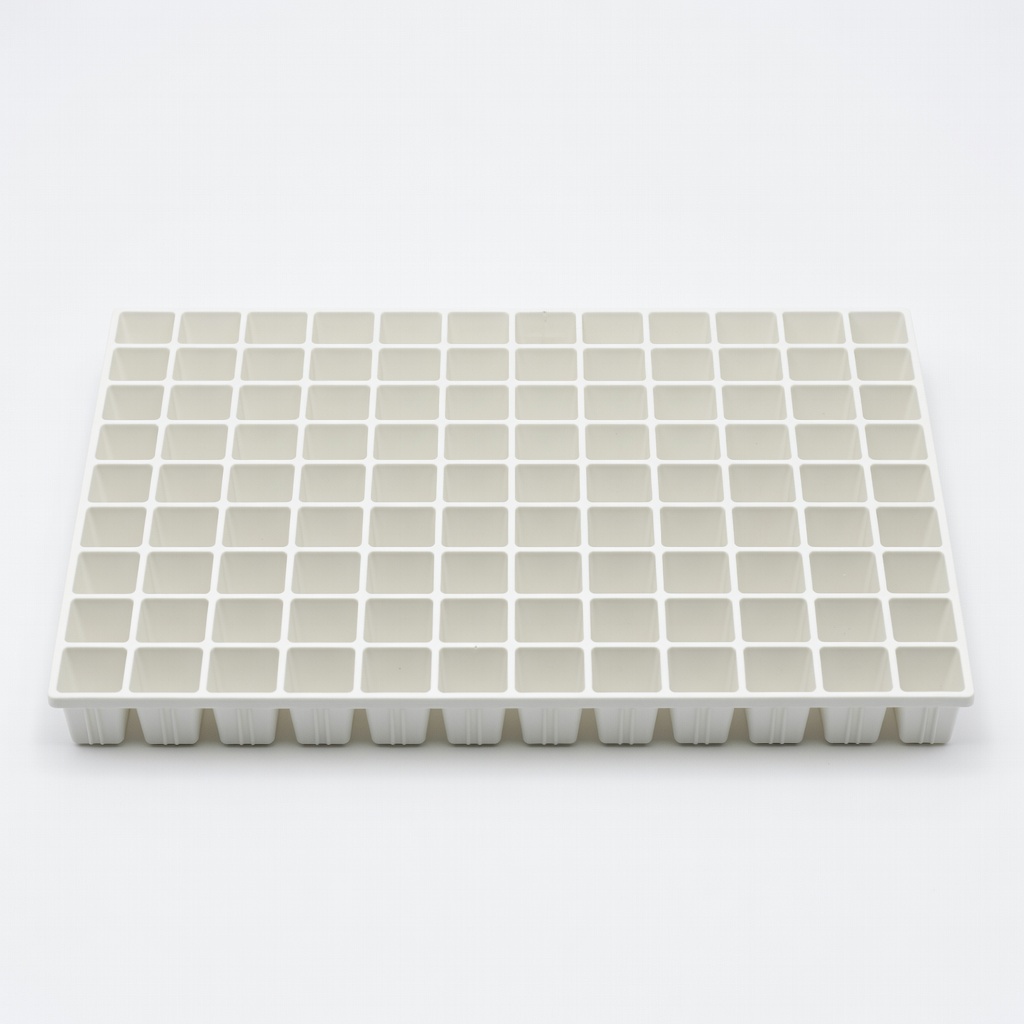
Pro Cal 1020 Cell Plug Flat Insert (128 cells)
Precise cell division prevents root tangling, high aeration for 90%+ germination.
Best for: Vegetables like tomatoes/peppers; fits standard 1020 bottoms.
Price Range: $1.20 each (packs of 25 for $30)
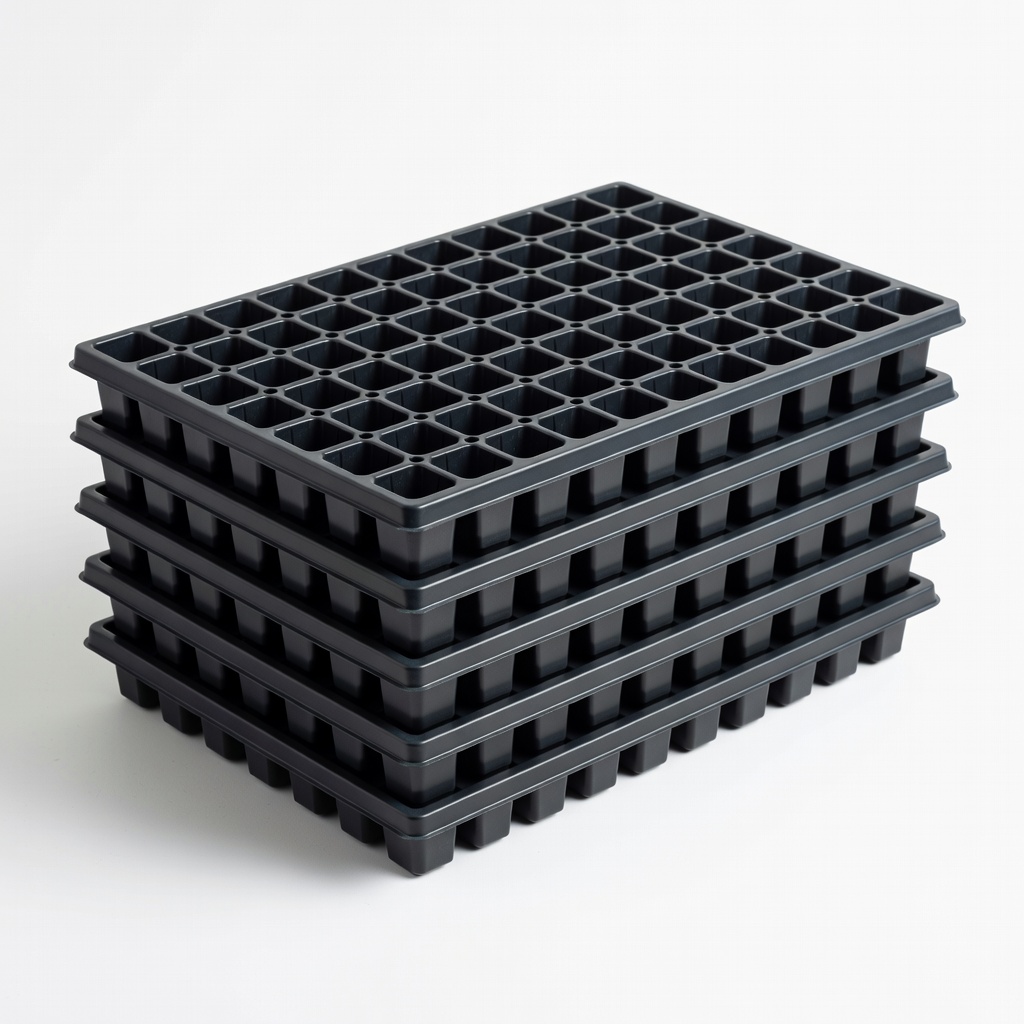
JH GROW 72 Cell Seed Starting Trays (Pack of 5)
Deep cells for robust roots, includes domes; budget-friendly with great reviews for yields.
Best for: Fruiting crops; complete kit for starters.
Price Range: $25.99 for 5-pack
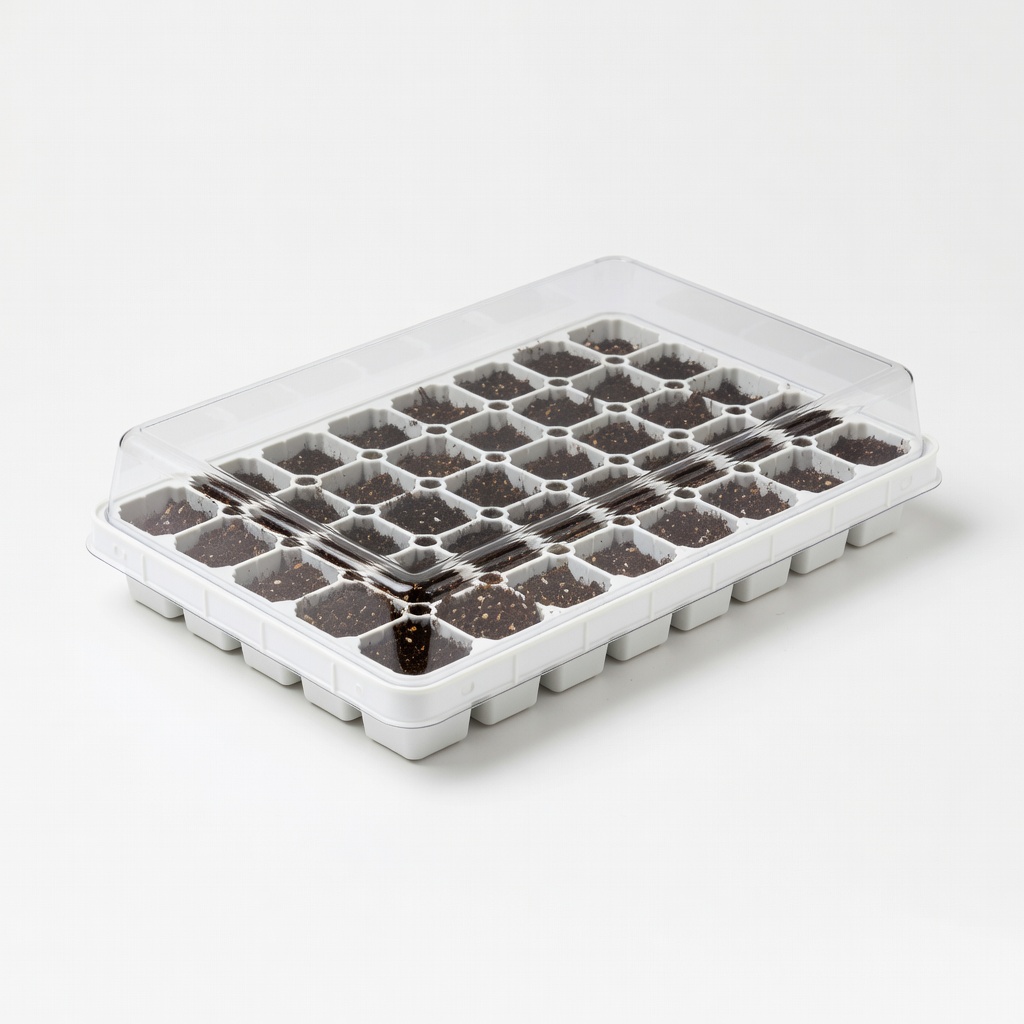
Burpee Ultimate 36-Cell Seed Starting Kit
Self-watering reservoir maintains even moisture, reducing mistakes for max success.
Best for: Indoor beginners; no daily misting needed.
Price Range: $19.99
Jiffy Professional 36-Cell Greenhouse Tray
Biodegradable option, plant-and-all transplant minimizes shock for higher field yields.
Best for: Organic growers wanting no-plastic.
Price Range: $12.99 for pack