
DeWalt 20V MAX Cordless Drill/Driver Kit DCD771C2
Framing walls and securing hardware cloth during assembly.
$99-$129
DeWalt 20V MAX Cordless Drill/Driver Kit DCD771C2 Powerful torque for driving long screws into dense lumber without stripping.
Get the App
Better experience on mobile
Learn essential agrarian tools and techniques to construct a predator-proof, weather-resistant chicken coop in one weekend.
Building a sturdy chicken coop is crucial for protecting your flock from predators, harsh weather, and disease—poor construction leads to costly losses, with backyard chicken owners reporting up to 30% predation rates from weak enclosures. This guide breaks down the key agrarian tools that ensure durability, from foundation to roofing.
You'll discover the must-have tools, why they matter for strength, and step-by-step integration into coop building. Expect intermediate DIY skills like basic woodworking; no advanced engineering required. By the end, you'll have a blueprint for a coop lasting 10+ years.
We'll cover planning to finishing, with real-world tips for farm-grade sturdiness.
Estimated Time: 10-20 hours over 1-2 weekends Difficulty: intermediate
Start with accurate measurements using a tape measure and framing square to mark your coop's footprint (e.g., 4x6 feet for 4-6 chickens). Why it matters: Precise planning prevents wobbly structures; uneven foundations cause 40% of coop failures.
Sketch a simple design: elevated floor, predator-proof walls, vented roof. Stake corners and check diagonals for squareness—equal lengths mean a stable base.
Expect squared-off lines ready for digging.
💡 Tips:
⚠️ Warnings:
Use a manual or powered post hole digger to excavate 2-3 foot deep holes for 4x4 pressure-treated posts. Space them 4-6 feet apart. This tool ensures deep, stable footings that resist frost heave and wind—key for agrarian durability.
Pour gravel base, set posts plumb with a level, and brace. Pour concrete if in wet climates. Expect rock-solid corners.
💡 Tips:
⚠️ Warnings:
Cut 2x4 joists and rim boards to length using a circular saw. Assemble a raised floor frame, securing with galvanized nails and screws via hammer and drill. Why sturdy? Elevated framing blocks moisture and burrowing predators.
Level the frame across posts. Sheath with plywood for rigidity.
💡 Tips:
Frame walls with 2x4s, cut precisely. Drill pilot holes and drive 3-inch deck screws for tight joints—stronger than nails alone. Add diagonal bracing for shear strength against wind.
This power tool speeds assembly while ensuring flush, durable connections.
💡 Tips:
⚠️ Warnings:
Attach 1/2-inch hardware cloth (not flimsy chicken wire) to frames using heavy-duty staples driven by a hammer. Bury apron 12 inches out to deter diggers. This combo creates impenetrable barriers.
Overlap seams 6 inches and staple every 4 inches.
💡 Tips:
Cut rafters with circular saw, assemble trusses. Use drill for hurricane ties at peaks. Sturdy roofs shed rain/snow, preventing collapse—vital in agrarian settings.
💡 Tips:
Nail corrugated metal or shingles over plywood sheathing. Trim edges with saw, seal gaps. Level checks ensure no leaks.
⚠️ Warnings:
Inspect with level: plumb, square, secure. Add locks, ramps. Test sturdiness by shaking.
💡 Tips:
Problem: Coop wobbles after assembly
Solution: Add cross-bracing and check foundation plumb; anchor posts deeper.
Problem: Predators still entering
Solution: Inspect for gaps >1/4 inch; extend apron outward 18 inches.
Problem: Wood rotting prematurely
Solution: Apply sealant; ensure airflow and elevate fully.
Problem: Door doesn't close squarely
Solution: Re-square frame with diagonal measures; shim hinges.
Powerful torque for driving long screws into dense lumber without stripping.
Best for: Framing walls and securing hardware cloth during assembly.
Price Range: $99-$129
Galvanized steel mesh resists chewing/clawing far better than chicken wire.
Best for: Predator-proofing walls and run; bury for dig-proofing.
Price Range: $45-$55
Vibration-dampening reduces fatigue; durable for heavy nailing.
Best for: Driving staples, nails into frames and roofing.
Price Range: $20-$25
Fast post holes in tough soil; extends reach for deep foundations.
Best for: Digging sturdy footings without renting equipment.
Price Range: $30-$40
Creates ultra-strong hidden joints for frames without visible fasteners.
Best for: Joining 2x4s for seamless, sturdy walls.
Price Range: $100-$120
Framing walls and securing hardware cloth during assembly.
DeWalt 20V MAX Cordless Drill/Driver Kit DCD771C2 Powerful torque for driving long screws into dense lumber without stripping.
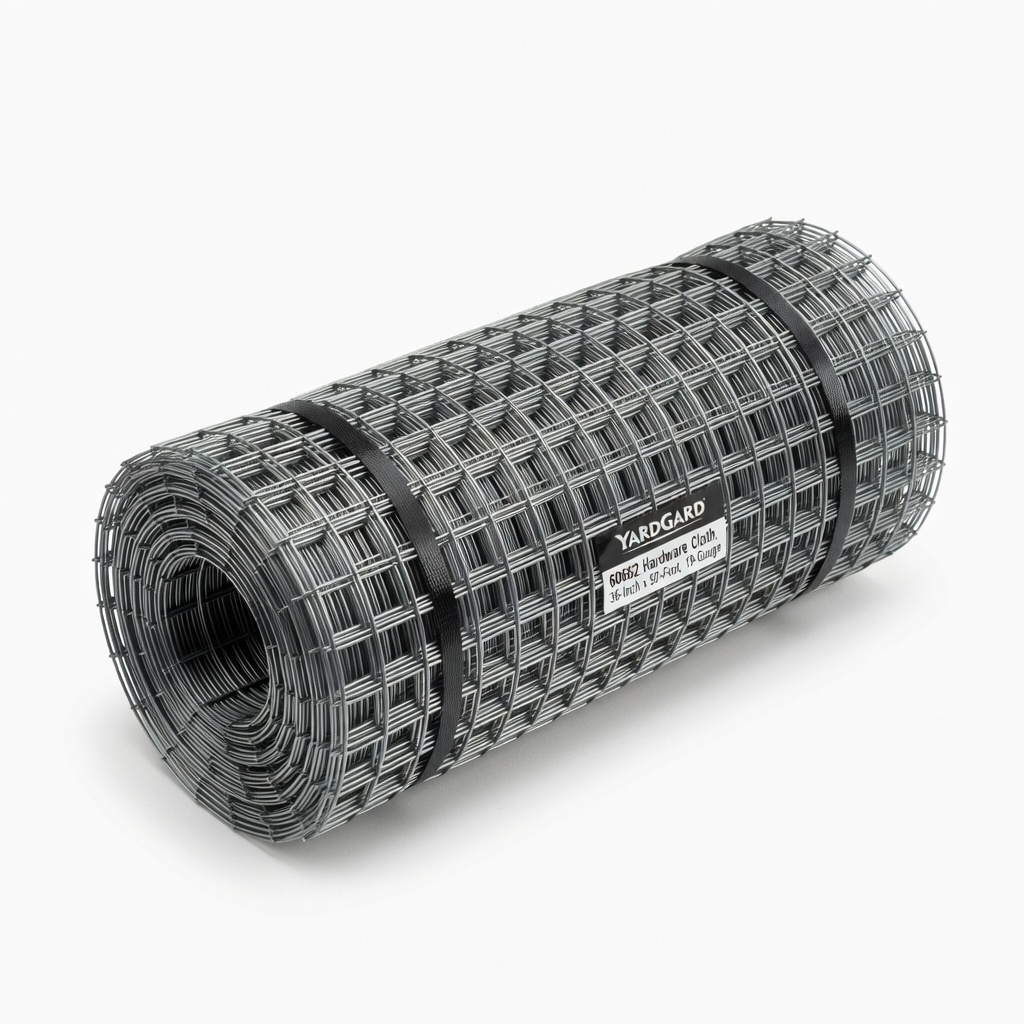
Predator-proofing walls and run; bury for dig-proofing.
YARDGARD 60662 Hardware Cloth, 36-Inch x 50-Foot, 19-Gauge Galvanized steel mesh resists chewing/clawing far better than chicken wire.

Driving staples, nails into frames and roofing.
Stanley FatMax AntiVibe Hammer 16 oz Vibration-dampening reduces fatigue; durable for heavy nailing.
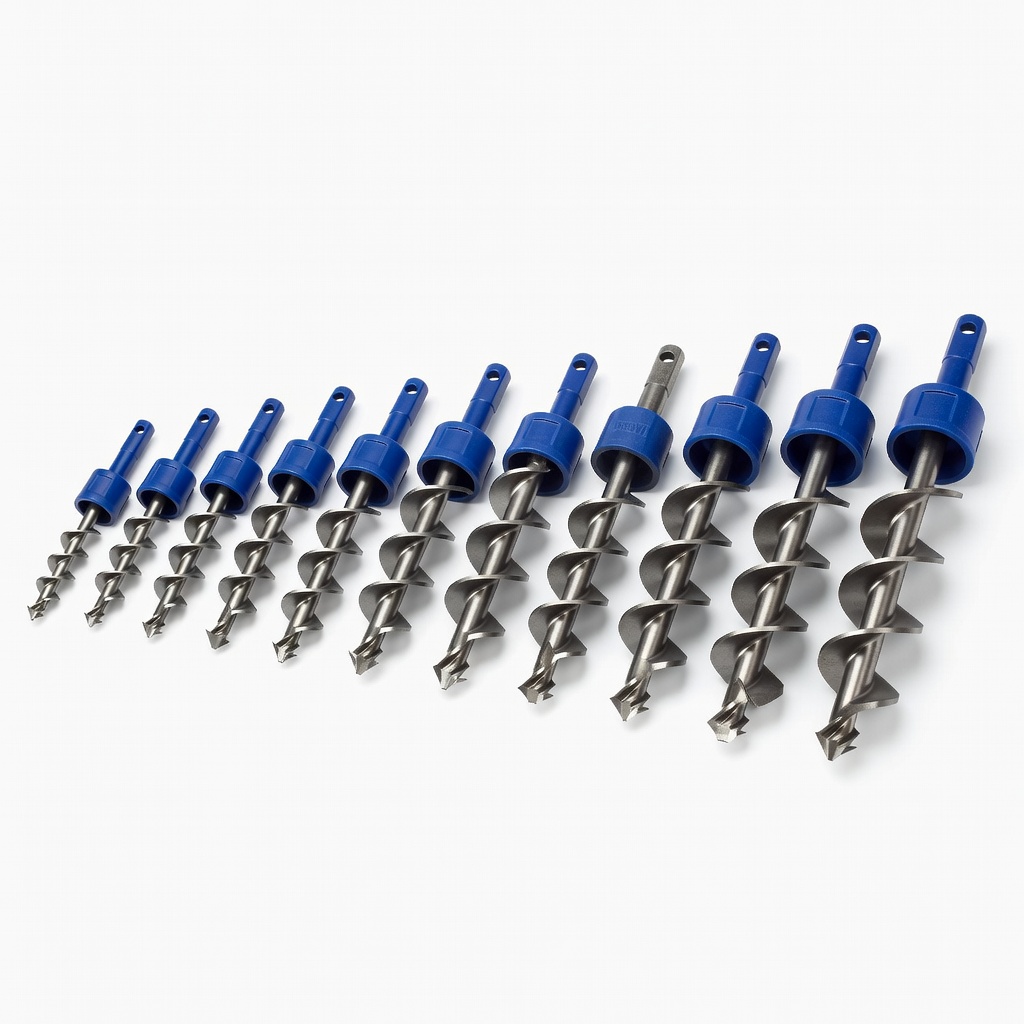
Digging sturdy footings without renting equipment.
IRWIN Tools Speedbor EXT Auger Bit Set Fast post holes in tough soil; extends reach for deep foundations.
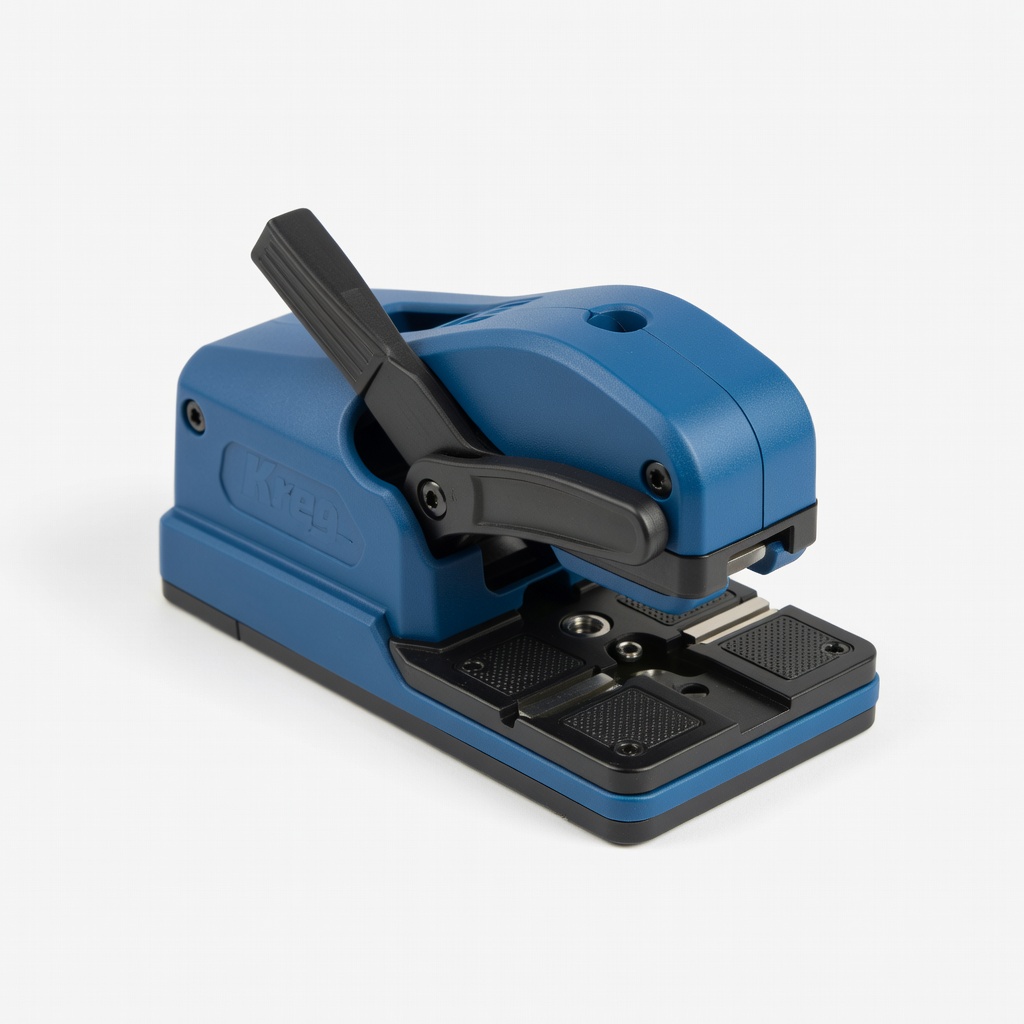
Joining 2x4s for seamless, sturdy walls.
Kreg Pocket-Hole Jig 720 Creates ultra-strong hidden joints for frames without visible fasteners.