Struggling with adhesive dots that peel off fabric or leave stains on your DIY projects? Fabric crafts like appliques, quilts, and embellishments demand adhesives that grip tight yet flex with movement and washing. Poor choices lead to frustrating redo's and ruined materials.
In this guide, you'll discover what makes adhesive dots work on fabric, compare top types, and get recommendations for the best ones. We'll break down testing methods and application tips so you can choose confidently. Expect to spend 20-30 minutes reading and trying a quick test—no advanced skills needed.
▸What You'll Need
- •Sample fabrics (cotton T-shirt, felt, denim scraps—required)
- •Scissors (required)
- •Embellishments like buttons, beads, or rhinestones (required for testing)
- •Various adhesive dots (optional, borrow or buy small packs)
- •Marker or pen for labeling (optional)
Estimated Time: 20-30 minutes
Difficulty: beginner
▸Step-by-Step Instructions
Step 1: Understand Why Fabric is Tricky for Adhesives
Fabric isn't smooth like paper—it's porous, stretchy, and textured. Adhesives must penetrate fibers without soaking through or stiffening the material. Dots are pre-cut adhesive circles that dispense easily, ideal for crafts as they minimize mess.
Why it matters: Hot glue guns can burn fabric, liquid glues bleed, but dots offer precision. Expect dots to bond in seconds but cure fully in 24 hours for max strength.
💡 Tips:
- •Test on scraps first to match your fabric type.
Step 2: Know Key Features of Top Fabric Adhesive Dots
Look for permanent hold (vs. removable), flexible formula (moves with fabric), washable/dry-cleanable, and clear drying. 3D dots add dimension for raised embellishments; thin dots are for flat bonds.
Analogy: Think of dots as tiny velcro—strong grip without bulk. Avoid dots labeled 'paper only' as they fail on fabric.
⚠️ Warnings:
- •Skip acid-free dots; they're for photos, not fabric.
Step 3: Compare Common Types of Adhesive Dots
Removable dots: Easy peel-off, good for repositioning but weak long-term on fabric.
Permanent dots: Acrylic or synthetic rubber-based, best for crafts—hold through 10+ washes.
Foam dots: 3D lift, great for buttons on quilts.
Nano dots: Tiny, precise for sequins.
From experience, permanent acrylic dots outperform others on cotton and felt.
💡 Tips:
- •Match dot size to project: 1/8" for beads, 1/2" for patches.
Step 4: Test Dots on Your Fabric
Cut fabric scraps, apply 3-5 dots per type, attach embellishments. Press 30 seconds, wait 24 hours. Tug-test, stretch-test, and wash a sample (hand wash, air dry).
Why: Fabrics vary—denim needs stronger hold than silk. Expect 80% of dots to fail initial tug if not fabric-rated.
💡 Tips:
- •Label samples with dot type using permanent marker.
Step 5: Apply Dots for Crafts Like a Pro
Peel dot, center on embellishment back, press onto clean, dry fabric. Rub firmly with bone folder or credit card. For stretchy fabric, apply in pattern to allow flex.
Cure time: 24 hours before wear/wash. Heat-set with iron (low, protected) for extra hold.
⚠️ Warnings:
- •Don't overload dots; too many cause bulk and peeling.
Step 6: Evaluate Long-Term Performance
After washing, check for residue, yellowing, or loosening. Top dots retain 90% hold after 5 cycles.
Pro insight: Fabric fusion formulas mimic fabric flexibility, outperforming generic craft dots.
▸Pro Tips
- •Pre-wash fabric to remove sizing that blocks adhesion.
- •Use dots sparingly—one per small bead saves money.
- •For heavy items, layer 2 thin dots.
- •Store dots in airtight container to prevent drying.
- •Combine with sewing for hybrid hold on heirloom projects.
- •Test iron heat-setting: boosts washability by 50%.
- •Buy dispenser packs for easy peeling.
▸Common Mistakes to Avoid
- •Using paper craft dots on fabric—they slip off after one wash.
- •Applying to dirty/oily fabric—no bond forms; always clean first.
- •Over-pressing: causes dots to squish out and stain.
- •Skipping cure time: Items fall off prematurely.
- •Ignoring fabric type: Silky fabrics need thinner dots.
▸Troubleshooting
Problem: Dots not sticking initially
Solution: Ensure fabric is dry and smooth; rough up surface lightly with sandpaper for better grip.
Problem: Peeling after washing
Solution: Switch to permanent, washable dots; heat-set with iron. Hand wash first few times.
Problem: Yellowing or residue
Solution: Use clear-drying, acid-free formulas. Test small area.
Problem: Too stiff on stretch fabric
Solution: Opt for flexible rubber-based dots; space them out.
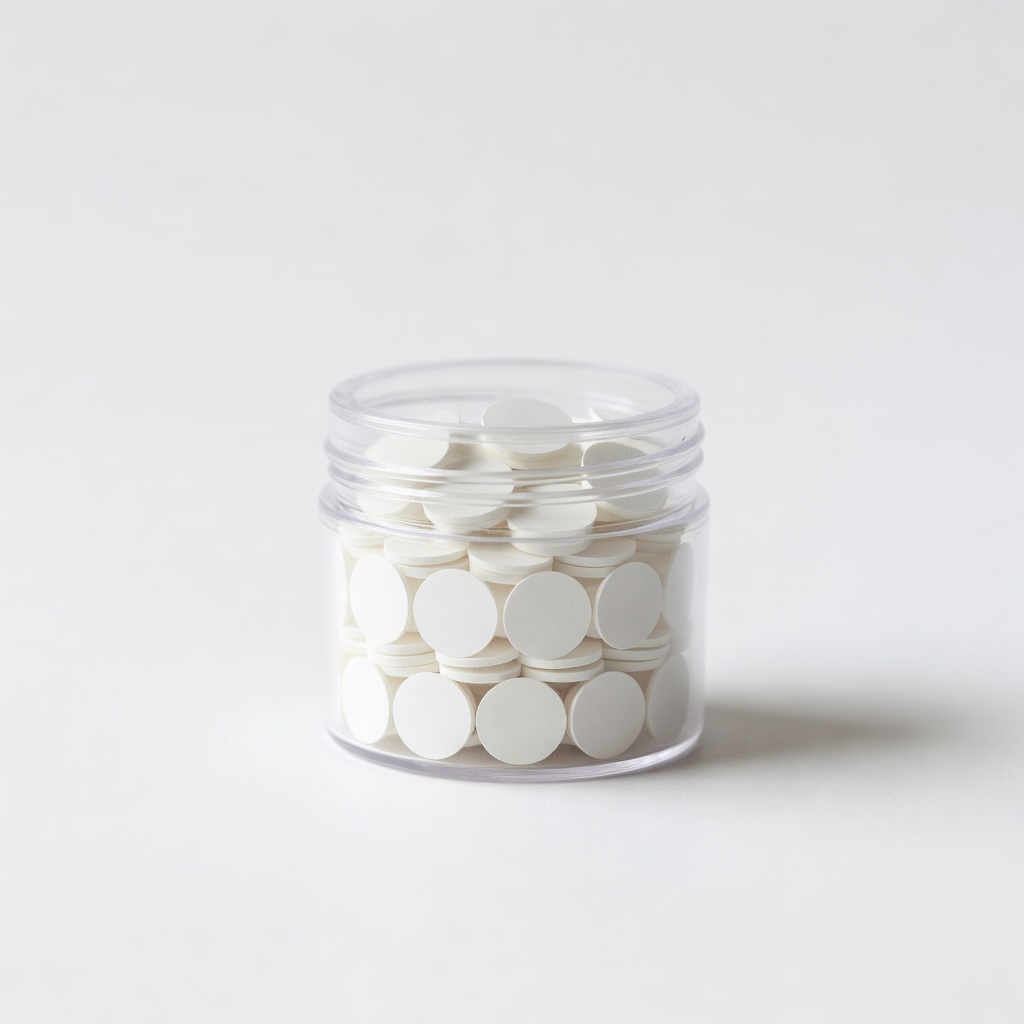
Therm O Web Zots 3D Adhesive Dots
Provides dimensional, permanent hold on fabric without stiffening; excels on cotton, felt, and denim through multiple washes.
Best for: Attaching buttons, bows, or 3D embellishments to clothing or quilts.
Price Range: $4.99-$6.99
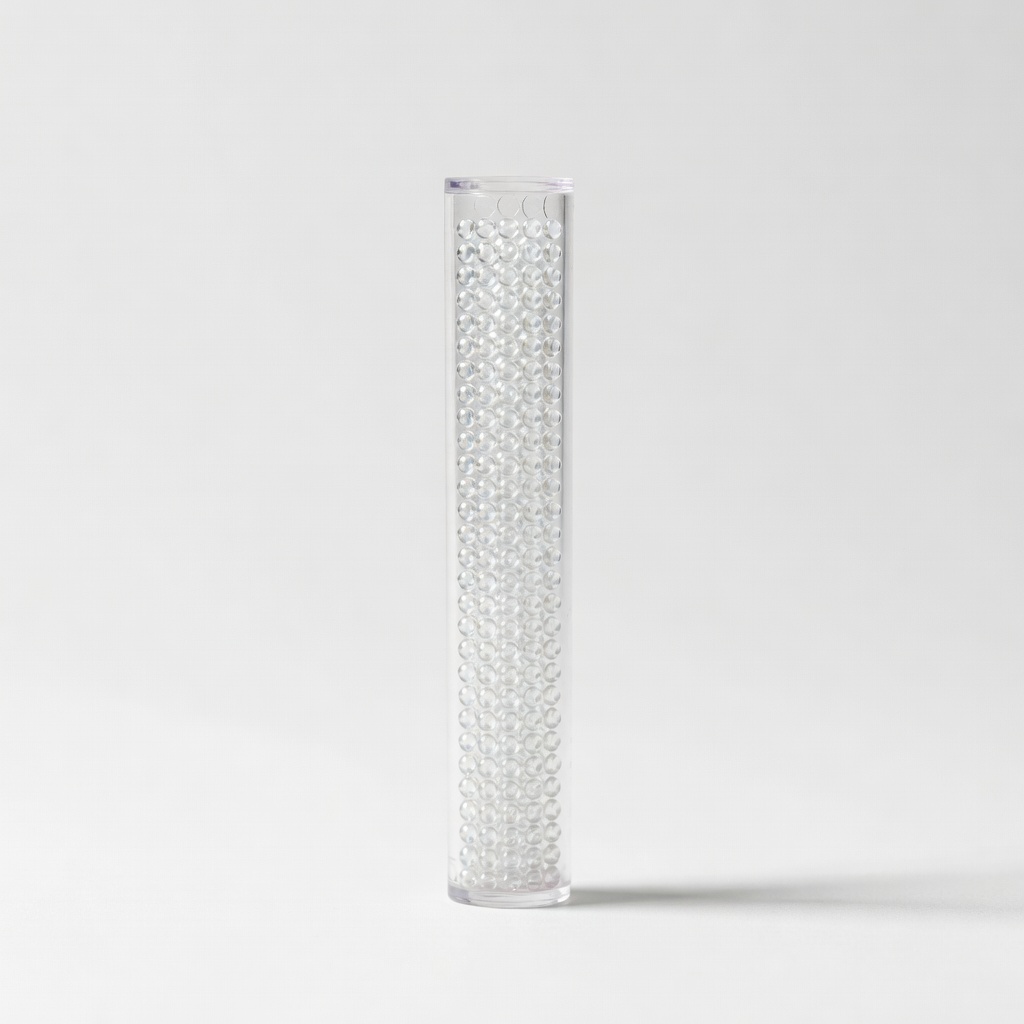
Glue Dots Permanent Craft Dots (0.5")
Super tacky formula bonds instantly to porous fabrics; industrial-strength for heavy crafts.
Best for: Securing patches, rhinestones, or beads on bags and totes.
Price Range: $9.99-$12.99
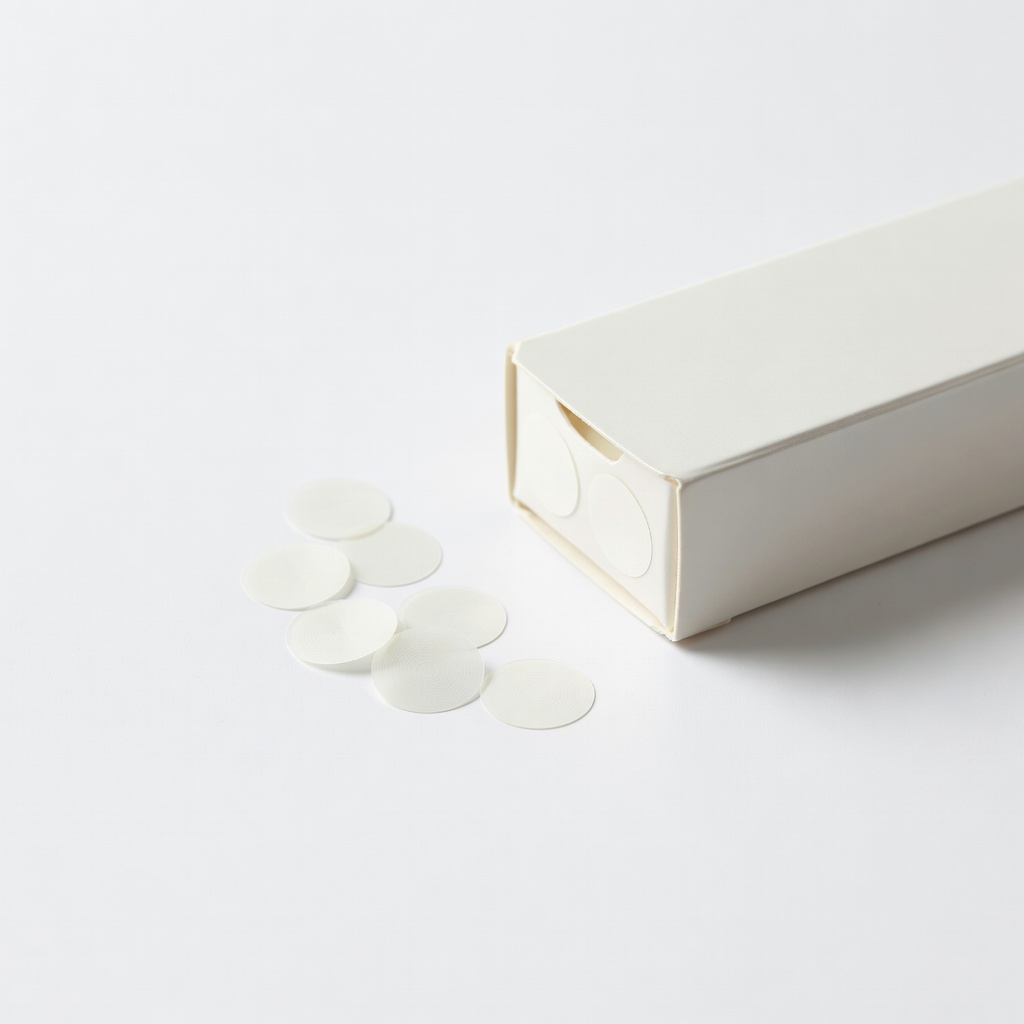
Art Glitter Designer Dries Clear Adhesive Dots
Clear, flexible, and fabric-safe; no residue and holds sequins securely.
Best for: Embellishing costumes or scrapbook fabric pages.
Price Range: $5.99-$8.99
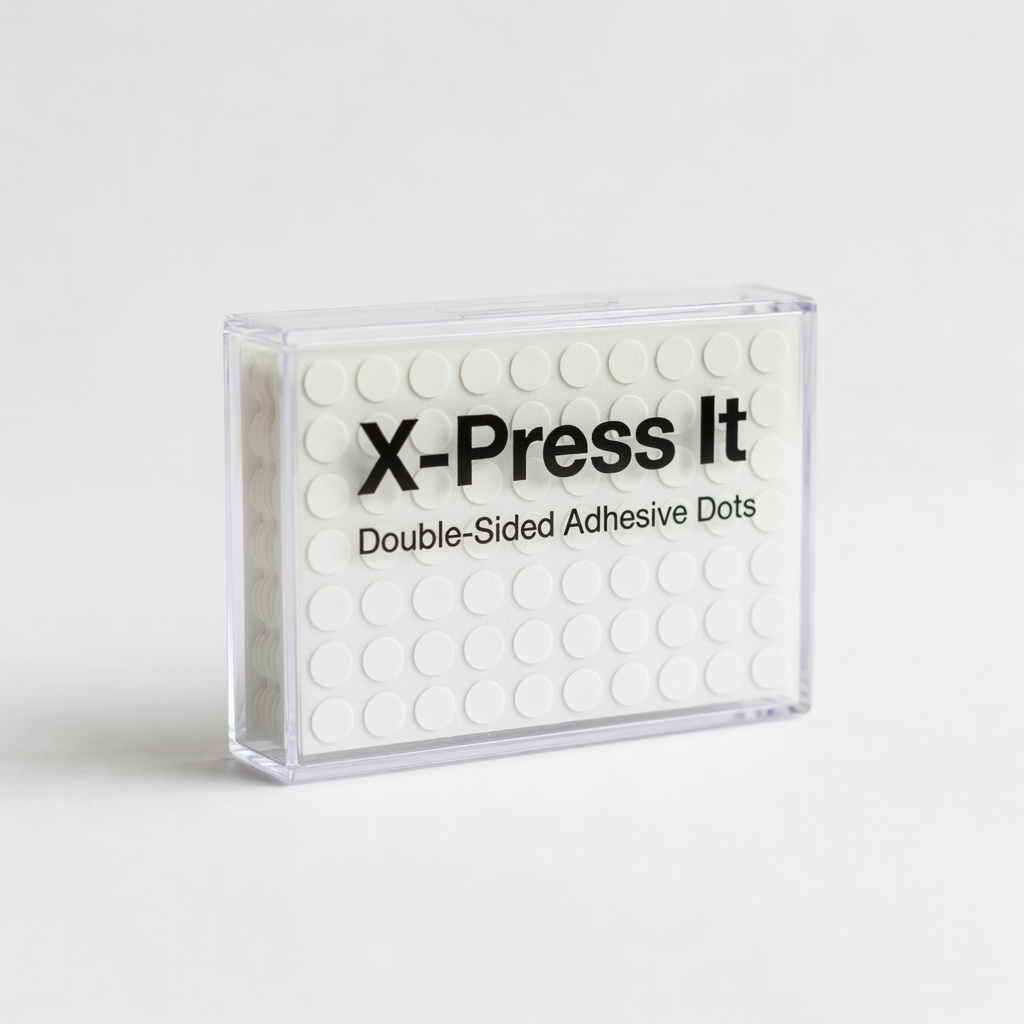
X-Press It Double-Sided Adhesive Dots
Precision dots with strong shear strength; ideal for layered fabric crafts.
Best for: Appliques and lightweight fabrics like tulle.
Price Range: $7.99-$10.99