Scrapbooking is a cherished way to preserve memories, but nothing ruins the fun faster than adhesive that leaves sticky residue, yellows over time, or tears delicate paper and photos. If you've ever peeled off tape only to find your vintage photo damaged, you're not alone—this is a top pain point for beginners.
In this guide, you'll learn what makes adhesive dots safe for scrapbooking, key features to look for, how to choose and use them without damage, and top recommendations. By the end, you'll confidently select dots that keep your album pristine. Expect a quick read (20-30 minutes) with actionable advice—no prior experience needed.
We'll break it down simply: from understanding adhesives to testing and pro tips, so you can start scrapbooking worry-free.
▸What You'll Need
- •Scrapbook album or sample pages/photos (for testing)
- •Various adhesive dots (samples or trial packs)
- •Scissors or craft knife
- •Magnifying glass (optional, for close inspection)
- •Clean, dry workspace
Estimated Time: 20-30 minutes
Difficulty: beginner
▸Step-by-Step Instructions
Step 1: Understand Why Adhesives Damage Scrapbooks
Adhesives can harm scrapbooks due to chemical reactions with paper, photos, or inks. Acidic glues yellow pages over time, while solvent-based tapes dissolve coatings on photos. Residue happens when adhesives aren't archival-safe or pH-neutral.
Why it matters: Scrapbooks are heirlooms meant to last decades. Damage-free dots are acid-free, lignin-free, and removable without pulling fibers.
Expect to spot 'archival quality' labels—these ensure longevity. Analogy: Think of adhesives like sunscreen; the wrong one burns your skin (paper).
💡 Tips:
- •Check for 'photo-safe' certifications like ISO 18916.
Step 2: Learn Types of Adhesive Dots
Adhesive dots come in permanent, removable, foam (3D), and repositionable varieties. Permanent dots bond forever—great for final layouts but risky for repositioning. Removable dots peel off cleanly, ideal for beginners adjusting designs.
Key difference: Removable use low-tack acrylic adhesives vs. aggressive permanent ones. Foam dots add dimension without bulk.
Start with removable for flexibility; expect a slight tackiness that holds without commitment.
⚠️ Warnings:
- •Avoid cheap dollar-store dots—they often leave residue.
Step 3: Identify Key Features for No-Damage Dots
Look for: 1) Acid-free and lignin-free (prevents yellowing), 2) Clear/dry formula (no bleed-through), 3) Small sizes (1/8"-1/4" for precision), 4) Repositionable up to 10x, 5) Dispenser for easy use.
Why these? They match scrapbooking's delicate needs. Analogy: Like Post-it notes for paper—they stick temporarily without harm.
Test labels: 'AP certified non-toxic' ensures safety.
💡 Tips:
- •Opt for dots under 0.5mm thick to avoid bulk.
Step 4: Test Dots on Scrap Samples
Apply dots to test paper/photo scraps, wait 24 hours, then peel off. Check for residue, tears, or discoloration. Press firmly but evenly—too much pressure crushes dots.
Expect: Clean removal with no fibers lifted. Repeat on glossy vs. matte surfaces.
This DIY test mimics real use, saving heartache later.
💡 Tips:
- •Use a credit card edge to smooth without fingerprints.
⚠️ Warnings:
- •Don't test on valuables first.
Step 5: Master Application Techniques
Peel dot from liner, place precisely with tweezers, press 5-10 seconds. For layers, use foam dots sparingly. Burnish (rub) edges to seal.
Why? Proper technique prevents lifting edges or air bubbles.
Analogy: Like placing stickers—gentle touch for clean results.
💡 Tips:
- •Work in sections to avoid overwhelming your layout.
Step 6: Store and Maintain for Longevity
Keep dots in cool, dry place; reseal dispensers to prevent drying. Replace if they lose tackiness.
Matters for: Consistent performance over projects.
Expect dots to last 1-2 years if stored right.
⚠️ Warnings:
- •Heat/humidity warps dots—avoid bathrooms.
▸Pro Tips
- •Buy trial packs to test multiple brands affordably.
- •Use tweezers for dots under 1/8"—precision without mess.
- •Layer dots for dimension, but limit to 2-3 for flat albums.
- •Clean surfaces with microfiber cloth before adhering.
- •Combine with photo corners for hybrid secure-yet-removable holds.
- •Stock up on dispensers—faster than picking individually.
- •For glossy photos, choose extra-low-tack dots.
▸Common Mistakes to Avoid
- •Using permanent dots for layouts you'll tweak—leads to tears; choose removable instead.
- •Over-applying dots—creates bulk; use 4-6 per element max.
- •Skipping the 24-hour test—residue shows later; always pretest.
- •Storing in humid areas—dots dry out or get sticky; use airtight containers.
- •Pressing too hard—squeezes adhesive out; gentle burnishing suffices.
▸Troubleshooting
Problem: Dots won't stick
Solution: Clean surface with isopropyl alcohol; ensure dots aren't old. Replace if brittle.
Problem: Residue after removal
Solution: Not archival-safe—switch brands. Gently roll off with eraser for cleanup.
Problem: Dots yellow over time
Solution: Use only acid-free; store album away from sunlight.
Problem: Bubbles or lifting edges
Solution: Burnish thoroughly; avoid dusty surfaces.
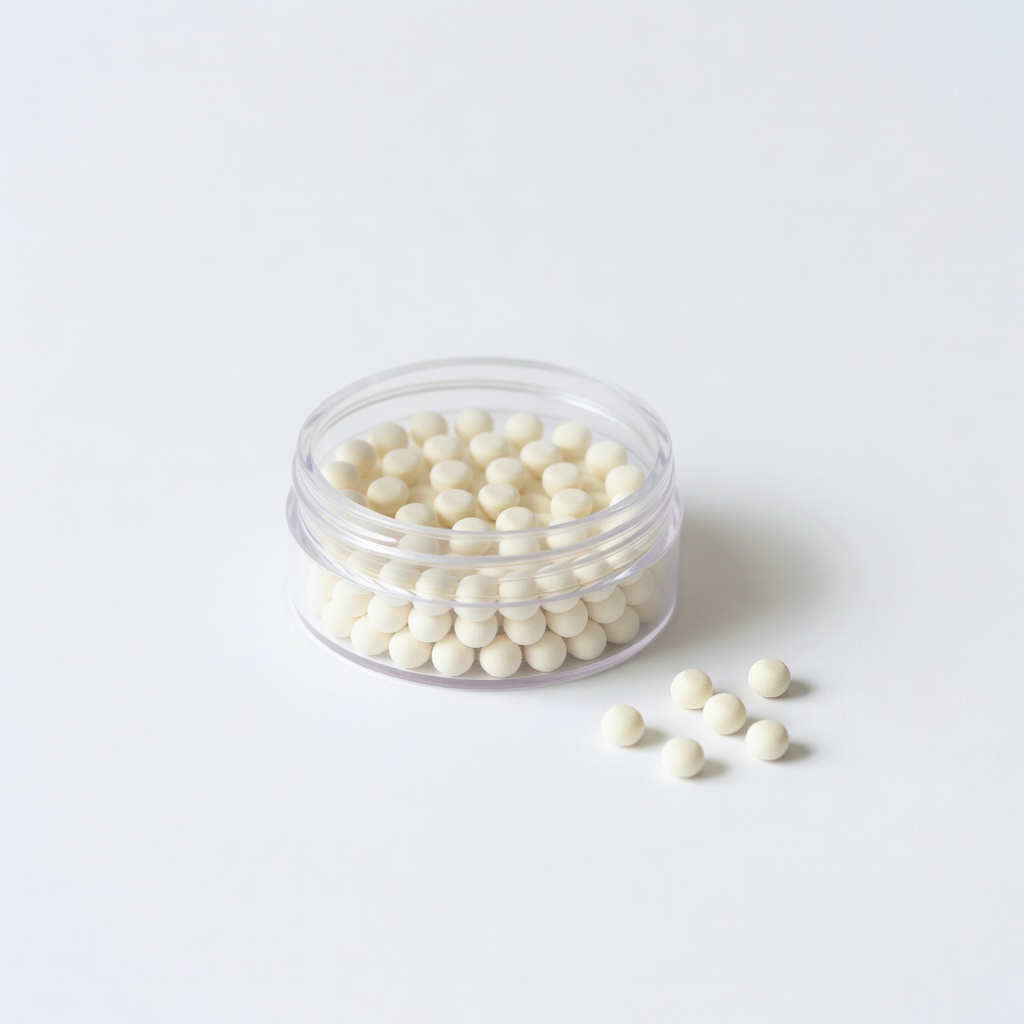
Glue Dots Removable Dots, 1/4" (200 Dots)
Low-tack, clear, acid-free formula peels cleanly without residue—ideal for beginners testing layouts.
Best for: Repositioning photos or embellishments on delicate paper.
Price Range: $8.99-$12.99
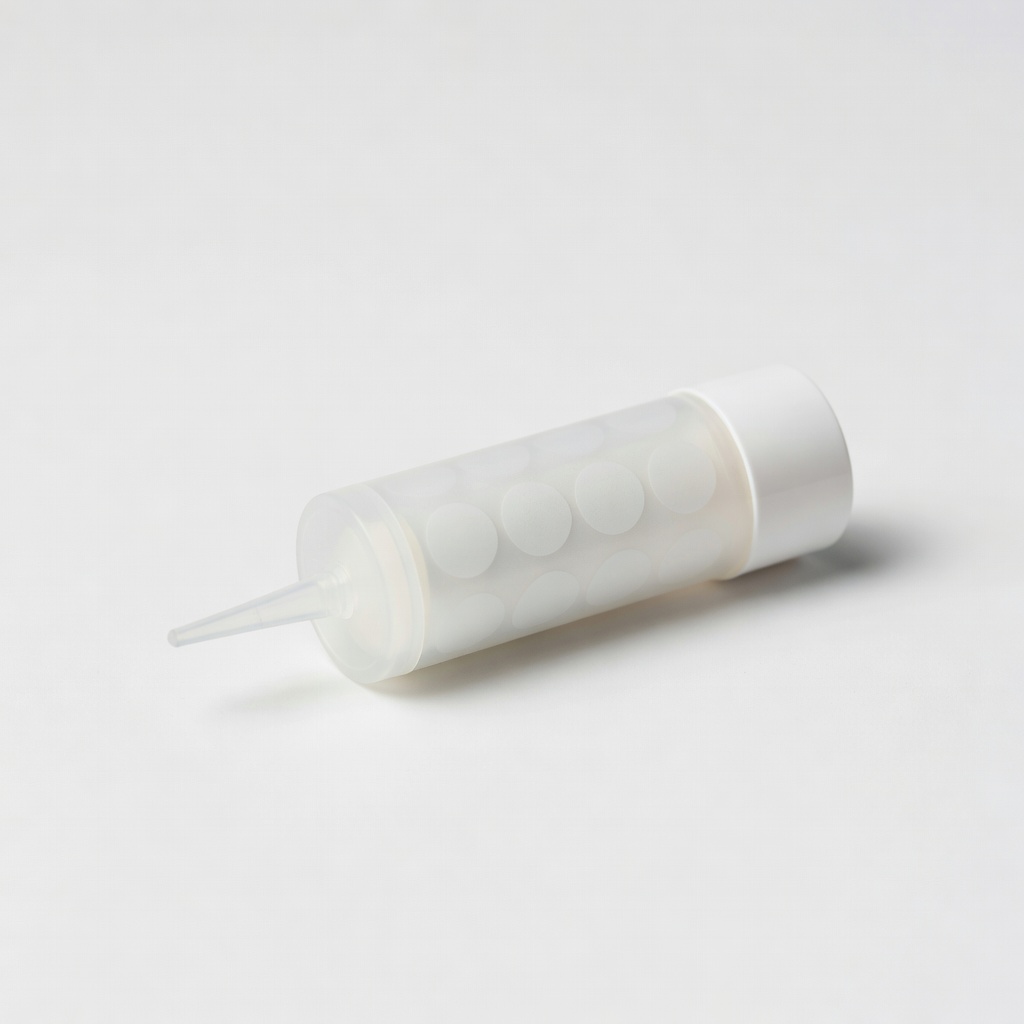
Therm-O-Web Zots 3D Adhesive Dots, Medium (130 Dots)
Archival-safe, photo-safe, adds dimension without damage—dispenser makes precise placement easy.
Best for: Layering flowers or buttons for 3D effects in albums.
Price Range: $4.99-$7.99
Scrapbook Adhesives 3L E-Z Dots Repositionable Refill
pH-neutral, removable up to 20x, no bleed-through—trusted by pros for heirloom projects.
Best for: Everyday scrapbooking on glossy/vintage photos.
Price Range: $5.99-$9.99
Advantus Zip N' Press Dots (1,000 Dots)
Budget-friendly, clear removable dots that dispense easily—great value for large projects.
Best for: Quick adherence for beginners filling multiple pages.
Price Range: $6.99-$10.99