Scrapbooking is a fun way to preserve memories, but nothing ruins a page faster than photos or embellishments that peel off or wrinkle the paper. Choosing the wrong adhesive leads to frustration, while the right adhesive dots provide a clean, precise hold without mess or damage.
In this guide, you'll discover what adhesive dots are, the best types for scrapbooking pages, key factors to consider, and top product picks. You'll also get step-by-step advice on selection and application. Expect to spend 15 minutes reading and gain confidence to start adhering your layouts hassle-free.
No prior experience needed—this beginner-friendly explainer breaks it down simply with real-world tips.
▸What You'll Need
- •Scrapbook album or pages
- •Photos, paper, or embellishments to adhere
- •Scissors or craft knife
- •Adhesive dots dispenser or roll (required for hands-on testing)
- •Optional: Acid-free storage sleeves for testing
Estimated Time: 15-20 minutes to read and understand
Difficulty: beginner
▸Step-by-Step Instructions
Step 1: Understand What Adhesive Dots Are
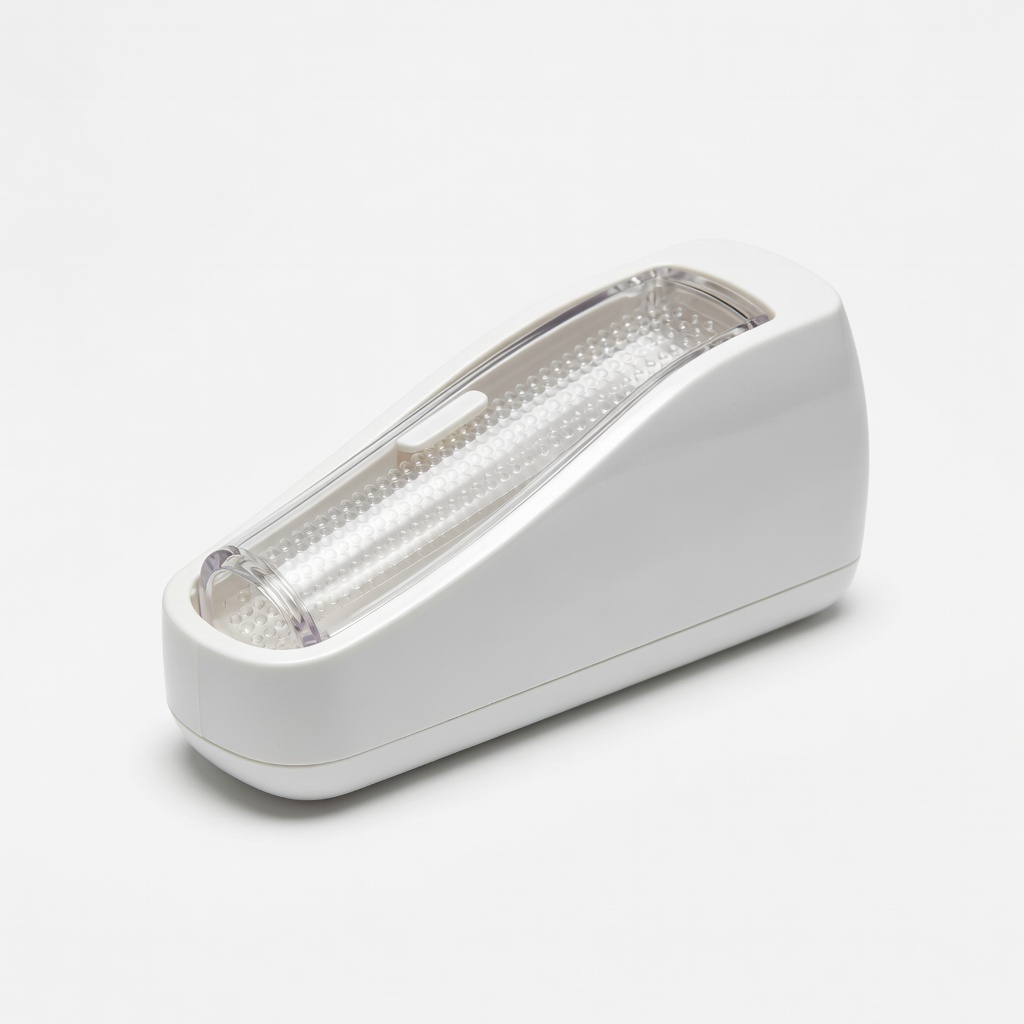
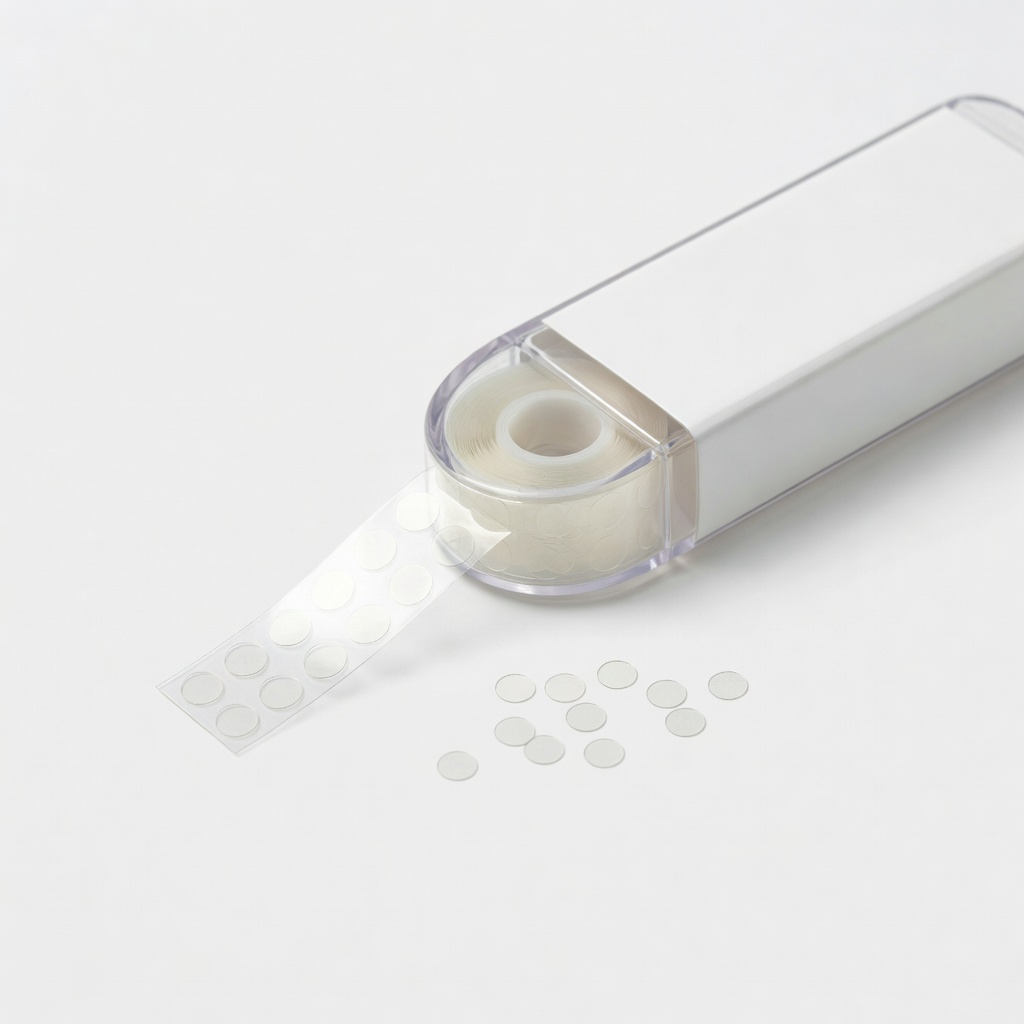
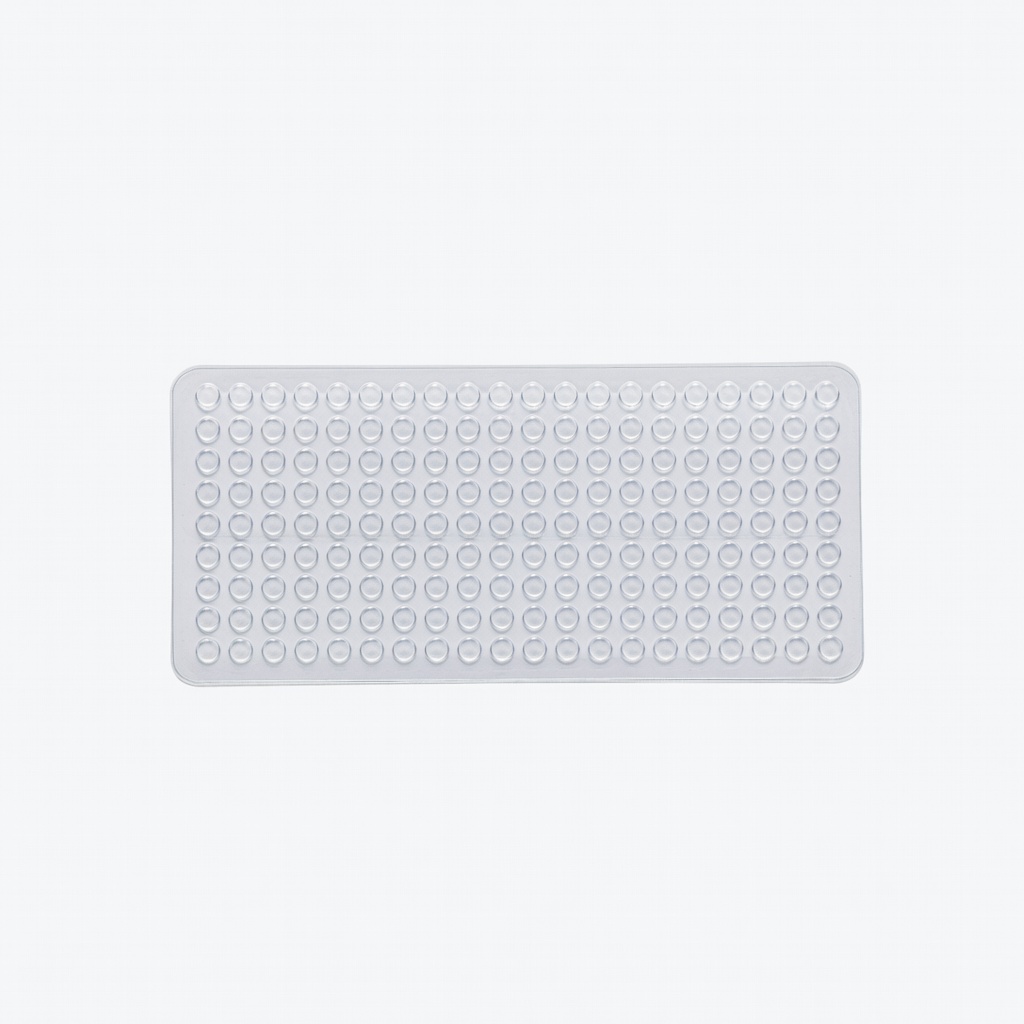
Adhesive dots are tiny, pre-cut circles or squares of double-sided adhesive, like mini stickers for crafts. Unlike liquid glue, they dispense cleanly without drying time or mess, making them ideal for scrapbooking.
Think of them as the 'precision tape' of crafting—perfect for attaching photos to pages without bubbles or seepage. They're often acid-free and lignin-free, ensuring they won't yellow or damage photos over time.
Expect a dispenser that peels off dots one by one for easy placement.
💡 Tips:
- •Start with a small pack to test before buying bulk.
Step 2: Learn the Types of Adhesive Dots
Permanent dots: Strong hold for long-lasting scrapbooks; best for photos that won't be repositioned.
Repositionable dots: Low-tack for temporary placement; great for layout planning before finalizing.
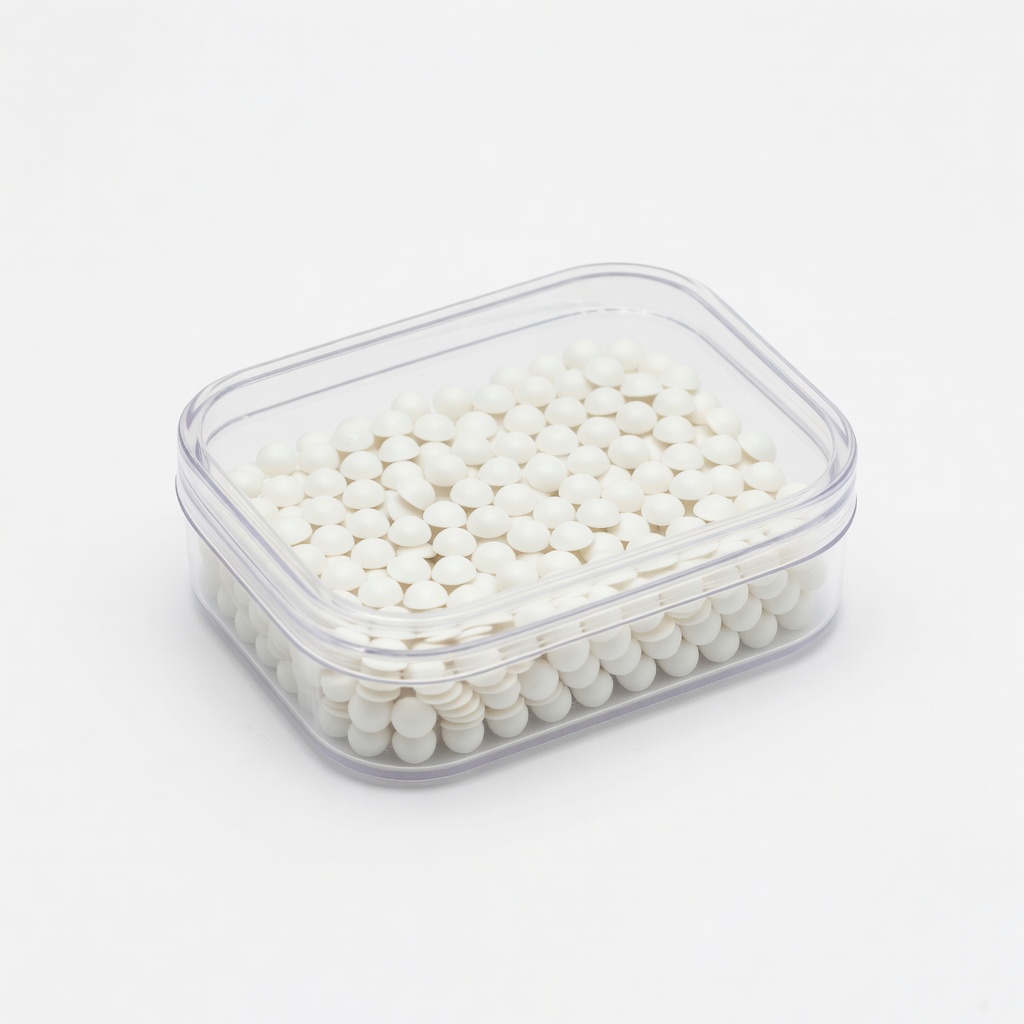
Foam/3D dots: Add dimension for layering embellishments; use sparingly on pages to avoid bulk.
Clear vs. opaque: Clear for invisible bonds under photos; opaque for heavier items.
💡 Tips:
- •Match type to your project—permanent for albums, repositionable for experimentation.
⚠️ Warnings:
- •Avoid non-acid-free dots on photos; they cause fading.
Step 3: Identify Key Features for Scrapbooking Pages
Look for photo-safe (acid-free) certification to protect memories. Dot size matters: 1/8-inch for fine details, 1/4-inch for larger photos.
Strength should hold up to 5-10 lbs per dot cluster without bleeding through thin paper. Dispenser usability prevents waste—refillable ones save money.
Why it matters: Scrapbook pages need flat, non-bulky adhesion to stay stackable in albums.
💡 Tips:
- •Check pack size—200+ dots for value.
Step 4: Compare Top Adhesive Dots for Pages
Permanent dots like E-Z Dots excel for flat pages. Foam dots add pop but can make albums thick.
Repositionable options allow fixes without residue. Test on scrap paper: apply to photo, press 10 seconds, check after 24 hours.
Best overall for beginners: clear, medium-strength dots in easy dispensers.
💡 Tips:
- •Prioritize brands with 'archival safe' labels.
Step 5: Select Based on Your Scrapbooking Needs
For photo-heavy pages: permanent, clear dots. Embellished layouts: mix foam and permanent.
Budget: $5 packs for starters. Volume crafters: refillable dispensers.
Pro tip: Buy multi-packs for variety.
⚠️ Warnings:
- •Don't overload dots—4-6 per photo prevents buckling.
Step 6: Apply Adhesive Dots Properly
- •Plan layout dry. 2. Peel dot from dispenser. 3. Place on page corner. 4. Press item firmly 5-10 seconds. 5. Rub with bone folder for flat seal.
Why: Even pressure ensures no lifts. Expect instant hold, full cure in 24 hours.
💡 Tips:
- •Use tweezers for tiny dots.
⚠️ Warnings:
- •Avoid touching sticky side—oils weaken bond.
Step 7: Store and Maintain Your Adhesive Dots
Keep in cool, dry place; reseal dispensers. Replace if dots dry out.
Longevity: 1-2 years if stored right. This keeps your supply ready for future pages.
▸Pro Tips
- •Test dots on scrap paper first to check paper bleed.
- •Use 4 dots per photo corner for balanced hold.
- •Combine with glue pen for edges if needed.
- •Buy refillable dispensers to reduce plastic waste.
- •Warm dots between fingers for better stick on cold days.
- •Layer pages with fewer dots to keep album slim.
- •Stock up during craft sales for 20-30% savings.
▸Common Mistakes to Avoid
- •Using non-acid-free dots on photos, causing yellowing—stick to certified products.
- •Over-applying dots, leading to page warping—use minimal for flat results.
- •Pressing too lightly, resulting in peels—hold 10 seconds minimum.
- •Storing in humid areas, drying out adhesive—keep sealed and dry.
- •Choosing wrong size for task, like huge dots on tiny die-cuts—match scale.
▸Troubleshooting
Problem: Dots not sticking
Solution: Clean surfaces with alcohol wipe; ensure room temp >60°F. Replace old dots.
Problem: Pages bubbling or lifting
Solution: Use fewer dots and press with bone folder. Avoid foam on flat pages.
Problem: Residue on photos when removing
Solution: Switch to repositionable dots; gently roll off with eraser.
Scrapbook Adhesives by 3L E-Z Dots Permanent Refillable Dispenser
Archival-safe, precise dispenser for clean application; holds photos flat without bleed.
Best for: Everyday photo mounting on scrapbook pages.
Price Range: $12.99
Glue Dots Clear Craft Dots .03" Diameter
Tiny size for detailed work, super strong permanent bond, acid-free.
Best for: Small embellishments and photo corners.
Price Range: $5.59
Therm O Web Zots 3D Adhesive Dots
Foam dots for dimension, photo-safe, easy peel dispenser.
Best for: Layered elements like titles or flowers on pages.
Price Range: $4.99
Scotch Create Repositionable Adhesive Dots
Low-tack for trial layouts, removable without residue.
Best for: Planning scrapbook designs before committing.
Price Range: $4.49
Advantus Binder Bubbles Adhesive Dots
Budget foam option for lift, strong hold for beginners.
Best for: Thick embellishments on budget projects.
Price Range: $6.99