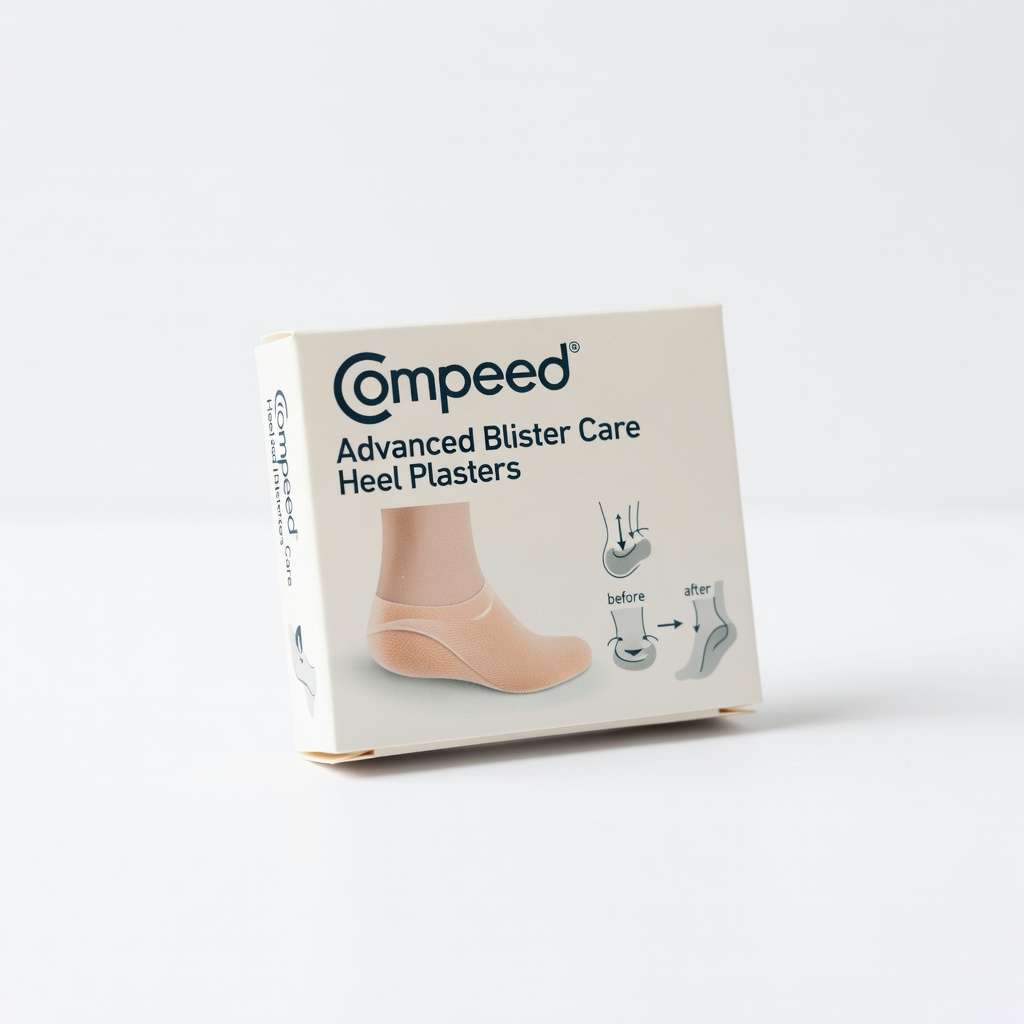
Compeed Advanced Blister Care Heel Plasters
Perfect for runners or hikers with friction blisters.
$10-$12
Compeed Advanced Blister Care Heel Plasters Hydrocolloid tech forms a gel seal that sticks 10x longer on heels by absorbing moisture.
Get the App
Better experience on mobile
Learn which bandages stay secure on sweaty, moving heels to prevent blisters and keep you moving pain-free.
Blisters on heels are a runner's nightmare and a hiker's worst enemy—especially when your bandage peels off mid-stride due to sweat, friction, and constant rubbing from shoes. Standard bandages often fail here, leading to more pain and downtime. This guide explains why and reveals the best options that actually stick.
You'll discover the science behind heel adhesion, top bandage types and materials, step-by-step application for maximum hold, and real product recommendations. No more wasted bandages or painful surprises. Expect to gain actionable knowledge in just 10-15 minutes, perfect for beginners dealing with foot woes.
Estimated Time: 10-15 minutes to read and apply Difficulty: beginner
Heels endure high friction from shoes, sweat from enclosed spaces, and constant flexing during walking or running. Standard fabric or plastic bandages rely on simple glue that weakens with moisture and movement, often peeling within hours.
Think of it like tape on a greasy surface—it slips. Heel skin is thicker and oilier, compounding the issue. Expect bandages to last 1-4 hours max without proper choice.
💡 Tips:
Adhesion depends on surface prep (dry, clean skin), adhesive type (medical-grade acrylic beats basic glue), backing material (breathable yet waterproof), and cushioning (hydrocolloid absorbs moisture like a sponge).
Moisture-wicking reduces slip; flexibility prevents cracking. Best performers balance stickiness with comfort—no bunching or pulling.
⚠️ Warnings:
Hydrocolloid plasters (gel-forming) excel by sealing wounds and boosting adhesion as they moisten. Foam pads with strong adhesive handle pressure. Moleskin (cotton felt) pads friction without full enclosure.
Skip sheer strips—they're too thin. Analogy: Hydrocolloid is like a second skin; moleskin is armor plating.
💡 Tips:
Wash with soap and water, pat dry thoroughly (hairdryer on cool helps). Wipe with alcohol to remove oils—wait 1-2 minutes to evaporate.
This creates a 'blank canvas' for adhesion. Expect tackier feel; skip if skin is broken to avoid sting.
💡 Tips:
⚠️ Warnings:
Choose heel-shaped or rectangular plasters. Trim to fit 1/4 inch beyond blister edges for full coverage.
Round corners prevent lifting. Why? Sharp edges catch on socks.
Peel backing halfway, center on heel, press firmly from middle outward (30 seconds). Add powder around edges for sweat barrier.
Wear loose socks first to set. Expect 24-72 hour hold with right type.
💡 Tips:
Walk briskly for 5 minutes; check edges. Reinforce with medical tape if needed.
Replace if lifting or pus appears. Track what works for your activity level.
⚠️ Warnings:
Keep dry initially; hydrocolloids handle sweat later. Remove gently with oil after 48 hours.
Rotate pairs for multi-day use. This extends life and prevents re-blistering.
Problem: Bandage peels after 1 hour
Solution: Improve prep: alcohol wipe + powder. Switch to hydrocolloid.
Problem: Skin irritation or rash
Solution: Remove immediately, use hypoallergenic type. Consult doctor if persists.
Problem: Doesn't cushion enough
Solution: Add moleskin layer underneath or try thicker foam pads.
Problem: Hard to remove
Solution: Soak in warm soapy water or use baby oil.
Hydrocolloid tech forms a gel seal that sticks 10x longer on heels by absorbing moisture.
Best for: Perfect for runners or hikers with friction blisters.
Price Range: $10-$12
Waterproof adhesive with cushioning holds through sweat and showers.
Best for: Daily wear in work shoes or gym sessions.
Price Range: $8-$10
Thick felt reduces friction; strong adhesive for uneven heel skin.
Best for: Prevention on new shoes or long walks.
Price Range: $6-$8
Gel-lined with medical adhesive; reusable and flexible for all-day hold.
Best for: Budget-friendly for frequent heel rubbers.
Price Range: $13-$15
Perfect for runners or hikers with friction blisters.
Compeed Advanced Blister Care Heel Plasters Hydrocolloid tech forms a gel seal that sticks 10x longer on heels by absorbing moisture.
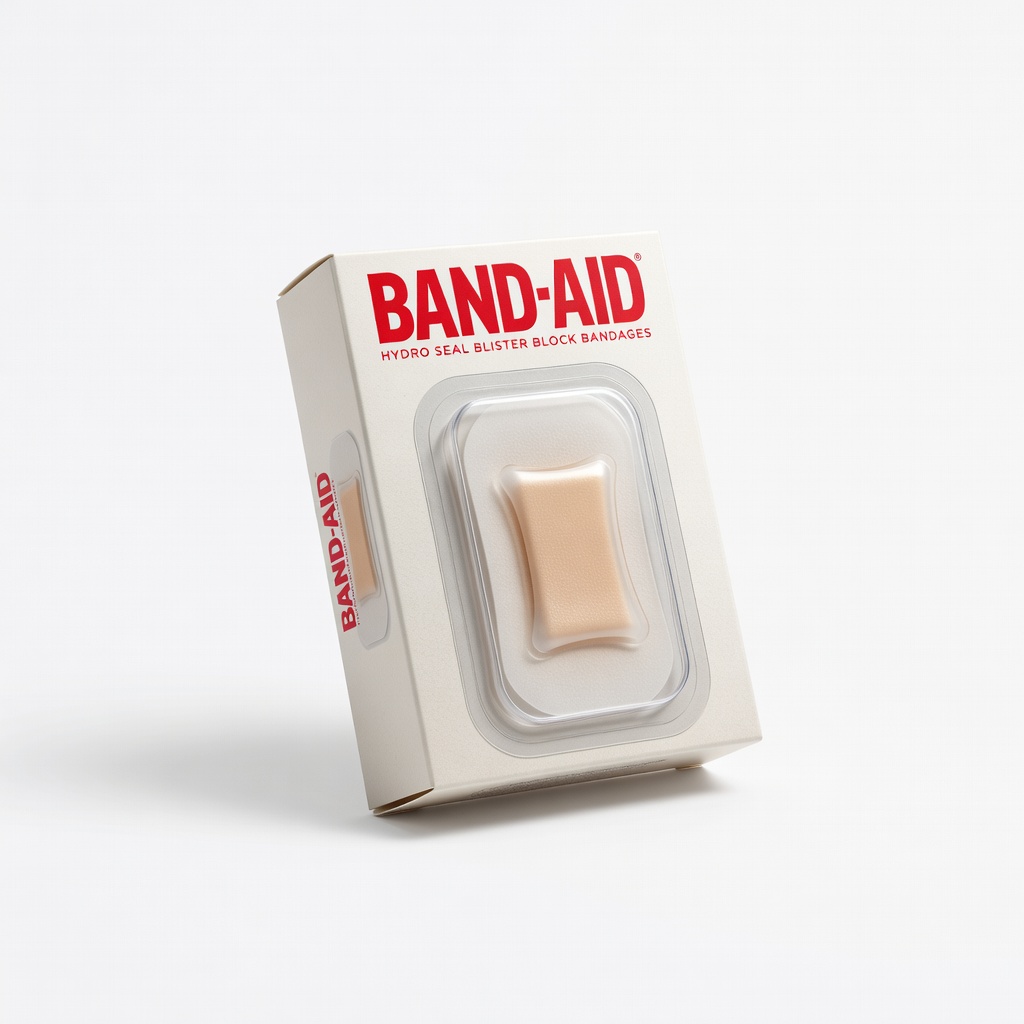
Daily wear in work shoes or gym sessions.
BAND-AID Hydro Seal Blister Block Bandages Waterproof adhesive with cushioning holds through sweat and showers.
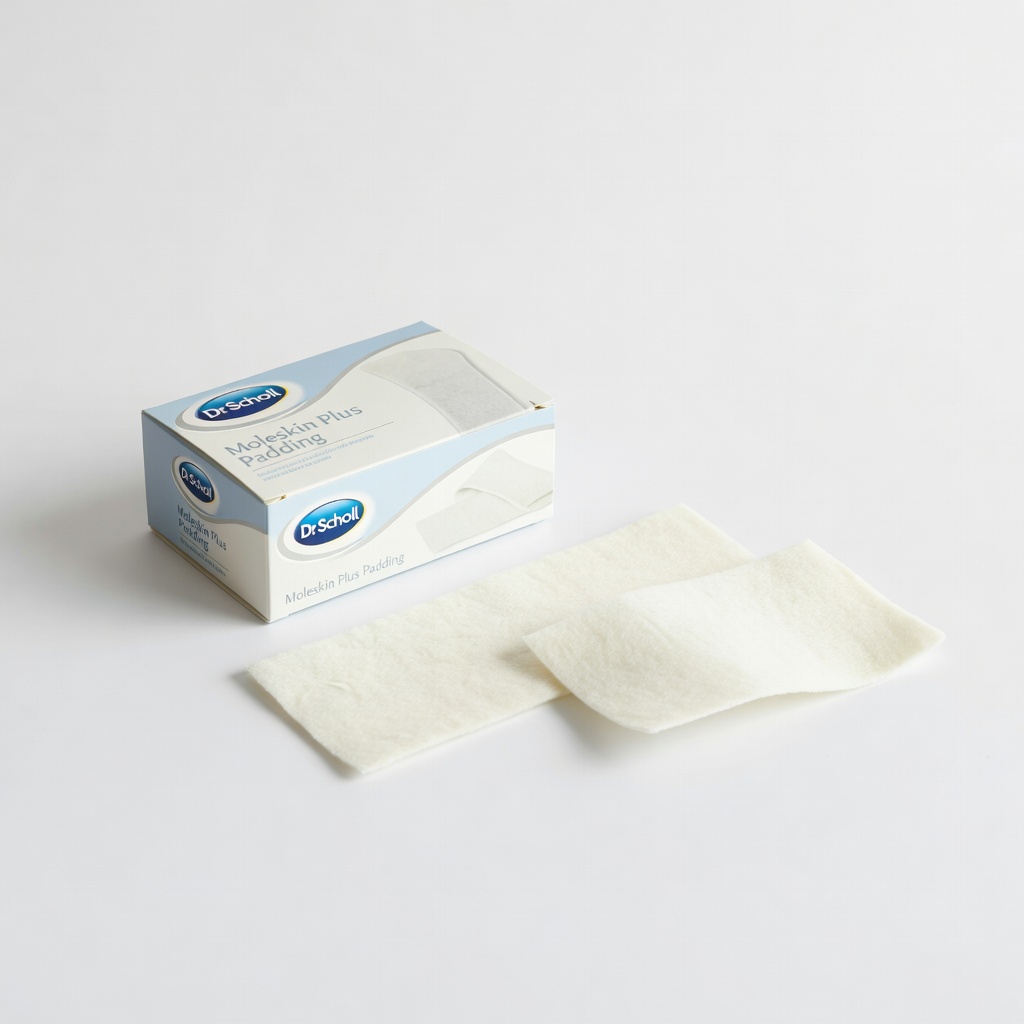
Prevention on new shoes or long walks.
Dr. Scholl's Moleskin Plus Padding Thick felt reduces friction; strong adhesive for uneven heel skin.
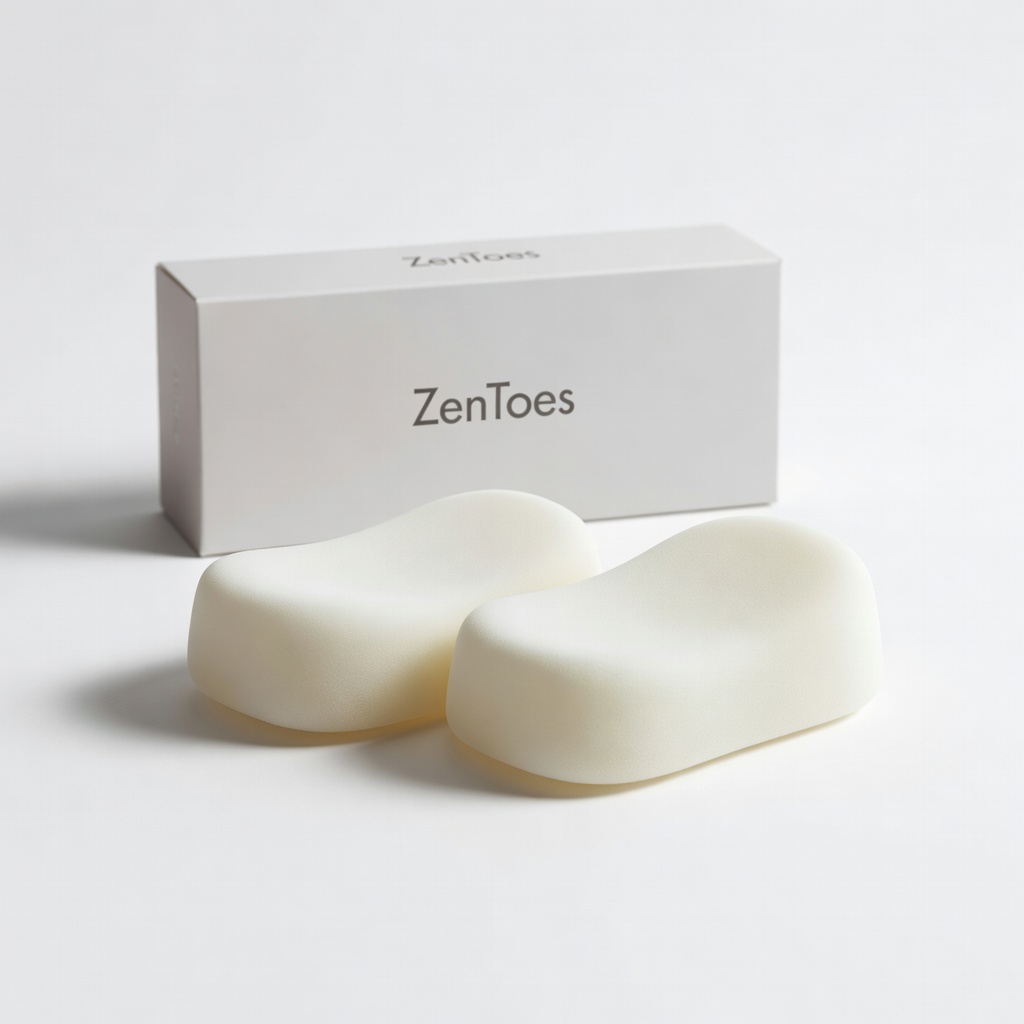
Budget-friendly for frequent heel rubbers.
ZenToes Blister Prevention Heel Cushions Gel-lined with medical adhesive; reusable and flexible for all-day hold.