
Leukotape P Sports Tape
Wrapping hotspots on multi-day hikes; cut to fit heels/toes.
$12-15
Leukotape P Sports Tape Ultra-strong zinc oxide adhesive lasts days on sweaty feet; gold standard for thru-hikers.
Get the App
Better experience on mobile
Discover top adhesive bandages that stop blisters before they start for pain-free hikes.
Blisters are the ultimate hike buzzkill—painful, debilitating, and they can turn a fun trail adventure into a limping ordeal. Every year, thousands of hikers deal with rubbed-raw feet from friction, moisture, and ill-fitting gear. But what if you could prevent them entirely with the right adhesive bandages?
In this guide, you'll learn how blisters form on hikes, why certain adhesive bandages excel at prevention, key features to seek, and step-by-step advice on choosing and using them. No more mid-trail misery. Expect to grasp the concept in 10-15 minutes—perfect for beginners gearing up for their next outing.
We'll cover science-backed explanations, real-world examples, and product picks to keep your feet happy mile after mile.
Estimated Time: 10-15 minutes to read and understand Difficulty: beginner
Blisters happen when friction between your skin and shoe/sock creates heat and shear forces, separating skin layers and filling with fluid. On hikes, this worsens from sweat, uneven terrain, downhill pressure, and new boots.
Think of it like rubbing your hands together too fast—they heat up and might blister. Hotspots (early warning tingles) appear first. Prevention targets friction reduction before fluid builds.
Expect: Knowledge that moisture + pressure = blisters 80% of the time.
💡 Tips:
Unlike treatment bandages (e.g., hydrocolloid for popped blisters), preventive adhesives create a low-friction barrier. They stick directly to skin or over hotspots, distributing pressure and reducing shear.
Analogy: Like tire chains on ice—they grip without slipping. Materials like silicone or zinc oxide tape (e.g., Leukotape) outperform standard Band-Aids by staying put for days.
Why it matters: Applied pre-hike, they prevent 90% of blisters per hiker forums like Reddit's r/Ultralight.
⚠️ Warnings:
Examples: ENGO for heels, Leukotape for toes. Choose based on hike length.
💡 Tips:
Look for: Breathable yet waterproof adhesive, low-friction surface (silicone or polymer), stretch/flex, and durability (3+ days). Hypoallergenic for sensitive skin.
Avoid: Latex-based (allergies), non-stretch (cracks), or cotton (absorbs sweat).
What to expect: Products labeled 'blister prevention' or 'hotspot tape'—proven in ultramarathons.
Short day hikes? Moleskin patches. Multi-day? Leukotape for bombproof hold. Wet conditions? Waterproof ENGO.
Assess: Foot shape, boot fit, sweat level. Buy small packs to test.
Pro tip: Pair with double socks (liner + thick wool).
💡 Tips:
Why: Pre-hike application lasts longer. Reapply at camp if needed.
Expect: Secure feel, no slippage after 10 miles.
⚠️ Warnings:
Check feet every 5-10 miles. If loosening, add more tape. Rotate socks to stay dry.
Long-term: Good boots/socks prevent 70%—bandages handle the rest.
💡 Tips:
Problem: Tape peels off mid-hike
Solution: Clean skin better, use benzoin, or switch to silicone patches like ENGO.
Problem: Skin irritation or rash
Solution: Remove immediately, wash, use hypoallergenic alternative; see doc if persists.
Problem: Still getting blisters
Solution: Check socks/boots; layer liner sock; consult podiatrist for foot issues.
Ultra-strong zinc oxide adhesive lasts days on sweaty feet; gold standard for thru-hikers.
Best for: Wrapping hotspots on multi-day hikes; cut to fit heels/toes.
Price Range: $12-15
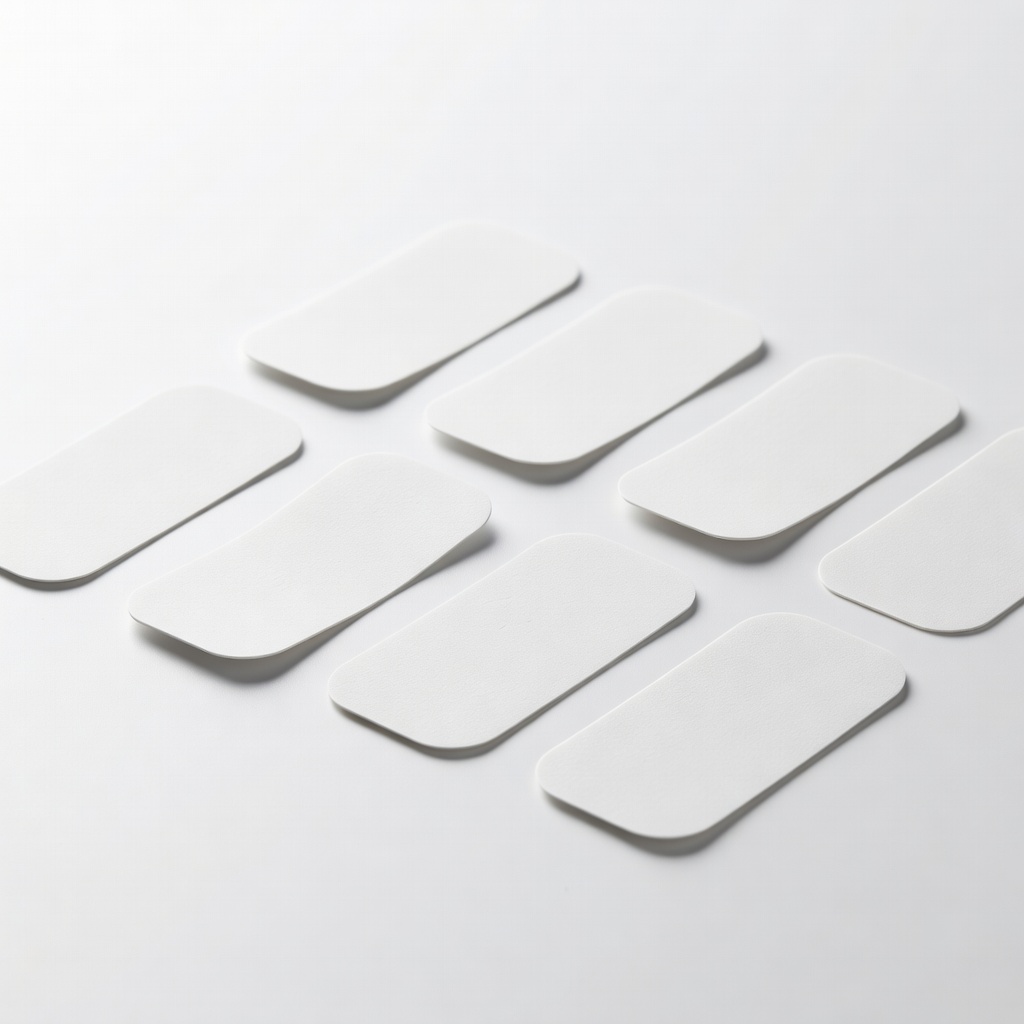
Silicone surface slashes friction by 50%; no skin adhesive needed.
Best for: Place between skin and sock for high-pressure areas like Achilles.
Price Range: $18-22
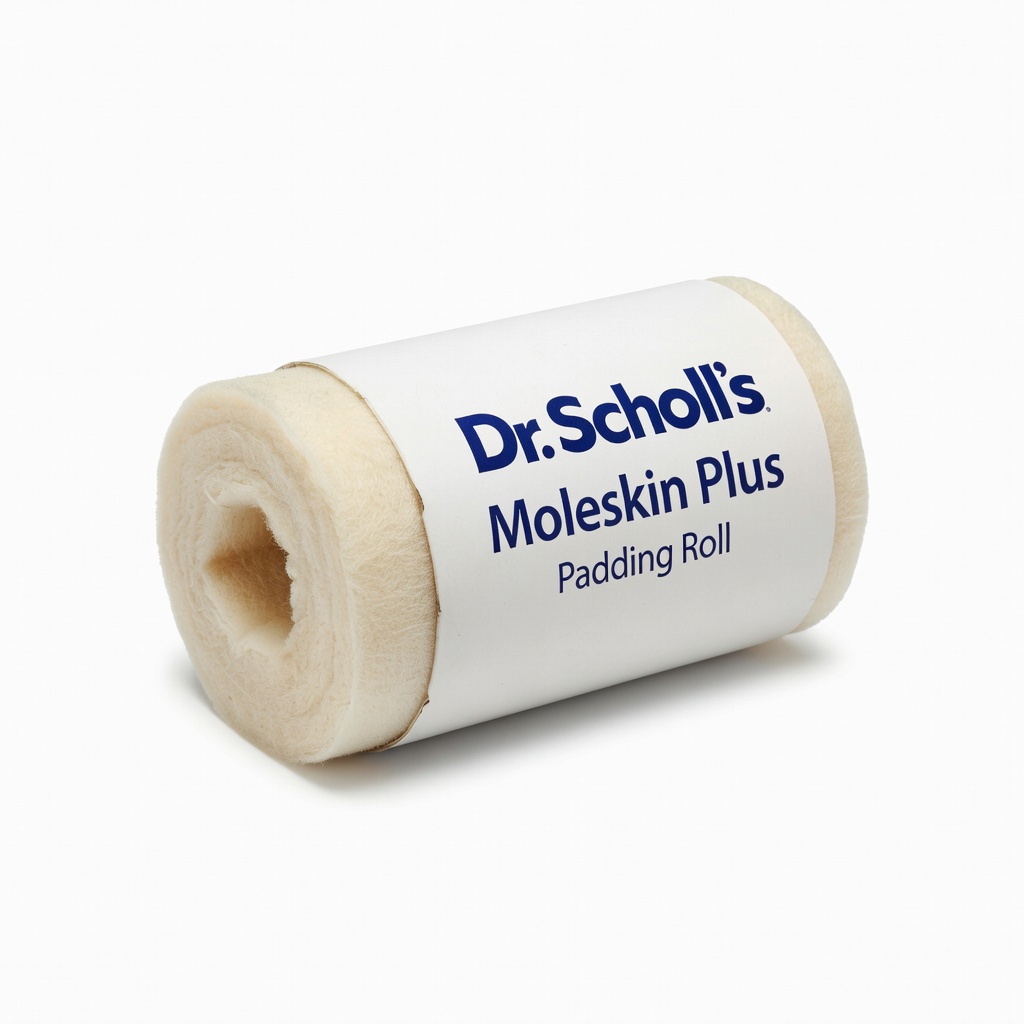
Soft foam padding with reliable adhesive; budget-friendly for beginners.
Best for: Day hikes; cover large areas like full heel.
Price Range: $5-8
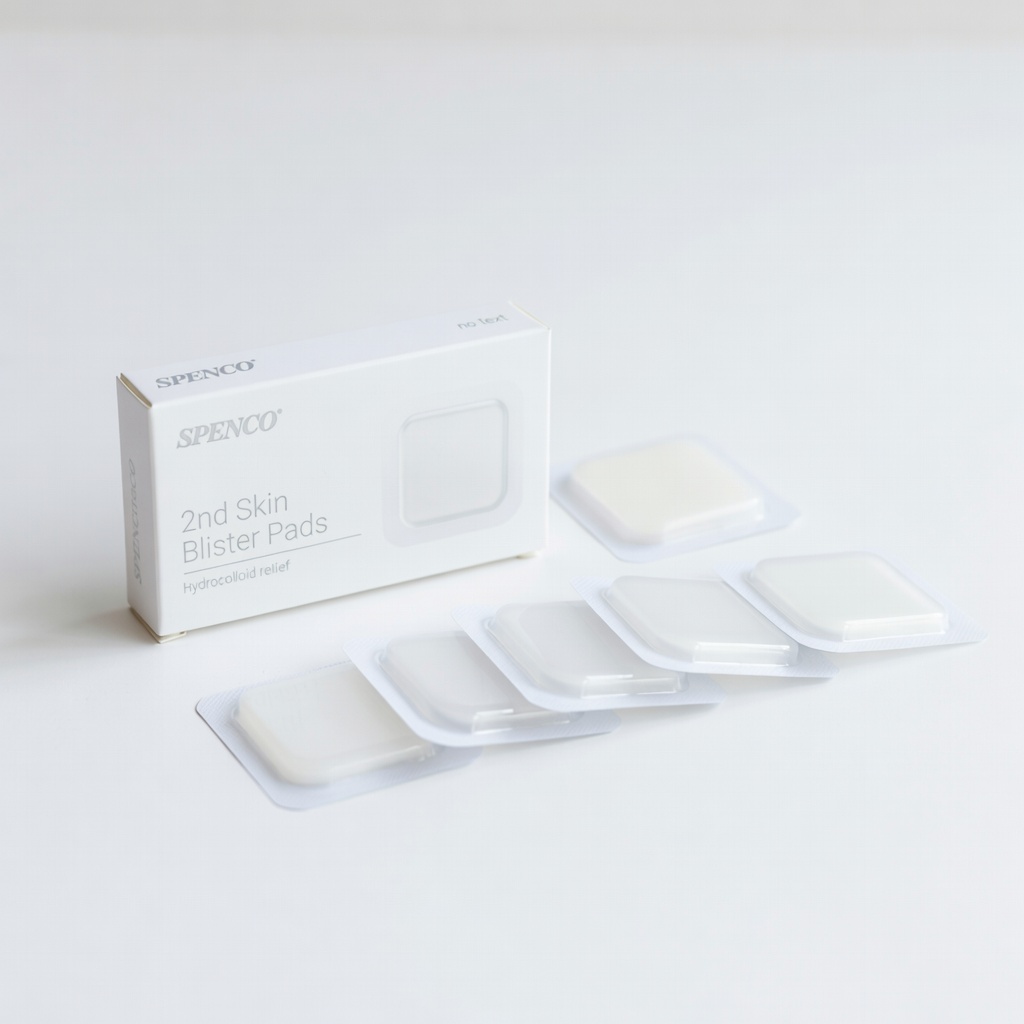
Moisturizing gel mimics skin; prevents and treats early blisters.
Best for: Hot, humid hikes; apply over minor rubs.
Price Range: $10-13
Wrapping hotspots on multi-day hikes; cut to fit heels/toes.
Leukotape P Sports Tape Ultra-strong zinc oxide adhesive lasts days on sweaty feet; gold standard for thru-hikers.
Place between skin and sock for high-pressure areas like Achilles.
ENGO Blister Prevention Patches Silicone surface slashes friction by 50%; no skin adhesive needed.
Day hikes; cover large areas like full heel.
Dr. Scholl's Moleskin Plus Padding Roll Soft foam padding with reliable adhesive; budget-friendly for beginners.
Hot, humid hikes; apply over minor rubs.
Spenco 2nd Skin Blister Pads Moisturizing gel mimics skin; prevents and treats early blisters.