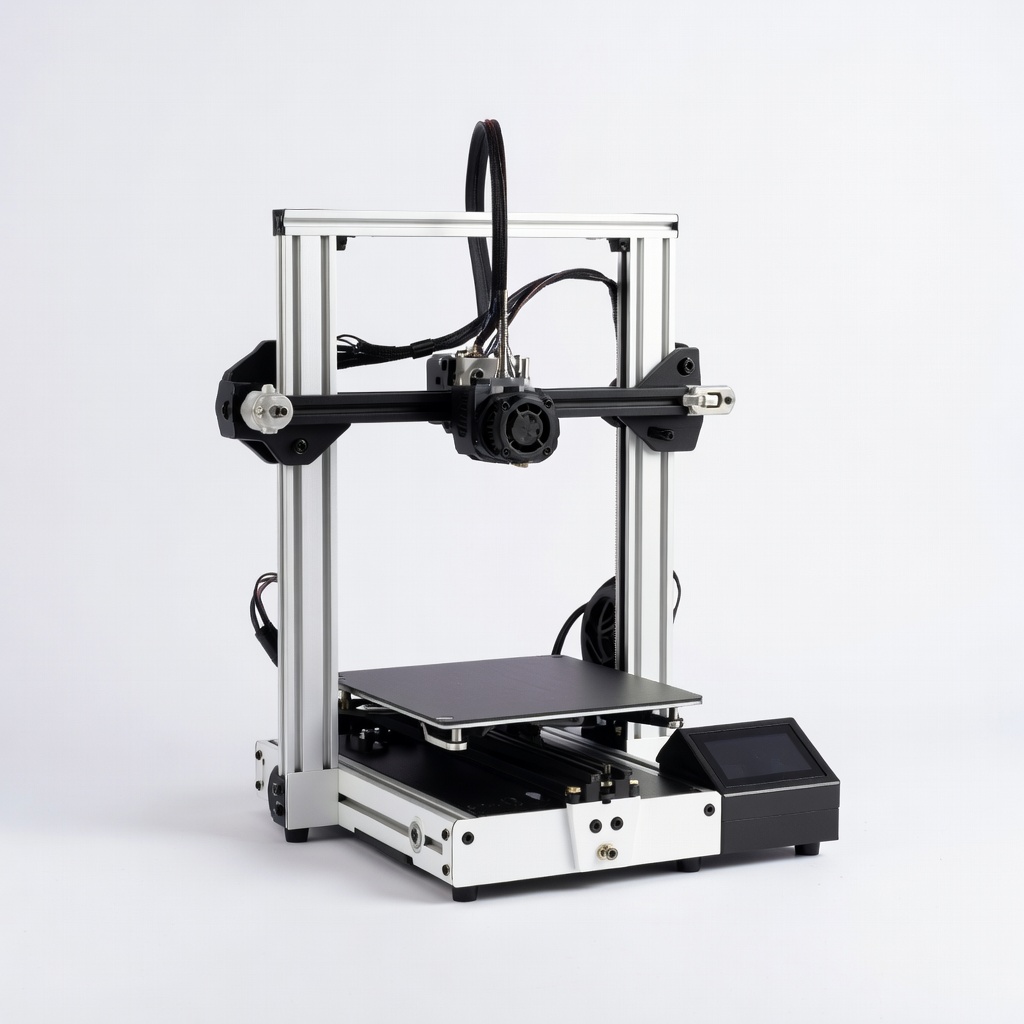
Creality Ender 3 V3 KE FDM Printer
Functional prototypes like enclosures or jigs under $0.10/cm³
$279-$299
Creality Ender 3 V3 KE FDM Printer Affordable, fast CoreXY for rapid FDM prototyping with large volume and auto-leveling
Get the App
Better experience on mobile
Learn to match additive manufacturing methods to prototyping needs for faster, cost-effective product development.
In product development, selecting the wrong additive manufacturing (AM) technique for prototyping can lead to wasted time, high costs, and suboptimal parts. Advanced engineers often struggle with the overwhelming array of options—from FDM to SLS—without clear criteria tailored to prototyping goals like speed, detail, or functionality.
This guide breaks down the top AM techniques suited for prototyping, explaining their strengths, limitations, and use cases. You'll learn how to evaluate your project requirements and choose the best method, complete with comparisons and real-world examples. Expect a deep dive suitable for experienced users, taking 20-30 minutes to master these concepts.
By the end, you'll confidently select AM techniques that accelerate iteration cycles and reduce prototyping risks.
Estimated Time: 20-30 minutes Difficulty: advanced
Start by clarifying your prototype's goals: form, fit, function, or aesthetics? Form prototypes verify geometry; fit test assemblies; functional simulate end-use loads.
Why it matters: AM techniques excel differently—e.g., high-detail for visuals vs. durable for stress tests. Create a requirements matrix: resolution (<0.1mm?), build volume (cm³?), material strength (MPa?), lead time (hours/days?).
Expect a 1-page spec sheet. This prevents over-spec'ing expensive methods.
💡 Tips:
⚠️ Warnings:
AM divides into 7 ISO categories, but prototyping favors 4: extrusion-based (FDM/FFF), vat photopolymerization (SLA/DLP), powder bed fusion (SLS/SLM), material/binder jetting (PolyJet/MJP).
Analogy: FDM is like 3D hot glue gun (layer-by-layer plastic); SLA is laser-curing resin in a vat (smooth, precise); SLS lasers powder (strong, support-free); PolyJet jets like inkjet (multi-material).
Overview sets the stage—next steps detail each for prototyping fit.
💡 Tips:
Fused Deposition Modeling extrudes thermoplastic filament (PLA, ABS, PETG) layer-by-layer.
Prototyping suit: Best for low-cost, large functional prototypes (build volumes up to 300x300x400mm, speeds 50-200mm/s). Tolerances ±0.2mm, good for enclosures, jigs. Example: Automotive dashboard mockups iterated daily.
Limitations: Visible layers (0.1-0.4mm), anisotropic strength. Post-process with sanding/acetone.
💡 Tips:
⚠️ Warnings:
Stereolithography/Digital Light Processing cures resin with laser/LED projector.
Prototyping suit: Ideal for precise, smooth-surface prototypes (resolutions <50μm, tolerances ±0.05mm). Suits jewelry, medical models, miniatures. Example: Surgical guides with micro-features.
Trade-offs: Brittle parts, messy cleanup (IPA washing, UV curing). Smaller volumes (150x150x200mm).
💡 Tips:
Selective Laser Sintering fuses polymer powder (PA12/PA11) without supports.
Prototyping suit: Excels in durable, complex functional prototypes (isotropic strength >40MPa, heat-resistant). Volumes 300x300x400mm. Example: End-use gears, snap-fits tested under load.
Challenges: Rough surfaces (post-powder blast), higher cost ($/cm³). No desktop options—use services.
💡 Tips:
⚠️ Warnings:
Material Jetting prints photopolymer droplets, cured by UV (like 2.5D inkjet).
Prototyping suit: Perfect for multi-color/texture assemblies (rubber-rigid combos, 16μm layers). Example: Consumer product overmolds, ergonomic handles.
High cost, smaller volumes—but presentation-ready out-of-printer.
💡 Tips:
Table summary:
| Technique | Cost/cm³ | Resolution | Strength | Speed | Best For |
|---|---|---|---|---|---|
| FDM | Low | Medium | Medium | Fast | Volume/Function |
| SLA | Medium | High | Low | Medium | Detail |
| SLS | High | Medium | High | Slow | Durability |
| PolyJet | High | Very High | Medium | Fast | Multi-mat |
Match to your matrix from Step 1. Hybrid workflows: FDM for bulk, SLA inserts.
💡 Tips:
Problem: Poor surface finish or visible layers
Solution: Switch to SLA/DLP or finer layer heights (0.05mm); post-sand
Problem: Weak or brittle prototypes
Solution: Use SLS nylons or engineering FDM filaments (PC, nylon); add infill
Problem: Long lead times or high costs
Solution: Opt for desktop FDM/SLA; outsource SLS to services like Shapeways
Problem: Warping or delamination
Solution: Enclosed printer, bed adhesion (glue/rafts), dry hygroscopic materials
Affordable, fast CoreXY for rapid FDM prototyping with large volume and auto-leveling
Best for: Functional prototypes like enclosures or jigs under $0.10/cm³
Price Range: $279-$299
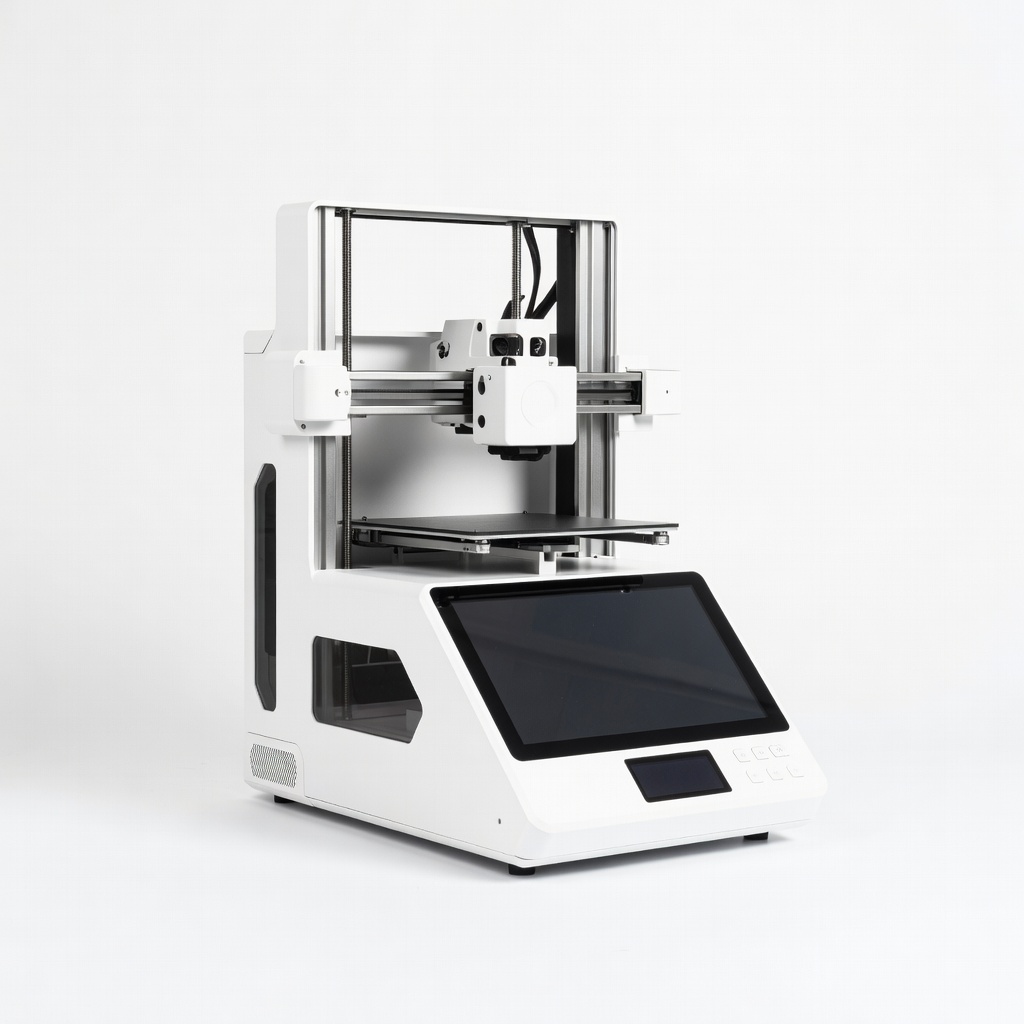
9K resolution for ultra-detailed resin prints, ideal for precise form/fit prototypes
Best for: Small, intricate models like dental or consumer product visuals
Price Range: $270-$300
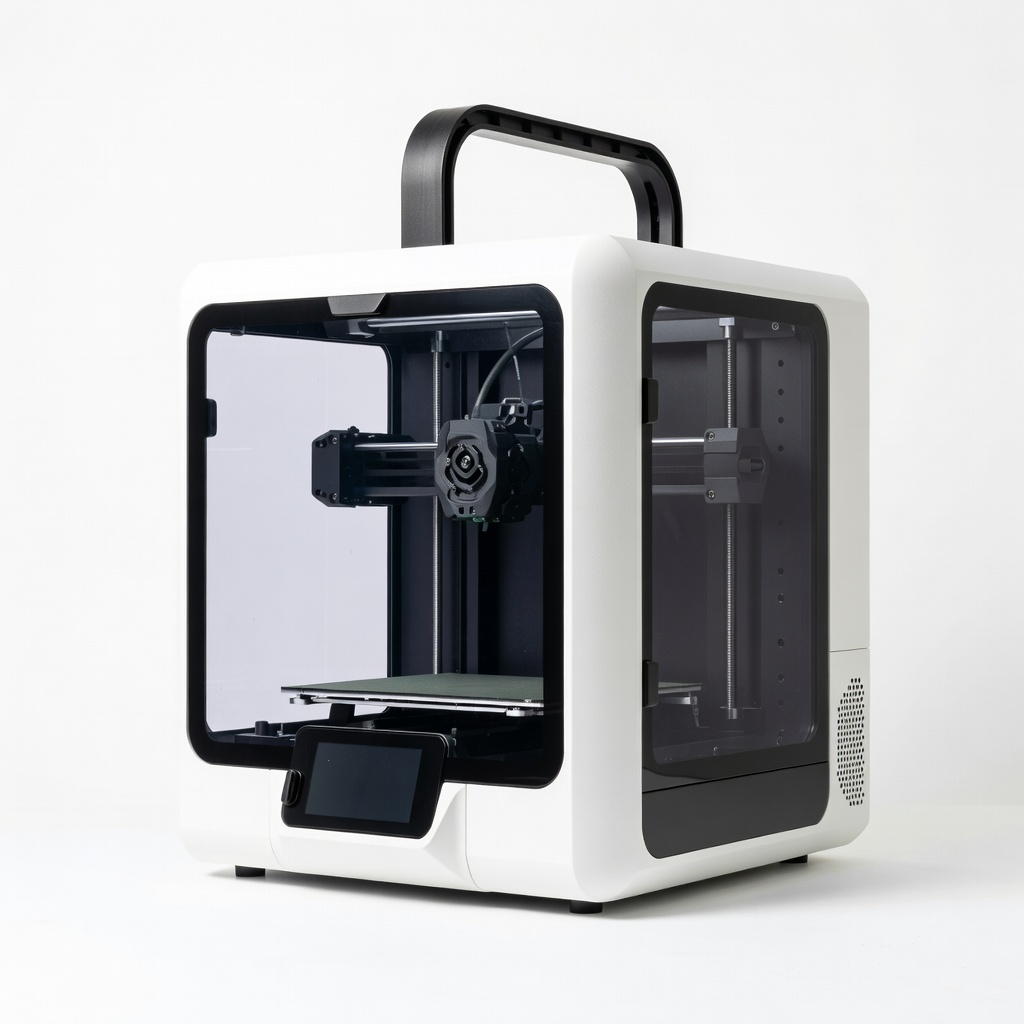
Multi-material AMS for quick iterations, enclosed for advanced filaments like nylon
Best for: Professional prototyping with color/material variety at high speed
Price Range: $699-$799
Intelligent auto-leveling and high-speed SLA for consistent detail without hassle
Best for: High-volume detailed prototyping in engineering workflows
Price Range: $400-$450
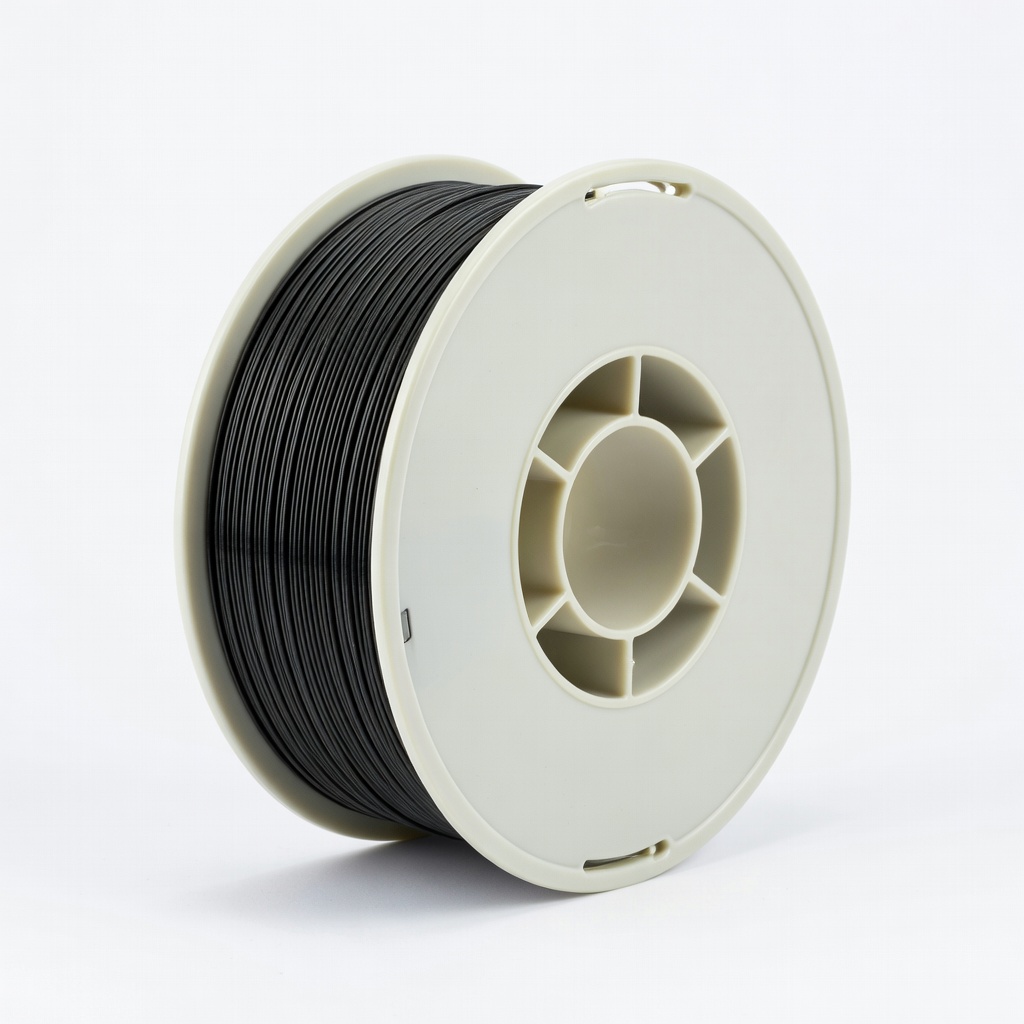
Carbon fiber nylon for FDM functional prototypes matching SLS strength
Best for: Load-bearing parts needing high stiffness/heat resistance
Price Range: $50-$70 per 750g spool
Functional prototypes like enclosures or jigs under $0.10/cm³
Creality Ender 3 V3 KE FDM Printer Affordable, fast CoreXY for rapid FDM prototyping with large volume and auto-leveling
Small, intricate models like dental or consumer product visuals
Elegoo Mars 4 Ultra MSLA Printer 9K resolution for ultra-detailed resin prints, ideal for precise form/fit prototypes
Professional prototyping with color/material variety at high speed
Bambu Lab P1S 3D Printer Multi-material AMS for quick iterations, enclosed for advanced filaments like nylon
High-volume detailed prototyping in engineering workflows
Anycubic Photon Mono M5s Intelligent auto-leveling and high-speed SLA for consistent detail without hassle
Load-bearing parts needing high stiffness/heat resistance
Polymaker PolyMide PA6-CF Filament Carbon fiber nylon for FDM functional prototypes matching SLS strength